If you ask me, cake popsicles are a total game-changer.
These fun treats take everything we love about cake and transform it into an easy-to-hold, perfectly portioned dessert on a stick. Think birthday cake meets ice cream bar, but with a homemade touch that makes everyone smile.
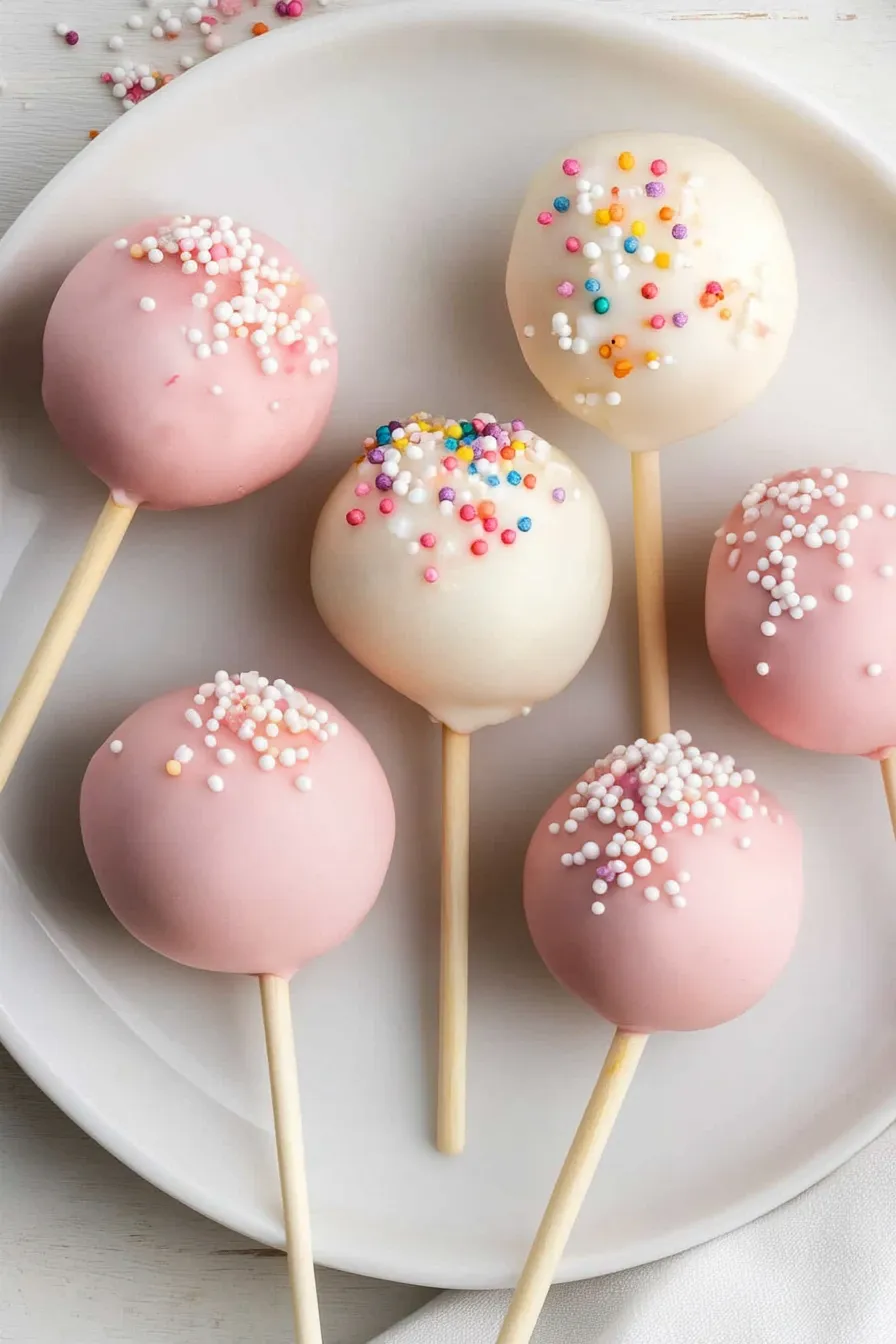
They start with your favorite cake, crumbled and mixed with frosting until it’s just right for molding. Then they’re dipped in a coating that cracks with a satisfying snap when you bite into it, revealing that soft, sweet center.
It’s the kind of dessert that makes both kids and grown-ups happy, perfect for parties or just because you want to make an ordinary day feel special.
Why You’ll Love These Cake Popsicles
- Perfect for parties – These cake popsicles are a fun twist on regular cake that kids and adults both love. They’re portable, portion-controlled, and look amazing on any dessert table.
- Make-ahead friendly – You can prepare these treats days in advance and store them in the fridge, making them perfect for busy party planners or anyone who likes to prep ahead.
- Customizable design – With different colored candy melts and various sprinkle options, you can match these treats to any party theme or holiday celebration.
- No special skills needed – While they look fancy, these cake popsicles are actually simple to make – if you can bake a cake and dip things in chocolate, you can make these!
What Kind of Chocolate Should I Use?
For cake popsicles, candy melts are usually the go-to choice since they’re specifically designed for coating and set up nicely without requiring tempering. If you prefer using real chocolate, white chocolate works great too – just make sure to choose a high-quality brand that contains cocoa butter rather than vegetable oils. When working with either option, be careful not to overheat the coating – melting in 30-second intervals in the microwave or using a double boiler will help prevent scorching. For the smoothest results, try adding a spoonful of coconut oil or paramount crystals to your melted coating, which will help thin it out and create that perfect, glossy shell that snaps when you bite into it.

Options for Substitutions
Let’s talk about what you can swap in this cake popsicle recipe if you’re missing something:
- All-purpose flour: You can use cake flour for an even softer texture – just add 2 extra tablespoons per cup of flour. Self-rising flour works too, but remember to skip the baking powder and baking soda if you use it.
- Buttermilk: No buttermilk? Mix 1 cup regular milk with 1 tablespoon lemon juice or white vinegar, let it sit for 5 minutes, and you’re good to go. Plain yogurt thinned with a bit of milk works too.
- Candy melts: While candy melts are ideal because they set well, you can use regular chocolate chips mixed with 1-2 teaspoons of coconut oil. This helps the coating stay smooth and shiny when it sets.
- Vanilla essence: Feel free to switch up the flavor with almond extract, maple extract, or any other extract you like. Just use half the amount if it’s an artificial extract.
- Heavy cream: For the frosting, you can use half-and-half or whole milk instead of heavy cream. The frosting might be slightly less rich, but it’ll still work great.
- Sprinkles: Get creative with toppings! Try crushed nuts, cookie crumbs, coconut flakes, or even crushed freeze-dried fruit for decoration.
Watch Out for These Mistakes While Baking
The biggest challenge when making cake popsicles is getting the consistency right – if your cake mixture is too crumbly or too wet, the popsicles won’t hold their shape when dipped in chocolate. To achieve the perfect texture, start by crumbling your completely cooled cake into very fine crumbs, then gradually mix in small amounts of frosting until the mixture holds together when rolled (usually about 3/4 of the frosting is enough). Another common mistake is rushing the chilling process – these treats need at least 2 hours in the freezer before dipping, or they’ll fall apart in the warm chocolate coating. When it comes to dipping, make sure your candy melts or white chocolate isn’t too hot (use 30-second microwave intervals), as excessive heat can cause the popsicles to crack or slide off the sticks. For the smoothest finish, tap off excess coating gently and let them set completely upright in a styrofoam block at room temperature rather than rushing them into the fridge.

What to Serve With Cake Popsicles?
These sweet treats are perfect for serving at parties alongside other fun finger foods and drinks! I like to create a dessert spread by pairing cake popsicles with fresh fruit like strawberries and grapes for a nice contrast in textures and flavors. Since these are pretty rich, having some cold beverages nearby is always a good idea – try serving them with ice-cold milk, hot chocolate (in winter), or even some fruit punch for the kids. For an extra special touch, you could set up a little “decoration station” next to your cake popsicles with different sprinkles and toppings so guests can add their own finishing touches.
Storage Instructions
Keep Cool: Once your cake popsicles are decorated and set, place them in an airtight container in the refrigerator. They’ll stay fresh and tasty for up to 1 week. I like to place a piece of wax paper between layers to prevent them from sticking together.
Freeze: These treats are perfect for making ahead! Place them in a freezer-safe container, separated by wax paper, and they’ll keep for up to 2 months. Just remember to let them thaw in the fridge for about 2 hours before serving – this helps prevent condensation from forming on the coating.
Display: If you’re serving these at a party, you can keep them at room temperature for up to 2 hours. Any longer than that, and they should go back in the fridge to keep the coating from getting too soft. I usually stick them in a styrofoam block covered with pretty paper for an easy display!
| Preparation Time | 20-30 minutes |
| Cooking Time | 30-36 minutes |
| Total Time | 1-3 hours |
| Level of Difficulty | Medium |
Estimated Nutrition
Estimated nutrition for the whole recipe (without optional ingredients):
- Calories: 4500-4800
- Protein: 50-60 g
- Fat: 250-270 g
- Carbohydrates: 500-520 g
Ingredients
For the cake:
- 2 tsp vanilla extract
- 1 cup whole milk
- 1/2 tsp baking powder
- 1 large egg
- 1/4 tsp baking soda
- 1/2 tsp salt (fine sea salt is best)
- 1/2 cup unsalted butter (softened to room temperature)
- 1 2/3 cups all-purpose flour
- 1 cup granulated sugar
For the frosting:
- 1 3/4 cups confectioners’ sugar (sifted for a smooth consistency)
- 7 tbsp unsalted butter (softened)
- 1 tsp vanilla extract
- 2-3 tsp whole milk
For the covering and decoration:
- 24 oz candy melts (I like Wilton brand)
- decorative sprinkles (any color or shape you prefer)
Step 1: Prepare the Cake Batter
Start by preheating your oven to 350°F (177°C).
Grease a 9-inch springform pan and set aside.
In a medium bowl, whisk together the flour, baking powder, baking soda, and salt.
In a large bowl, using a handheld or stand mixer fitted with a paddle or whisk attachment, cream the butter and sugar together for about 2 minutes until light and fluffy.
Add the egg and vanilla extract, beating on high speed until well combined.
Remember to scrape down the sides and bottom of the bowl as needed.
Then, add the dry ingredients and milk to the wet ingredients and mix on low speed until everything is combined.
Finally, give the batter a quick stir with a spatula to ensure there are no lumps.
Step 2: Bake the Cake
Pour and evenly spread the batter into the prepared springform pan.
Bake for 30–36 minutes or until a toothpick inserted in the center comes out clean.
If you notice the top browning too quickly, cover it loosely with aluminum foil.
Once baked, allow the cake to cool completely in the pan set on a wire rack.
Step 3: Prepare and Mix the Frosting
For the frosting, beat the butter using a handheld or stand mixer fitted with a paddle attachment on medium speed until creamy, which should take about 2 minutes.
Add the confectioners’ sugar, heavy cream, and vanilla extract.
Start mixing on low speed until everything combines, then increase to high speed and beat for 3 full minutes.
Step 4: Create Cake Balls
Crumble the cooled cake into the bowl with the frosting, making sure there are no large lumps.
Mix on low speed until the cake and frosting are fully combined.
Scoop about 1 tablespoon (approximately 20g) of the mixture and roll it into a ball.
Place the balls on a lined baking sheet.
Refrigerate for 2 hours, or freeze for 1 hour to set their shape.
After chilling, you can re-roll the cake pop balls to achieve a smooth finish if necessary.
Place the tray back in the fridge, only working with a few balls at a time.
Step 5: Coat the Cake Pops
Melt the chocolate or candy melts in a 2-cup liquid measuring cup, microwaving in 20-second increments and stirring after each interval until smooth.
You can also melt the coating using a double boiler.
Remove 2 or 3 cake balls from the refrigerator at a time.
Dip the end of a lollipop stick about 1/2 inch into the melted coating, then insert the coated end into the center of the cake ball, pushing it only halfway through.
Submerge the cake ball in the coating, ensuring the entire surface and the base at the lollipop stick are covered.
Gently tap the stick against the measuring cup’s edge to let excess coating drip off.
Immediately decorate with sprinkles and place upright into a Styrofoam block or box.
Repeat the process, keeping the rest of the cake balls cold until ready to dip.
Step 6: Set and Store Cake Pops
Allow the coating to set, which will take about an hour.
Store your cake pops in the refrigerator for up to a week, ensuring they stay delicious for several days.
