Disclaimer: Our editors have used AI to create or enhance parts of this article and some images. All content has been fact-checked by our team to ensure accuracy.
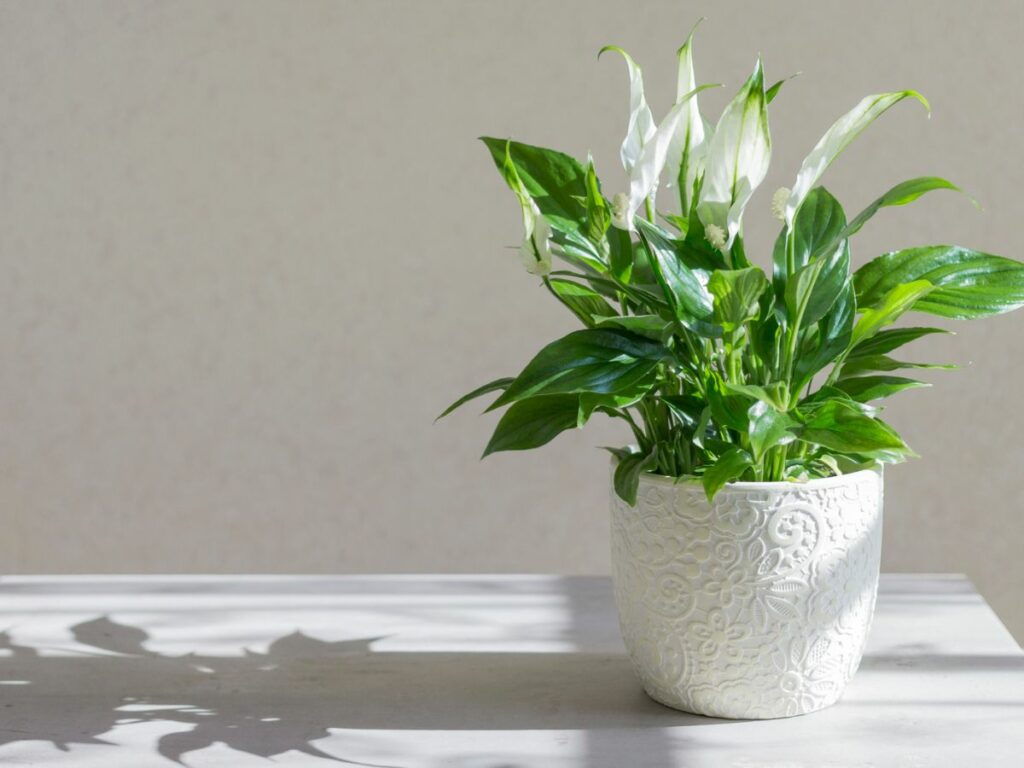
Want a lush, vibrant peace lily at home?
It’s easier than you think!
Follow this step-by-step guide to grow a beautiful peace lily.
Ready to bring some green into your space?
Let’s get started!
1. Selecting an Optimal Space for Growth

- Light Exposure: Ensure your peace lilies receive ample indirect sunlight. Direct rays may damage their foliage.
- Preferred Windows: North or east-facing windows typically offer the most suitable lighting conditions.
- Alternative: If natural light is insufficient, consider utilizing specialized indoor plant lights.
2. Selecting an Appropriate Container

For your peace lily, opt for a container that’s 1-2 inches wider than its current size. Ensure your choice has drainage holes to avert excess water buildup and protect the roots from rot.
3. Plant Transference

- Extract: Carefully lift the peace lily from the original container without harming the roots.
- Root Preparation: Loosely unravel the roots to stimulate growth.
- Pot Placement: Position the peace lily in the center of the new pot.
- Soil Application: Add potting mix around the plant and solidify slightly for stability.
4. Hydration Guidelines for Peace Lilies
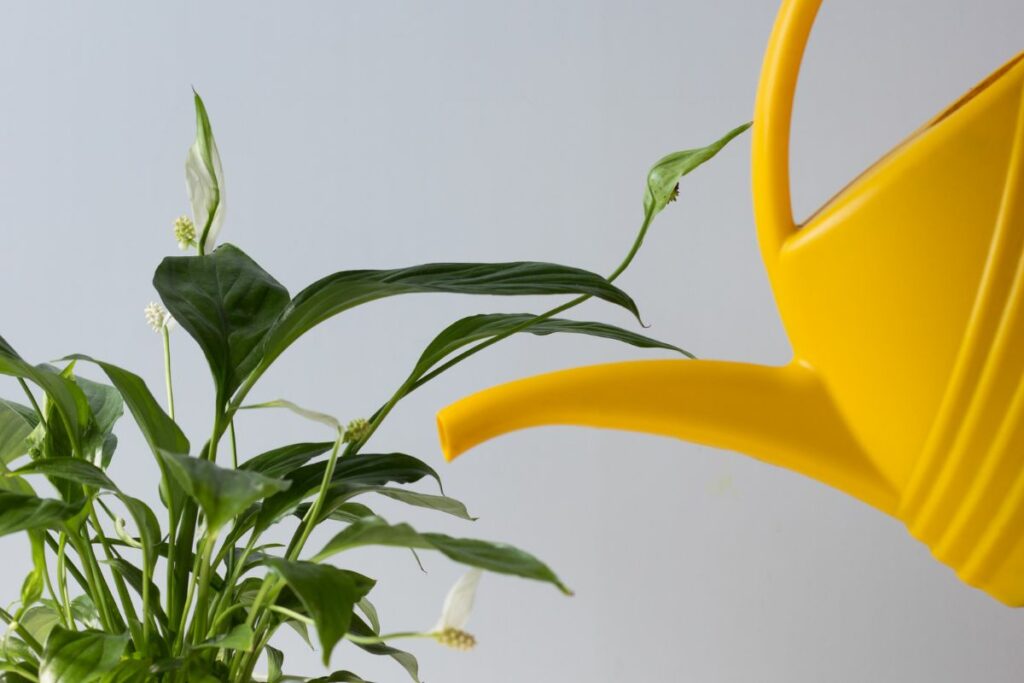
- Always ensure the soil is consistently humid, yet avoid excessive moisture.
- Watering Technique: Drench until leakage from drainage holes.
- Dryness Check: Let the top inch soil parch before the next irrigation.
- Warning: Prevent waterlogged conditions to avert root decay.
5. Fertilizing Peace Lilies
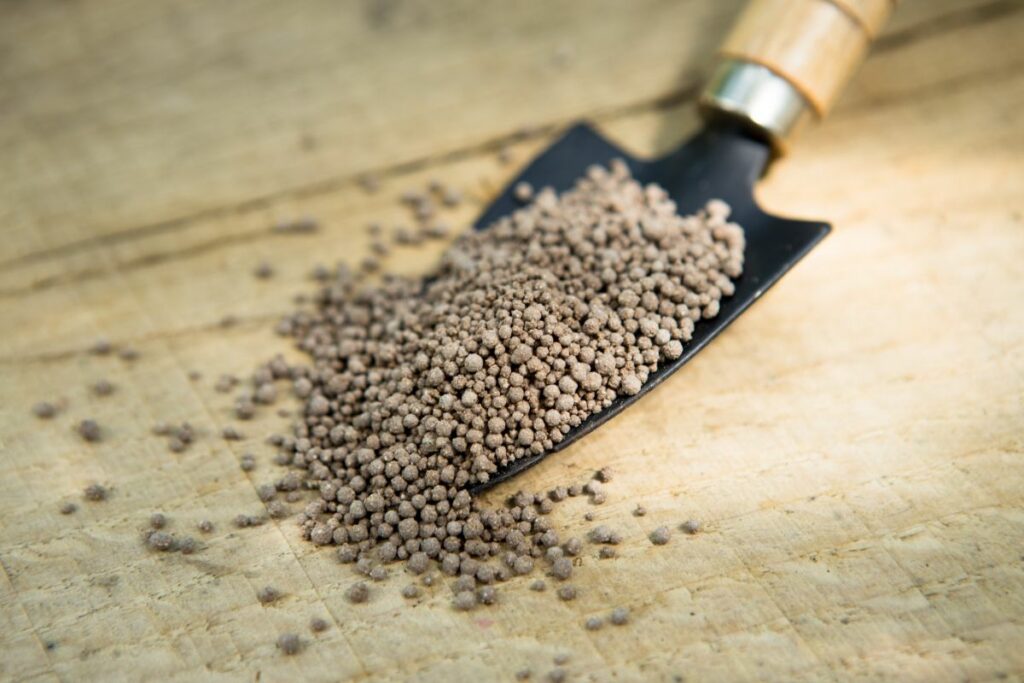
- Growing Season (Spring/Summer): Apply a balance, water-soluble fertilizer.
- Frequency: Every 4 to 6 weeks.
- Concentration: Use half the suggested potency.
- Dormancy (Fall/Winter): Cease application.
6. Pruning Strategies

- Healthy Growth: Cutting away discolored leaves at the stem promotes robust health.
- Disease Prevention: Use sterilized, sharp cutting tools to avert disease transmission.
- Visual Appeal: Regular trimming enhances the visual appeal of your peace lily.
7. Moisture Levels
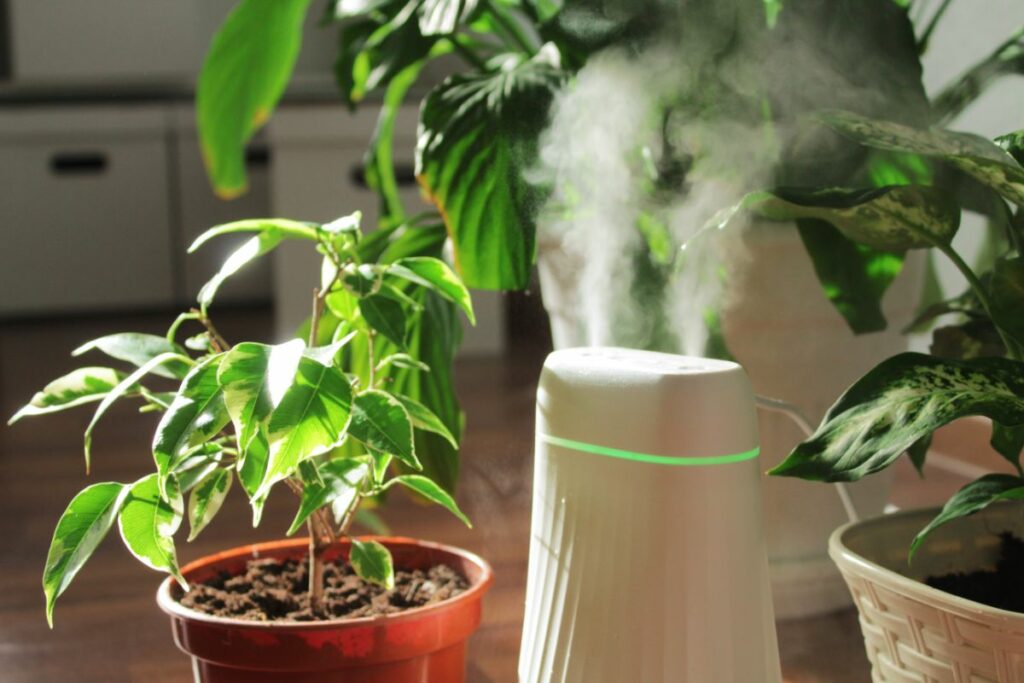
- Peace lilies thrive in humid conditions typical of their native tropical habitat.
- To augment humidity, consider a humidifier near your plant.
- Or, set up a water tray with rocks; water should stay beneath the pebble layer to prevent the roots from submersion.
8. Repotting:

- Timing: Every 1-2 years, ideally in spring.
- Procedure: Carefully take your peace lily out of its current pot, untangle the roots gently, and then place it in a new container that is just a bit larger, adding fresh soil.
- Growth phase: Best during active growth periods.
9. Addressing Peace Lily Brown Tips

- Water Source: Use filtered or distilled water to prevent damage from chlorine and fluoride.
- Fertilizing Routine: Examine and adjust how often you fertilize to prevent nutrient burn.
- Soil Flushing: Periodically wash the soil with distilled water to expel any accumulated salts.
10. Managing Unwanted Critters in Peace Lilies

- Regular Checks: Watch for signs like webs or a sticky substance on leaves.
- Common Pests: Be cautious of aphids, spider mites, and mealybugs.
- Treatment: Utilize insecticidal soap or neem oil per product guidelines.
11. Flower Blooming
- Light: Ensure your peace lily receives sufficient light.
- Humidity: Maintain high humidity around the plant.
- Fertilization: Apply fertilizer regularly for optimal flowering.
- Pruning: Cut back spent blooms near the plant’s base to promote further blooming.