Want stunning daylilies that steal the show?
You’re in the right place!
Follow this step-by-step guide to grow the most gorgeous daylilies on your block.
Ready to make your garden stand out?
Let’s get started!
Step 1: Selecting Your Daylilies
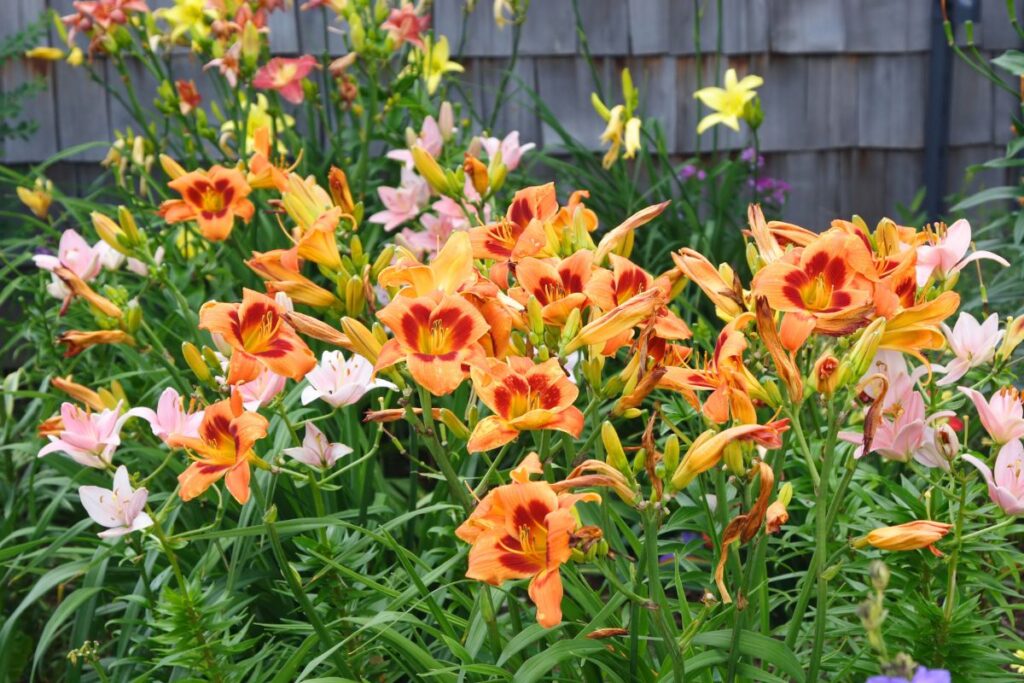
Research different varieties to find the perfect fit for your garden. Daylilies come in various sizes, colors, and blooming patterns.
Source healthy plants from reputable nurseries or garden centers. Ensure the plants have strong root systems and are free of pests and diseases.
Consider bloom time by selecting a mix of early, mid-season, and late-blooming varieties to enjoy daylilies throughout the season.
This approach will keep your garden vibrant and colorful.
Step 2: Planting Your Daylilies
For optimal growth, plant your daylilies in a spot that receives at least six hours of sunlight daily, as they thrive in full sun to light shade.
Ensure the soil is well-draining and rich in organic matter, amending it with compost or well-rotted manure if necessary.
When planting, dig a hole wide and deep enough to accommodate the root system, positioning the crown (where the stem and roots meet) about one inch below the soil surface.
Water thoroughly after planting to settle the soil around the roots and eliminate air pockets.
Step 3: Nurturing Your Daylilies
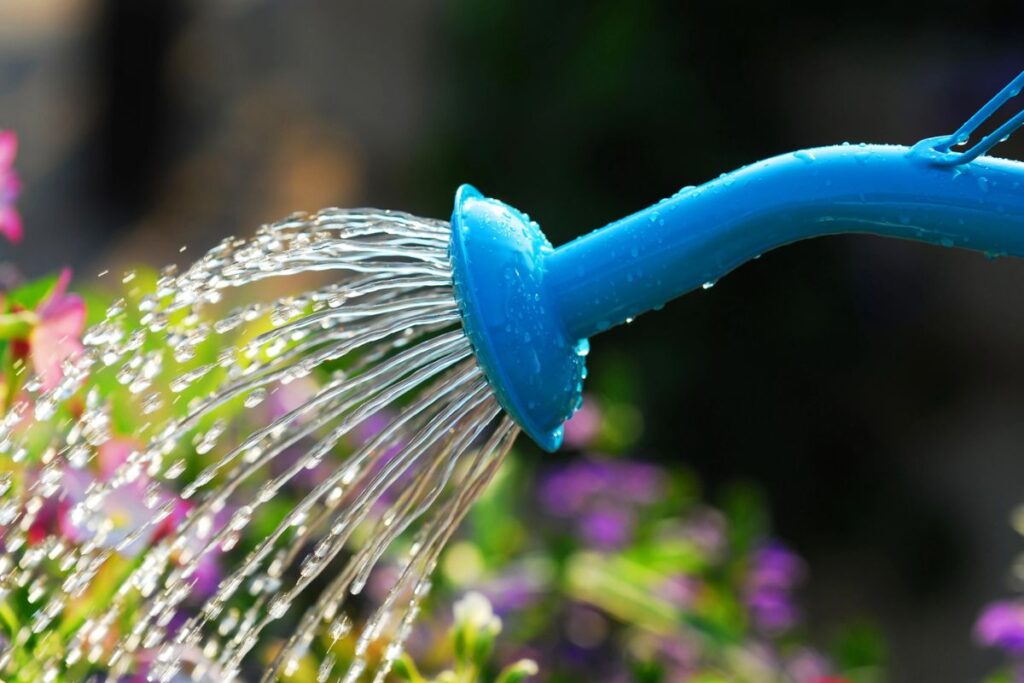
Daylilies require consistent moisture, particularly during the growing season.
Water them early in the day to allow the foliage to dry before nightfall, which helps prevent disease.
Applying a layer of organic mulch around the plants helps retain moisture, regulate soil temperature, and suppress weeds.
In spring, feed your daylilies with a balanced fertilizer to promote healthy growth and abundant blooms.
Regularly remove spent blooms (deadheading) to encourage more flowers and prevent seed formation, which can deplete the plant’s energy.
Step 4: Dividing and Multiplying Daylilies
Divide your daylilies when they become overcrowded or their blooms decrease, typically every three to five years.
The ideal times are early spring or late summer after blooming ends.
Gently lift the clump from the ground and use a sharp knife or spade to separate it into smaller sections, each containing a few leaves and sufficient roots.
Replant the divided sections immediately, adhering to the original planting guidelines.
Proper timing and technique ensure healthy growth and vibrant blooms.
Step 5: Addressing Problems
Addressing pests such as aphids, thrips, and spider mites requires regular checks and treatments with insecticidal soap if needed.
Ensuring your plants receive good air circulation and avoiding overhead watering will help keep fungal diseases like rust and leaf streak under control.
Though daylilies are usually resistant to deer and rabbits, in areas where these animals heavily browse, additional protection might be necessary.
Simple barriers or repellents can be useful in these conditions.
To grow healthy and vibrant daylilies, begin with healthy plants and provide the correct environmental conditions.
Consistent care will make your efforts fruitful, yielding beautiful blooms that enhance your garden throughout the summer.
