I never really understood curry until I moved away from home. Growing up, the closest thing we had to curry was a dash of turmeric in chicken soup when someone had a cold. My mom stuck to basics – meat and potatoes were her go-to dishes.
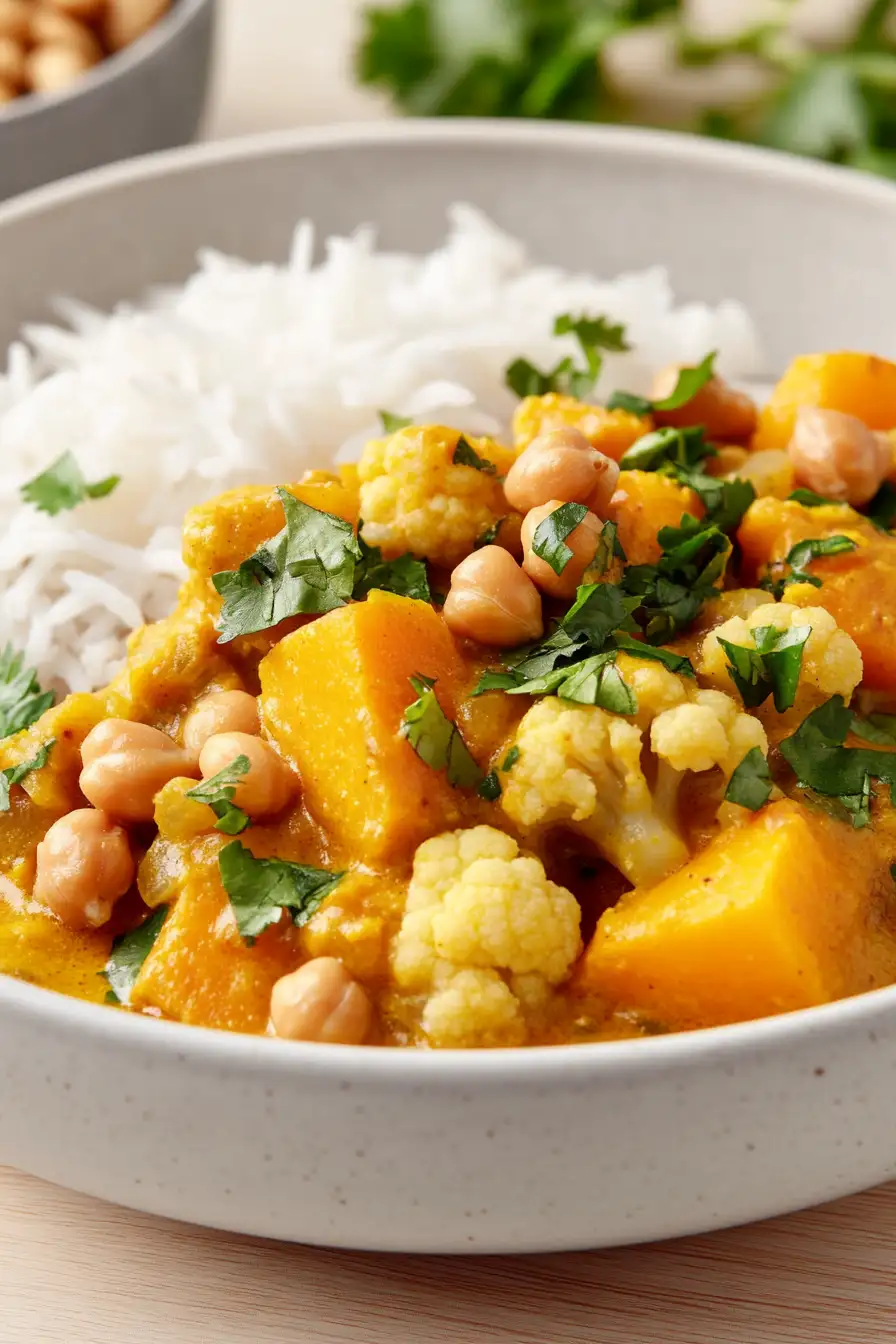
But here’s the thing about butternut squash curry – it’s actually way easier than I thought. You don’t need any fancy techniques or hard-to-find ingredients. Just a few simple spices, some coconut milk, and that sweet butternut squash come together to make something that feels like a warm hug in a bowl.
Why You’ll Love This Yellow Curry
- Diet-friendly – This curry is naturally vegan, gluten-free, and packed with vegetables, making it perfect for various dietary needs while still being incredibly satisfying.
- One-pot meal – Everything cooks in a single pot, which means less cleanup and more time to enjoy your evening.
- Nutrient-rich ingredients – With butternut squash, cauliflower, chickpeas, and spinach, you’re getting plenty of fiber, protein, and vitamins in each flavorful bowl.
- Customizable heat level – You can easily adjust the spiciness by adding more or less cayenne pepper, making it perfect for both spice lovers and those who prefer milder flavors.
- Meal-prep friendly – This curry actually tastes even better the next day as the flavors develop, making it perfect for batch cooking and weekly meal prep.
What Kind of Butternut Squash Should I Use?
For curry recipes, you’ll want to look for a medium-sized butternut squash that feels heavy for its size and has a matte, tan skin without any soft spots or green patches. Fresh butternut squash is best, but if you’re in a pinch, pre-cut squash from the produce section will work just fine – just make sure the pieces look firm and fresh. When cutting your squash, aim for evenly-sized 1-inch cubes so they’ll cook at the same rate. If your squash seems particularly hard to cut (they can be tough!), you can pop it in the microwave for 2-3 minutes to soften it slightly before peeling and dicing.
Options for Substitutions
This curry recipe is pretty flexible and you can make several swaps based on what you have in your kitchen:
- Butternut squash: You can swap butternut squash with sweet potato, pumpkin, or even regular potato – just keep the chunks similar in size for even cooking.
- Cauliflower: Feel free to use broccoli instead, or try other veggies like bell peppers or zucchini. Just add softer vegetables later in the cooking process so they don’t get mushy.
- Full-fat coconut milk: While full-fat coconut milk gives the best creamy texture, light coconut milk works too. Just know your curry might be a bit thinner.
- Peanut butter: If you have a peanut allergy, try almond or cashew butter instead. For nut-free options, use sunflower seed butter, but start with 1 tablespoon as it can be stronger in taste.
- Chickpeas: Any beans work here – try white beans, kidney beans, or even tofu cubes. If using tofu, add it near the end of cooking.
- Spinach: You can use kale or Swiss chard instead – just cook them a few minutes longer than you would spinach. Baby spinach, arugula, or other tender greens work great too.
Watch Out for These Mistakes While Cooking
The biggest challenge when making curry is rushing the cooking process – letting your onions, carrots, and butternut squash cook until properly softened (about 8-10 minutes) creates a better foundation for all the flavors to develop. A common mistake is adding the coconut milk too early, which can cause it to separate; instead, wait until your vegetables are tender and spices are fragrant before pouring it in. To keep your cauliflower from turning mushy, add it after the butternut squash has been cooking for about 5 minutes, as cauliflower needs less time to become tender. For the best texture, remember to stir the peanut butter in thoroughly until it’s completely dissolved, and add the spinach only in the last minute of cooking to keep its fresh green color and prevent it from becoming too wilted.
What to Serve With Butternut Squash Curry?
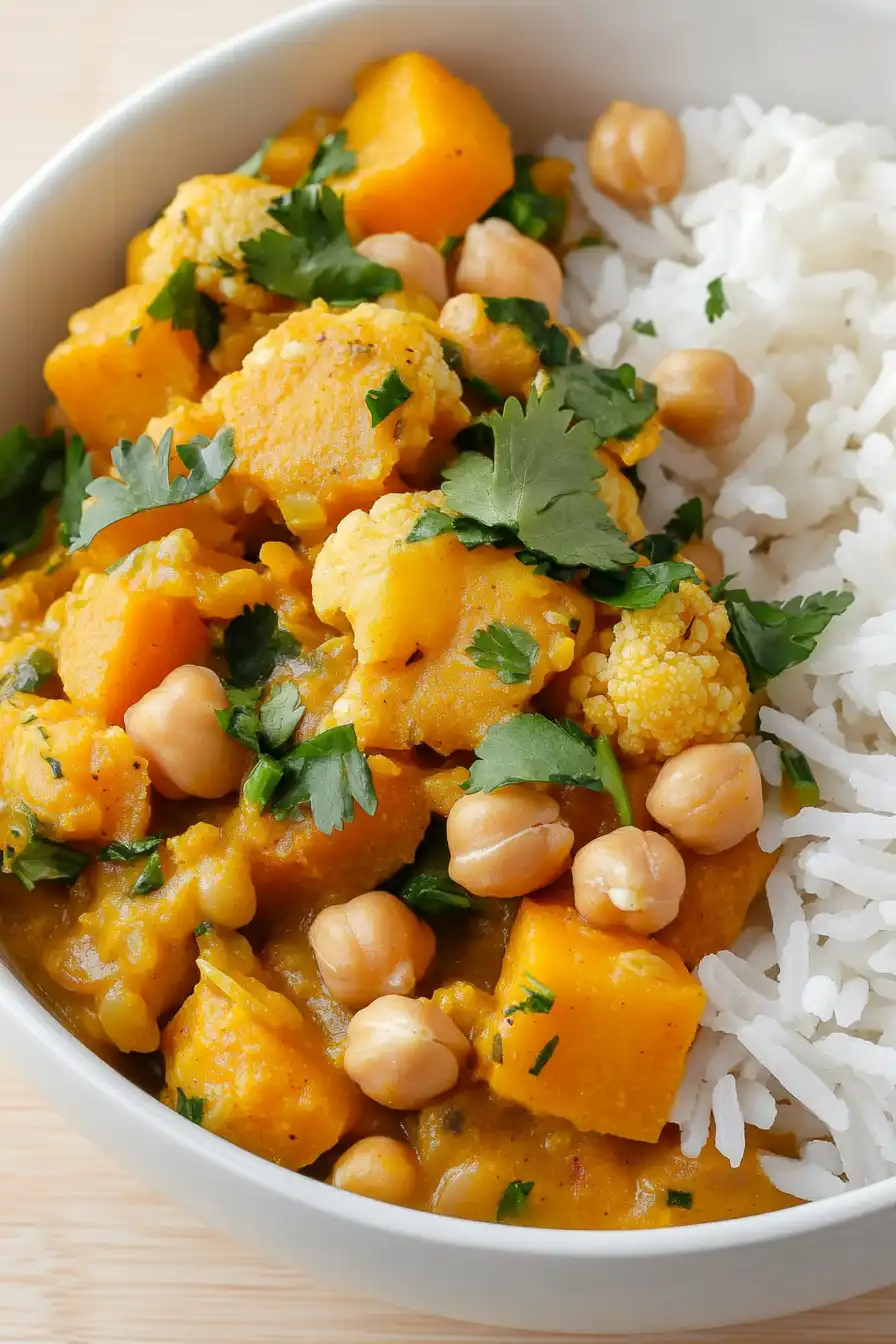
This cozy curry calls for fluffy jasmine rice or warm naan bread to soak up all that creamy coconut sauce. For a low-carb option, cauliflower rice works great too – just sauté it with a little coconut oil and salt. I like to add some cooling elements on the side, like cucumber slices or a simple raita (yogurt sauce), since this curry has a nice kick from the cayenne. If you want to round out the meal even more, try serving it with a simple side salad dressed in lime juice and olive oil, which helps cut through the richness of the coconut milk.
Storage Instructions
Keep Fresh: This curry tastes even better the next day after all the flavors have had time to mingle! Pop it in an airtight container and keep it in the fridge for up to 4 days. The butternut squash and cauliflower will stay tender, and the sauce will continue to develop its rich flavors.
Freeze: Good news – this curry is perfect for freezing! Let it cool completely, then transfer to freezer-safe containers or bags. It’ll keep well for up to 3 months. Just leave out the fresh spinach if you’re planning to freeze, and add it fresh when you’re reheating instead.
Warm Up: When you’re ready to enjoy your leftover curry, warm it gently on the stovetop over medium-low heat, stirring occasionally. If it seems a bit thick, add a splash of coconut milk or vegetable broth to reach your desired consistency. For frozen curry, thaw overnight in the fridge before reheating.
| Preparation Time | 10-15 minutes |
| Cooking Time | 30-40 minutes |
| Total Time | 40-55 minutes |
| Level of Difficulty | Medium |
Estimated Nutrition
Estimated nutrition for the whole recipe (without optional ingredients):
- Calories: 800-900
- Protein: 25-30 g
- Fat: 50-60 g
- Carbohydrates: 75-85 g
Ingredients
For the curry:
- 3 garlic cloves (minced)
- 1 tbsp curry powder
- black pepper
- 1/4 tsp cayenne pepper (adds a subtle heat)
- 1/2 tsp turmeric
- 2 tbsp creamy peanut butter (I use Smucker’s Creamy Peanut Butter)
- 1 cup vegetable broth
- 1 can full-fat coconut milk (for a creamy texture)
- 1/2 tsp salt
- 3 cups cauliflower (cut into florets)
- 1 tbsp coconut oil
- 1 to 2 cups fresh spinach
- 1 yellow onion (diced)
- 2 cups diced butternut squash
- 1 to 2 tbsp gluten-free soy sauce
- 1 tbsp fresh ginger (grated)
- 1 can chickpeas (rinsed and drained)
- 1 large carrot (peeled and sliced)
To garnish:
- chopped peanuts
- cilantro (freshly chopped)
Step 1: Sauté Vegetables
Add coconut oil to a large deep skillet, pot, or Dutch oven and place over medium heat.
Once the coconut oil is melted, add the chopped onion, carrot, cauliflower florets, and butternut squash to the pot.
Sauté these vegetables, stirring occasionally, until the cauliflower and butternut squash begin to soften.
This should take approximately 5 to 10 minutes.
Step 2: Add Aromatics and Spices
Stir in the garlic, ginger, curry powder, turmeric, and cayenne pepper.
Cook these ingredients while stirring frequently for about 1 minute to release their rich flavors and aromas.
Step 3: Simmer with Liquid Ingredients
Add the coconut milk, broth, peanut butter, soy sauce (or coconut aminos), salt, and pepper to the pot.
Stir well to combine all the ingredients into a uniform mixture.
Bring the mixture to a gentle simmer and continue cooking for an additional 5 minutes.
Step 4: Incorporate Chickpeas and Continue Simmering
After the initial simmering, stir in the chickpeas and allow the mixture to continue simmering over medium-low heat for another 10 minutes.
This will help all the flavors blend together and allow the chickpeas to absorb the flavors.
Step 5: Add Spinach and Adjust Seasoning
Just before serving, add in the spinach and cook for 2 minutes, or until the spinach wilts.
Taste the dish and adjust the seasoning as needed, adding more salt and pepper to suit your preference.
Step 6: Serve and Garnish
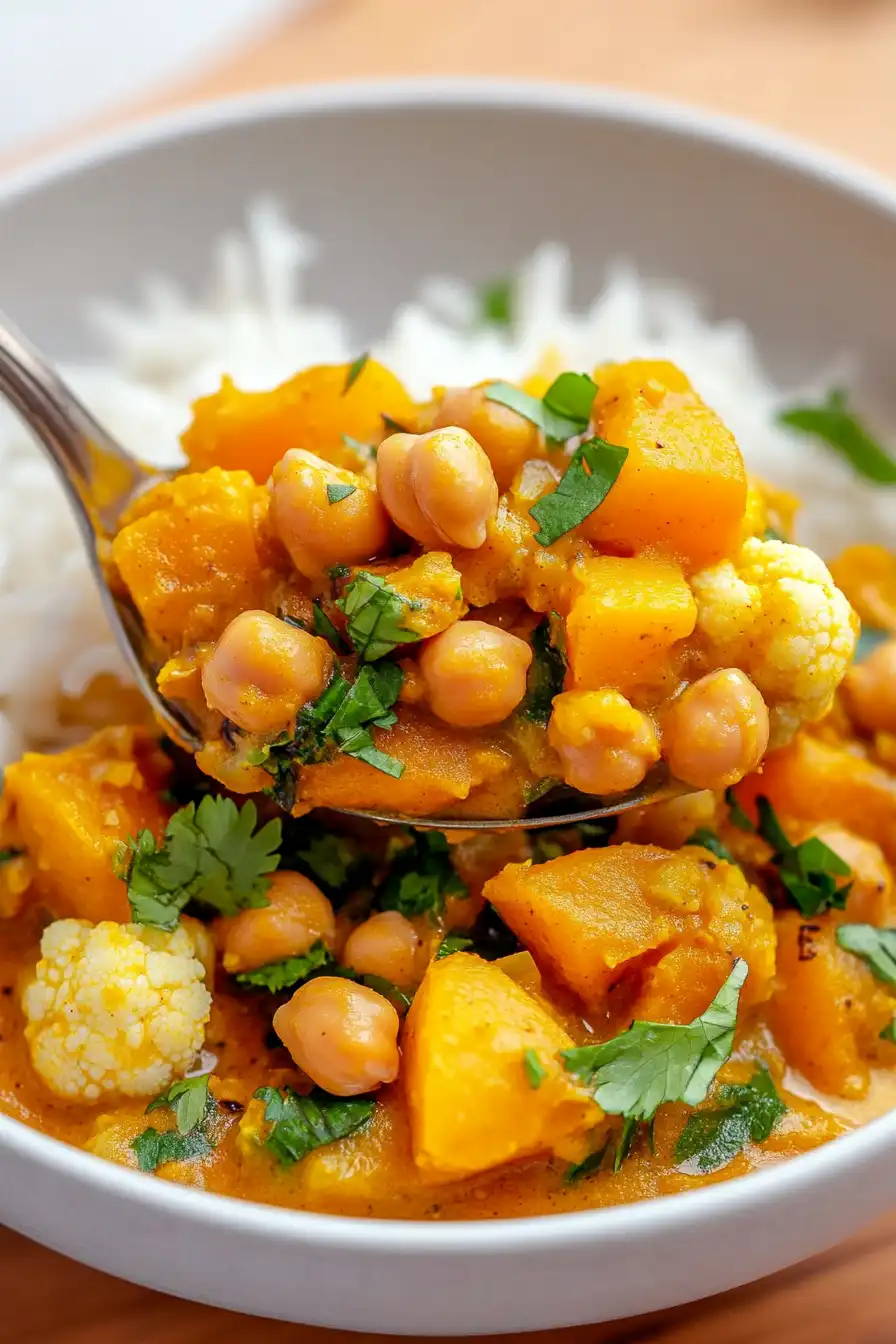
Ladle the curry into bowls or divide it into meal prep containers alongside cooked rice.
Garnish each serving with fresh cilantro and chopped peanuts for added flavor and texture.
Enjoy your hearty and flavorful meal!
