There’s something comforting about a big pot of homemade chili simmering on the stove. I’ve always preferred using dried beans instead of canned – not just because they’re cheaper, but because they taste so much better. While it takes a bit more time, the results are worth every minute. I started making chili this way back when I was learning to cook on a budget, and I’ve never looked back.
The best part about this recipe is how forgiving it is. I usually get it started after lunch, letting it bubble away while I’m working or helping the kids with homework. The house fills with that warm, spicy aroma that makes everyone ask, “Is dinner ready yet?” And honestly, there’s nothing better than having leftovers for lunch the next day – the flavors just keep getting better.
Need a reliable chili recipe that won’t break the bank? This one’s been my go-to for years. Whether you’re feeding a crowd on game day or meal prepping for the week ahead, these dried beans will make all the difference.
Why You’ll Love This Chili
- Make-ahead friendly – This chili tastes even better the next day, making it perfect for meal prep or when you need to feed a crowd. Make a big batch on Sunday and enjoy it all week long.
- Budget-conscious meal – Using dried beans and ground beef stretches your grocery budget while creating a filling, protein-rich meal that can feed a large family or provide multiple servings.
- Customizable heat level – You can easily adjust the spice level by changing the amount of chili powder and Rotel tomatoes, making it mild enough for kids or spicy enough for heat lovers.
- One-pot wonder – Everything cooks in a single pot, which means less cleanup and more time to enjoy your meal. Plus, the long simmer time helps all the flavors blend perfectly together.
What Kind of Kidney Beans Should I Use?
Dark red kidney beans are the classic choice for chili, but light red kidney beans work just as well – it’s really up to your personal preference. If you’re starting with dried beans, look for ones that are whole and uncracked, with a consistent color and no signs of moisture damage. While canned beans offer convenience, dried beans are more budget-friendly and give you better control over the texture – just remember they’ll need to be soaked overnight and cooked until tender before adding them to your chili. If you’re in a pinch and can’t find kidney beans, pinto beans or black beans make good substitutes since they hold their shape well during long cooking times.
Options for Substitutions
This chili recipe is super adaptable and you’ve got plenty of options for switching things up:
- Ground beef: You can swap the ground beef for ground turkey, chicken, pork, or even plant-based alternatives like Beyond Meat. For a meatier texture, try using half ground beef and half Italian sausage.
- Kidney beans: Not a fan of kidney beans? Try black beans, pinto beans, or a mix of different beans. If using canned beans, just remember to drain and rinse them first.
- Rotel tomatoes: If you can’t find Rotel, use regular diced tomatoes and add a diced jalapeño or green chilies to get that same kick.
- Onion soup mix: Out of onion soup mix? Mix 1/4 cup of dried onion flakes with 2 teaspoons of beef bouillon powder and 1/4 teaspoon of onion powder.
- Brown sugar: Besides sucanat, you can use maple syrup, honey, or even skip it entirely if you prefer less sweetness. Start with half the amount if using liquid sweeteners.
- Liquid smoke: If you don’t have either liquid smoke or smoked paprika, try adding a chopped chipotle pepper in adobo sauce for that smoky flavor.
Watch Out for These Mistakes While Cooking
The biggest mistake when cooking chili with dried beans is not soaking them properly beforehand – make sure to soak your kidney beans for at least 8 hours or overnight, and always discard that soaking water before cooking to avoid digestive issues. Adding salt too early while cooking the beans can make them tough and slow to soften, so wait until the beans are tender before seasoning your chili with salt. Another common error is cooking the chili at too high a temperature – a gentle simmer is key to developing deep flavors and preventing the bottom from burning, so keep your heat low and stir occasionally. For the best flavor development, resist the urge to rush the cooking process – letting your chili simmer for at least 2-3 hours allows the spices to meld and the sauce to thicken naturally.
What to Serve With Chili?
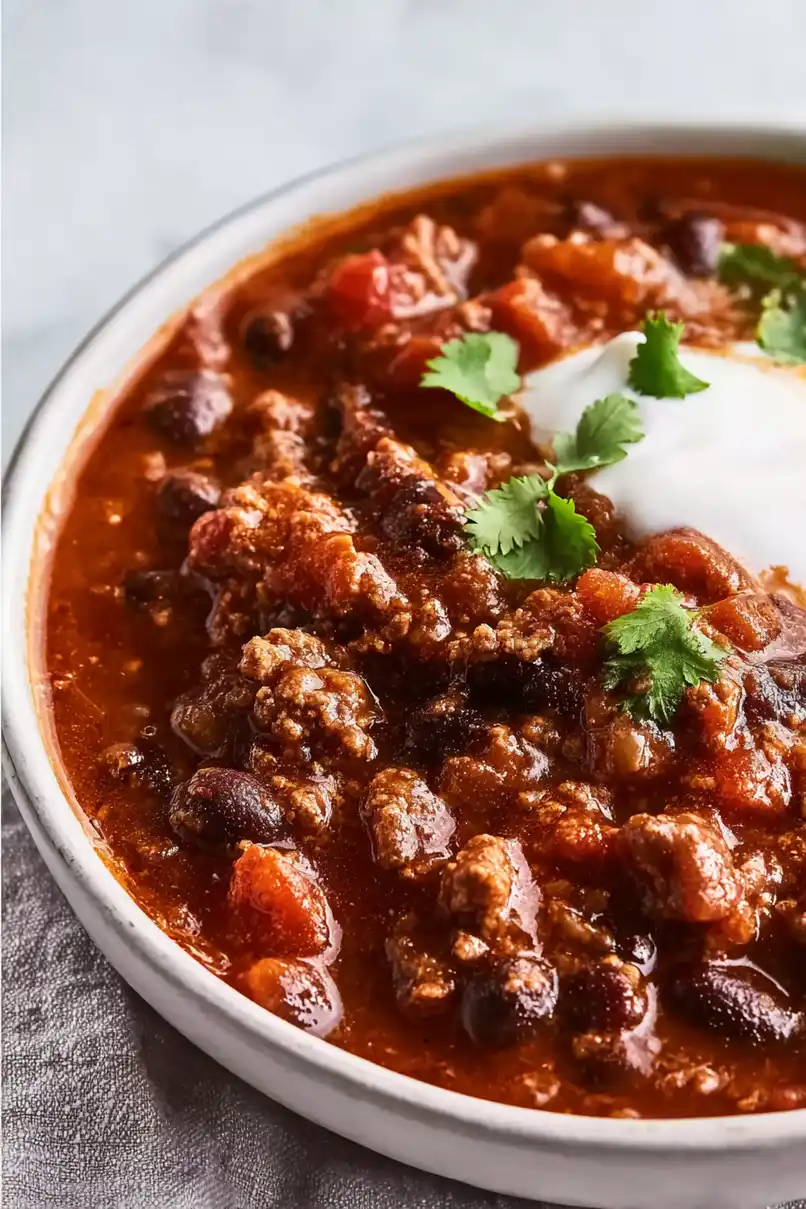
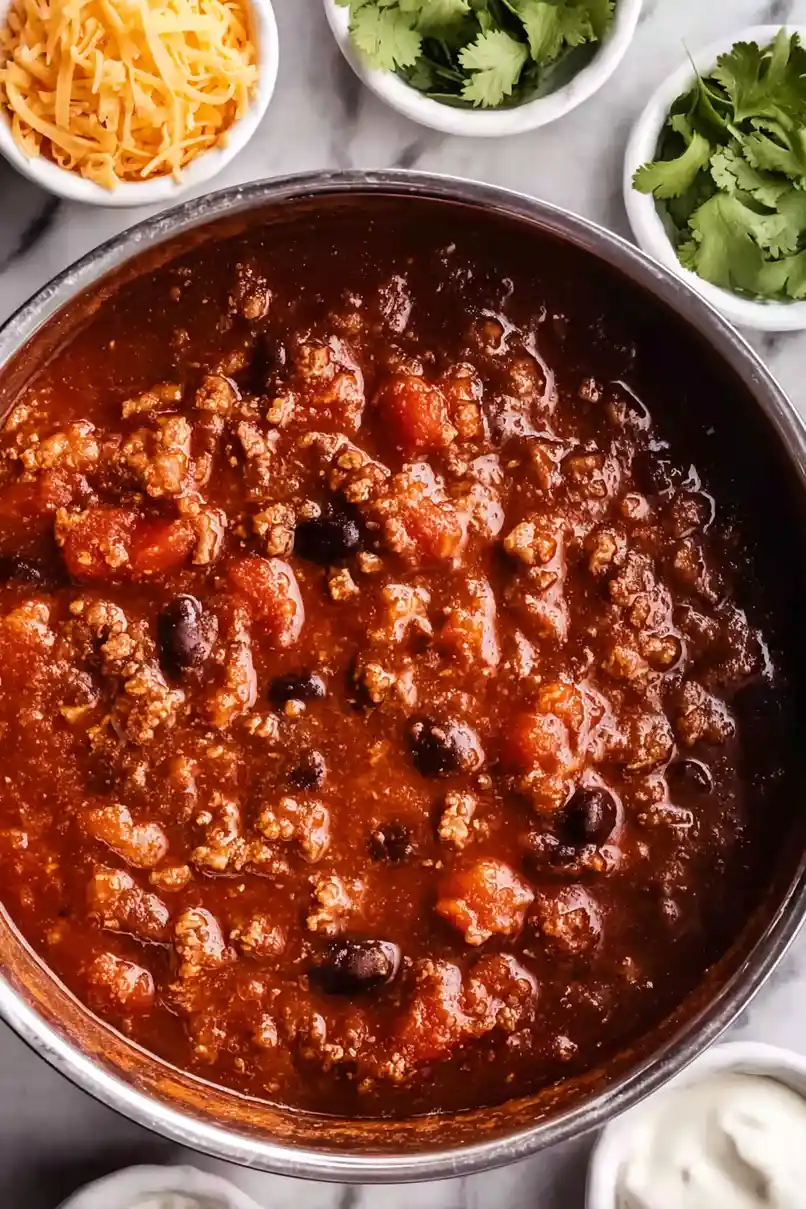
This hearty chili practically begs for some good old-fashioned cornbread on the side – whether you like yours sweet, savory, or loaded with jalapeños and cheese. For toppings, set out bowls of shredded cheddar cheese, diced onions, sour cream, and sliced avocado so everyone can customize their bowl. If you want to keep things simple, a bag of corn chips or tortilla chips works great for scooping up all that goodness. And don’t forget about rice – a scoop of fluffy white or brown rice at the bottom of your bowl turns this chili into an even more filling meal.
Storage Instructions
Keep Fresh: This hearty chili tastes even better the next day! Pop it in an airtight container and keep it in the fridge for up to 5 days. The flavors will continue to develop and mingle, making each bowl better than the last.
Freeze: Chili is perfect for freezing! Let it cool completely, then portion it into freezer-safe containers or bags. It’ll stay good in the freezer for up to 3 months. I like to freeze it in individual portions for easy lunch prep.
Reheat: When you’re ready to enjoy your chili again, warm it up on the stovetop over medium-low heat, stirring occasionally. Or microwave it in 1-minute intervals, giving it a good stir between each. If it seems a bit thick after storage, just add a splash of water or broth while reheating.
| Preparation Time | 15-20 minutes |
| Cooking Time | 180-480 minutes |
| Total Time | 195-500 minutes |
| Level of Difficulty | Medium |
Estimated Nutrition
Estimated nutrition for the whole recipe (without optional ingredients):
- Calories: 2200-2400
- Protein: 150-160 g
- Fat: 120-130 g
- Carbohydrates: 180-200 g
Ingredients
- 2 tsp paprika
- 1 lb kidney beans (cooked from dry for best flavor)
- 2 lb ground beef
- 1 packet dry onion soup mix
- 2 cans Rotel (undrained, for a little kick)
- 1 large onion (diced)
- 2 cans diced tomatoes (undrained)
- 2 tsp ground cumin
- 1/4 cup brown sugar
- 3 tbsp salt
- 1 tbsp black pepper
- 2 tbsp dried oregano
- 4 cups water
- 3 cloves minced garlic (freshly minced for best flavor)
- 1/2 tsp liquid smoke
- 2 tbsp onion powder
- 3 tbsp chili powder (I prefer McCormick chili powder)
Step 1: Brown and Drain the Ground Beef
Start by browning the ground beef in a large skillet over medium heat.
Break it apart with a spatula and cook until it is no longer pink.
Once fully cooked, drain off any excess fat from the skillet to ensure the dish is not overly greasy.
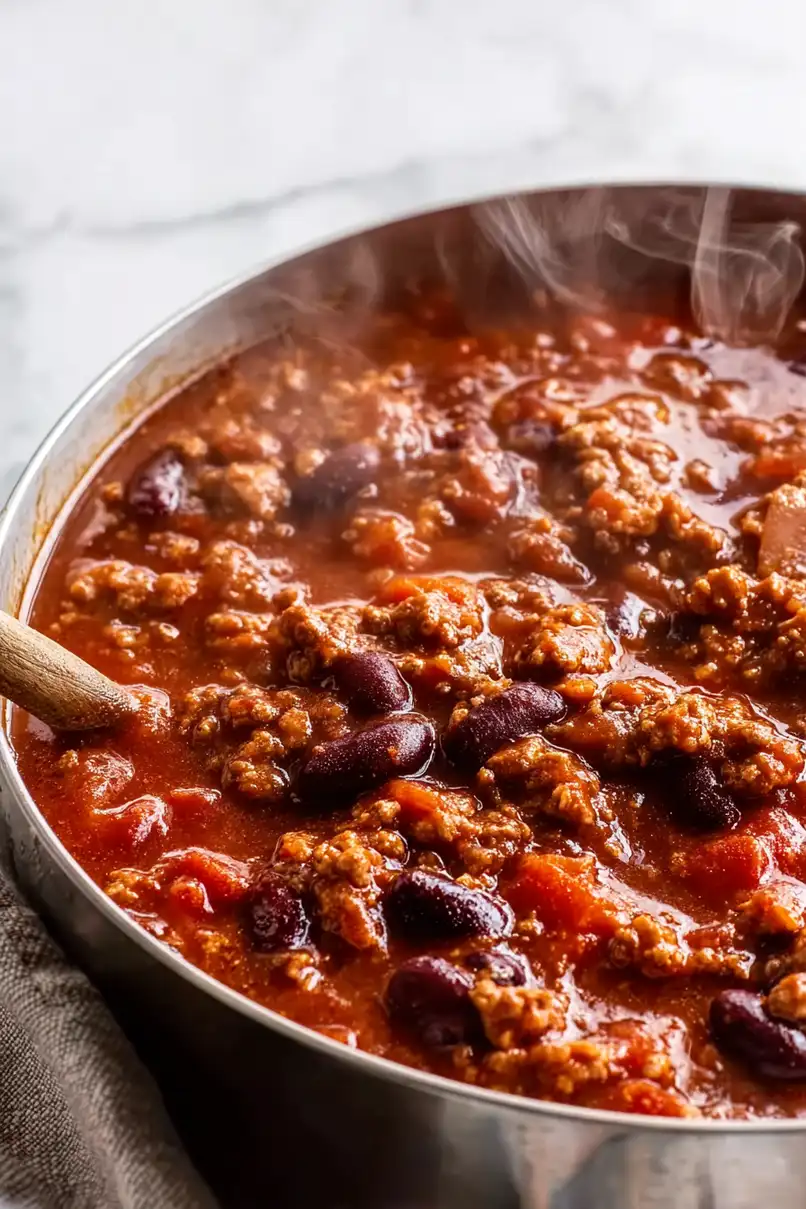
Step 2: Combine Ingredients and Cook on Stovetop
Return the drained ground beef to the skillet.
Add all of your chosen ingredients into the skillet with the beef.
Stir everything together until well mixed.
Place the skillet back on the stove and bring the mixture to a boil over medium-high heat.
Once boiling, reduce the heat to a low simmer.
Allow the mixture to simmer for at least 30 minutes, stirring occasionally to prevent sticking.
Step 3: Alternative Slow Cooker Method
If you prefer using a slow cooker, add the browned and drained ground beef along with all ingredients to the slow cooker.
Mix everything together until well combined.
You can choose to cook the mixture on a low setting for 6-8 hours or on a high setting for 3-4 hours.
Step 4: Note on Using Dried Beans
If you decide to include dried beans in your slow cooker recipe, be sure to soak them overnight and pre-cook them before adding.
Dried beans require a much longer cooking time to soften properly and pre-cooking them will ensure they are tender and safe to eat.
Step 5: Serve and Enjoy
Once your dish has simmered on the stove or finished cooking in the slow cooker, it’s ready to be served.
Enjoy your hearty meal, and feel free to garnish with fresh herbs or shredded cheese for added flavor!
