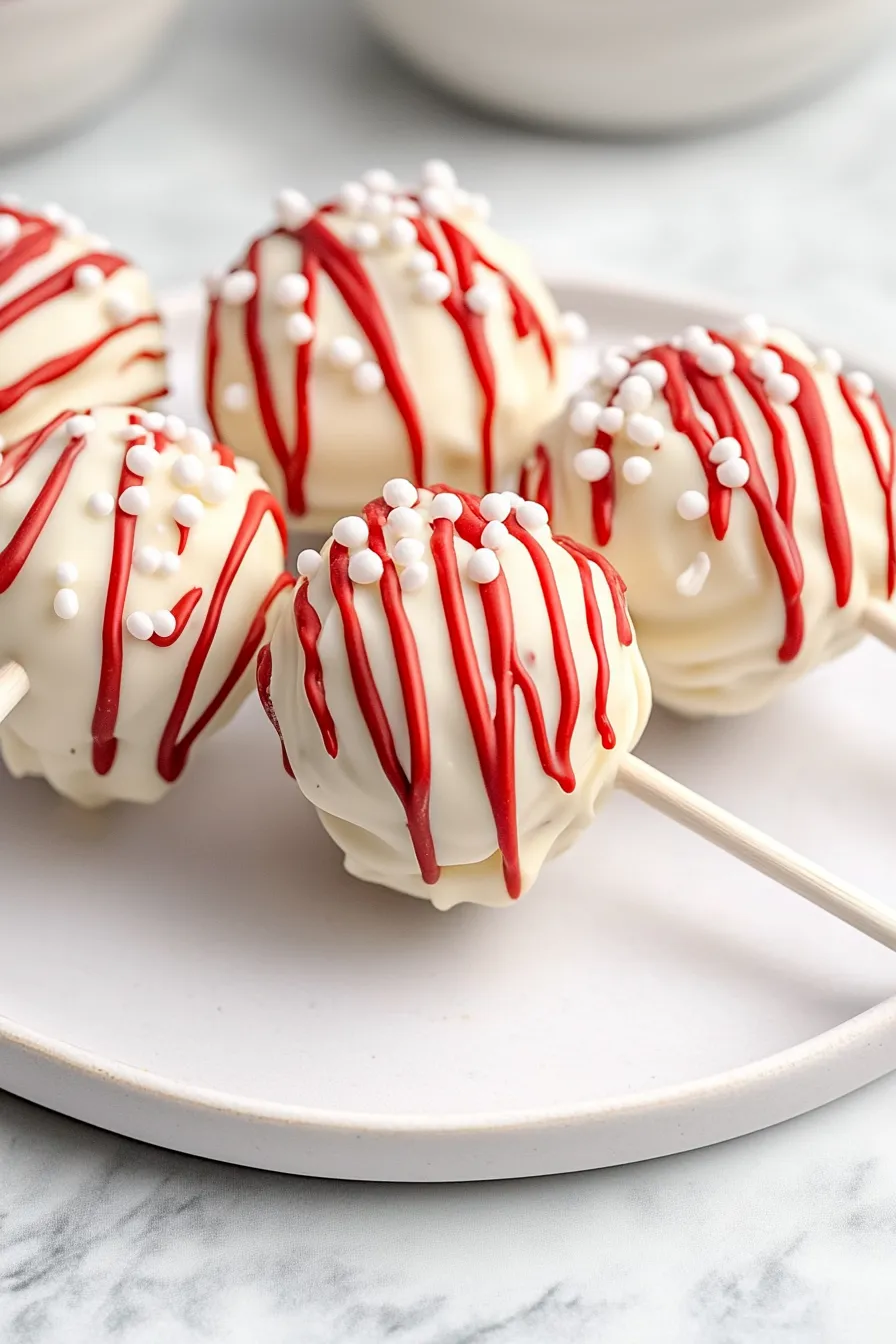
Remember making Rice Krispies treats as a kid? Well, these Rice Krispies pops take that classic snack to a whole new level of fun. As a mom of two, I’m always looking for treats that get my kids excited to help in the kitchen, and these definitely do the trick. The best part? They’re super simple to make – no fancy equipment or baking skills needed.
I started making these pops for birthday parties, but now they’ve become our go-to whenever we need a quick dessert for school events or playdates. There’s something about food on a stick that just makes kids smile. Plus, the decorating part lets everyone get creative without making too much of a mess (which this mama definitely appreciates).
Want to know what makes these even better than regular Rice Krispies treats? They’re portable, perfectly portioned, and you can customize them for any holiday or celebration. Trust me, once you try making these with your family, they’ll become your new favorite way to enjoy this childhood classic.

Why You’ll Love These Rice Krispies Pops
- Kid-friendly fun – These treats are perfect for getting the kids involved in the kitchen – they’ll love helping shape the pops and adding colorful sprinkles.
- Quick preparation – You’ll have these ready in under 30 minutes, making them perfect for last-minute parties or bake sales.
- Basic ingredients – With just 4 main ingredients you probably already have in your pantry, you can whip these up anytime without a special grocery trip.
- Make-ahead friendly – You can make these pops a few days in advance and store them in an airtight container, perfect for party planning.
- Customizable treats – Switch up the coating colors and sprinkles to match any holiday or party theme – the possibilities are endless!
What Kind of Marshmallows Should I Use?
Regular-sized or mini marshmallows both work great for rice krispies pops, though mini marshmallows tend to melt a bit faster and more evenly. Fresh marshmallows are key here – if they’re old and hard, they won’t melt as smoothly and could affect the texture of your treats. When shopping, give the bag a gentle squeeze – the marshmallows should feel soft and squishy, not firm or stiff. If you’re using regular-sized marshmallows, you might want to cut them into smaller pieces before melting to help them heat more evenly. Just make sure to stick with plain white marshmallows rather than flavored ones, as those can change the classic taste we’re going for.
Options for Substitutions
Making these fun rice krispies pops but missing something? Here are some helpful swaps:
- Crispy rice cereal: While the original Rice Krispies brand works best, you can use any crispy rice cereal. Just avoid generic brands that are too dense as they might make your treats too heavy.
- Marshmallows: Fresh marshmallows are key, but you can use mini or regular size. If needed, marshmallow fluff works too – use about 8 ounces in place of the marshmallows.
- White confectionery coating: You can swap this with white chocolate chips mixed with 1 teaspoon of coconut oil for better melting. Colored candy melts work great too!
- Salted butter: Unsalted butter works fine – just add a pinch of salt. You can also use margarine, though the flavor won’t be quite as rich.
- Cake pop sticks: Lollipop sticks or popsicle sticks make good alternatives. Just make sure they’re food-safe and sturdy enough to hold your treats.
- Sprinkles: Get creative with toppings! Try crushed cookies, nuts, coconut flakes, or mini chocolate chips instead of sprinkles.
Watch Out for These Mistakes While Making
The biggest challenge when making Rice Krispies pops is getting the marshmallow mixture just right – melting the butter and marshmallows over too high heat can lead to tough, hard treats instead of soft, chewy ones, so keep your heat low to medium and stir constantly.
Another common mistake is pressing the mixture too firmly into the pan – use a light touch with greased hands or a spatula, as compacting the mixture too much will result in dense, hard-to-eat pops that won’t hold well on the sticks.
When it comes to dipping in the confectionery coating, make sure your pops are completely cool before dipping, and tap off excess coating gently to prevent heavy drips or pooling at the base.
For the best texture and ease of assembly, let the treats set for about 30 minutes before cutting and inserting the sticks, and if your coating starts to thicken while dipping, warm it in 10-second intervals in the microwave to maintain the right consistency.
What to Serve With Rice Krispies Pops?
These sweet treats are perfect for serving at parties alongside other fun finger foods and desserts! I like to pair them with a cold glass of milk or hot chocolate, especially if you’re serving these as an after-school snack. Since these pops are on the sweeter side, they go really well with salty snacks like pretzel sticks or potato chips for that perfect sweet-and-salty balance. For parties, try setting up a hot chocolate bar with these pops, where guests can use them as stirrers to add an extra sweet touch to their drinks.
Storage Instructions
Keep Fresh: These cute rice krispies pops stay fresh at room temperature for up to 3 days when stored in an airtight container. Place a piece of wax paper between layers to prevent them from sticking together. They’re perfect for making a day ahead for parties!
Refrigerate: If you’ve decorated your pops with confectionery coating, you might want to pop them in the fridge, especially during warm weather. They’ll stay good for up to a week, and the coating will remain nice and firm. Just keep them in a covered container.
Make Ahead: Want to prep these treats early? Shape the rice krispies mixture into balls and insert the sticks, then store them uncoated. When you’re ready, just dip them in melted coating and add sprinkles. This way, you can spread out the work and still have fresh-looking pops!
| Preparation Time | 10-15 minutes |
| Cooking Time | 10-15 minutes |
| Total Time | 20-30 minutes |
| Level of Difficulty | Easy |
Estimated Nutrition
Estimated nutrition for the whole recipe (without optional ingredients):
- Calories: 3000-3400
- Protein: 30-40 g
- Fat: 130-150 g
- Carbohydrates: 450-500 g
Ingredients
For the pops:
- 6 cups crispy rice cereal (such as Kellogg’s Rice Krispies)
- 4 tbsp butter (salted or unsalted, depending on preference)
- 5 1/2 cups mini marshmallows (use fresh for best results)
For the coating and decoration:
- 48 cake pop sticks
- Red confectionery coating (optional, melted for detailing)
- 2 cups white confectionery coating (melted and stirred until smooth)
- Sprinkles (optional, for festive decoration)
Step 1: Melt Butter and Marshmallows
In a large saucepan, combine butter and marshmallows.
Stir constantly over medium-high heat until the marshmallows are completely melted and melded with the butter.
Ensure you keep stirring to prevent any burning or sticking.
Step 2: Incorporate Rice Krispies Cereal
Once the butter and marshmallows are fully melted and combined, remove the saucepan from the heat.
Add the Rice Krispies cereal into the melted mixture.
Gently stir until the cereal is well coated and everything is thoroughly combined.
Step 3: Form Rice Krispies Balls
Using a cookie dough scoop or a large tablespoon, form the Rice Krispies treats into little balls and place them on a sheet of parchment paper.
Continue shaping until all the mixture is used, about 48 balls if using a standard-sized scoop.
If your tool gets sticky, lightly spray it with cooking spray and continue scooping.
Step 4: Let Them Set and Smooth
Allow the Rice Krispies balls to set on the parchment paper for 5-10 minutes.
Once they’re slightly set, roll each one into a smooth ball using your hands, then place back on the parchment paper.
Step 5: Melt and Coat in White Chocolate
In a glass measuring cup or bowl, add 1 cup of white chocolate melting chips.
Heat the chocolate in the microwave for 1 minute, then stir vigorously.
If needed, return the bowl to the microwave for another 30 seconds to 1 minute, stirring again until fully melted and smooth.
As you work through the treats, you may need to repeat this melting step.
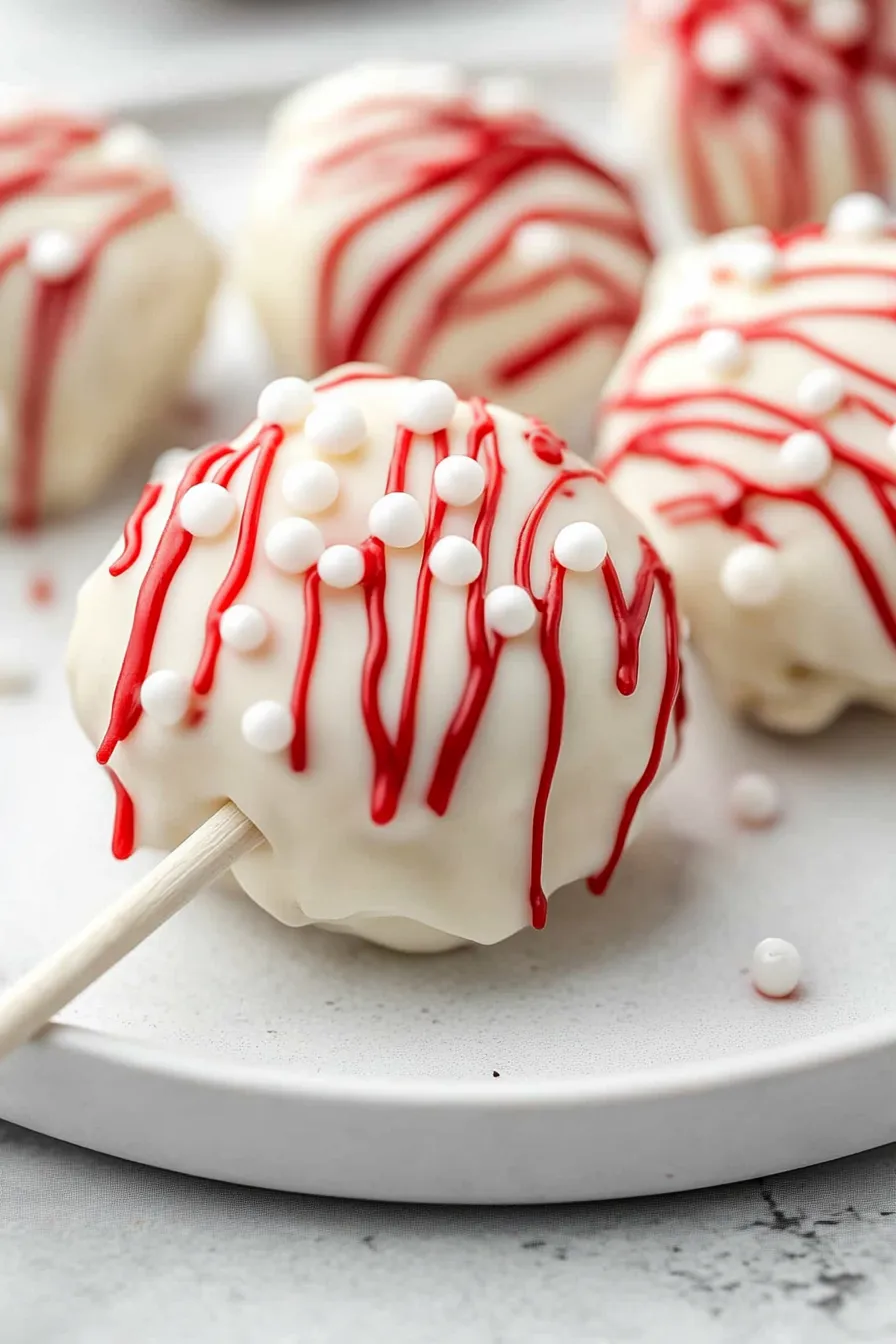
Step 6: Dip and Decorate
Using a fork, dip each Rice Krispies treat into the melted white chocolate, ensuring it’s completely covered.
Tap the fork gently on the edge of the bowl to remove any excess chocolate.
Place the coated treat back on the parchment paper and immediately add sprinkles or edible decorations if desired.
Step 7: Final Steps and Assembly
Let the chocolate on the Rice Krispies treats harden.
Once set, pick up each treat and insert a white cake pop stick into the bottom.
Continue this process for all treats until you have a batch of delicious, decorated Rice Krispies pops ready to serve!
