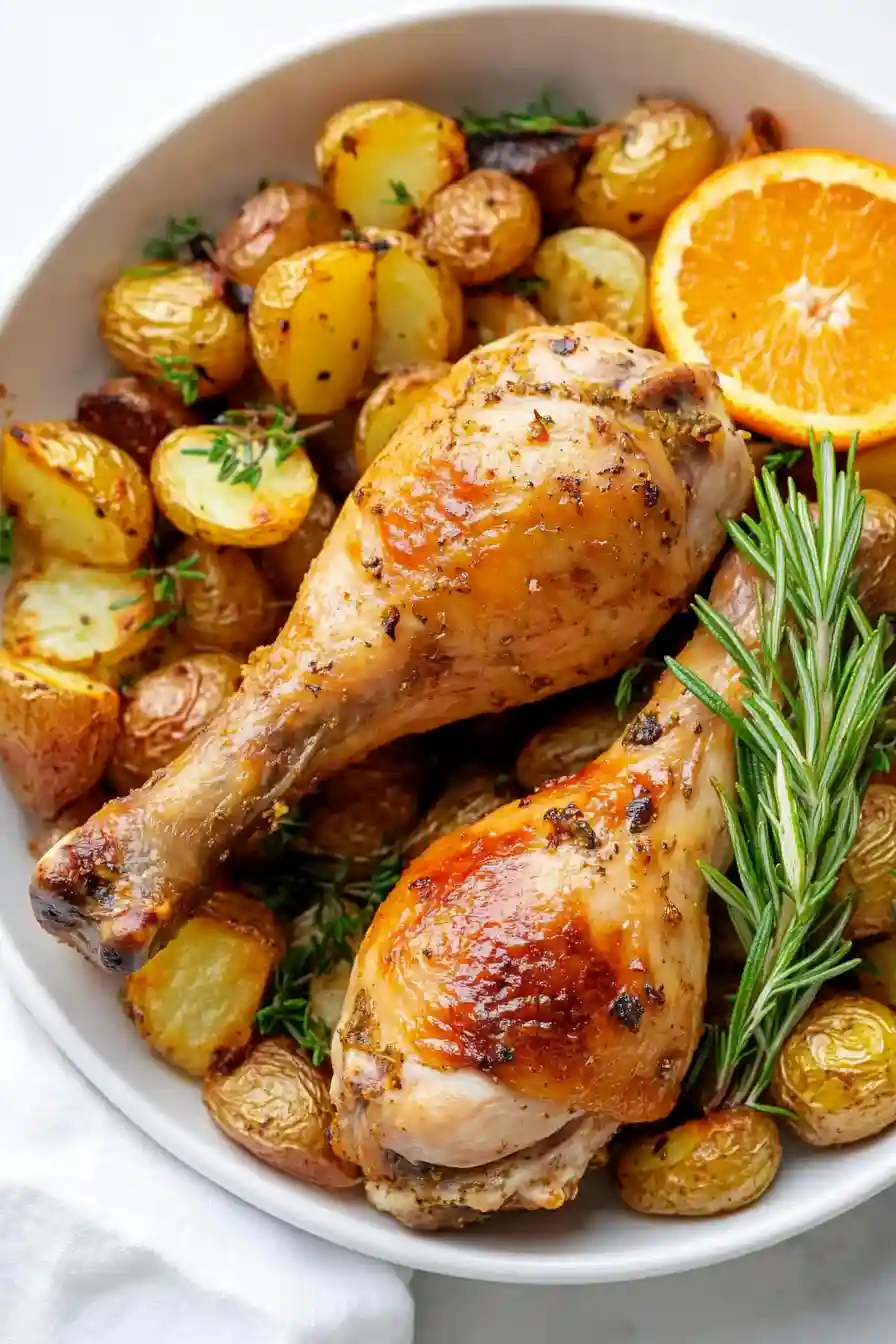
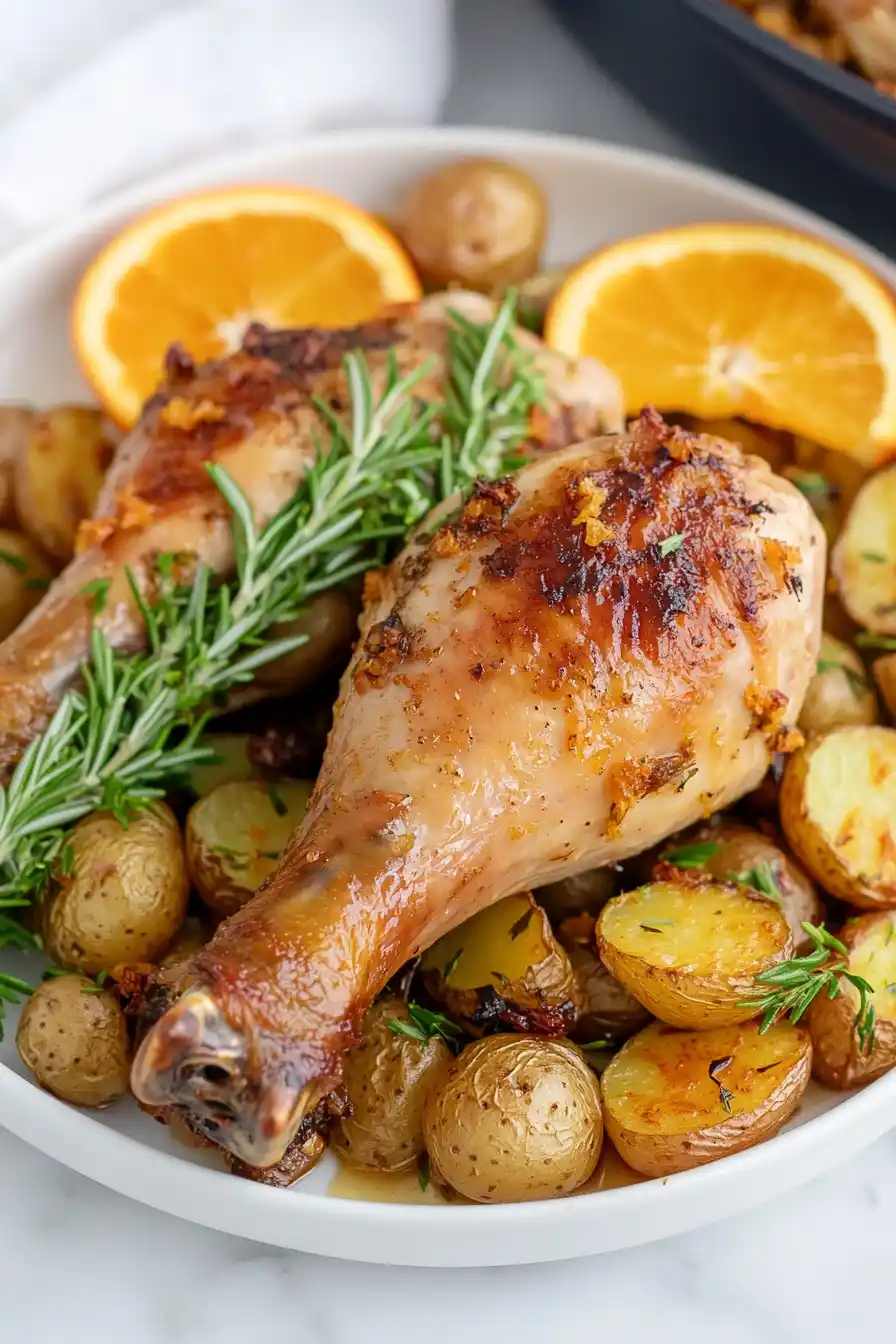
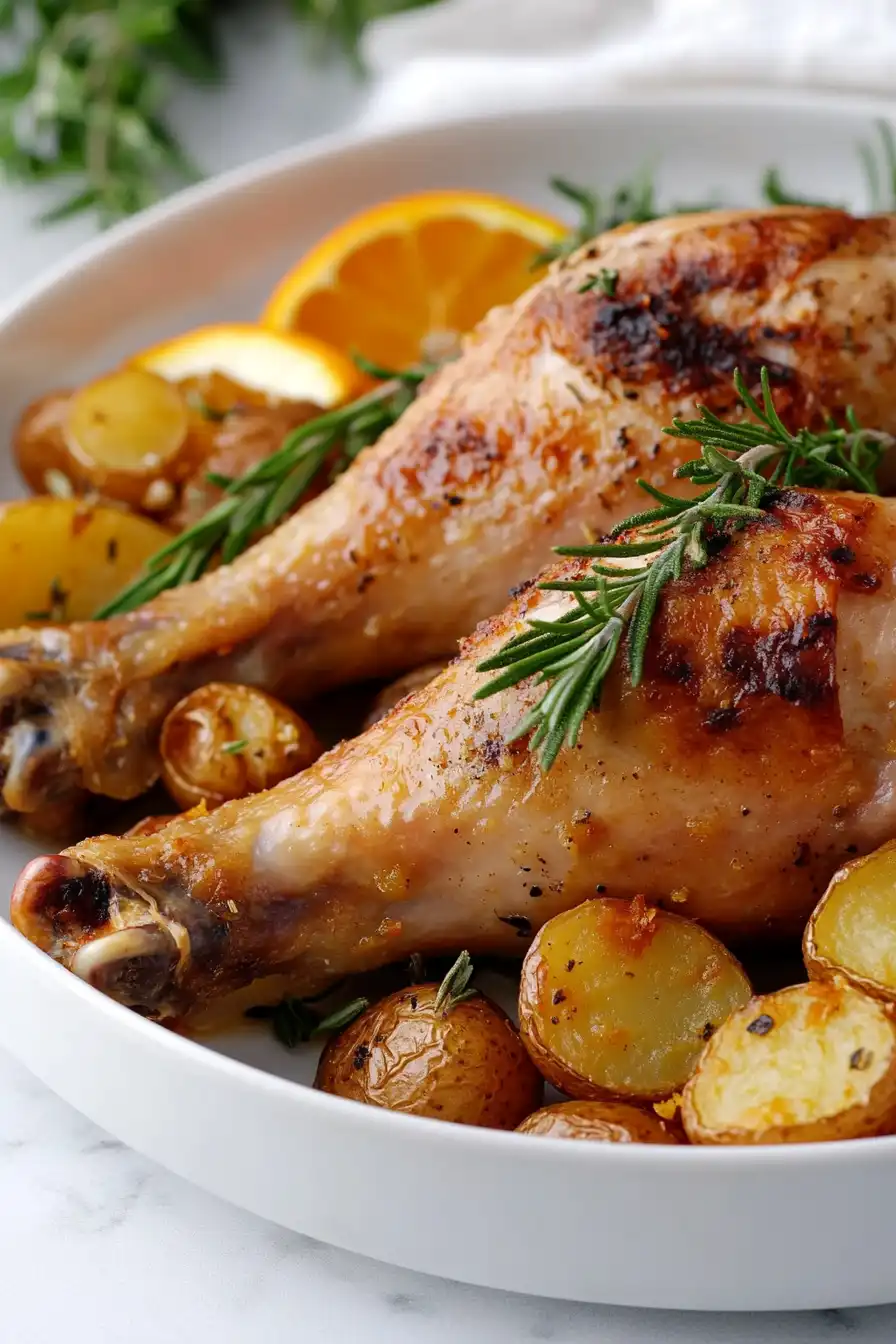
Cooking a whole turkey for Sunday dinner can feel like a huge undertaking, especially when you’re feeding a smaller group or just don’t want to deal with an entire bird. After all, roasting a full turkey means hours of prep work, careful monitoring, and usually way too many leftovers that end up forgotten in the back of the fridge.
That’s why these roasted turkey drumsticks are such a game-changer: they’re easy to prepare, cook much faster than a whole turkey, and give you that same comforting, home-cooked flavor without the hassle. Plus, they’re perfect for anyone who agrees that the dark meat is the best part of the bird.

Why You’ll Love These Turkey Drumsticks
- Budget-friendly protein – Turkey legs are much more affordable than whole turkey or breast meat, making this a great way to enjoy turkey year-round without breaking the bank.
- Simple ingredients – You only need basic pantry seasonings and butter to make these drumsticks taste amazing – no fancy ingredients required.
- Easy preparation – Just season, pop them in the oven, and let them roast – it’s nearly impossible to mess up this straightforward recipe.
- Kid-friendly dinner – Kids love eating these drumsticks with their hands, making dinner time fun and less fussy than formal turkey meals.
- Great for meal prep – These drumsticks keep well in the fridge and make perfect leftovers for lunch boxes or quick dinners later in the week.
What Kind of Turkey Legs Should I Use?
Fresh turkey legs are your best bet for this recipe, though frozen ones will work too if you thaw them properly in the refrigerator beforehand. Look for drumsticks that are roughly 12-14 ounces each – this size is perfect for even cooking and ensures you’ll get plenty of meat per serving. When shopping, check that the skin is intact and has a pinkish-beige color without any dark spots or blemishes. If you’re buying from the meat counter, don’t hesitate to ask if they can separate turkey legs for you from whole turkeys, as this can sometimes be fresher than pre-packaged options. Just make sure to pat the legs dry with paper towels before seasoning, as this helps achieve that nice, crispy skin.

Options for Substitutions
This simple roasted turkey recipe can work with several substitutions if needed:
- Turkey legs: Can’t find turkey legs? You can use chicken legs instead – just reduce cooking time by about 15-20 minutes since chicken cooks faster. Turkey thighs would also work great here.
- Butter: While butter gives the best flavor, you can swap it with olive oil or even duck fat for extra richness. If using olive oil, use about 3 tablespoons instead of 4.
- Garlic and onion powder: Fresh minced garlic and finely diced onion can work – use 3 cloves of garlic and 2 tablespoons of onion. Just mix them well with your chosen fat before rubbing on the meat.
- Paprika: Regular, smoked, or Hungarian paprika all work well here. If you don’t have any, you could use mild chili powder or even a touch of cayenne (use just ¼ teaspoon if using cayenne as it’s spicier).
- Coarse salt: Table salt works fine – just use about ¾ teaspoon since it’s more concentrated than coarse salt.
Watch Out for These Mistakes While Roasting
The biggest mistake when cooking turkey drumsticks is not patting them completely dry before seasoning – moisture on the skin prevents that golden-brown, crispy exterior we all love, so take an extra minute with paper towels to ensure they’re thoroughly dried. A common error is roasting the legs straight from the fridge, which leads to uneven cooking – instead, let them sit at room temperature for 30-45 minutes before they hit the oven. Another crucial tip is to avoid constantly opening the oven door to check on them, as this releases heat and extends cooking time; instead, use a meat thermometer inserted into the thickest part of the leg (avoiding the bone) and cook until it reaches 165°F. For extra-crispy skin, baste the legs with their own juices every 30 minutes, and let them rest for 10-15 minutes after cooking to keep all those flavorful juices inside.

What to Serve With Turkey Drumsticks?
These roasted turkey drumsticks are basically begging to be served with classic comfort food sides! Mashed potatoes are a natural choice – they’re perfect for soaking up all those tasty drippings from the turkey. I love to round out the plate with some green veggies like roasted Brussels sprouts or steamed green beans, which add a nice fresh element to balance the rich meat. For a complete holiday-style meal (even when it’s not a holiday!), add some homemade gravy and a scoop of traditional stuffing or cornbread dressing on the side. These drumsticks also pair really well with simple sides like mac and cheese or roasted sweet potatoes if you’re going for more of a casual dinner vibe.
Storage Instructions
Keep Fresh: Got leftover turkey drumsticks? Place them in an airtight container and pop them in the fridge – they’ll stay good for up to 4 days. The meat actually keeps its flavor really well, making these perfect for meal prep or next-day lunches.
Freeze: These drumsticks are great for freezing! Wrap each one individually in foil, then place them in a freezer bag – they’ll keep for up to 3 months. Just remember to squeeze out as much air as possible before sealing to prevent freezer burn.
Reheat: To bring back that fresh-roasted taste, wrap the drumsticks in foil and warm them in a 325°F oven for about 20-25 minutes. You can also use the microwave for quick reheating, but the oven method helps keep the skin crispy. Add a splash of broth or water when reheating to keep the meat juicy.
| Preparation Time | 15-20 minutes |
| Cooking Time | 55-60 minutes |
| Total Time | 70-80 minutes |
| Level of Difficulty | Easy |
Estimated Nutrition
Estimated nutrition for the whole recipe (without optional ingredients):
- Calories: 1500-1700
- Protein: 140-160 g
- Fat: 100-120 g
- Carbohydrates: 0-5 g
Ingredients
- 4 tbsp unsalted butter (softened at room temperature)
- 4 turkey legs (12 to 14 oz each)
- 1/4 tsp black pepper
- 1 tsp coarse salt (I use kosher salt)
- 1 tsp paprika
- 1 tsp garlic powder
- 1 tsp onion powder
Step 1: Prepare the Oven and Baking Sheet
Begin by preheating your oven to 400 degrees Fahrenheit.
Line a baking sheet or roasting pan with a sheet of aluminum foil or parchment paper.
Set this prepared baking sheet aside to use later.
Step 2: Prep the Turkey Legs
While the oven is heating, take the turkey legs out of the refrigerator to let them come to room temperature.
This will help them cook more evenly.
Meanwhile, you can begin working on the turkey seasoning.
Step 3: Make the Butter Rub
In a small bowl, prepare the rub by combining melted butter, garlic powder, onion powder, paprika, kosher salt, and black pepper.
Mix these ingredients until well combined and set aside for immediate use.
Step 4: Dry and Season the Turkey Legs
Using paper towels, pat dry the turkey legs on all sides.
This will help the rub adhere better and promote crisp skin.
Next, using a pastry brush or your clean hands, evenly distribute the butter rub over all surfaces of the turkey legs.
Step 5: Bake the Turkey Legs
Transfer the seasoned turkey legs onto the prepared baking sheet.
Place the sheet in the preheated oven and bake for 25 minutes.
After the initial baking period, loosely tent the top with aluminum foil to prevent the turkey from browning too quickly.
Avoid sealing the turkey tightly with foil to allow the skin to crisp up.
Step 6: Finish Baking and Rest
Continue roasting the turkey legs for an additional 30 minutes, or until a meat thermometer inserted into the thickest part of the turkey registers 165 degrees Fahrenheit.
Once done, remove the turkey legs from the oven and tent them with aluminum foil.
Allow them to rest for 10 minutes before serving to lock in juices and ensure a succulent meal.

