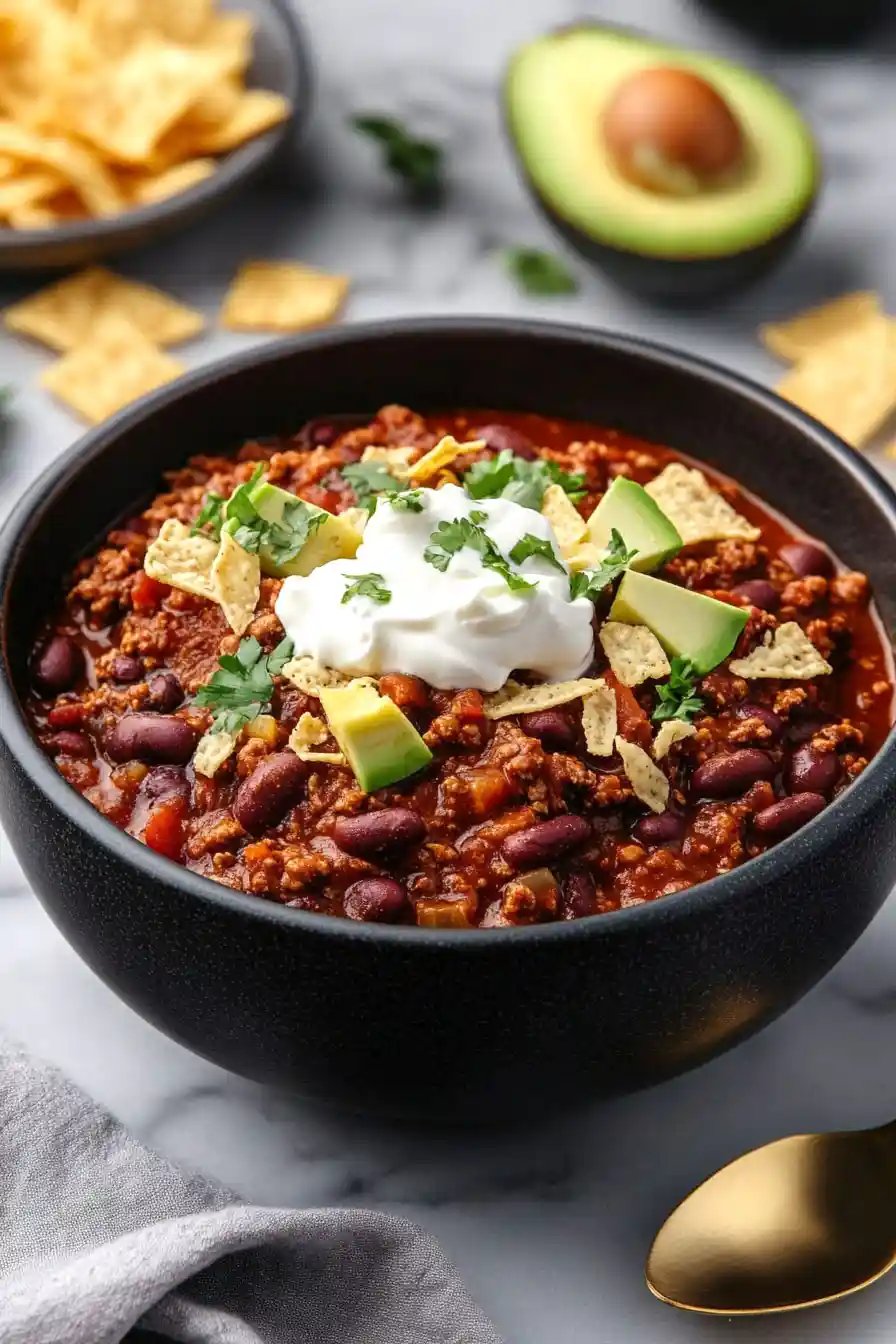
Here’s my go-to beer chili recipe that brings together ground beef, beans, and a bottle of your favorite beer for a rich, hearty bowl of comfort food. The beer adds depth and a subtle flavor that makes this chili stand out from your usual recipes.
This chili has become a game day tradition in our house, and I always make a big batch because everyone wants seconds (and it tastes even better the next day). Perfect for cold weekends when you want something warming and filling, don’t you think?
Why You’ll Love This Beer Chili
- Rich, complex flavor – The combination of three types of beans, colorful peppers, and a bottle of beer creates deep, layered flavors that get better as they simmer together.
- One-pot meal – Everything cooks in a single pot, which means less cleanup and more time to enjoy your meal.
- Perfect for meal prep – This chili tastes even better the next day, making it ideal for batch cooking and freezing for future meals.
- Customizable heat level – You can easily adjust the spiciness by adding or reducing the jalapeños and red pepper flakes to match your preference.
- Great for gatherings – With its generous portion size and variety of optional toppings, this chili is perfect for game days, potlucks, or feeding a hungry crowd.
What Kind of Beer Should I Use?
For chili, you’ll want to stick with a beer that has some body to it, but nothing too bitter or hoppy that might overpower the other flavors. A medium-bodied amber ale or brown ale works great since these styles add a nice malty sweetness that complements the spices and meat. If you prefer something darker, a mild porter can add wonderful depth, though I’d stay away from stouts which might be too heavy. Just remember to avoid light lagers (like mass-market light beers) since they won’t contribute much flavor to your chili. Whatever you choose, make sure it’s a beer you actually enjoy drinking – because you’ll have most of the bottle left over!
Options for Substitutions
This chili recipe is super adaptable and there are plenty of ways to make it work with what you have on hand:
- Ground meats: You can swap the ground beef and Italian sausage with ground turkey, chicken, or pork. For a vegetarian version, try using crumbled tempeh or a mix of mushrooms and walnuts (pulse in a food processor until crumbly).
- Bell peppers: Any color bell pepper works fine here – green, red, yellow, or orange. You can even use poblano peppers for a slightly different flavor.
- Beer: No beer? Use beef or chicken broth instead. For a non-alcoholic option that still gives that malty flavor, try root beer or cola – just reduce the maple syrup by half since these are sweeter.
- Beans: Feel free to mix and match any beans you have. Great northern, navy, or cannellini beans all work well. You can even use all one type if that’s what you’ve got.
- Maple syrup: Brown sugar or honey can replace maple syrup – start with 1/3 cup and adjust to taste since they’re a bit sweeter.
- Fire-roasted tomatoes: Regular diced tomatoes work fine – just add an extra 1/4 teaspoon of smoked paprika to make up for the smoky flavor you’ll miss.
Watch Out for These Mistakes While Cooking
The biggest mistake when making beer chili is rushing the cooking process – letting it simmer slowly for at least 2-3 hours allows the flavors to develop properly and the meat to become tender. Another common error is adding the beans too early in the cooking process, which can make them mushy – instead, add them during the last 30 minutes of cooking to maintain their texture and shape. To prevent your chili from becoming too bitter from the beer, make sure to cook off the alcohol completely by letting it simmer uncovered for at least 15 minutes after adding the beer and before incorporating the remaining ingredients. For the best flavor development, avoid stirring too frequently once all ingredients are combined – just an occasional stir every 20-30 minutes will prevent sticking while allowing a slight crust to form on the bottom, adding depth to your chili.
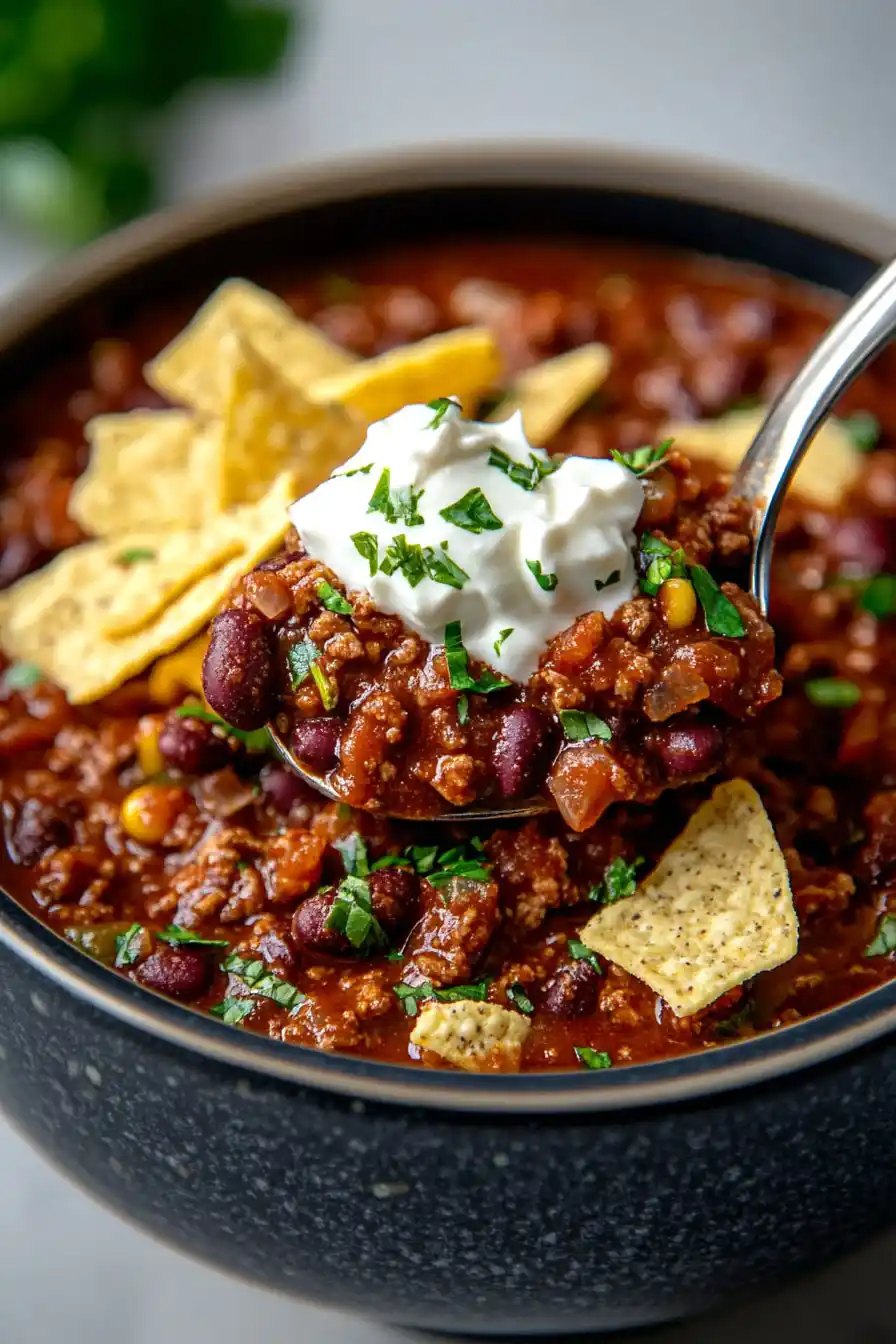
What to Serve With Beer Chili?
This hearty chili is a meal in itself, but a few simple sides can make it even better! A warm piece of cornbread is my go-to choice – there’s nothing like using it to soak up all that tasty chili sauce. For a fresh contrast, try a simple green salad with ranch dressing or some crisp coleslaw to balance out the rich flavors of the chili. If you’re feeding a crowd, putting out a bowl of corn chips or warm flour tortillas lets everyone customize their meal just how they like it.
Storage Instructions
Keep Fresh: This beer chili gets even better after a day or two in the fridge! Put it in an airtight container and it’ll stay good for up to 5 days. The flavors actually continue to develop, making those leftovers something to look forward to.
Freeze: Chili is perfect for freezing! Let it cool completely, then portion it into freezer-safe containers or bags. It’ll keep well for up to 3 months. I like to freeze it in individual portions – it makes for such an easy lunch or dinner when you’re short on time.
Warm Up: When you’re ready to enjoy your leftover chili, just heat it up on the stovetop over medium heat, stirring occasionally. If it seems a bit thick, you can add a splash of broth or water. For microwave heating, warm it in 1-minute intervals, giving it a good stir between each. Don’t forget to add fresh toppings when serving!
| Preparation Time | 10-15 minutes |
| Cooking Time | 60-75 minutes |
| Total Time | 70-90 minutes |
| Level of Difficulty | Medium |
Estimated Nutrition
Estimated nutrition for the whole recipe (without optional ingredients):
- Calories: 2800-3200
- Protein: 180-200 g
- Fat: 150-170 g
- Carbohydrates: 250-270 g
Ingredients
For the chili base:
- 1 diced red bell pepper
- 1 can kidney beans, rinsed and drained
- 1/4 tsp red pepper flakes
- 1 tbsp dried oregano
- 4 minced garlic cloves (freshly minced for best flavor)
- 1 bottle beer (choose a stout or porter for richness)
- 1 diced orange bell pepper
- 1 diced red onion
- 2 tbsp olive oil (or any neutral oil like canola)
- 1 can crushed tomatoes (I use Cento crushed tomatoes)
- 1/4 cup chili powder
- 1 diced yellow bell pepper
- 1 can tomato paste
- 1/4 tsp cinnamon powder
- 2 tsp smoked paprika (adds a deeper, smoky flavor)
- 1 diced jalapeno (seeds removed for less heat)
- 1 can black beans, rinsed and drained
- 1 can fire-roasted tomatoes
- 1/2 cup maple syrup
- 1 tbsp ground cumin
- 1 can pinto beans, rinsed and drained
For the meat:
- 1 tsp black pepper (freshly ground preferred)
- 1 lb ground Italian sausage (I like Johnsonville mild Italian sausage)
- 1 lb ground beef (80/20 for best flavor)
- 2 tsp coarse salt
For topping:
- tortilla chips (for a nice crunch)
- chives
- red onion
- avocado
- sour cream
- cilantro
- grated cheese
Step 1: Brown the Meat
Heat a large pot over medium heat and add the olive oil.
Season the beef and sausage with a sprinkle of salt and pepper.
Add the beef and sausage to the pot, cooking for about 8 to 10 minutes while stirring often, until the meat is browned and golden.
Use a slotted spoon to remove the meat and place it on a plate.
Set aside.
Step 2: Sauté the Vegetables
Reduce the heat to medium-low and add the onions, peppers, and garlic to the pot.
Stir well to coat them in the oil and cooking juices.
Add a pinch of salt and cook until the vegetables are softened, approximately 5 to 6 minutes.
Add the tomato paste, chili powder, cumin, oregano, paprika, cinnamon, and chili flakes.
Stir and mash the mixture into the peppers and onions, cooking for about 5 minutes as the tomato paste darkens in color.
Step 3: Deglaze and Combine the Ingredients
Return the browned beef and sausage back to the pot.
Pour in the bottle of beer to deglaze the pan, using a wooden spoon to stir and scrape up any browned bits from the bottom of the pot.
This adds flavor and depth to the dish.
Step 4: Simmer and Develop Flavors
Add the crushed tomatoes, fire-roasted tomatoes, beans, and maple syrup to the pot.
Stir well to combine all the ingredients.
Bring the mixture to a boil, then reduce it to a simmer.
Let it cook for at least one hour, or until the chili has thickened to your liking and the flavor has developed fully.
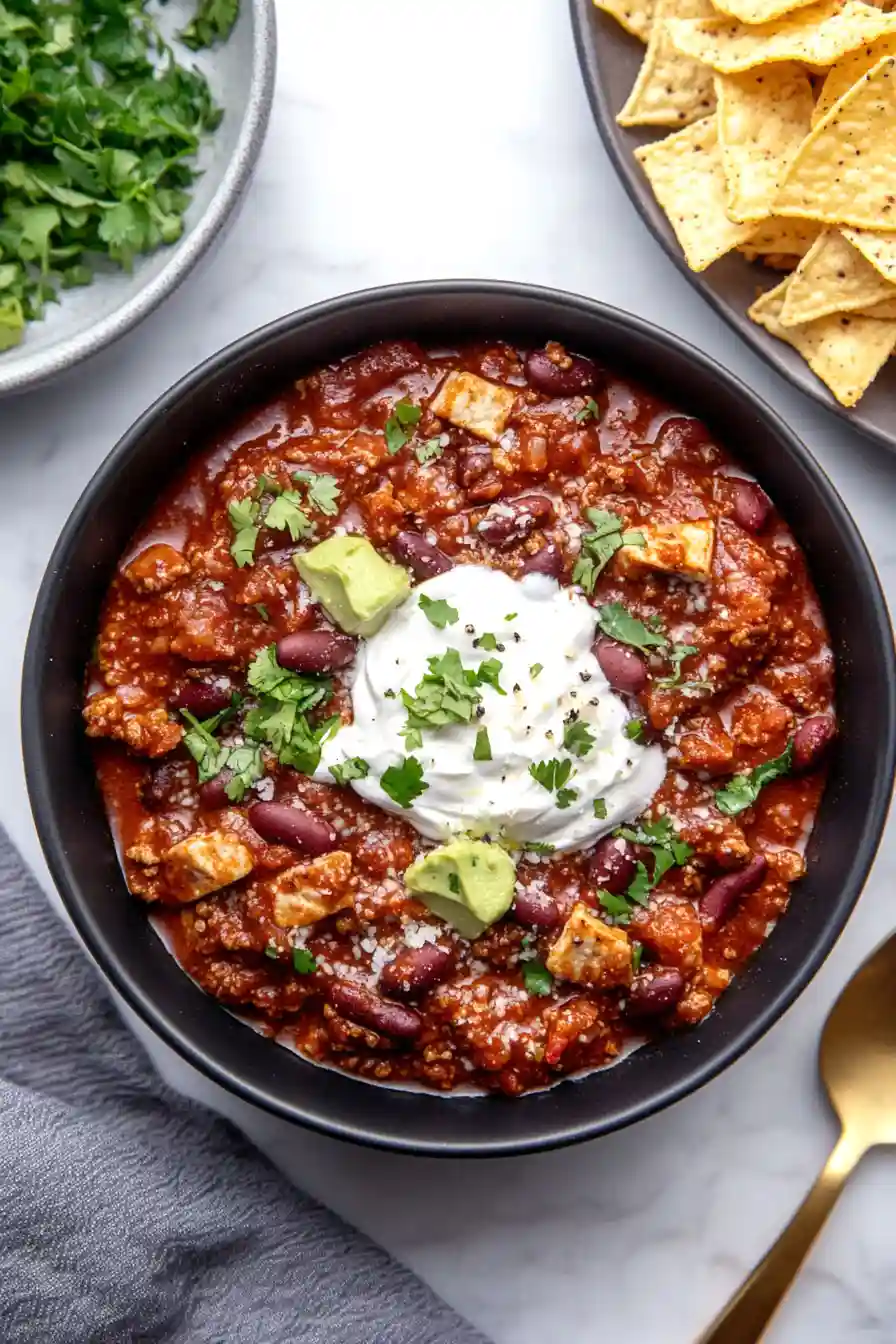
Step 5: Enjoy
Once the chili is done simmering, taste and adjust the seasoning if necessary.
Serve hot and enjoy the rich, hearty flavors of your homemade chili.
Feel free to garnish with your favorite toppings like shredded cheese, sour cream, or chopped fresh herbs.
