Looking for a dessert that’ll make any summer gathering feel extra special without keeping you stuck in the kitchen? Between pool parties, backyard BBQs, and those warm evening get-togethers, having a reliable crowd-pleasing treat is always handy. Plus, when the temperature starts climbing, nobody wants to spend hours baking in a hot kitchen.
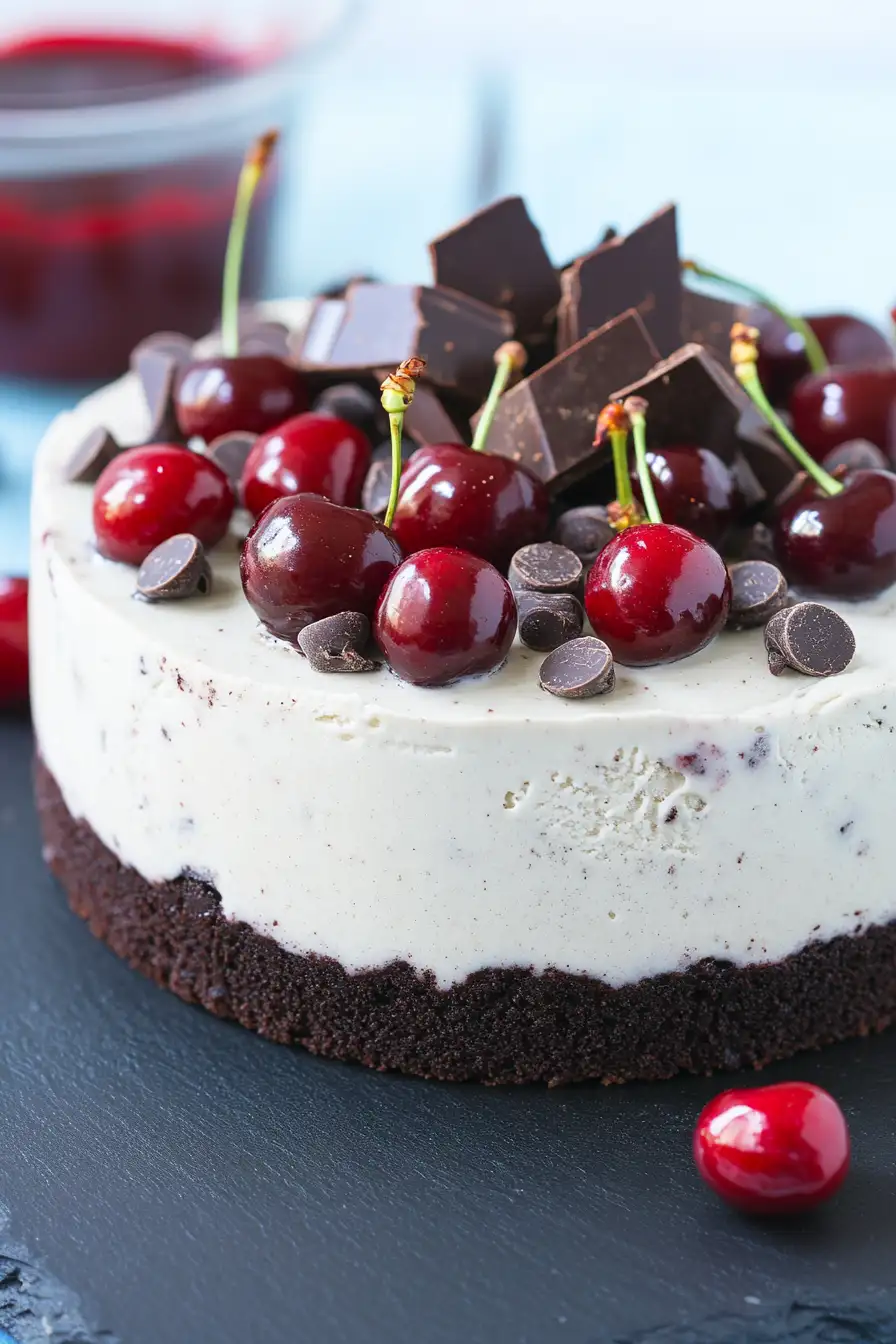
That’s why this cherry ice cream cake has become my go-to summer dessert. It’s wonderfully cool and refreshing, super easy to put together ahead of time, and combines two things everyone loves – ice cream and fresh cherries – into one simple make-ahead treat.
Why You’ll Love This Cherry Ice Cream Cake
- Make-ahead dessert – You can prepare this cake days in advance, making it perfect for parties and special occasions without day-of stress.
- No special equipment needed – Unlike traditional ice cream making, this recipe doesn’t require an ice cream machine – just your regular kitchen tools and a freezer.
- Rich chocolate-cherry combination – The classic pairing of dark chocolate and sweet cherries creates a dessert that’s both sophisticated and crowd-pleasing.
- Customizable decorations – You can keep it simple or dress it up with fresh cherries and chocolate decorations, making it suitable for any occasion from casual family dinners to fancy celebrations.
- Perfect summer dessert – This cool, creamy cake featuring fresh cherries is ideal for hot summer days when you want something refreshing and sweet.
What Kind of Cherries Should I Use?
For this ice cream cake, you can use either fresh or frozen cherries – both will work great in different parts of the recipe. If you’re making this during cherry season (late spring through summer), fresh sweet cherries like Bing or Rainier are perfect and will give you the best flavor. When using fresh cherries, look for firm, glossy fruits with green stems and avoid any that are soft or wrinkled. If fresh cherries aren’t in season, frozen cherries are a totally fine substitute – they’re actually picked and frozen at peak ripeness, so you’ll still get great cherry flavor. Just make sure to thaw and drain frozen cherries well before using them to avoid adding extra moisture to your cake.
Options for Substitutions
This ice cream cake recipe can be tweaked with several substitutions if needed:
- Fresh cherries: You can use frozen cherries instead of fresh ones – just thaw and drain them well first. Alternatively, try raspberries or strawberries for a different fruit twist.
- Heavy cream: While heavy cream is best for the right texture, you could use whipping cream. I wouldn’t recommend using half-and-half or milk as they won’t whip up properly.
- Rum flavoring: Feel free to skip it or replace with almond extract, which pairs great with cherries. Start with 1/4 teaspoon as almond extract is stronger.
- Cocoa powder: Any unsweetened cocoa powder works – Dutch process or natural. Just don’t use hot chocolate mix as it contains sugar and other additives.
- Mini chocolate pieces: You can chop up regular chocolate bars or use chocolate chips instead. Dark, milk, or semi-sweet all work well here.
- Vanilla essence: Vanilla extract or vanilla bean paste work perfectly in place of essence. If using paste, use the same amount.
Watch Out for These Mistakes While Baking
The biggest challenge when making cherry ice cream cake is preventing ice crystals from forming in your ice cream layer – make sure your heavy cream is very cold before whipping, and fold in the condensed milk gently to maintain the air bubbles that create a smooth texture. Another common mistake is not letting the cake layer cool completely before adding the ice cream mixture, which can cause the ice cream to melt unevenly and create a messy final product. When making the cherry sauce, avoid overcooking it as this can make it too thick and jammy – instead, cook just until the cherries release their juices and the sauce coats the back of a spoon. For the best results, give your cake enough time to freeze completely (at least 6 hours, preferably overnight) and let it sit at room temperature for 5-10 minutes before serving to make cutting easier.
What to Serve With Cherry Ice Cream Cake?
This sweet and creamy dessert is pretty amazing on its own, but there are some fun ways to dress it up for serving! A warm chocolate sauce drizzled over each slice adds an extra touch of decadence, while a dollop of fresh whipped cream makes everything feel more special. For a fruity twist, try serving each slice with a spoonful of warm cherry compote on the side – the contrast between hot and cold is really nice. If you’re serving this at a party, having some coffee or hot chocolate available helps balance out the sweetness of the cake.
Storage Instructions
Keep Frozen: Your cherry ice cream cake needs to stay in the freezer to maintain its perfect texture. Keep it well-wrapped or in an airtight container to prevent freezer burn. It’ll stay fresh and tasty for up to 2 weeks in a regular freezer, or up to a month in a deep freezer.
Prepare Ahead: This cake is perfect for making ahead since it needs time to freeze properly anyway! You can make it 2-3 days before your event, which actually helps the flavors blend together nicely. Just keep it covered well in the freezer until you’re ready to serve.
Serve: Take the cake out of the freezer about 10-15 minutes before serving to let it soften slightly – this makes it easier to slice and brings out the cherry flavor. If you have leftovers, pop them back in the freezer right away to maintain the ice cream’s texture.
| Preparation Time | 30-45 minutes |
| Cooking Time | 20-30 minutes |
| Total Time | 360-480 minutes |
| Level of Difficulty | Medium |
Estimated Nutrition
Estimated nutrition for the whole recipe (without optional ingredients):
- Calories: 3500-4000
- Protein: 25-30 g
- Fat: 250-300 g
- Carbohydrates: 400-450 g
Ingredients
For the cake base:
- 1/2 cup vegetable oil (like Wesson, a neutral oil)
- 1/2 cup all-purpose flour
- 1 tsp rum flavoring
- 2 eggs (room temperature for better emulsification)
- 1/2 cup unsweetened cocoa powder (I use Hershey’s unsweetened cocoa)
- 2/3 cup granulated sugar
- 1/2 tsp salt
- 9 oz pitted fresh cherries (halved)
For the ice cream topping:
- 12 oz sweetened condensed milk
- 2 tsp vanilla extract
- 1.5 oz mini chocolate pieces (optional, for extra texture)
- 2 cups heavy cream (well-chilled for whipping)
For the cherry coulis:
- 1/3 cup granulated sugar
- 10 oz cherries
- 2 tbsp lemon juice
For the garnish:
- fresh cherries
- chocolate decorations
Step 1: Prepare the Cake Base
Preheat the oven to 350°F (180°C).
Grease and line an 8-inch (20cm) springform pan with parchment paper.
In a bowl, whisk the eggs with sugar until well combined.
Incorporate the oil and rum extract into the mixture.
Sift the flour, salt, and cocoa powder into the bowl, and whisk until fully incorporated to create a smooth batter.
Pour the batter into the prepared pan, then gently place the pitted cherries on top of the batter.
Bake for 15-20 minutes or until a toothpick inserted into the center comes out clean or with a few moist crumbs attached.
Let the cake cool completely.
Step 2: Prepare the Ice Cream Topping
In a large bowl, whip the cream until stiff peaks form.
Mix in the sweetened condensed milk and vanilla extract until well combined.
Carefully fold in the mini chocolate rocks to distribute them evenly throughout the mixture.
Step 3: Assemble and Freeze the Cake
Once the cake has cooled, transfer it onto a serving platter.
Place a cake ring around the cake and line it with an acetate sheet to ensure smooth sides.
Pour the prepared ice cream mixture over the cooled cake, smoothing out the top with a spatula.
Freeze the assembled cake for at least 6 hours or overnight to allow the ice cream to set completely.
Step 4: Prepare the Cherry Coulis
In a small saucepan, combine the cherries, sugar, and lemon juice.
Place over medium heat and bring to a boil.
Cook for about 5 minutes until the mixture is flavorful and slightly thickened.
Remove from heat and purée the mixture using a blender.
Strain the purée through a fine-mesh strainer to remove any solids, and let the resulting coulis cool completely.
Step 5: Decorate and Serve
Before serving, remove the cake ring and acetate sheet carefully.
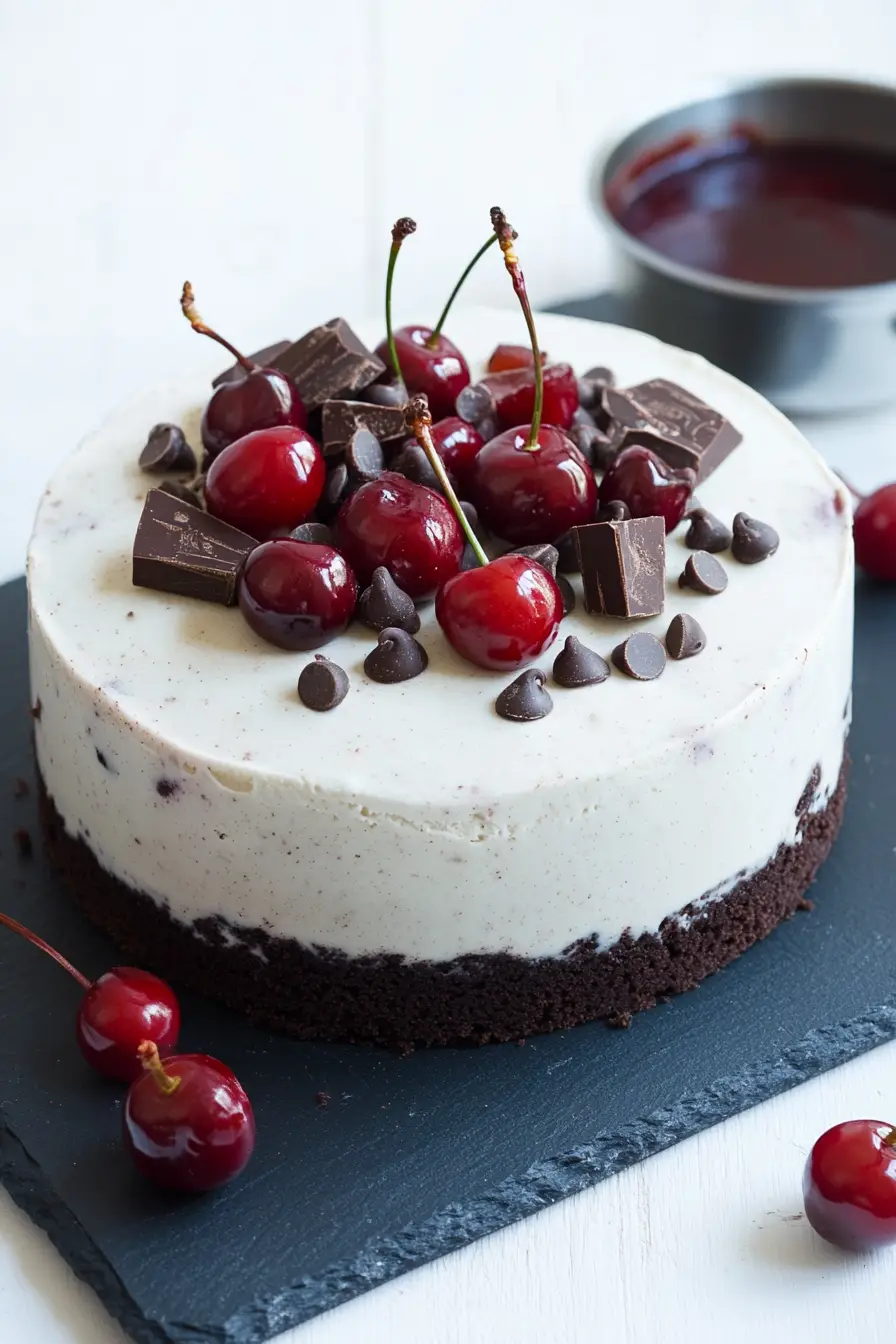
Decorate the top of the cake with fresh cherries and chocolate decorations for a visually appealing finish.
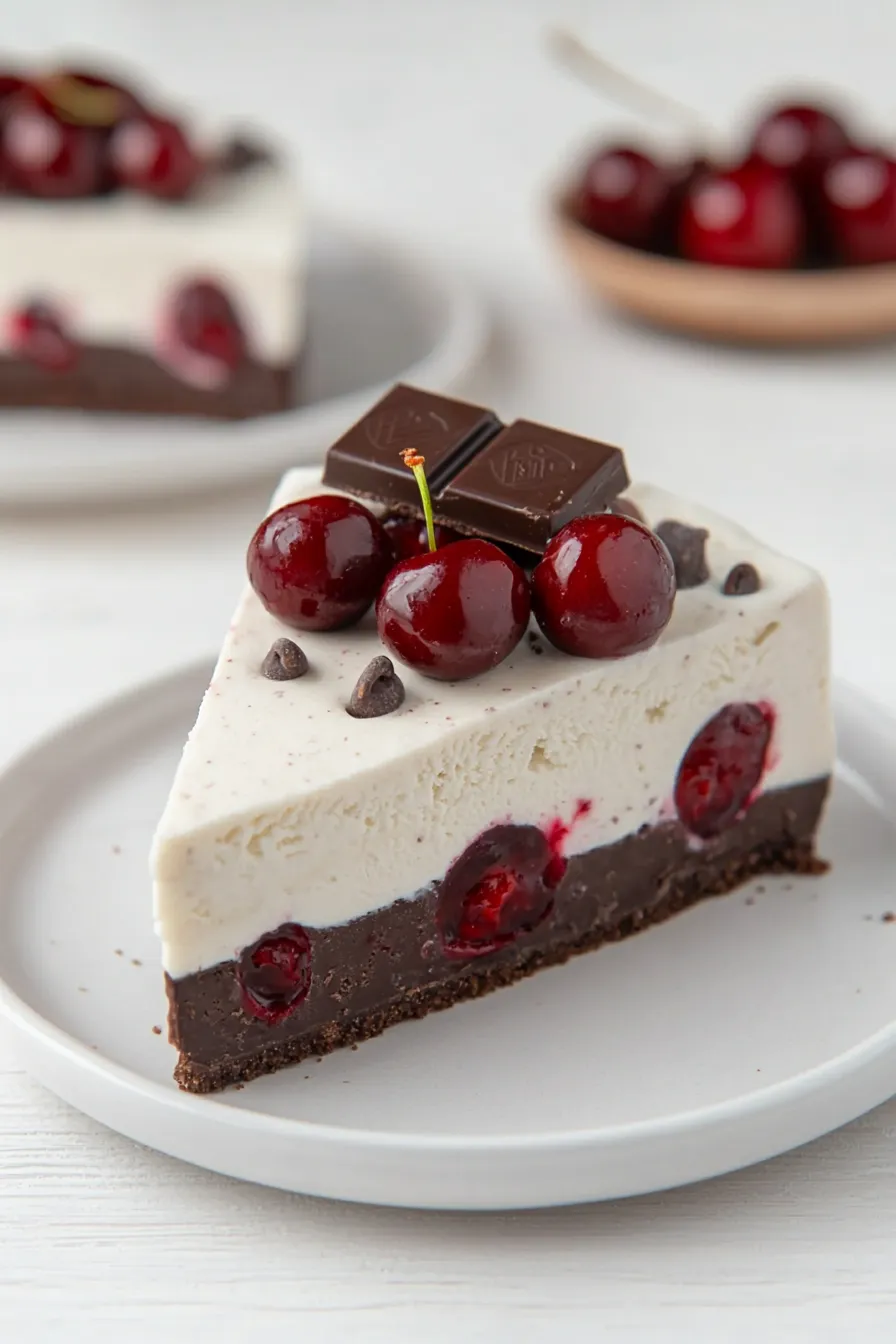
Serve slices of the cake with a generous drizzle of the cooled cherry coulis.
Enjoy your elegant and delicious creation!
