Growing up, I only knew mango ice candy from the ice cream truck that came around our neighborhood. Those store-bought treats were good, but they never quite hit the spot like I wanted them to. It wasn’t until my friend Maria showed me how to make them at home that I realized what I’d been missing all those years.
Turns out, making mango ice candy is actually super simple – you just need the right ingredients and a little patience. While the frozen treats from the truck were mostly sugar and artificial flavoring, these homemade ones are packed with real mango goodness. And the best part? My kids love helping me make them almost as much as they love eating them.
Why You’ll Love This Mango Ice Candy
- No special equipment needed – All you need are basic kitchen tools and ice candy bags to create these refreshing frozen treats – no ice cream maker required!
- Make-ahead friendly – You can prepare a big batch and keep them frozen for weeks, perfect for having cool treats ready whenever you need them.
- Kid-friendly treat – These sweet, creamy mango pops are always a hit with children, and they’re much more economical than store-bought frozen treats.
- Real fruit flavor – Made with fresh mangoes, these ice candies deliver authentic tropical taste without any artificial flavoring.
- Perfect summer refreshment – These cool, creamy treats are ideal for hot summer days and outdoor gatherings.
What Kind of Mangoes Should I Use?
Champagne mangoes (also called Ataulfo or yellow mangoes) are perfect for this ice candy recipe since they’re naturally sweet and have a smooth, fiber-free texture that blends beautifully. If you can’t find champagne mangoes, regular Tommy Atkins mangoes from the grocery store will work too – just make sure they’re fully ripe with a slight give when gently squeezed. The best mangoes for this recipe should have a sweet aroma near the stem and feel heavy for their size. To check for ripeness, look for mangoes that have turned mostly yellow-orange rather than green, but avoid any with dark spots or overly soft areas.

Options for Substitutions
Making mango ice candy is pretty straightforward, but here are some helpful substitutions if you need them:
- Champagne mangoes: Can’t find champagne mangoes? Regular mangoes work just fine – you’ll need about 2-3 large regular mangoes. You can even use 2 cups of frozen mango chunks, just thaw them first.
- Evaporated milk: While evaporated milk gives the best creamy texture, you can use whole milk or half-and-half instead. Just know your ice candy might be slightly less creamy.
- Condensed milk: This is pretty important for the right texture and sweetness, but in a pinch, you can use 1 cup heavy cream plus ½ cup sugar (mixed until dissolved) as a substitute.
- Cornstarch: This is optional anyway, but if you want to thicken and don’t have cornstarch, use 1/2 cup all-purpose flour or 2 tablespoons of unflavored gelatin (dissolved in hot water).
- Ice candy bags: If you can’t find ice candy bags, you can use popsicle molds or even small plastic bags meant for freezer storage.
Watch Out for These Mistakes While Making
The biggest challenge when making mango ice candy is getting the right consistency – too thin and it won’t freeze properly, too thick and it’ll be difficult to pour into the bags. To achieve the perfect texture, blend your mangoes until completely smooth and strain out any fibrous parts that could clog the funnel later.
Temperature control is crucial – make sure your mixture has cooled completely before pouring it into the bags, as hot liquid can cause the plastic to warp or even burst. When filling the bags, leave about an inch of space at the top since the mixture will expand when frozen.
A common mistake is rushing the freezing process – these ice candies need at least 4-6 hours to freeze solid, and moving them around too much during freezing can cause uneven texture or separation of ingredients. For extra smooth results, give the bags a gentle massage halfway through freezing to redistribute any settled ingredients, and store them upright during the freezing process.
What to Serve With Mango Ice Candy?
These sweet and creamy mango ice candies are perfect on their own as a refreshing summer treat, but they’re also great as part of a bigger dessert spread! I love serving them alongside other frozen treats like coconut popsicles or ube ice cream for a fun Filipino dessert party. Since these ice candies are pretty sweet, you might want to put out some salty snacks like roasted peanuts or chips to balance things out. They’re also really nice to serve at the end of a spicy meal, especially after dishes like chicken adobo or pancit, since the cold sweetness helps cool things down.
Storage Instructions
Keep Frozen: These mango ice candies need to stay in the freezer to maintain their icy goodness. Once they’re completely frozen solid (usually takes about 4-6 hours), you can store them in a freezer bag or container for up to 3 months. The perfect way to keep your summer treats ready to go!
Organize: To prevent the ice candy bags from sticking together, lay them flat in a single layer when freezing. Once they’re solid, you can stack them up to save space. I like to keep them in smaller batches of 5-6 pieces, so it’s easy to grab just what I need.
Enjoy: When you’re ready for a cool treat, just grab one straight from the freezer! If they’re too hard, let them sit at room temperature for about 2-3 minutes to get that perfect slushy consistency. Don’t leave them out too long though – they’re best enjoyed nice and cold!
| Preparation Time | 15-20 minutes |
| Cooking Time | 5-10 minutes |
| Total Time | 12-24 hours |
| Level of Difficulty | Easy |
Estimated Nutrition
Estimated nutrition for the whole recipe (without optional ingredients):
- Calories: 1200-1400
- Protein: 16-20 g
- Fat: 40-50 g
- Carbohydrates: 200-220 g
Ingredients
For the mango mixture:
- 12 fl oz evaporated milk
- 14 fl oz condensed milk (I like La Lechera brand)
- 4 champagne mangoes (peeled and pitted)
For the ice candy base:
- 1/4 cup cornstarch (or corn flour)
- 1/2 cup white sugar
- 2 cups water
For assembly:
- 1 funnel
- 20 clear ice candy bags (about 2×10 inches)
Step 1: Prepare the Mango Mixture
Begin by cutting the mango into chunks and transferring them to a blender.
Add the evaporated milk to the blender and blend until the mixture is smooth.
Set this aside for later.
If you are using Nestle Fresh Milk instead of evaporated milk, there’s no need to use cornstarch in the upcoming steps.
Step 2: Boil and Mix the Ingredients
Pour water into a large saucepan and bring it to a boil over medium-low heat.
Once boiling, add the cornstarch (if using) and stir until dissolved.
Then, add the sugar and condensed milk to the saucepan.
Carefully and slowly pour in the blended mango mixture.
Reduce the heat to low and let it simmer for 5 minutes, stirring occasionally to ensure everything is well-combined.
Step 3: Cool the Mixture
After simmering, remove the pot from the heat and allow the mixture to cool completely for about an hour.
This step is important to ensure the texture is perfect for freezing later.
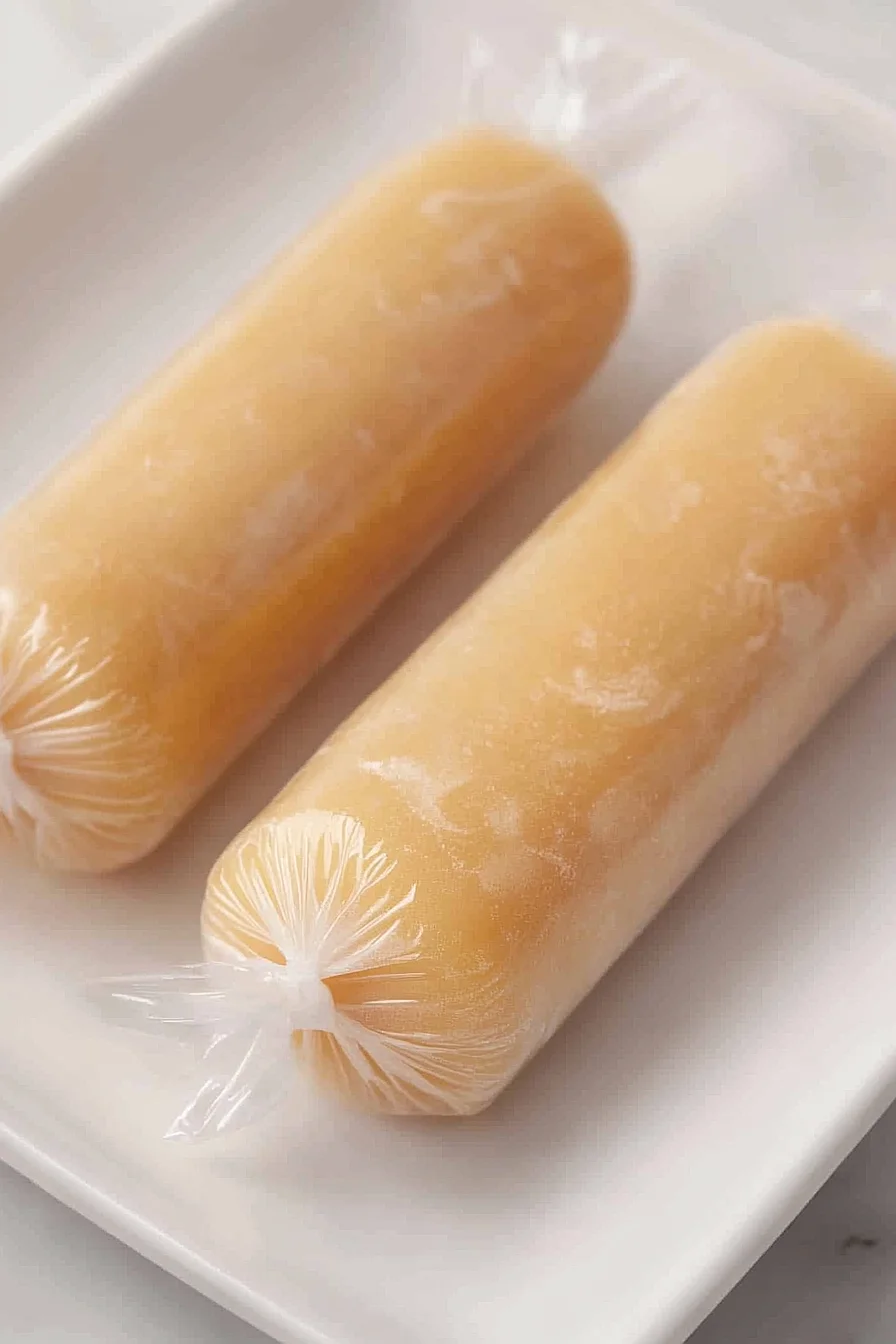
Step 4: Fill and Seal the Bags
Once the mango mixture has cooled, pour it into cellophane bags, filling each bag about three-quarters of the way to allow room for expansion as it freezes.
Gently tie a knot at the top of each bag to seal them securely.
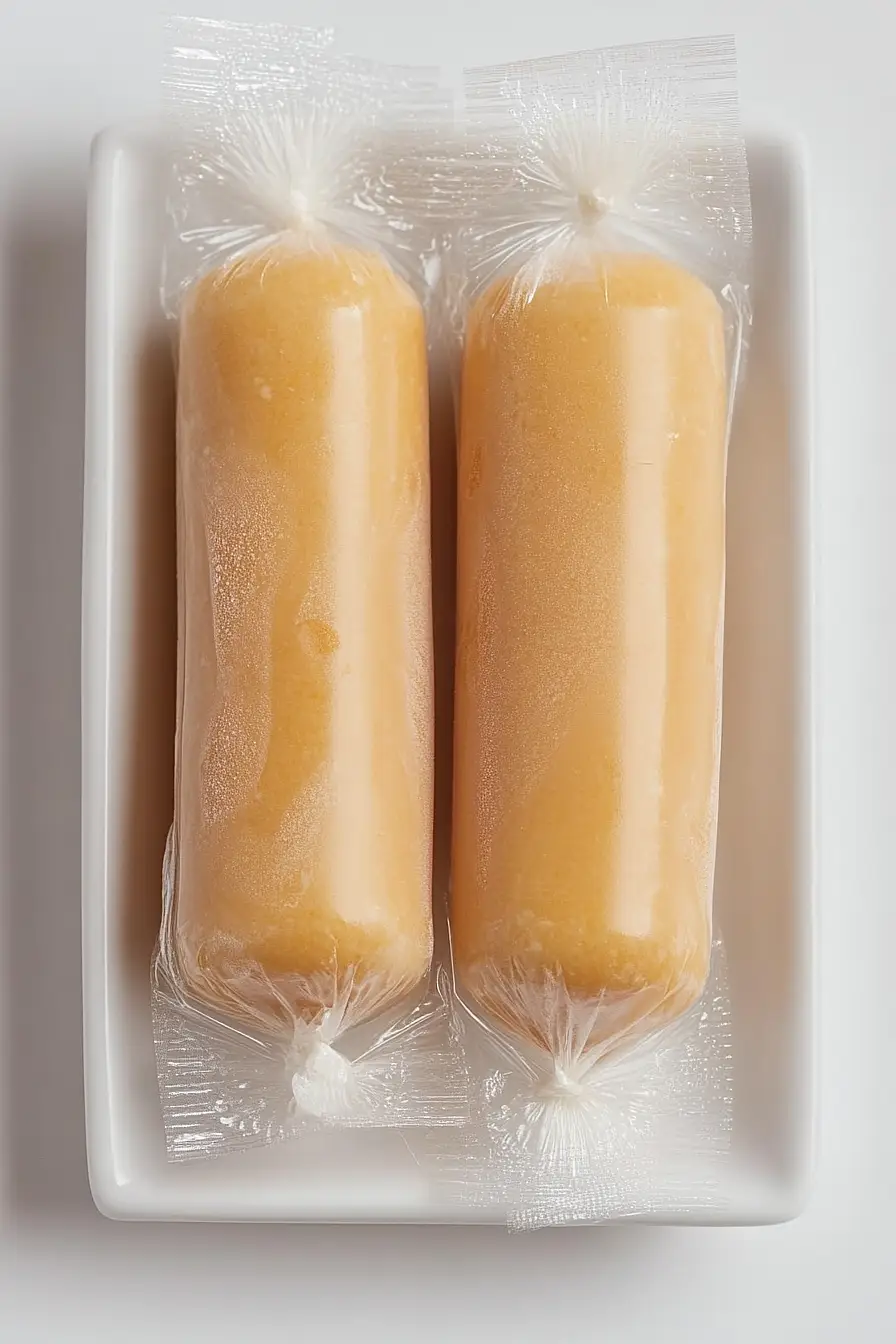
Step 5: Freeze the Mango Treats
Place the sealed bags in the freezer overnight.
Make sure they are laid flat or well-supported to freeze properly.
Keep them frozen until you are ready to enjoy this refreshing treat.
Step 6: Serve and Enjoy
When you’re ready to serve, take the frozen mango bags from the freezer.
These make for a delightful frozen snack on a hot day.
Enjoy your homemade mango ice candy!
