Red velvet cupcakes have been part of my baking routine for as long as I can remember. There’s something special about that rich red color and cream cheese frosting that makes everyone smile. I’ve noticed that whenever I bring these to potlucks or school bake sales, they’re always the first treats to disappear from the table.
I started making these cupcakes years ago when my daughter requested them for her birthday. After trying different recipes and tweaking ingredients, I finally found the perfect balance of cocoa and vanilla that makes these cupcakes taste just right. The best part? They’re actually easier to make than you might think.
Whether you’re baking for a special occasion or just want to treat yourself on a regular Tuesday afternoon, these red velvet cupcakes won’t let you down. And trust me, once you master this recipe, your friends will be asking you to make them again and again.
Why You’ll Love These Red Velvet Cupcakes
- Perfect for special occasions – These cupcakes are ideal for birthdays, Valentine’s Day, or any celebration where you want to impress your guests with their classic red color and cream cheese frosting.
- Foolproof recipe – With simple pantry ingredients and clear measurements in both cups and grams, you’ll get consistent results every time you bake these.
- Rich cream cheese frosting – The smooth, tangy cream cheese frosting perfectly balances the subtle cocoa flavor of the cupcakes – it’s the perfect pairing that everyone loves.
- Quick preparation – These cupcakes come together in under an hour, making them a realistic option even when you’re short on time.
What Kind of Cocoa Powder Should I Use?
For red velvet cupcakes, natural unsweetened cocoa powder is your best bet. Dutch-process cocoa powder, while great in many recipes, isn’t ideal here because it can affect how the red food coloring shows up in your final product. Natural cocoa powder has a lighter brown color and more acidic properties that work well with the buttermilk and baking soda in this recipe. Just make sure your cocoa powder is fresh and hasn’t been sitting in your pantry for years – old cocoa powder can lose its rich flavor and affect the taste of your cupcakes. If you’re opening a new container, give it a quick sniff – it should smell deeply chocolatey with no musty notes.

Options for Substitutions
Let me share some helpful substitutions for these red velvet cupcakes, though keep in mind some ingredients are must-haves for the classic taste:
- Buttermilk: No buttermilk? Make your own by adding 2 teaspoons of lemon juice or white vinegar to regular milk and letting it sit for 5 minutes until slightly curdled.
- Food coloring: While traditional red food dye works best, you can try natural alternatives like beet powder (use 2-3 tablespoons), though the color won’t be as bright.
- Cream cheese: For the frosting, mascarpone cheese can work as a substitute, though it will give a slightly different texture. Don’t use low-fat cream cheese – it won’t give you the right consistency.
- Plain flour: Cake flour can be used for a lighter texture – just add 2 extra tablespoons per cup of flour called for in the recipe.
- Vanilla essence: You can use vanilla bean paste (same amount) or half the amount if using vanilla extract, as it’s more concentrated.
- Cocoa powder: This is essential for the classic red velvet taste – don’t skip or substitute it as it’s key for the signature flavor.
Watch Out for These Mistakes While Baking
The temperature of your ingredients can make or break these red velvet cupcakes – cold eggs and butter won’t blend properly, so make sure to take them out of the fridge at least an hour before baking. Another common mistake is overmixing the batter once you’ve added the flour, which can lead to tough, chewy cupcakes instead of tender ones – mix just until the ingredients are combined and no more. For the cream cheese frosting, a frequent error is using cream cheese straight from the refrigerator, which creates lumpy frosting – ensure both the butter and cream cheese are properly softened but still cool to the touch for that perfectly smooth texture. To get the signature red color without making the cupcakes taste bitter, add the food coloring gradually and remember that gel food coloring works better than liquid, as you’ll need less to achieve that beautiful red shade.

What to Serve With Red Velvet Cupcakes?
These rich red velvet cupcakes pair wonderfully with a variety of beverages that can balance their sweetness. A cold glass of milk is the classic choice, but I love serving them with hot coffee or tea for an afternoon treat. If you’re hosting a party, try setting up a hot chocolate station with whipped cream and marshmallows – the combination of chocolate drinks and red velvet is always a crowd-pleaser. For a grown-up twist, these cupcakes taste amazing with a glass of champagne or prosecco, especially if you’re celebrating a special occasion.
Storage Instructions
Counter Storage: These red velvet cupcakes can hang out on your counter for up to 2 days when kept in an airtight container. Just make sure they’re in a cool spot away from direct sunlight – nobody likes a melted cream cheese frosting situation!
Refrigerate: Because of the cream cheese frosting, these cupcakes are happiest in the fridge where they’ll stay fresh for up to 5 days. Pop them in an airtight container, and they’ll be ready whenever your sweet tooth calls. The fridge helps keep that cream cheese frosting nice and firm too!
Freeze: Want to save some for later? These cupcakes freeze really well for up to 3 months! First, let them firm up on a baking sheet in the freezer for about an hour, then wrap each one in plastic wrap and store them in a freezer container. When you’re ready to eat, just thaw them overnight in the fridge.
Serve: For the best taste and texture, let refrigerated cupcakes sit at room temperature for about 20-30 minutes before serving. This helps soften the frosting to that perfect, creamy consistency we all love!
| Preparation Time | 20-30 minutes |
| Cooking Time | 15-20 minutes |
| Total Time | 35-50 minutes |
| Level of Difficulty | Medium |
Estimated Nutrition
Estimated nutrition for the whole recipe (without optional ingredients):
- Calories: 4500-4900
- Protein: 70-80 g
- Fat: 250-270 g
- Carbohydrates: 600-650 g
Ingredients
For the cupcakes:
- 1/4 tsp kosher salt
- 2 tsp cocoa powder (I use Ghirardelli unsweetened)
- 1 2/3 cups pastry flour
- 3 large eggs (room temperature)
- 3/4 cup unsalted butter (softened, about 70°F)
- 1/4 tsp baking soda
- 1 tsp baking powder
- 3/4 cup buttermilk
- 1 cup granulated sugar
- 2 tbsp vanilla extract
- red food coloring (I prefer AmeriColor gel paste)
For the cream cheese frosting:
- 1 pinch kosher salt
- 1 1/2 cups unsalted butter (softened to room temperature)
- 1 1/2 lb powdered sugar (sifted for a smooth frosting)
- 16 oz cream cheese (softened, I like Philadelphia full-fat)
- 1 tsp vanilla extract
Step 1: Prepare the Baking Materials
Preheat your oven to 350°F (175°C).
Line a cupcake pan with 16 cupcake papers, ensuring they are ready for the batter.
Step 2: Create the Dry Ingredient Mixture
In a large mixing bowl or the bowl of a stand mixer, sift together the flour, sugar, cocoa powder, baking powder, and baking soda.
Add the salt and whisk to combine.
Cut the room temperature butter into tablespoon-sized pieces and add them to the dry ingredients.
Using a paddle attachment, mix on low speed until a sandy mixture forms.
Step 3: Combine Wet Ingredients
In a separate bowl, whisk together the eggs, buttermilk, vanilla extract, and food coloring.
You can use 1 to 2 tablespoons of liquid food coloring or 5 to 6 drops of gel food coloring, depending on how rich of a red hue you prefer.
Step 4: Make the Cupcake Batter
Slowly pour the wet ingredients into the dry ingredient mixture while mixing on low speed.
Continue mixing until everything is well combined, and be sure to scrape down the sides of the bowl as needed.
Once the batter is ready, distribute it evenly into the prepared cupcake papers.
Step 5: Bake the Cupcakes
Place the cupcake pans in the preheated oven and bake for 15 to 20 minutes, or until the cupcakes are springy to the touch.
Allow them to cool for a few minutes in the pans before transferring them to a wire rack to cool completely.
Step 6: Prepare the Cream Cheese Buttercream
In a large mixing bowl or the bowl of a stand mixer with a paddle attachment, cream the butter on medium speed until it becomes smooth and fluffy, about 2 minutes.
Add the room temperature cream cheese, vanilla, and a pinch of salt to the creamed butter.
Beat together on medium speed until well combined, making sure to scrape down the sides of the bowl.
Step 7: Add Confectioners Sugar and Finish Frosting
With the mixer on low speed, gradually add sifted confectioners sugar a cup at a time, mixing until completely integrated.
For a stiffer buttercream, you can add more confectioners sugar or chill the buttercream briefly before piping.
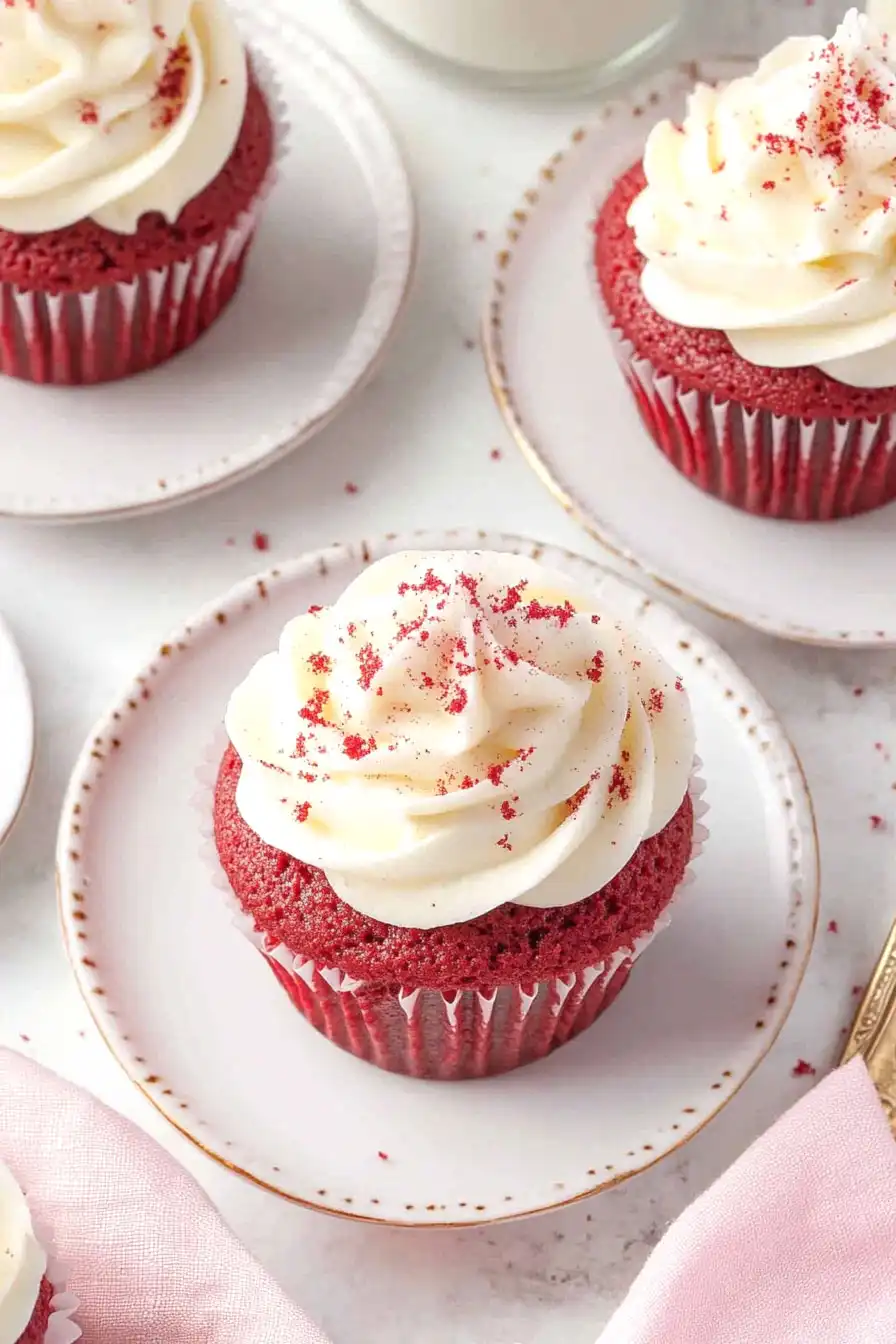
Transfer the prepared buttercream to a piping bag fitted with a star tip and pipe large dollops of frosting on top of each cooled cupcake for a beautiful finish.
