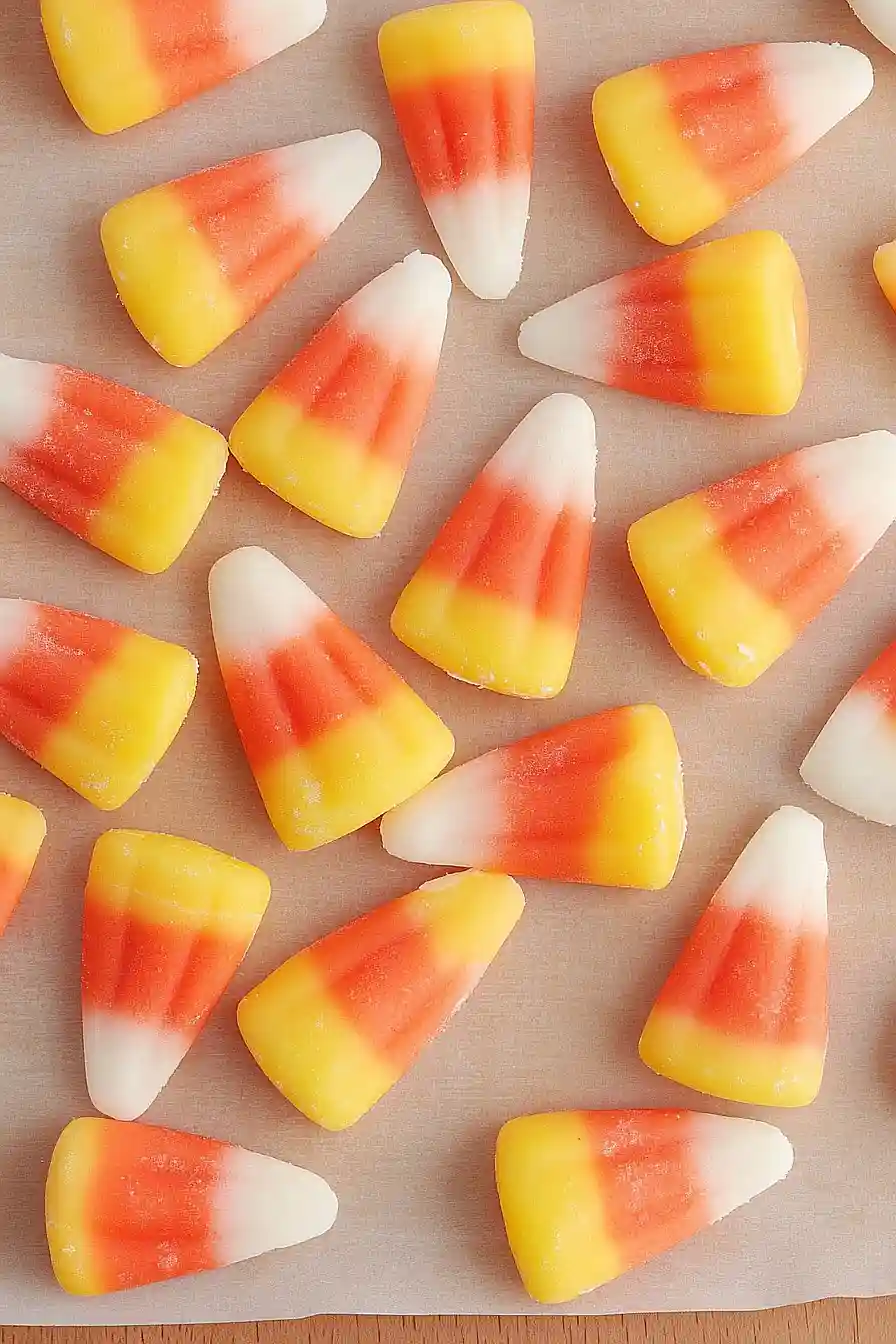
Here is my favorite candy corn recipe, with simple ingredients like sugar, corn syrup, and honey that create those classic orange, yellow, and white layers we all know and love.
This homemade candy corn is always a hit with my kids during Halloween season. I like to make a big batch because it keeps well in an airtight container, and honestly, it tastes so much better than the store-bought stuff. Plus, there’s something really satisfying about making your own Halloween candy, you know?
Why You’ll Love This Candy Corn
- Homemade Halloween treat – Making your own candy corn means you know exactly what goes into it, and it tastes so much fresher than store-bought versions.
- Simple ingredients – You probably have most of these pantry staples at home already, making this an easy project to tackle on a whim.
- Fun family activity – Kids love helping with the coloring and shaping process, making this a perfect weekend project that gets everyone involved in the kitchen.
- Quick preparation – In just about an hour, you’ll have fresh, homemade candy corn ready for trick-or-treaters or your own Halloween celebrations.
- Customizable colors – You can adjust the food coloring to get the perfect orange and yellow shades, or even experiment with different color combinations for unique variations.
What Kind of Corn Syrup Should I Use?
Light corn syrup is definitely the way to go for homemade candy corn, as it gives you that classic smooth texture and mild sweetness without overpowering the other flavors. You might be tempted to substitute dark corn syrup, but it will give your candy a stronger molasses flavor and a darker color that won’t look quite right. If you can’t find light corn syrup at the store, you can make your own substitute by mixing equal parts granulated sugar and water, then heating until the sugar dissolves completely. Just make sure whatever corn syrup you use is fresh – old corn syrup can crystallize and make your candy grainy instead of smooth.
Options for Substitutions
This candy corn recipe has a few spots where you can make swaps if needed:
- Nonfat powdered milk: If you don’t have nonfat powdered milk, you can use regular whole milk powder – just use the same amount. In a pinch, you can skip it entirely, but the candy won’t have quite the same creamy texture.
- Light corn syrup: You can substitute with honey or golden syrup, but keep in mind this will change the flavor slightly. Dark corn syrup works too, but it will make your candy corn less bright in color.
- Liquid food coloring: Gel food coloring works great and actually gives you more control over the color intensity. If you don’t have red, you can make orange by using just yellow and a tiny bit of any red-toned color you have on hand.
- Unsalted butter: Salted butter is fine to use – just reduce the kosher salt to a pinch instead of 1/8 teaspoon to balance things out.
- Vanilla extract: You can try almond extract for a different flavor, but use only 1/2 teaspoon since it’s much stronger than vanilla.
Watch Out for These Mistakes While Cooking
The biggest mistake when making homemade candy corn is not cooking the sugar mixture to the right temperature – you need to reach exactly 230°F (soft ball stage) or your candy will either be too soft and sticky or too hard and brittle.
Another common error is adding food coloring while the mixture is still too hot, which can cause the colors to fade or turn muddy, so let it cool for about 2 minutes before dividing and tinting each portion.
Working too slowly is also a recipe for disaster since candy corn mixture hardens quickly once it starts cooling, so have your workspace ready and move fast when shaping the layers.
For the cleanest layers, press each colored portion firmly into your mold or pan to avoid air bubbles, and don’t skip chilling the candy between adding each layer – this prevents the colors from bleeding together.
What to Serve With Candy Corn?
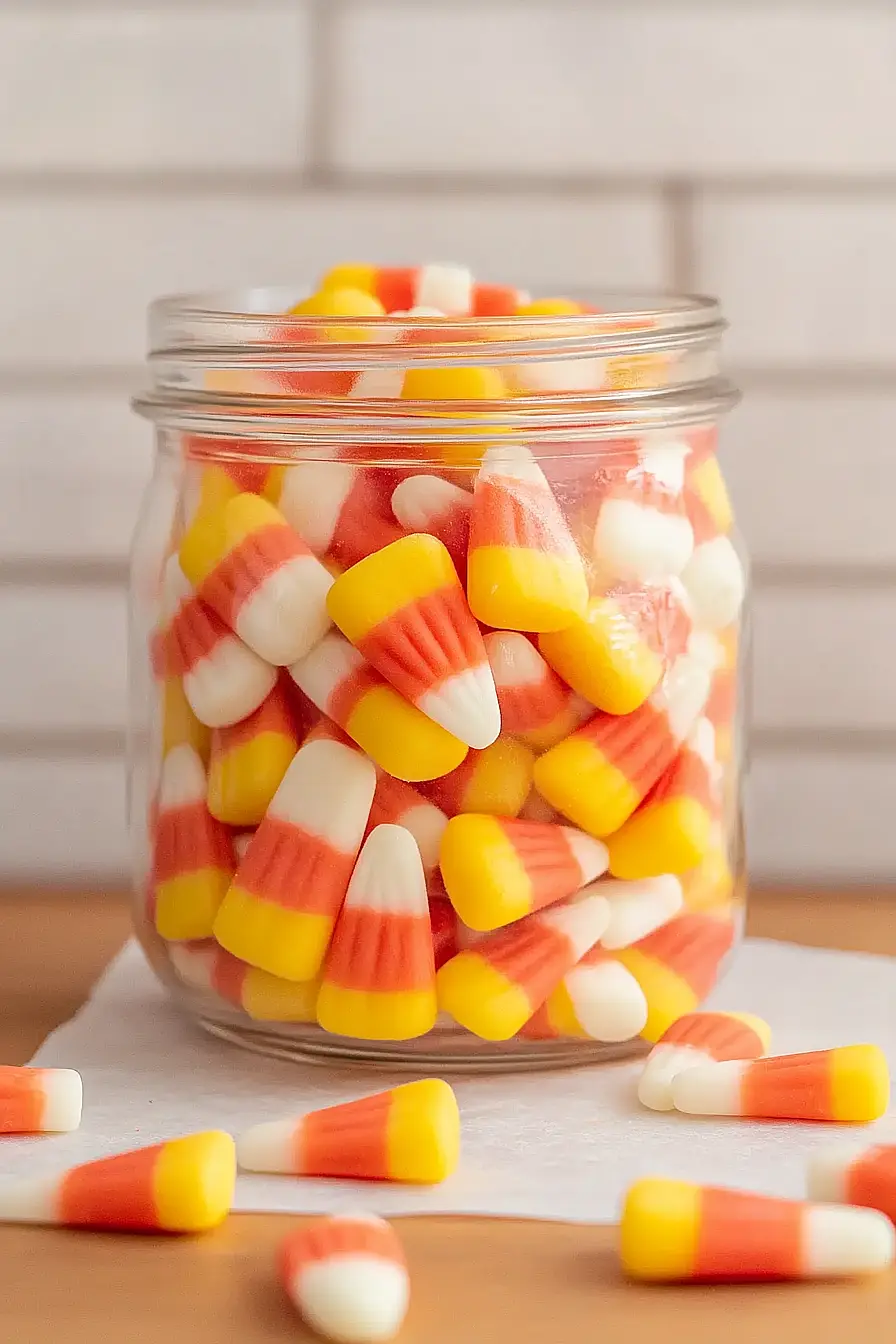
Homemade candy corn is perfect for Halloween parties and makes a great addition to any fall dessert spread alongside other seasonal treats like caramel apples or pumpkin cookies. You can mix it into trail mix with nuts and dried cranberries for a sweet and salty snack, or use it as a colorful topping for vanilla ice cream or fall-themed cupcakes. It’s also fun to package up in small bags as party favors or to give out to trick-or-treaters who want something a little more special than store-bought candy. For a cozy autumn evening, serve it with hot apple cider or spiced tea for the perfect seasonal pairing.
Storage Instructions
Keep Fresh: Your homemade candy corn will stay soft and chewy when stored in an airtight container at room temperature for up to 2 weeks. I like to layer them between sheets of wax paper to prevent them from sticking together. Keep them away from heat and humidity to maintain that perfect texture.
Freeze: These little treats freeze really well if you want to make them ahead for Halloween parties. Just place them in a freezer-safe container with parchment paper between layers and they’ll keep for up to 3 months. They thaw quickly at room temperature in about 30 minutes.
Make Ahead: Candy corn is actually perfect for making ahead since the flavors develop nicely over time. I often make mine a week before I need them, and they taste even better after sitting for a few days. Just make sure they’re completely cool and set before storing.
| Preparation Time | 30-45 minutes |
| Cooking Time | 15-25 minutes |
| Total Time | 45-70 minutes |
| Level of Difficulty | Medium |
Estimated Nutrition
Estimated nutrition for the whole recipe (without optional ingredients):
- Calories: 950-1100
- Protein: 2-3 g
- Fat: 5-7 g
- Carbohydrates: 240-265 g
Ingredients
For the powdered sugar blend:
- 1 cup confectioners’ sugar
- 2 1/2 tbsp nonfat dry milk
- 1/8 tsp kosher salt
For the syrup:
- 1/2 cup white sugar
- 1/3 cup light corn syrup
- 2 tbsp unsalted butter
For flavor and color:
- 1 1/2 tsp vanilla extract
- Red liquid food coloring
- Yellow liquid food coloring
Step 1: Prepare the Dry Ingredients
- 1 cup confectioners’ sugar
- 2 1/2 tbsp nonfat dry milk
- 1/8 tsp kosher salt
Sift the confectioners’ sugar and nonfat dry milk into a large bowl using a sifter or fine-mesh strainer.
Add the kosher salt and mix well to combine.
This mixture will be incorporated into the candy syrup later, so set it aside for now.
Step 2: Cook the Candy Syrup
- 1/2 cup white sugar
- 1/3 cup light corn syrup
- 2 tbsp unsalted butter
Line a baking sheet with a silicone baking mat and set it near the stove.
In a 2-quart or larger saucepan, combine the white sugar, light corn syrup, and unsalted butter.
Cook the mixture over medium heat, gently swirling the pan once or twice, until the sugar dissolves and the butter melts, about 6 to 8 minutes.
Attach a candy thermometer to the pan, bring the syrup to a full boil, and let it cook without stirring until it reaches 245°F to 250°F (1 to 5 minutes).
If the temperature goes above 250°F, add a few tablespoons of water off heat to lower it, then monitor as it reheats.
Remove the pan from heat once the correct temperature is reached.
Step 3: Form the Candy Dough
- 1 1/2 tsp vanilla extract
- confectioners’ sugar mixture from Step 1
Carefully add the vanilla extract to the hot syrup—the mixture will bubble and sputter, so do this cautiously.
Then add the sifted powdered sugar mixture from Step 1 to the syrup.
Stir with a stiff heatproof spatula until a thick, paste-like dough forms and very little of the dry mixture remains.
Pour the dough onto the prepared baking sheet, scraping the pan well.
Let it cool for 10 to 15 minutes until it’s cool enough to handle but still pliable.
Step 4: Color and Portion the Dough
- red liquid food coloring
- yellow liquid food coloring
Once the dough is pliable, cut it into three equal pieces.
Make a well in one piece and add yellow food coloring; in the second, add yellow and red food coloring to make orange; leave the third piece white.
Knead the colored doughs separately until the colors are uniform, making sure not to mix with the white dough.
If any piece becomes too stiff, microwave it in 5-second intervals to soften.
Step 5: Shape the Candy Corn
Pinch off a ping-pong ball–sized portion from each colored dough.
Roll each into a thin rope about 1/4 inch thick.
Arrange the ropes side by side in the order yellow, orange, then white, and gently pinch them together so they stick.
Lightly flatten with a rolling pin, then use a bench scraper or knife to cut small triangles by angling as you move along the length.
Repeat these steps until all dough is used.
If the dough becomes too stiff, microwave as needed.
Personally, I like to keep a damp towel close by to wipe my hands between colors; this prevents the colors from mixing accidentally.
Step 6: Dry and Store the Candy Corn
Spread the candy corn pieces out in a single layer on the prepared baking sheet to dry for several hours.
Separate any candies that stick together as they dry.
Once completely dry, store the candies in an airtight container—they’ll keep for several weeks, although I find homemade candy corn tastes best within the first few days!
