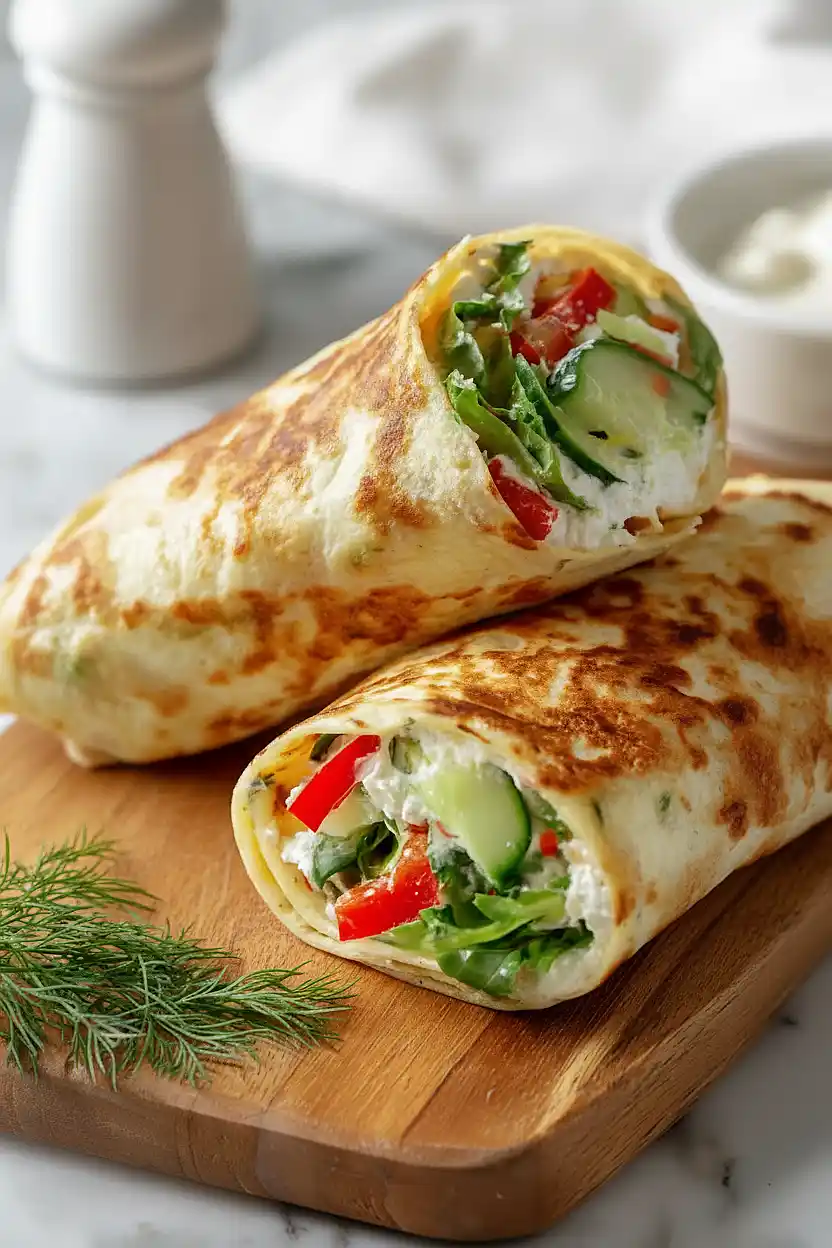
I’ve been making wraps for lunch forever, but I never thought the wrap itself could be made of cottage cheese until I tried it. Now I’m hooked. These cottage cheese wraps are perfect for when you want something filling but still light enough that you won’t fall asleep at your desk by 2 p.m.
The wrap is basically a protein-packed crepe that holds together really well and doesn’t get soggy. I love that I can make a batch on Sunday and have them ready to fill throughout the week. Just grab one from the fridge, add whatever you’re in the mood for, and you’re out the door.
You can go simple with just cheese and arugula, or load them up with roasted red peppers, avocado, and a drizzle of balsamic glaze. They work for breakfast, lunch, or even a quick dinner when you don’t feel like cooking. Once you get the hang of making the wraps, you’ll probably start keeping a stack in your fridge at all times.
Why You’ll Love These Cottage Cheese Wraps
- High-protein base – The cottage cheese wraps pack in plenty of protein to keep you full and satisfied, making them perfect for a healthy lunch or light dinner.
- Quick and easy – These wraps come together in under 45 minutes with minimal effort, so you can have a homemade meal on the table fast.
- Simple ingredients – You only need a few basic ingredients to make the wraps themselves, and you probably already have cottage cheese and eggs in your fridge.
- Customizable fillings – Fill them with whatever veggies and toppings you like or have on hand, from fresh arugula and cucumbers to roasted peppers and creamy avocado.
- Low-carb friendly – These wraps are naturally lower in carbs than traditional flour tortillas, making them a great option if you’re watching your carb intake.
What Kind of Cottage Cheese Should I Use?
Any cottage cheese you have on hand will work for these wraps, whether it’s small curd, large curd, or even whipped cottage cheese. Full-fat cottage cheese tends to create a sturdier wrap that holds together better, but low-fat or fat-free versions will still get the job done if that’s what you prefer. If you’re using large curd cottage cheese, you might want to give it a quick blend in a food processor for a smoother consistency, which helps the wraps cook more evenly. The key is making sure your cottage cheese is well-drained if it seems particularly watery – just give it a gentle press with a paper towel to remove excess liquid before mixing.

Options for Substitutions
This recipe is pretty forgiving when it comes to swaps, so feel free to work with what you have:
- Cottage cheese: This is the base of your wrap, so you’ll want to stick with cottage cheese here. However, you can use full-fat, low-fat, or even small curd versus large curd depending on your preference.
- Italian seasoning: Don’t have Italian seasoning? Mix together some dried basil, oregano, and a pinch of garlic powder. Or use whatever dried herbs you have on hand like thyme or parsley.
- Mozzarella: Any melty cheese works great here – try provolone, Swiss, cheddar, or even pepper jack if you want a little kick.
- Arugula: Swap this with spinach, mixed greens, or romaine lettuce. Really any leafy green you enjoy will do the job.
- Roasted red peppers: Fresh bell peppers work fine if you don’t have roasted ones. You can also use sun-dried tomatoes or grilled zucchini for a different flavor.
- Balsamic glaze: If you don’t have the glaze, drizzle regular balsamic vinegar or even a little olive oil and lemon juice instead.
Watch Out for These Mistakes While Baking
The biggest mistake people make with cottage cheese wraps is not spreading the batter thin enough, which results in thick, rubbery wraps that crack when you try to roll them – aim for about 1/8 inch thickness and use an offset spatula to spread it evenly across the entire pan.
Another common error is pulling the wraps out of the oven too early when they still look pale and wet in the center, so make sure the edges are golden brown and the middle is completely set before removing them.
Skipping the cooling step might seem tempting, but trying to roll a hot wrap will cause it to tear and fall apart, so give it the full 5 minutes to cool and firm up on the parchment paper.
Finally, don’t overload your wrap with too many wet ingredients like extra balsamic glaze or juicy tomatoes, as this can make the wrap soggy and difficult to handle – pat your fillings dry and add sauces sparingly for the best results.
What to Serve With Cottage Cheese Wraps?
These wraps are pretty filling on their own, but I love serving them with a simple side salad dressed with olive oil and lemon juice to keep things fresh and light. A bowl of tomato soup or minestrone makes a great pairing if you want something more substantial, especially on cooler days. You could also serve them alongside some crispy sweet potato fries or baked chips for a bit of crunch. If you’re meal prepping, these wraps travel well and pair nicely with fresh fruit like grapes or apple slices for a complete lunch.
Storage Instructions
Store: Keep your cottage cheese wraps in the fridge between layers of parchment paper in an airtight container for up to 3 days. They’re best when fresh, but they’ll still work great for a quick lunch the next day. I like to store the wraps separate from the fillings to keep everything from getting soggy.
Prep Ahead: You can make the wraps themselves a day or two ahead and store them in the fridge, then just fill them when you’re ready to eat. This is a real time-saver for busy mornings! Just bring them to room temperature for a few minutes before filling so they’re easier to roll without cracking.
Freeze: The plain wraps freeze pretty well for up to a month when stacked with parchment paper between each one. I don’t recommend freezing them already filled though, since the veggies and fresh ingredients won’t hold up as nicely.
| Preparation Time | 5-10 minutes |
| Cooking Time | 25-35 minutes |
| Total Time | 30-45 minutes |
| Level of Difficulty | Easy |
| Servings | 1 wrap |
Estimated Nutrition
Estimated nutrition for the whole recipe (without optional ingredients):
- Calories: 300-370
- Protein: 23-29 g
- Fat: 16-21 g
- Carbohydrates: 13-18 g
Ingredients
For the wrap:
- 1.25 cup cottage cheese (I use Good Culture for a thicker consistency)
- 1 egg
- 1/4 tsp salt
- 1/2 tsp Italian seasoning
- 1/4 tsp garlic powder
For the filling:
- mozzarella (I prefer Galbani for its meltability)
- arugula
- roasted red peppers
- cucumbers
- avocado
- salt
- pepper
- balsamic glaze (drizzled lightly for a tangy finish)
- basil
Step 1: Prepare the Cottage Cheese Batter
- 1.25 cup cottage cheese
- 1 egg
- 1/4 tsp salt
- 1/2 tsp Italian seasoning
- 1/4 tsp garlic powder
Add the cottage cheese, egg, salt, Italian seasoning, and garlic powder to a blender and blend until completely smooth and uniform—this creates the base for your wraps.
The egg acts as a binder while the seasoning builds flavor into the crepe itself.
Pour the batter into a bowl and set aside while you prepare your oven and pan.
Step 2: Bake the Wraps
- cottage cheese batter from Step 1
Preheat your oven to 350°F.
Line a large baking sheet (or two 9×13 inch pans if you prefer thinner wraps) with parchment paper, then pour the cottage cheese batter onto it and spread into an even, thin layer using an offset spatula or the back of a spoon—aim for about 1/8 inch thickness for pliable wraps.
Bake for 25-35 minutes until the top is lightly golden and the wraps are set but still slightly flexible when gently pressed.
I like to check around the 25-minute mark because oven temperatures vary, and you want them cooked through but not crispy.
Step 3: Cool and Prepare for Filling
- cucumbers, sliced
- avocado, sliced
- basil, torn
- arugula
- roasted red peppers
- mozzarella
- salt
- pepper
Remove the baked wraps from the oven and let cool for about 5 minutes—this allows them to firm up just enough to handle without tearing.
While they cool, prepare your fillings: slice the cucumbers and avocado, tear the basil leaves, and have the arugula, roasted red peppers, mozzarella, salt, and pepper ready to go.
This mise en place ensures you can assemble quickly while the wraps are still warm and pliable.
Step 4: Fill and Roll the Wraps
- baked wraps from Step 2
- mozzarella
- arugula
- roasted red peppers
- cucumbers
- avocado
- basil
- salt
- pepper
- balsamic glaze
Once the wraps have cooled slightly, carefully peel them off the parchment paper.
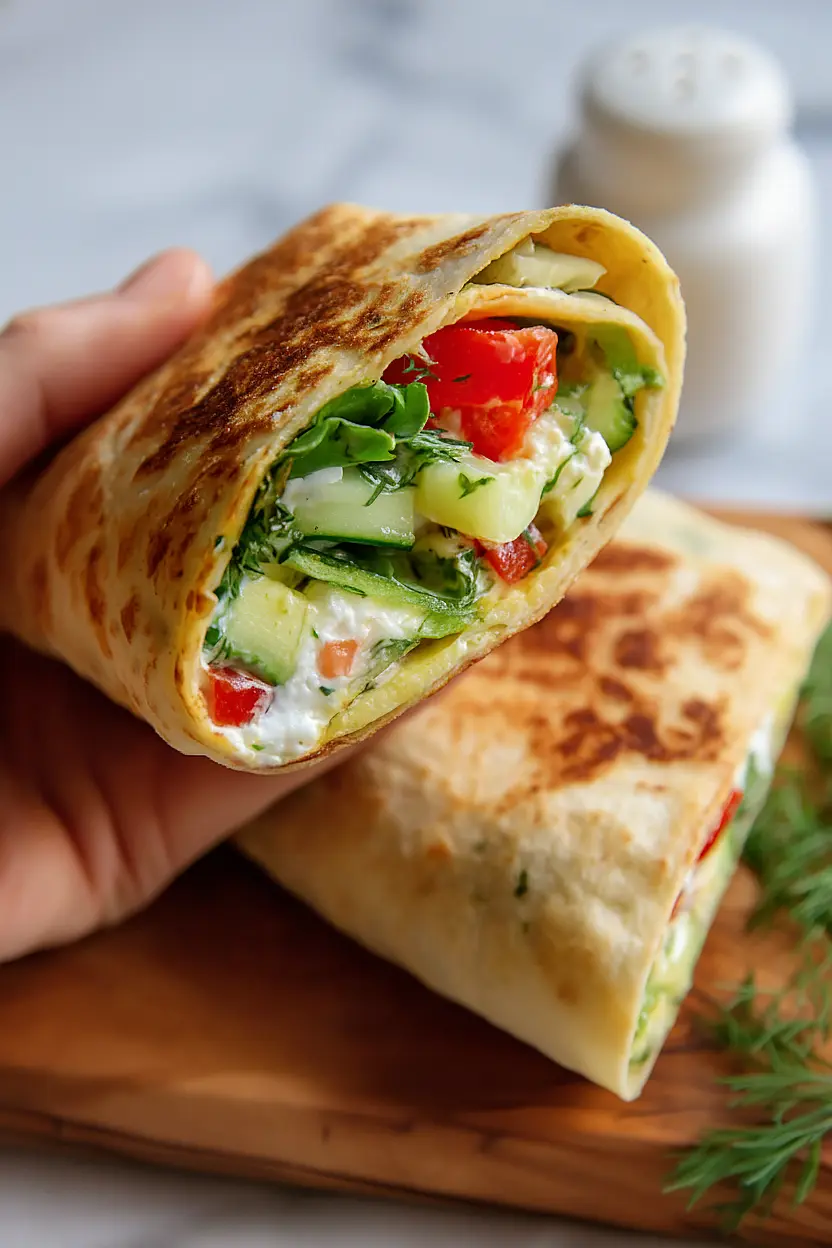
Layer your fillings in the center of each wrap in this order: mozzarella first (it will soften from the residual heat), then arugula, roasted red peppers, cucumber slices, avocado, and fresh basil.
Season the fillings lightly with salt and pepper, then roll each wrap tightly like a burrito.
I find that layering the cheese first helps it melt slightly and act as a light adhesive that keeps everything together as you roll.
Drizzle lightly with balsamic glaze and serve immediately.

Irresistible Cottage Cheese Wraps
Ingredients
For the wrap::
- 1.25 cup cottage cheese (I use Good Culture for a thicker consistency)
- 1 egg
- 1/4 tsp salt
- 1/2 tsp Italian seasoning
- 1/4 tsp garlic powder
For the filling::
- mozzarella (I prefer Galbani for its meltability)
- arugula
- roasted red peppers
- cucumbers
- avocado
- salt
- pepper
- balsamic glaze (drizzled lightly for a tangy finish)
- basil
Instructions
- Add the cottage cheese, egg, salt, Italian seasoning, and garlic powder to a blender and blend until completely smooth and uniform—this creates the base for your wraps. The egg acts as a binder while the seasoning builds flavor into the crepe itself. Pour the batter into a bowl and set aside while you prepare your oven and pan.
- Preheat your oven to 350°F. Line a large baking sheet (or two 9x13 inch pans if you prefer thinner wraps) with parchment paper, then pour the cottage cheese batter onto it and spread into an even, thin layer using an offset spatula or the back of a spoon—aim for about 1/8 inch thickness for pliable wraps. Bake for 25-35 minutes until the top is lightly golden and the wraps are set but still slightly flexible when gently pressed. I like to check around the 25-minute mark because oven temperatures vary, and you want them cooked through but not crispy.
- Remove the baked wraps from the oven and let cool for about 5 minutes—this allows them to firm up just enough to handle without tearing. While they cool, prepare your fillings: slice the cucumbers and avocado, tear the basil leaves, and have the arugula, roasted red peppers, mozzarella, salt, and pepper ready to go. This mise en place ensures you can assemble quickly while the wraps are still warm and pliable.
- Once the wraps have cooled slightly, carefully peel them off the parchment paper. Layer your fillings in the center of each wrap in this order: mozzarella first (it will soften from the residual heat), then arugula, roasted red peppers, cucumber slices, avocado, and fresh basil. Season the fillings lightly with salt and pepper, then roll each wrap tightly like a burrito. I find that layering the cheese first helps it melt slightly and act as a light adhesive that keeps everything together as you roll. Drizzle lightly with balsamic glaze and serve immediately.
