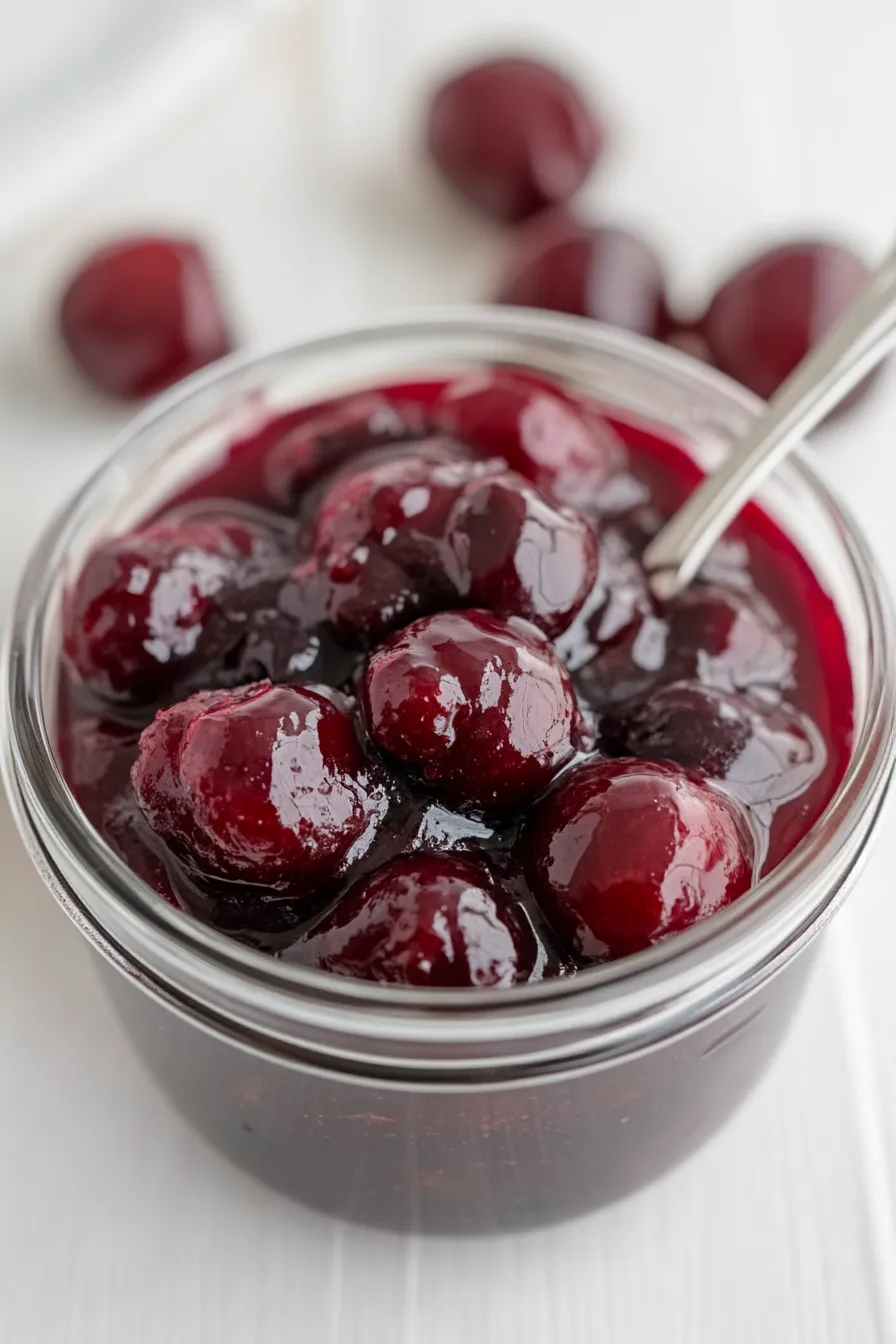
If you ask me, homemade cherry jam is one of life’s simple pleasures.
This sweet and slightly tart spread takes me back to summer mornings at my grandmother’s kitchen table. Fresh cherries cooked down with sugar until they’re thick and glossy, creating something that’s way better than anything you can buy at the store.
The process is surprisingly straightforward – just pitted cherries, sugar, and a splash of lemon juice bubbling away on the stovetop. A little patience is all you need to turn these everyday ingredients into something special.
It’s a classic recipe that works perfectly on everything from morning toast to afternoon scones, making any breakfast or snack time feel a bit more special.
Why You’ll Love This Cherry Jam
- Just 3 ingredients – This recipe keeps things wonderfully simple with only cherries, sugar, and lemon juice – no artificial preservatives or complicated additions needed.
- Natural fruit flavor – The overnight resting time allows the natural sweetness of ripe cherries to shine through, creating a jam that tastes like summer in a jar.
- Make-ahead friendly – While it takes a day to make, most of that time is hands-off resting, letting you enjoy homemade jam without standing over the stove all day.
- Perfect for gifting – This homemade cherry jam makes a thoughtful present for friends and family, and it’s so much better than store-bought versions.
What Kind of Cherries Should I Use?
For homemade cherry jam, you’ve got several tasty options to choose from. Sweet cherries like Bing or Rainier work great and are easy to find at most grocery stores during summer months, while tart cherries like Montmorency will give your jam a more complex, slightly tangy flavor. If you’re using sweet cherries, you might want to add a bit more lemon juice to balance out the sweetness. Fresh cherries are ideal, but if you’re making jam out of season, frozen cherries can work just as well – just make sure they’re fully thawed and drained before cooking. When picking fresh cherries, look for firm, plump fruit with shiny skin and green stems, avoiding any that are soft or have brown spots.
Options for Substitutions
While this cherry jam recipe is pretty straightforward, here are some helpful substitution tips:
- Cherries: Fresh cherries are best, but if they’re not in season, you can use frozen cherries – just make sure they’re thawed and drained first. Both sweet and sour cherries work well, though you might want to adjust the sugar if using sour ones.
- Granulated sugar: Regular white sugar works best for jam-making since it helps with preservation and setting. While you can try alternatives like honey or maple syrup (use 1.5 cups instead of 2), keep in mind that the jam might not set as firmly and will have a shorter shelf life.
- Lemon juice: Fresh lemon juice is ideal, but bottled lemon juice will work too. In a pinch, you can substitute with lime juice or even apple cider vinegar – just use the same amount. The acid is necessary for proper setting and safe preservation, so don’t skip it!
Watch Out for These Mistakes While Cooking
The biggest challenge when making cherry jam is not achieving the right consistency – testing for the gel point is crucial, so place a small plate in the freezer before you start and drop a small amount of jam on it every few minutes until it wrinkles when pushed with your finger.
A common mistake is leaving the pits in the cherries, which not only creates an unpleasant texture but can also add unwanted bitterness, so take the extra time to pit them thoroughly before cooking.
Many home cooks rush the cooking process by cranking up the heat, but simmering your jam at a moderate temperature prevents scorching and allows the natural pectin to develop properly – patience really pays off here.
For the best results, sterilize your jars properly and leave adequate headspace when filling them to ensure a proper seal, and remember that the jam will continue to thicken as it cools, so don’t overcook it trying to achieve the perfect consistency while it’s still hot.
What to Serve With Cherry Jam?
Cherry jam is one of those breakfast table staples that makes everything taste better! The most obvious (and delicious) way to enjoy it is spread on warm, buttered toast, English muffins, or fresh croissants. For a quick breakfast or afternoon snack, try mixing a spoonful into plain yogurt or oatmeal – it adds just the right amount of sweetness and fruit flavor. If you’re feeling a bit fancy, you can use this jam as a filling for thumbprint cookies, spread it between layers of a vanilla cake, or serve it alongside a cheese board with some sharp cheddar or creamy brie.
Storage Instructions
Keep Fresh: Once opened, keep your homemade cherry jam in an airtight container in the fridge. It’ll stay good for about 2-3 weeks. The sugar acts as a natural preservative, but refrigeration helps maintain its fresh taste and texture.
Preserve: If you’ve properly canned your jam in sterilized jars with sealed lids, you can store them in a cool, dark place like your pantry for up to 12 months. Just remember to check that the seal is intact before using, and refrigerate after opening.
Gift: Planning to give your jam as gifts? Pour the hot jam into sterilized mason jars, seal them properly, and let them cool completely. Add a cute label with the date made and storage instructions. The jars will keep at room temperature until opened – perfect for sharing with friends!
| Preparation Time | 15-30 minutes |
| Cooking Time | 15 minutes |
| Total Time | 1 day (including overnight resting) |
| Level of Difficulty | Medium |
Estimated Nutrition
Estimated nutrition for the whole recipe (without optional ingredients):
- Calories: 1600-1800
- Protein: 5-10 g
- Fat: 0-1 g
- Carbohydrates: 400-420 g
Ingredients
- 1 tbsp fresh lemon juice (I use Santa Cruz Organic lemon juice)
- 6 cups ripe cherries (pitted and halved for quicker cooking)
- 2 cups granulated sugar
Step 1: Prepare the Cherries
Start by removing the stems from the cherries and washing them thoroughly.
Using a cherry pitter, remove the pits from each cherry.
If you don’t have a cherry pitter, you can manually remove the pits.
Once pitted, add the cherries to a large pot.
Step 2: Begin the Cooking Process
Add sugar and lemon juice to the pot with the cherries.
Place the pot on the stove over medium-high heat and bring the mixture to a boil.
Stir continuously for 5 minutes to ensure everything is well combined and prevent sticking.
Step 3: Cool and Repeat the Boiling Process
Remove the pot from heat and let the mixture cool completely.
Once cooled, return the pot to the stove and bring it to a boil again over medium-high heat, stirring continuously for another 5 minutes.
Repeat this cooling and boiling process one more time, boiling for a final 5 minutes.
This method of cooking in three stages helps to keep the cherries intact and preserves their shape.
Step 4: Skim and Fill Jars
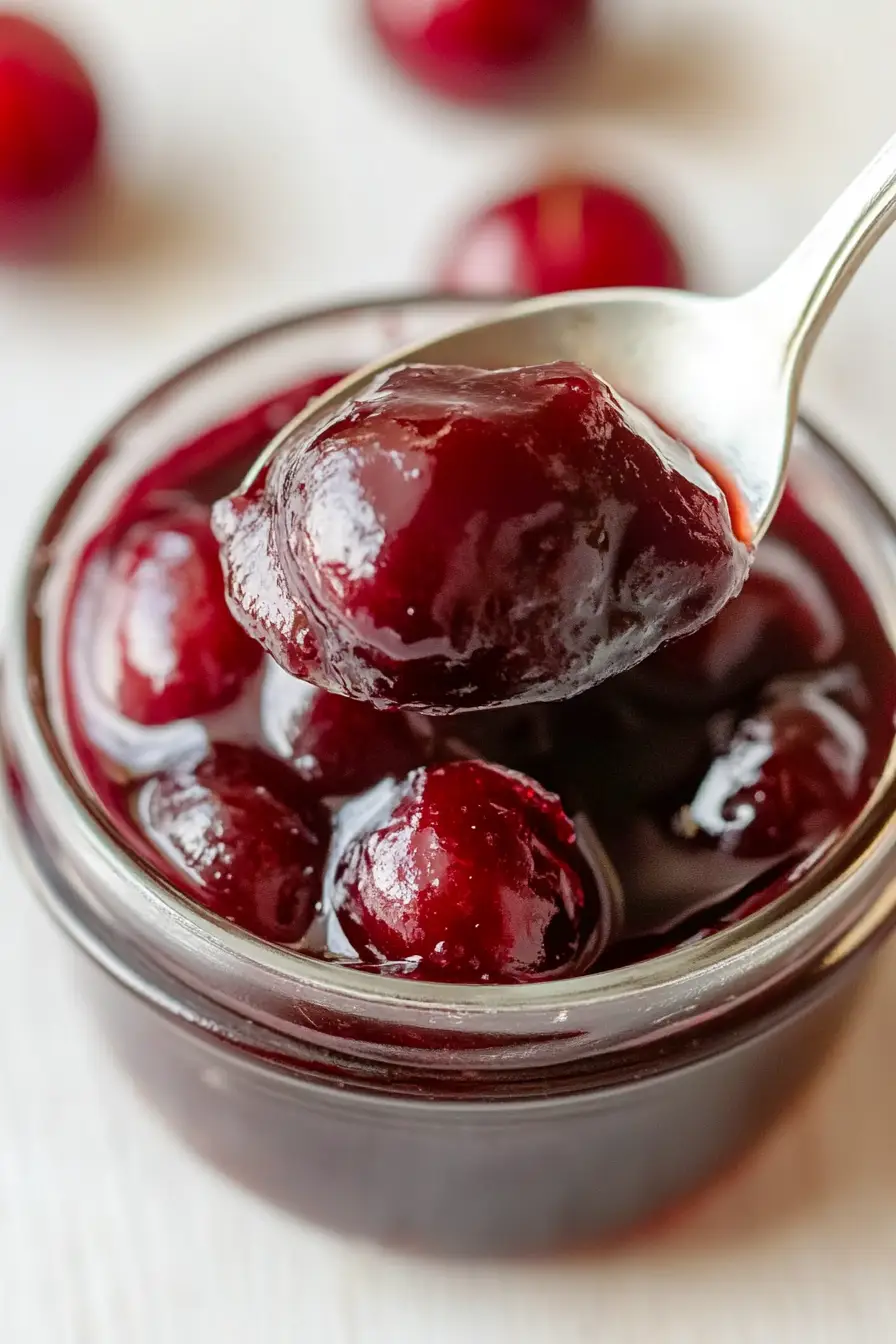
After boiling the cherries for the third time, carefully skim off any foam that has formed on the top of the mixture.
Begin filling your sterilized jars with the warm jam, leaving about 1/4 inch of space at the top of the jars.
Step 5: Seal and Store the Jars
Use a damp paper towel to wipe the rims of the jars clean.
Secure the lids tightly and then invert the jars, placing them upside down.
Cover them and let them rest overnight.
The next day, turn the jars right side up and store them in a cool, dry place.
Remember to refrigerate any jars once they are opened.
Enjoy your homemade cherry jam!
