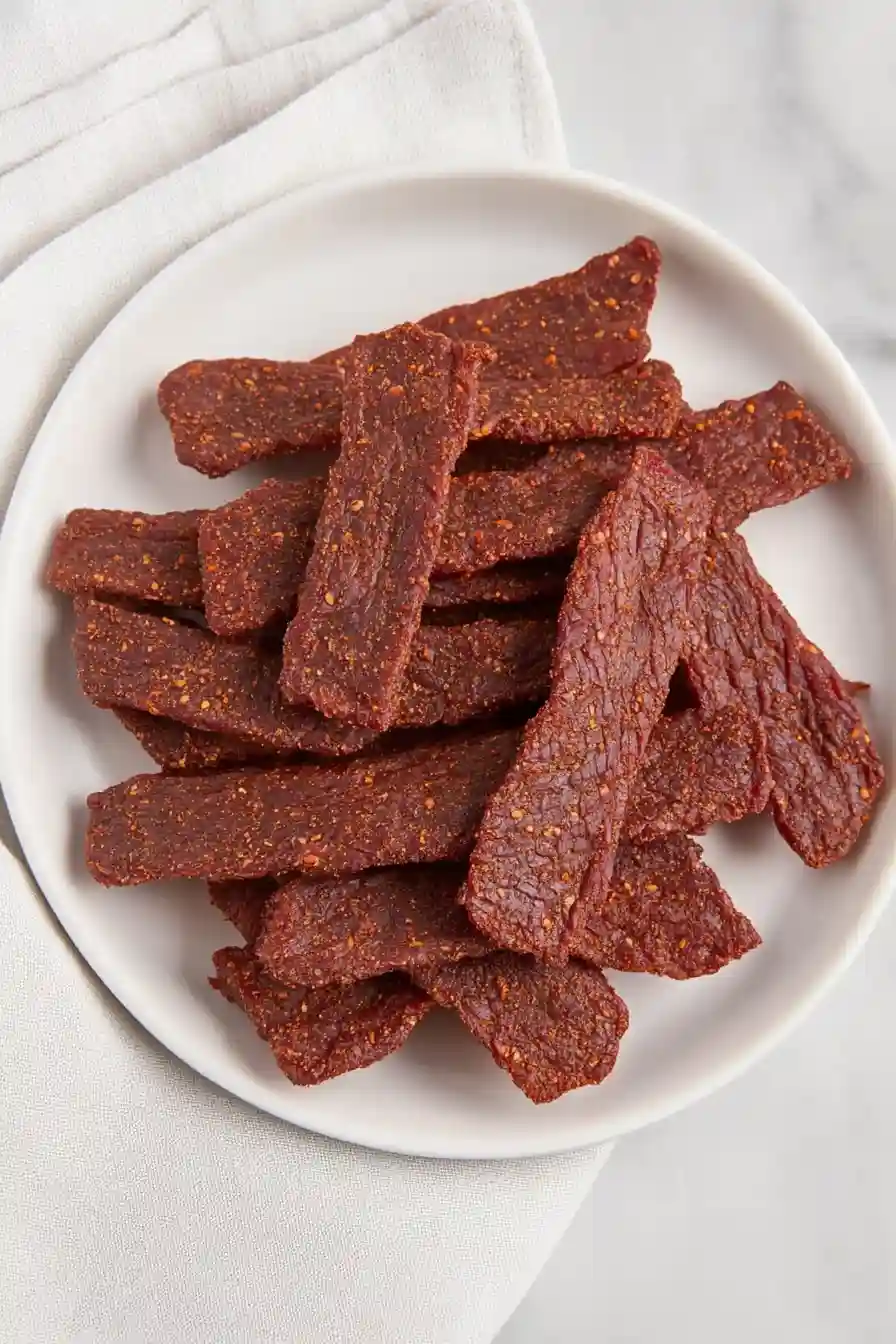
Here’s my simple recipe for corned beef jerky, using tender brisket that’s been cured with classic corned beef seasonings, then dried low and slow until perfectly chewy.
This corned beef jerky has become my go-to snack for hiking trips and long car rides. I always make a double batch because it disappears so quickly in our house – especially when my kids spot it in the kitchen. Nothing beats having some ready-made protein snacks on hand, right?
Why You’ll Love This Corned Beef Jerky
- Protein-packed snack – Each bite delivers a good dose of protein, making it perfect for post-workout snacking or keeping you full between meals.
- Cost-effective – Making jerky at home costs less than store-bought versions, and you’ll get more bang for your buck with this recipe.
- Simple ingredients – You only need basic pantry spices and corned beef to make this – no fancy equipment or hard-to-find ingredients required.
- Long shelf life – Once dried properly, this jerky can last for weeks when stored correctly, making it a great make-ahead snack option.
- Travel-friendly – It’s perfect for hiking, road trips, or tucking into lunch boxes since it doesn’t need refrigeration.
What Kind of Corned Beef Should I Use?
For making jerky, you’ll want to start with a flat-cut corned beef brisket, which is leaner and more uniform in shape than the point cut. The flat cut’s consistent thickness helps ensure even drying, while its lower fat content makes for better jerky that will stay fresh longer. When shopping, look for a piece that’s already brined (that’s what makes it “corned” beef) but hasn’t been cooked yet – you’ll find this in the meat section, often near other briskets. Try to pick a piece with minimal visible fat on the surface, and if you spot any, trim it off before starting your jerky process. Remember that the meat will shrink quite a bit during the drying process, so don’t be surprised by the finished size.

Options for Substitutions
While making this jerky, you have some room to play around with ingredients, though some are essential:
- Corned beef brisket: This is the star of the recipe and can’t really be substituted – the unique curing and flavor of corned beef is what makes this jerky special. Make sure to use flat-cut as it’s more uniform in thickness.
- Brown sugar: You can swap brown sugar with coconut sugar or maple sugar. Even honey works, though you’ll need to use a bit less (about 1 teaspoon) since it’s more concentrated.
- Smoked paprika: Regular paprika works fine if you don’t have smoked. You could also use chipotle powder for a spicier kick, but use half the amount as it’s quite hot.
- Ground coriander: If you’re out of coriander, you can use cumin as a substitute, though use just 1/4 tablespoon as it’s stronger in flavor.
- Ground mustard: Prepared mustard can work in place of ground mustard – use about 1 teaspoon of Dijon or yellow mustard instead.
- Garlic powder: Granulated garlic works just the same. If using fresh minced garlic, double the amount but know that it might not stick to the meat as well as powder.
Watch Out for These Mistakes While Making
The biggest challenge when making corned beef jerky is slicing the meat incorrectly – always cut against the grain in thin, uniform slices (about 1/4 inch thick) to ensure even drying and the right chewy texture.
Temperature control is crucial during the drying process – setting your dehydrator or oven too high (above 165°F) will cook the meat instead of drying it, while too low of a temperature (below 145°F) can create food safety concerns.
Skipping the pat-dry step before seasoning is another common mistake – excess moisture on the surface of your corned beef will prevent the spices from sticking properly and can lead to longer drying times.
For the best results, let the seasoned meat rest in the refrigerator for 6-8 hours before drying, which allows the flavors to penetrate deeper into the meat, and remember to rotate your trays during drying for consistent results.
What to Serve With Corned Beef Jerky?
This savory snack is perfect for pairing with other munchies when you’re on the go or hosting game day! I like to serve corned beef jerky alongside some sharp cheddar cheese cubes and whole grain crackers for a protein-packed snack plate. You can also mix it into a trail mix with nuts, dried fruit, and some dark chocolate pieces for the perfect balance of sweet and salty. If you’re putting together a grazing board, try adding this jerky next to some pickled vegetables and whole grain mustard for dipping – the tangy flavors work really well with the salty, smoky meat.
Storage Instructions
Pack: Once your corned beef jerky has completely cooled, pack it in an airtight container or zip-top bag. For the best results, throw in a food-grade silica packet if you have one – it helps keep moisture away and maintains that perfect jerky texture.
Keep: Your homemade jerky will stay good at room temperature for about 2 weeks when stored properly. If you want it to last longer, pop it in the fridge where it’ll keep for up to 3-4 months. Just remember to keep it in that airtight container!
Freeze: While freezing isn’t usually necessary for jerky, you can freeze it for up to 6 months if you want to make a big batch. Just make sure it’s in a freezer-safe bag with as much air squeezed out as possible. When you’re ready to eat it, let it thaw in the fridge overnight.
| Preparation Time | 15-30 minutes |
| Cooking Time | 150-180 minutes |
| Total Time | 165-210 minutes |
| Level of Difficulty | Medium |
Estimated Nutrition
Estimated nutrition for the whole recipe (without optional ingredients):
- Calories: 1800-2000
- Protein: 150-160 g
- Fat: 120-130 g
- Carbohydrates: 5-10 g
Ingredients
- 1/2 tbsp smoked paprika (adds a deeper, richer flavor)
- 1/2 tsp garlic powder
- 1/2 tsp ground mustard
- 2.5 lb flat-cut corned beef brisket
- 1 tsp black pepper
- 1/2 tbsp brown sugar (light or dark can be used)
- 1/2 tbsp ground coriander
Step 1: Prepare and Slice the Brisket
Start by removing any excess fat from the brisket to ensure even drying.
To make slicing easier, freeze the brisket for about 1 hour.
Once firm, slice the brisket into 1/8-inch thick slices, making sure to cut against the grain for tender jerky pieces.
Step 2: Make the Seasoning Mix
In a small bowl, combine brown sugar, coriander, paprika, black pepper, mustard, and garlic powder.
Stir the ingredients together until they are evenly mixed to create a flavorful rub for the brisket strips.
Step 3: Season the Brisket Strips
Sprinkle the brown sugar mixture over the brisket slices.
Use your hands to massage the seasoning into the meat, making sure each piece is evenly coated for consistent flavor throughout the jerky.
Step 4: Arrange Strips in the Dehydrator
Place the seasoned brisket strips on the trays of a dehydrator.
Arrange them in a single layer and avoid overcrowding to ensure proper air circulation during dehydration.
Step 5: Dehydrate the Brisket
Set the dehydrator to 155 degrees F (69 degrees C) following the manufacturer’s instructions.
Dehydrate the strips for 2 hours initially.
After 2 hours, flip the strips over to the other side and continue dehydrating for about another 1 1/2 hours, or until the desired consistency is reached.
Step 6: Final Drying and Storage
Once dehydration is complete, turn off the dehydrator and remove the lid.
Allow the jerky to sit for 1 hour to finish drying and cool down.
Transfer the finished jerky to an airtight container and store it in the refrigerator to maintain freshness.
