Growing up, summer meant two things in our house – sticky fingers and messy popsicle drips down our chins. Back then, my mom would buy those fancy fruit pops from the store, but we always wished they had more real fruit inside. It wasn’t until I started making my own ice candy that I realized how easy it could be.
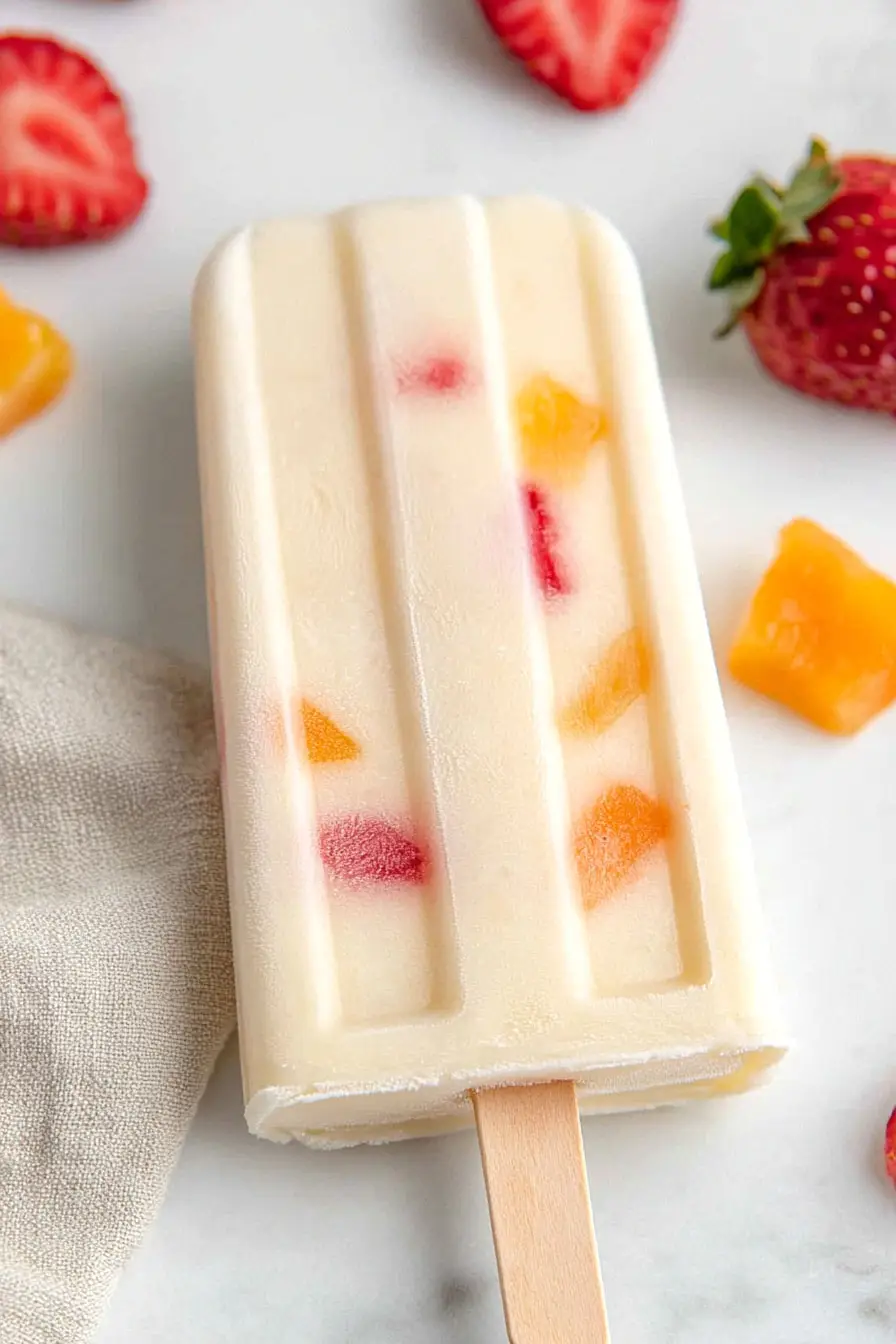
That’s why I love this fruit salad ice candy recipe so much. It’s basically your favorite fresh fruit salad, frozen into a fun pop that kids (and let’s be honest, adults too) can’t resist. Plus, unlike those store-bought versions, you know exactly what’s going into these – just real fruit and a touch of sweetness.
Why You’ll Love This Ice Candy
- Quick preparation – With just 15 minutes of prep time and a few simple ingredients, you can make a batch of these refreshing treats that everyone will love.
- No cooking required – This no-cook recipe is perfect for hot summer days when you don’t want to turn on the stove – just mix, pour, and freeze.
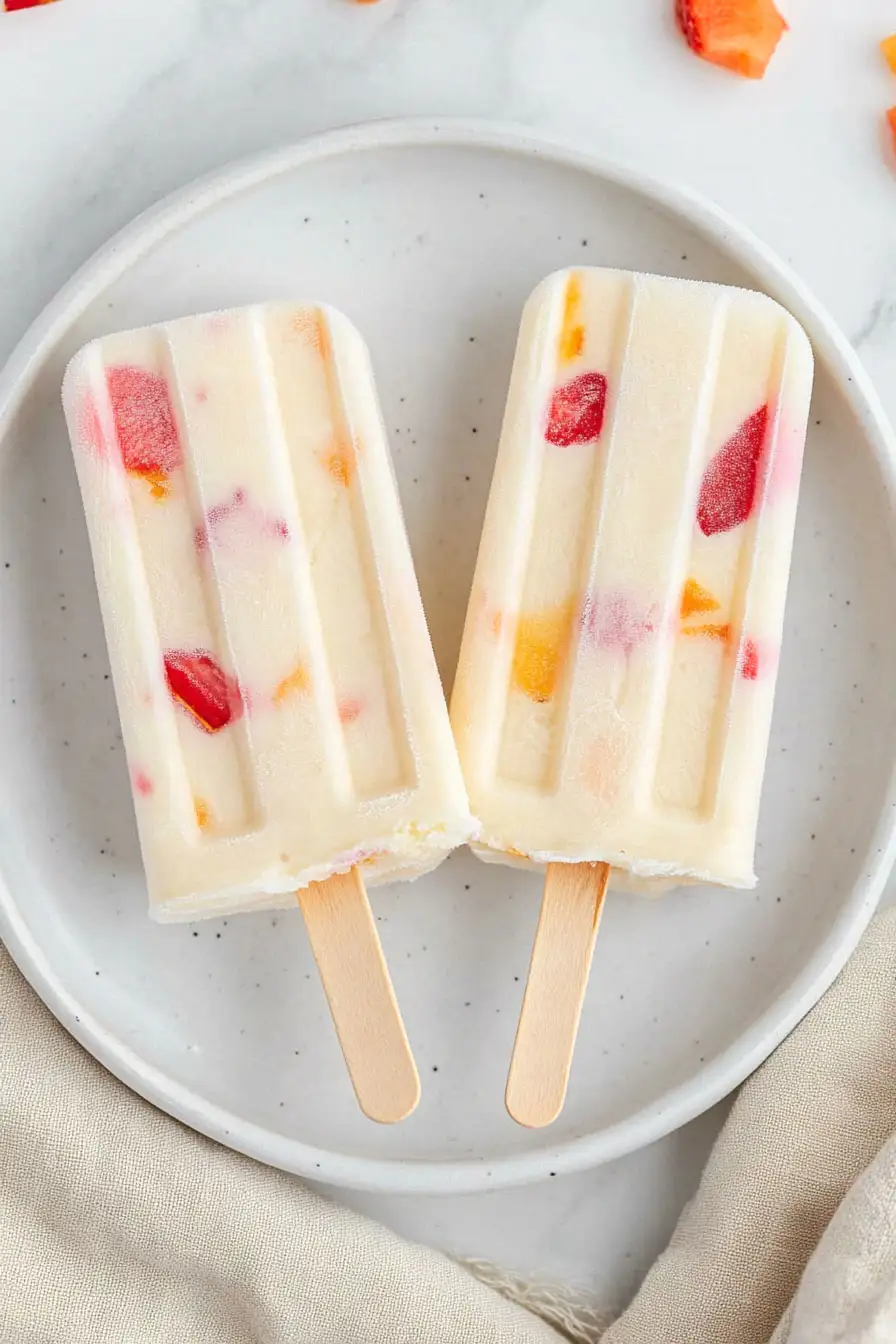
- Kid-friendly treat – Kids absolutely love these fruity ice pops, and you’ll feel good knowing exactly what goes into them – no artificial colors or preservatives needed.
- Make-ahead friendly – These ice candies can be made in big batches and stored in the freezer for weeks, giving you a cool treat whenever you need one.
What Kind of Mixed Fruit Cocktail Should I Use?
For ice candy, canned fruit cocktail is actually your best bet since it comes pre-cut into bite-sized pieces and has a consistent texture that works well in frozen treats. Most grocery store brands contain a mix of peaches, pears, grapes, cherries, and pineapple, which creates a nice variety of flavors in each bite. You can go with either heavy syrup or light syrup versions – just keep in mind that the heavy syrup ones will make your ice candy a bit sweeter. If you’re not a fan of the traditional canned mix, you can drain the syrup and add in some extra fresh fruit pieces like mango or strawberries to customize the blend to your taste.

Options for Substitutions
This cool treat is pretty adaptable – here’s what you can switch up if needed:
- Young coconut: If fresh young coconut isn’t available, you can use 1 cup of canned coconut milk. In a pinch, you could even use 1 cup of coconut water mixed with 2 tablespoons of coconut cream.
- Sweetened condensed milk: You can make your own by simmering 2 cups of whole milk with 2/3 cup sugar until reduced by half. Or use heavy cream mixed with sugar to taste – start with 1/4 cup sugar and adjust as needed.
- Evaporated milk: Regular whole milk works fine here, though the ice candy might be slightly less creamy. Half-and-half is another good option that will keep the rich texture.
- Mixed fruit cocktail: Feel free to use any combination of fresh or canned fruits you like! Try chopped mangoes, peaches, or fresh berries. Just make sure to cut them into small, similar-sized pieces.
- Vanilla essence: You can skip this or try other flavors like coconut extract, almond extract, or even a bit of calamansi juice for a citrusy twist.
Watch Out for These Mistakes While Making
The biggest challenge when making fruit salad ice candy is preventing the fruits from clumping together at the bottom of the plastic bags – give the mixture a good stir right before pouring it into the bags to keep the fruit pieces evenly distributed.
Temperature control is crucial – if your mixture is too warm when you pour it into the bags, the fruits might settle before freezing, so chill the liquid mixture in the refrigerator for about 15-20 minutes before filling your ice candy bags.
When sealing the plastic bags, be careful not to overfill them as the mixture will expand when frozen – leave about an inch of space at the top and make sure to squeeze out any air bubbles before tying them off to prevent misshapen ice candies.
For the smoothest texture, avoid freezing the ice candies too quickly at very low temperatures; instead, set your freezer to a moderate setting (around 0°F) and allow them to freeze gradually over 4-6 hours.
What to Serve With Fruit Salad Ice Candy?
These sweet and fruity ice pops are perfect for serving at outdoor gatherings or pool parties when you need something cool and refreshing. Since they’re already a dessert, I like to pair them with some salty snacks like roasted peanuts or chips to create a nice balance of flavors. For kids’ parties, you can serve these alongside other finger foods like mini sandwiches or cheese sticks. If you’re hosting an afternoon get-together, these ice candies go really well with some cold iced tea or lemonade for a totally refreshing summer spread.
Storage Instructions
Keep Frozen: These fruit salad ice candies need to stay in the freezer until you’re ready to enjoy them. They’ll keep their best quality for up to 2 months when stored in a sealed freezer bag or container. I like to make a big batch and have them ready for hot summer days!
Prevent Freezer Burn: To keep your ice candies tasting fresh, make sure they’re wrapped individually in plastic wrap or stored in sealed plastic ice candy bags. This helps prevent freezer burn and keeps the flavors locked in. Plus, it makes them easy to grab one at a time!
Before Serving: Let the ice candy sit at room temperature for about 1-2 minutes before eating – this makes them easier to slide out of the plastic. If they’re too hard to eat, wait another minute, but don’t let them melt too much or you’ll lose that perfect icy texture.
| Preparation Time | 10-15 minutes |
| Cooking Time | 0 minutes |
| Total Time | 10-15 minutes |
| Level of Difficulty | Easy |
Estimated Nutrition
Estimated nutrition for the whole recipe (without optional ingredients):
- Calories: 1200-1400
- Protein: 20-25 g
- Fat: 50-60 g
- Carbohydrates: 175-200 g
Ingredients
- 1 cup evaporated milk
- 1/2 cup sweetened condensed milk (I like Longevity brand for its richness)
- 1 tsp vanilla extract (pure vanilla for best flavor)
- 1 can mixed fruit cocktail
- 1 young coconut
Step 1: Prepare the Mixture
Combine the buko (young coconut), milk, vanilla, and the reserved syrup from a can of fruit cocktail in a bowl.
Mix all the ingredients together thoroughly until they are well combined.
Set the mixture aside once it is prepared.
Step 2: Fill the Ice Candy Bags
Take ice candy bags or molds and fill each one with the prepared fruit cocktail mixture.
Be sure not to overfill to allow room for sealing.
Carefully seal each bag or mold to prevent leaks during the freezing process.
Step 3: Freeze and Serve
Place the filled and sealed ice candy bags or molds into the freezer.
Let them freeze overnight, or until they are solid.
Once frozen, they are ready to be served.
Enjoy your refreshing homemade fruit cocktail ice candies!
