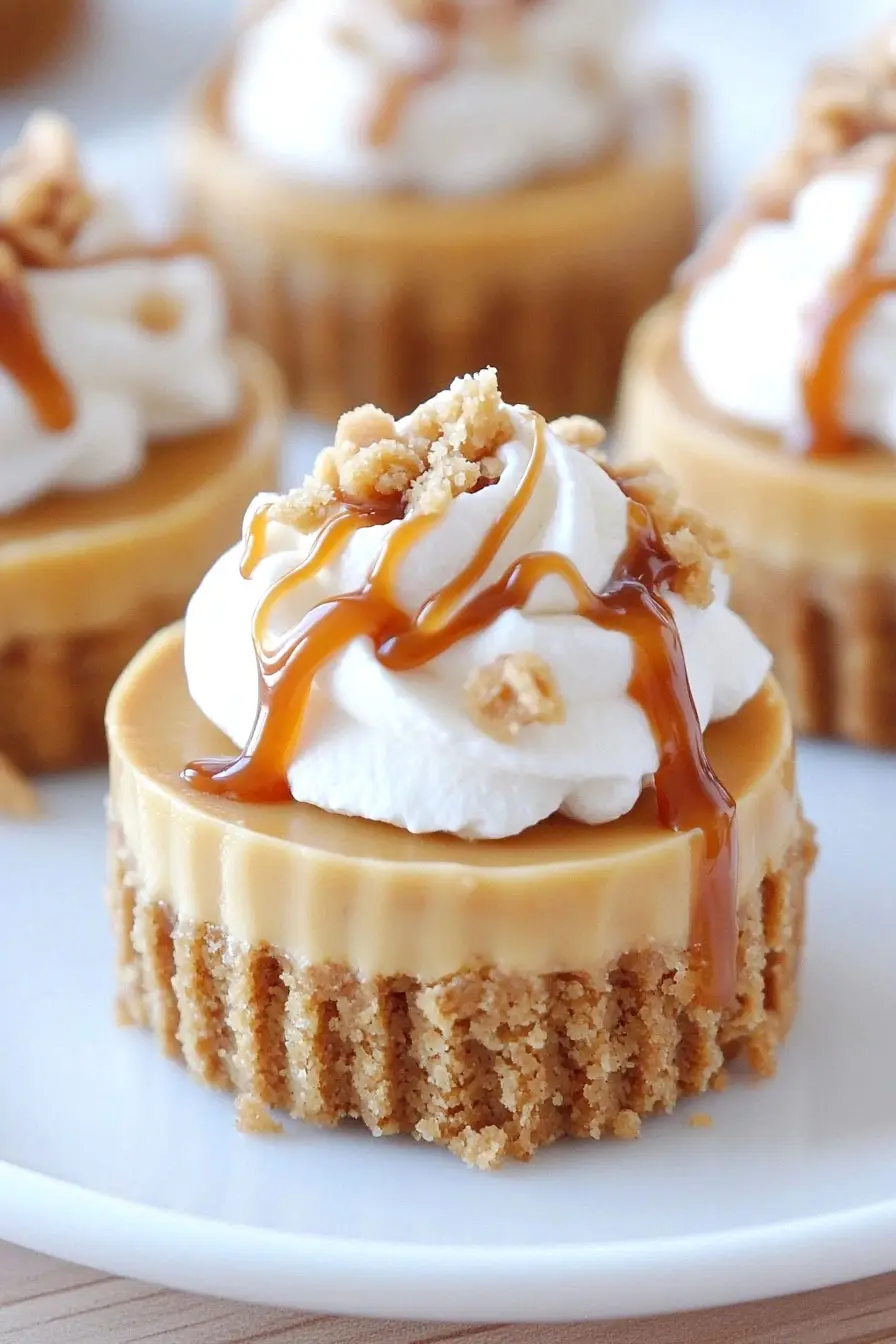
If there’s one dessert that makes everyone smile, it’s cheesecake. And when you make them mini-sized with dulce de leche? Well, that’s just pure happiness on a plate. I started making these little treats for my family’s weekend gatherings, and now they’ve become the most requested dessert at every party.
These mini dulce de leche cheesecakes are perfect when you want something special but don’t feel like tackling a full-sized cheesecake. I usually make them the night before any get-together, which means less stress on the day of the party. Plus, since they’re individual portions, there’s no messy cutting or serving drama.
The best part? You probably have most of the ingredients in your kitchen right now. And if you’ve never worked with dulce de leche before, don’t worry – it’s basically caramel’s laid-back cousin, and it makes everything taste better.
Why You’ll Love These Mini Cheesecakes
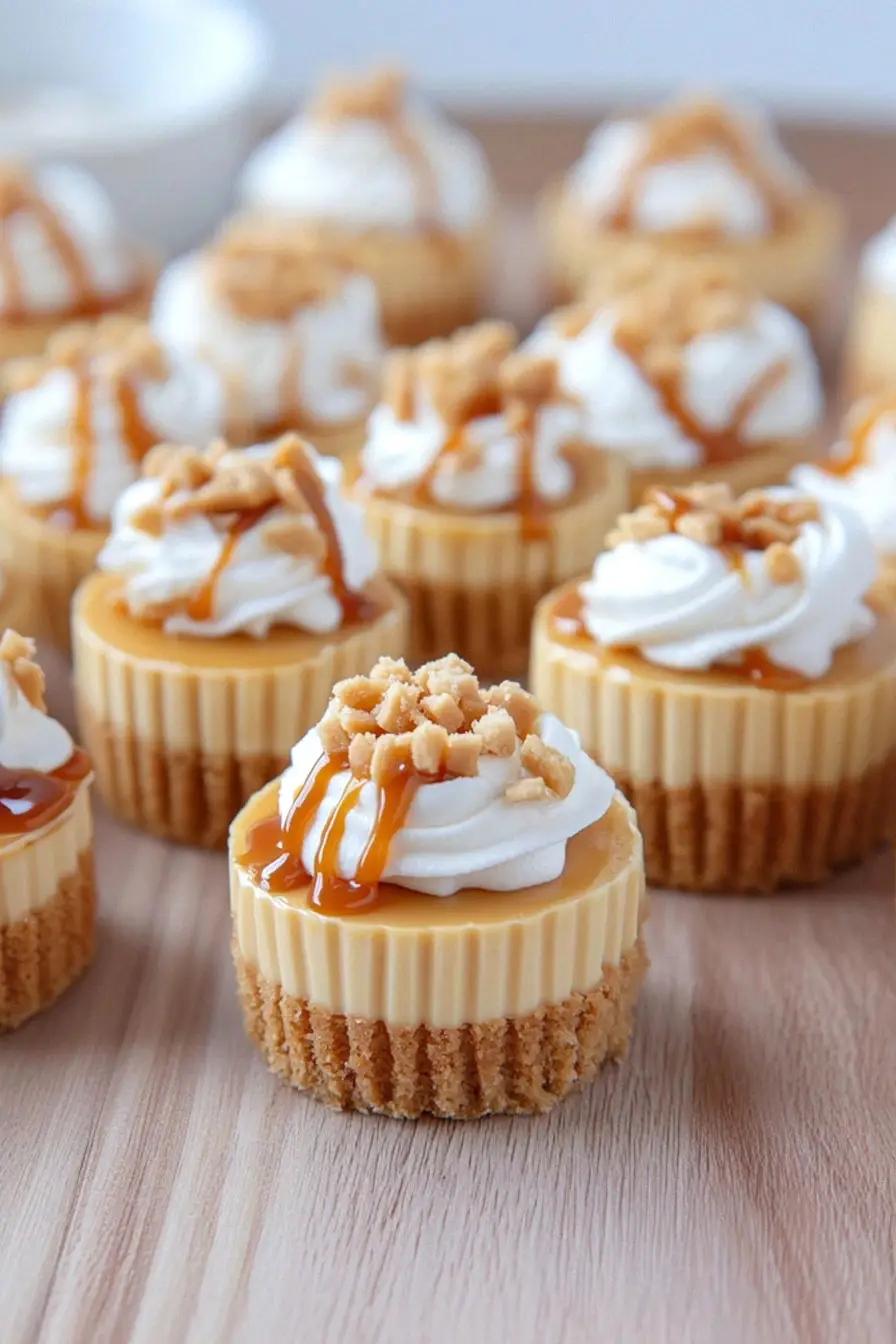
- Perfect portion control – These mini cheesecakes come in individual servings, making them ideal for parties or when you want just a little sweet treat without the temptation of a whole cake.
- Make-ahead friendly – You can prepare these little treats up to 3 days in advance and store them in the fridge, which is perfect for planning ahead for parties or special occasions.
- No water bath needed – Unlike traditional cheesecakes, these minis don’t require the fussy water bath method, making them much easier to prepare without sacrificing that creamy texture.
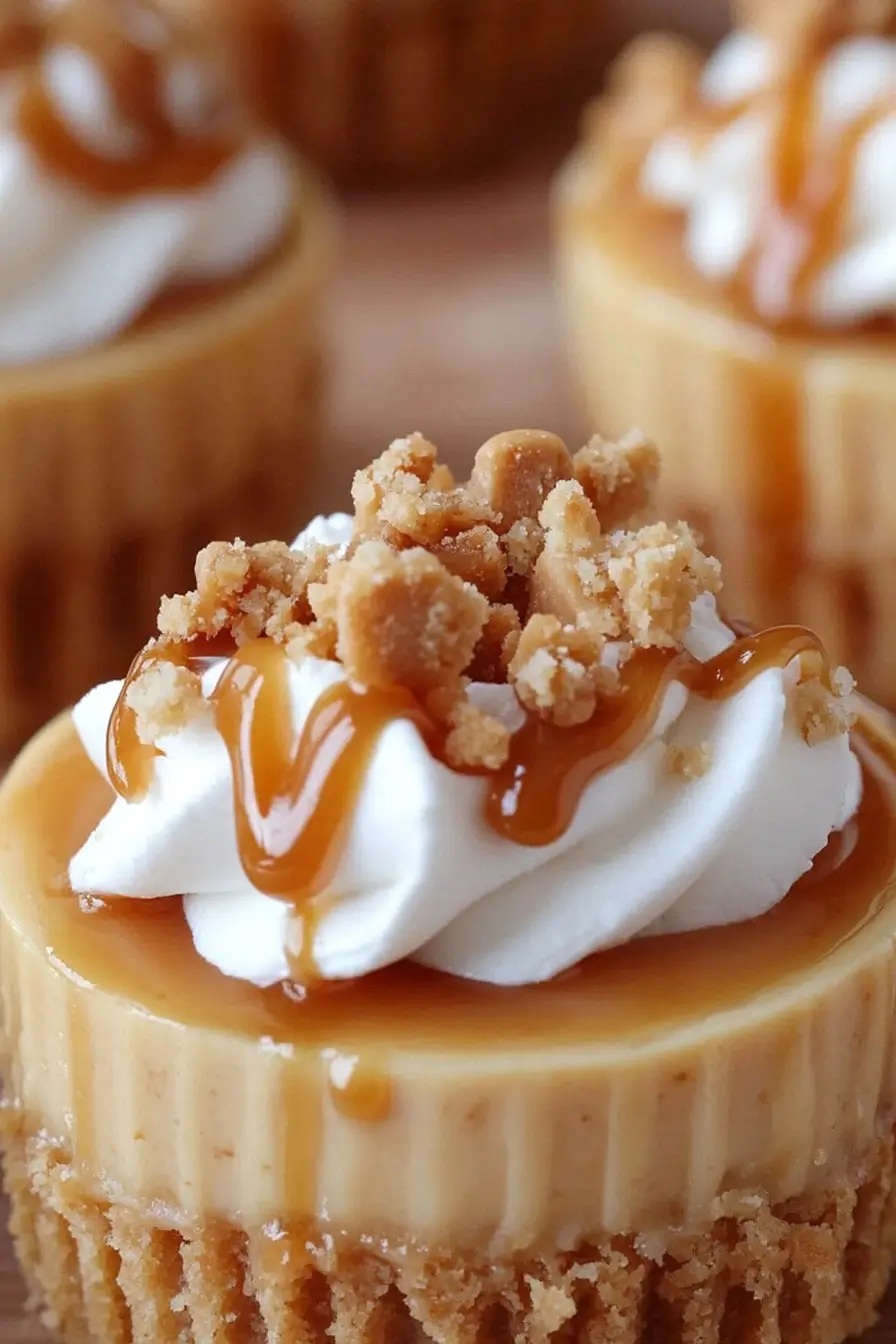
- Customizable toppings – Each person can dress up their mini cheesecake exactly how they like it – with extra dulce de leche, whipped cream, or toffee bits.
What Kind of Cream Cheese Should I Use?
For cheesecakes, you’ll want to stick with full-fat block cream cheese – the kind that comes in a foil-wrapped brick, not the spreadable kind from a tub. Philadelphia is the go-to brand for most bakers, but any block-style cream cheese will work well. The most important thing is making sure your cream cheese is properly softened to room temperature before you start mixing – this usually takes about an hour on the counter and helps prevent lumps in your batter. If you’re in a hurry, you can cut the block into smaller cubes to speed up the softening process, but avoid microwaving it as this can affect the texture of your cheesecakes.
Options for Substitutions
Let me share some helpful swaps for when you’re making these mini cheesecakes:
- Graham crackers: Out of graham crackers? Try using digestive biscuits, vanilla wafers, or even gingersnaps for a spicy twist. Just crush them the same way and keep the proportions identical.
- Caramelized milk spread (dulce de leche): This is pretty important for the signature flavor, but in a pinch, you could use caramel sauce mixed with a bit of sea salt. Just note that the texture will be slightly different.
- Sour cream: You can swap this with plain Greek yogurt – it’ll give you that same tangy taste and creamy texture.
- Cream cheese: Stick with regular cream cheese here – it’s the backbone of cheesecake. Light cream cheese can work but might affect the texture slightly.
- Toffee bits: For the topping, you could use crushed Heath bars, chopped pecans, or even a drizzle of melted chocolate if you prefer.
- Whipped cream: Feel free to use store-bought whipped topping, or skip it altogether – the cheesecakes are great on their own too!
Watch Out for These Mistakes While Baking
The biggest challenge when making mini cheesecakes is preventing cracks, which often happen when you mix the ingredients at too high a speed – keep your mixer on low or medium-low and stop as soon as the ingredients are combined to avoid incorporating excess air. Another common mistake is overbaking these tiny treats – they’re done when the centers still have a slight jiggle, as they’ll continue to set while cooling (usually around 15-18 minutes at 325°F). To prevent the cheesecakes from sticking, make sure to line your muffin tin with paper liners and give them a light spray with cooking spray – skipping this step can lead to broken cheesecakes when you try to remove them. For the smoothest possible texture, remember to bring your cream cheese, egg, and sour cream to room temperature before starting, and resist the urge to skip the cooling time – these little guys need to chill completely (at least 4 hours) before adding any toppings.
What to Serve With Mini Cheesecakes?
These little cheesecakes are perfect for serving at parties or after dinner, and they pair wonderfully with a hot cup of coffee or espresso to balance out their sweetness. If you’re hosting a dessert spread, try setting up a toppings bar with fresh berries, chocolate sauce, and extra caramel sauce so everyone can customize their own mini cheesecake. For a cozy night in, I like to serve these with a scoop of vanilla ice cream on the side – the contrast between warm and cold is just perfect. A drizzle of chocolate sauce or a sprinkle of sea salt on top adds an extra special touch that makes these even more irresistible.
Storage Instructions
Keep Fresh: These mini cheesecakes stay good in an airtight container in the fridge for up to 5 days. I recommend waiting to add the whipped cream and toffee bits until just before serving – this keeps everything looking fresh and prevents the toppings from getting mushy.
Freeze: Want to make these ahead? These little treats freeze really well! Place them in a freezer-safe container without the toppings and they’ll keep for up to 3 months. Just place a piece of parchment paper between layers if you’re stacking them to prevent them from sticking together.
Thaw & Serve: When you’re ready to enjoy your frozen cheesecakes, just move them to the fridge the night before and let them thaw slowly. Once they’re completely thawed, add your fresh toppings and they’ll taste just as good as the day you made them!
| Preparation Time | 20-30 minutes |
| Cooking Time | 14-16 minutes |
| Total Time | 2 hours 45 minutes – 3 hours |
| Level of Difficulty | Medium |
Estimated Nutrition
Estimated nutrition for the whole recipe (without optional ingredients):
- Calories: 1800-2000
- Protein: 15-20 g
- Fat: 100-110 g
- Carbohydrates: 230-250 g
Ingredients
For the crust:
- 1 1/4 cups crushed graham crackers (finely crushed for a uniform crust)
- 5 tbsp melted butter
- 3 tbsp brown sugar
For the cheesecake filling:
- 8 oz cream cheese (softened at room temperature, about 70°F, for easy mixing)
- 1/3 cup sour cream (full-fat for best texture)
- 1/2 cup caramelized milk spread (such as La Lechera Dulce de Leche)
- 1/3 cup granulated sugar
- 1/2 tsp vanilla extract
- 1 large egg
For the optional toppings:
- 2 tbsp caramelized milk spread
- 2 tbsp toffee bits (Heath toffee bits work well)
- 1 1/2 cups whipped cream
Step 1: Prepare the Crust
Begin by preheating your oven to 350°F (175°C).
In a bowl, stir together graham cracker crumbs, brown sugar, and melted butter until the mixture resembles wet sand.
Equally divide the crumb mixture among 12 paper-lined muffin cups, roughly a heaping tablespoon in each cup, and press the mixture firmly to form the crust.
Step 2: Make the Cheesecake Filling
In a mixing bowl, beat cream cheese on low speed until smooth, making sure to scrape down the sides of the bowl as needed.
Add sugar and continue to beat until the mixture is light and fluffy.
Mix in the Dulce de Leche, then add the vanilla extract and egg, beating until the mixture is creamy and smooth.
Finally, stir in the sour cream until fully incorporated.
Step 3: Assemble and Bake
Distribute the cheesecake filling evenly among the 12 muffin cups on top of the prepared crust, adding about 2 tablespoons of filling to each.
Place the muffin tin on the middle rack of the preheated oven and bake for 14-16 minutes.
The cheesecakes should look set and not wet, but the centers should still jiggle slightly when done.
Once baked, remove the muffin tin and place it on a cooling rack.
Step 4: Cool and Chill
Allow the cheesecakes to cool at room temperature for about 45 minutes.
Then, transfer them to the refrigerator and let them chill for at least 2 hours to fully set.
Step 5: Freeze Briefly and Serve
Before serving, pop the chilled cheesecakes into the freezer for 15 minutes to make it easier to remove the paper liners.
After freezing, immediately peel away the wrappers.
The cheesecakes can be served plain or topped with a dollop of whipped cream, a drizzle of warmed Dulce de Leche, and a sprinkle of toffee bits.
Arrange on a serving dish or individual dessert plates and enjoy your delightful mini cheesecakes!
