Here’s my go-to recipe for mini sandwiches that are perfect for any party or gathering. They’re simple to make, filled with tasty combinations, and always disappear fast from the serving tray.
These little sandwiches have become my trademark at neighborhood potlucks and family get-togethers. I usually make several different varieties because everyone seems to have their favorite, and let’s be honest – they make great snacks when you’re cleaning up after the party!

Why You’ll Love These Mini Sandwiches
- Quick preparation – These mini sandwiches come together in just 10-20 minutes, perfect for when you need to get party food ready in a hurry.
- Make-ahead friendly – You can prepare these sandwiches a few hours before your event and keep them covered in the fridge until ready to serve.
- Customizable options – From the type of bread to cheese choices and condiments, you can easily adapt these sandwiches to suit your guests’ preferences.
- Party-perfect portions – The bite-sized format makes these ideal for mingling guests who want to sample different foods without getting too full.
- Simple ingredients – These sandwiches use basic ingredients you can find at any grocery store, making party planning stress-free and budget-friendly.
What Kind of Bread Should I Use?
The type of bread you choose for mini sandwiches can really make or break your party platter. White bread is a classic choice that’s always crowd-pleasing, but whole wheat or sourdough can add extra flavor and a nice nutritional boost. For the best results, pick bread that’s fresh and fairly dense – this helps your sandwiches hold up better when cut into smaller pieces and prevents them from getting soggy while sitting on the party table. If you’re making these ahead of time, slightly toasting the bread can help create a moisture barrier between the fillings and the bread, keeping everything fresh and crisp for longer.
Options for Substitutions
These party sandwiches are super adaptable – here’s how you can mix things up:
- Cream cheese: If cream cheese isn’t your thing, try mayo, hummus, or mashed avocado. For a dairy-free option, dairy-free cream cheese spreads work great too.
- Mustard: Any mustard works here – Dijon, yellow, honey mustard, or whole grain. You could also skip it or use pesto, ranch dressing, or your favorite sandwich spread instead.
- Bread: Pretty much any bread works for these – white, wheat, rye, or sourdough. Just make sure it’s fresh and not too thick-cut. Tortilla wraps or pita bread can work too, just adjust the assembly method.
- Cheddar cheese: Feel free to swap cheddar with Swiss, provolone, Havarti, or any cheese that melts well. For dairy-free folks, plant-based cheese slices are a good alternative.
- Deli ham: You can use turkey, roast beef, salami, or even sliced chicken instead. For vegetarian options, try thinly sliced cucumber or grilled vegetables.
- Baby lettuce: Any leafy green works – spinach, arugula, or regular lettuce. You could also use thin cucumber slices or sprouts for that fresh crunch.
Watch Out for These Mistakes While Making
The biggest challenge when preparing party sandwiches is timing – making them too far in advance can lead to soggy bread, while rushing at the last minute can result in messy, uneven assembly. For best results, prepare your spreads and fillings up to 4 hours ahead, but wait to assemble until 1-2 hours before serving, keeping them covered with slightly damp paper towels in the fridge to maintain freshness.
Another common mistake is spreading condiments too close to the edges, which can make the sandwiches messy to handle – instead, leave a small border around the edges of the bread and spread the cream cheese and mustard evenly in the center.
To prevent your mini sandwiches from drying out or absorbing unwanted refrigerator odors, wrap them tightly in plastic wrap or store them in an airtight container, and remember to bring them to room temperature for about 15 minutes before serving to allow the cheese to soften and the flavors to develop.

What to Serve With Mini Sandwiches?
These cute little sandwiches are perfect for parties, and they pair really well with some simple sides that won’t steal the show! A bowl of potato chips or pretzels adds the perfect salty crunch that everyone loves at parties. For something fresh, put out a platter of raw veggies like baby carrots, cucumber slices, and cherry tomatoes with a creamy ranch dip. If you’re hosting during warmer months, a light pasta salad or fruit salad makes a great addition that you can make ahead of time. Just remember to keep the sides simple and easy to eat with one hand – after all, these sandwiches are meant for mingling!
Storage Instructions
Prepare Ahead: You can make these mini sandwiches up to 4 hours before your party. Just assemble them without the lettuce, wrap the platter tightly with plastic wrap, and keep in the fridge. Add the lettuce right before serving to keep everything fresh and crisp.
Keep Fresh: If you have any leftovers from your party, store them in an airtight container in the refrigerator for up to 24 hours. Keep in mind that the bread might get a bit soft, but they’ll still taste good for lunch the next day!
Pack for Transport: Taking these to a potluck? Place them in a container with a tight-fitting lid and keep them cool with an ice pack. It’s best to transport them in a single layer to prevent squishing – nobody likes a squashed sandwich!
| Preparation Time | 10-15 minutes |
| Cooking Time | 0-5 minutes |
| Total Time | 10-20 minutes |
| Level of Difficulty | Easy |
Estimated Nutrition
Estimated nutrition for the whole recipe (without optional ingredients):
- Calories: 800-900
- Protein: 45-50 g
- Fat: 40-50 g
- Carbohydrates: 60-70 g
Ingredients
- 4 tsp mustard (Dijon or yellow mustard works well here)
- 8 slices deli ham
- 6 slices bread (I recommend a soft white bread or brioche)
- 6 slices cheddar cheese (good quality medium cheddar will melt nicely)
- 4 tbsp cream cheese (softened to room temperature for easy spreading)
- baby lettuce leaves (for a fresh crunch)
Step 1: Prepare the Cream Cheese Mixture
In a bowl, mix cream cheese and mustard together until the mixture is smooth and well-combined.
This will serve as a flavorful spread for the sandwiches.
Step 2: Assemble the Layered Sandwiches
Start by placing 3 slices of bread on your worktop.
Spread each slice with a thin layer of the cream cheese mixture, using about half of the mixture.
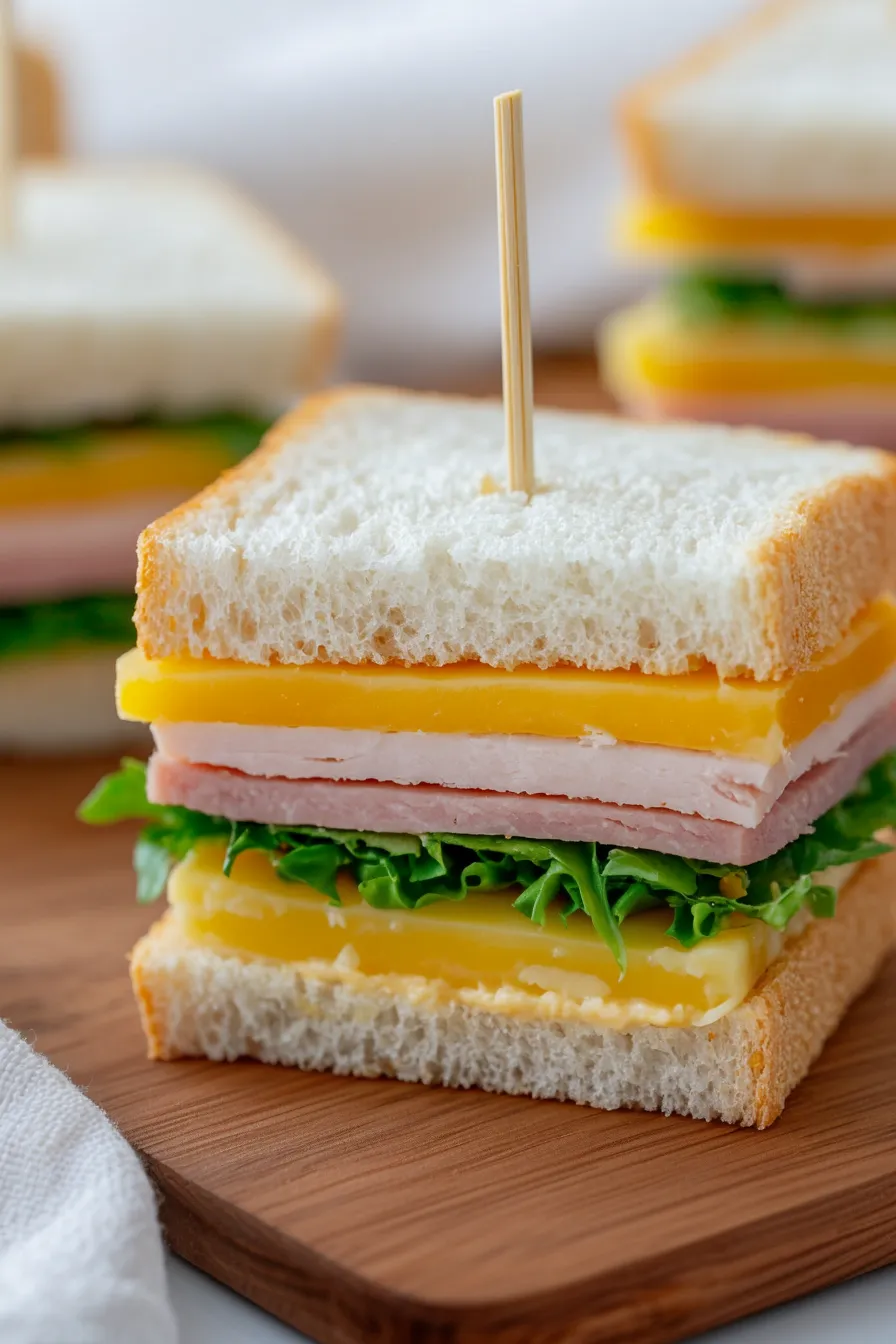
On one slice of bread, layer 2 slices of cheddar cheese, followed by 1 or 2 slices of ham, and top with lettuce.
Place a second slice of bread on top and repeat the layers: cheese (1 slice), ham, and lettuce.
Finally, cover with the third slice of bread, ensuring the spread side is facing down.
Press down slightly to secure the layers.
Repeat this process with the next 3 slices of bread to create a second sandwich.
Step 3: Cut the Sandwiches into Mini Sandwiches
Carefully cut each sandwich in half.
Insert 6 toothpicks into each half to secure the layers and make cutting easier.
Then, cut around the toothpicks to create 6 mini sandwiches from each half.
This will result in a total of 12 mini sandwiches from each whole sandwich.
Step 4: Serve and Enjoy
Transfer the mini sandwiches onto a serving tray.
They make a delightful party snack or a fun lunch option.
Enjoy your tasty, bite-sized creations!
