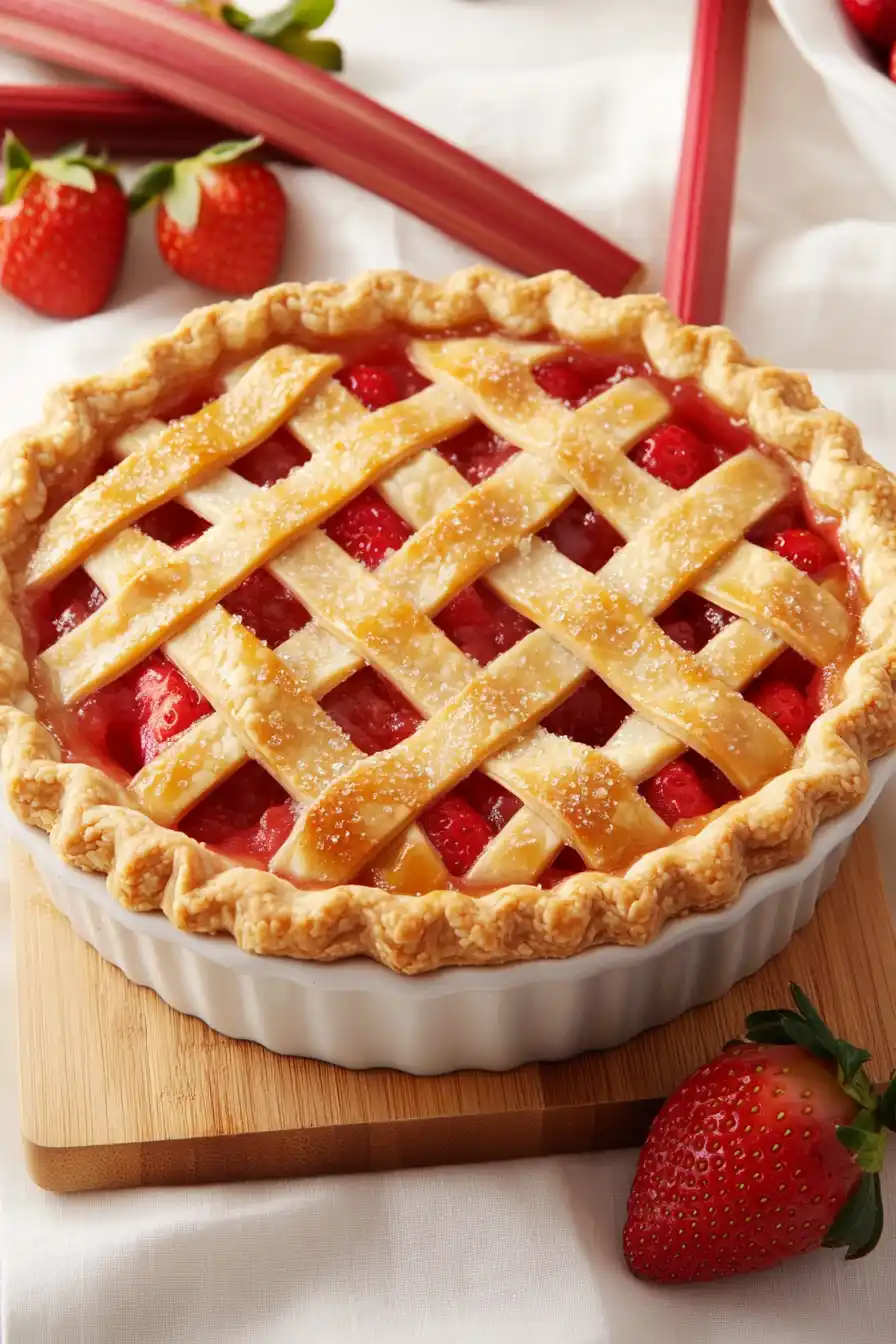
If you ask me, strawberry rhubarb pie is what spring baking dreams are made of.
This classic combination brings together sweet strawberries and tart rhubarb, all tucked into a buttery, flaky crust. The tapioca works its magic as a thickener, making sure each slice holds together perfectly.
I like to keep things simple with this recipe, letting the natural flavors of the fruit shine through. A sprinkle of sugar and a touch of vanilla are all you need to bring out the best in these seasonal ingredients.
It’s the kind of pie that reminds you of Sunday dinners at grandma’s house – comfortable, familiar, and always welcomed at the table.
Why You’ll Love This Strawberry Rhubarb Pie
- Perfect balance of flavors – The sweet strawberries and tart rhubarb create that classic combination that makes this pie so popular – it’s like summer in every bite.
- No runny filling – The quick-cooking tapioca works as a natural thickener, ensuring your pie filling stays perfectly set instead of turning into a soupy mess when sliced.
- Homemade crust – With just four basic ingredients, this flaky pie crust is easier to make than you might think, and it tastes so much better than store-bought.
- Make-ahead friendly – You can prepare the pie dough ahead of time and keep it in the fridge, making the actual assembly process much quicker when you’re ready to bake.
What Kind of Rhubarb Should I Use?
For pie making, both field-grown and hothouse rhubarb will give you great results. Field-grown rhubarb, which shows up in spring and early summer, tends to have a deeper red color and slightly more intense flavor, while hothouse rhubarb is usually lighter pink and a bit milder. When shopping, look for stalks that are firm and crisp – avoid any that are limp or have blemishes. Remember to only use the stalks since rhubarb leaves are toxic, and trim away any tough ends before slicing. If your rhubarb is particularly stringy, you can peel away the outer strings just like you would with celery.
Options for Substitutions
Let me share some helpful substitutions for this classic pie recipe:
- Vegetable shortening: While shortening makes a super flaky crust, you can use cold butter instead. Just know the crust might be a bit less flaky but will have a nice buttery taste. You can also use lard for an extra-flaky result.
- Quick-cooking tapioca: If you don’t have quick-cooking tapioca, you can use cornstarch (3 tablespoons) or flour (4 tablespoons) as thickeners. Just mix well with the sugar before adding to the fruit.
- Rhubarb: Fresh rhubarb can be replaced with frozen – just thaw and drain it first. If you can’t find rhubarb at all, try using tart apples or cranberries for that tangy kick.
- Strawberries: Fresh or frozen strawberries work here – if using frozen, thaw and drain them first to avoid excess liquid. You can also try raspberries for a different twist.
- Milk: For the top crust wash, you can use beaten egg instead of milk – it’ll give you a prettier golden brown shine. Water works too, but won’t brown as nicely.
Watch Out for These Mistakes While Baking
The biggest challenge when making strawberry rhubarb pie is managing the moisture content – without proper thickening, you’ll end up with a soupy filling that makes your bottom crust soggy. A foolproof solution is to let your filling sit with the tapioca for at least 15 minutes before adding it to the crust, allowing the tapioca to begin absorbing excess juice. Another common mistake is not cutting your rhubarb pieces uniformly – they should be about 1/4 inch thick to ensure even cooking, as thicker pieces will remain tough while thinner ones turn to mush. To prevent a pale, undercooked bottom crust, try preheating your baking sheet in the oven and placing the pie directly on it, which helps create that perfectly crispy bottom. For the flakiest crust, make sure your ingredients are ice-cold and avoid overworking the dough – stop mixing as soon as it comes together, even if it looks a bit shaggy.

What to Serve With Strawberry Rhubarb Pie?
This sweet-tart pie practically begs for a scoop of cold vanilla ice cream – it’s the perfect way to balance out those bright fruit flavors! If you’re not in the mood for ice cream, a dollop of freshly whipped cream or even a pour of cold heavy cream works beautifully too. For a morning or afternoon treat, serve your pie with a hot cup of coffee or tea (I especially love it with Earl Grey). You can also add a sprinkle of powdered sugar on top just before serving if you want to keep things simple but still special.
Storage Instructions
Counter Storage: Your freshly baked strawberry rhubarb pie can hang out on the counter at room temperature for up to 2 days. Just cover it loosely with foil or pop it in a pie keeper if you have one. The crust stays crispier this way than if you refrigerate it right away.
Refrigerate: If you want your pie to last longer, keep it in the fridge for up to 5 days. Cover it well with plastic wrap or aluminum foil to prevent it from drying out or picking up other flavors. The filling might get a bit more liquid-y, but it’ll still taste great!
Freeze: This pie freezes really well for up to 4 months! Let it cool completely, then wrap it tightly in plastic wrap and aluminum foil. When you’re ready to eat it, thaw it overnight in the fridge. You can warm individual slices in the oven at 350°F for about 10 minutes to bring back that fresh-baked taste.
| Preparation Time | 30-60 minutes |
| Cooking Time | 60 minutes |
| Total Time | 90-120 minutes |
| Level of Difficulty | Medium |
Estimated Nutrition
Estimated nutrition for the whole recipe (without optional ingredients):
- Calories: 1800-2100
- Protein: 25-30 g
- Fat: 90-100 g
- Carbohydrates: 250-270 g
Ingredients
For the pie crust:
- 4 to 7 tbsp cold water
- 2/3 cup vegetable shortening
- 2 cups all-purpose flour
- 1 tsp salt
For the pie filling:
- 1/4 cup quick-cooking tapioca (I use Minute Tapioca)
- 2 1/2 cups sliced rhubarb (about 1/4-inch thick)
- 1 cup granulated sugar
- 2 tbsp unsalted butter
- 3 cups diced strawberries (about 1/2-inch pieces)
For the finish:
- granulated sugar (for sparkling crust)
- milk
Step 1: Prepare the Pie Dough
In a large bowl, combine the flour and salt.
Use a pastry blender to cut in the shortening until the mixture resembles coarse, pea-sized chunks.
Gradually stir in just enough water using a fork or spatula until the dough holds together and forms a ball.
Step 2: Form and Chill the Dough
Divide the dough into two portions, flattening each into a ½-inch thick round disk.
Wrap them in plastic wrap and refrigerate for at least 1 hour to allow the dough to rest and become easier to work with.
Step 3: Roll Out the Crust
Roll out each disk on a lightly floured surface into approximately 12-inch circles, about ⅛ inch thick.
Carefully transfer one dough circle to a 9-inch pie plate, trimming the edges to leave about a ¾ inch overhang.
Roll out the second disk for the top crust and set aside.
Step 4: Prepare the Filling
In a large bowl, combine the rhubarb, strawberries, sugar, and tapioca.
Allow the mixture to sit for at least 15 minutes so the tapioca can begin absorbing the juices.
Pour the filling into the prepared bottom crust and dot the top with small pieces of butter.
Step 5: Assemble and Prepare the Pie
Cover the pie with the rolled-out top crust.
Trim and seal the edges, decorating or fluting as desired.
Brush the top of the pie lightly with milk and sprinkle with sugar for a glistening finish.
Step 6: Bake the Pie
Place the pie in a preheated 400°F oven for 20 minutes.
Lower the temperature to 350°F and bake for an additional 40 minutes, or until the crust turns golden brown and the filling bubbles.
If the crust browns too quickly, cover the edges with aluminum foil strips to prevent over-browning.
Step 7: Cool and Serve
Allow the pie to cool for at least an hour before serving to let the filling set.
Store any leftover pie tightly covered in the refrigerator to maintain freshness.
