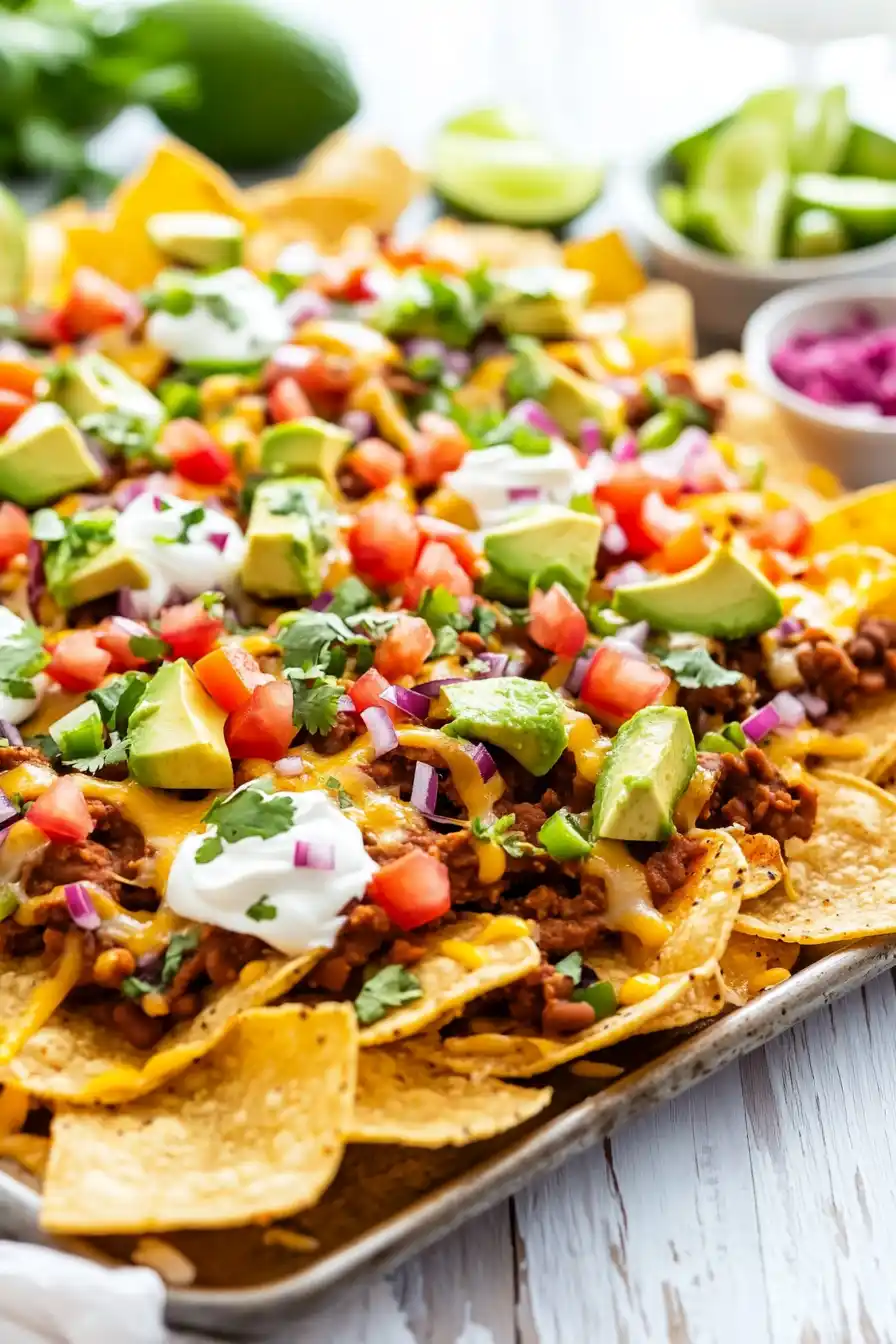
Let’s be honest – nachos are everyone’s go-to comfort food. There’s something about that combination of warm, melty cheese and crispy tortilla chips that just hits the spot every single time. As someone who’s made countless batches of nachos over the years, I’ve learned that adding refried beans takes them from a simple snack to a filling meal.
I started making these nachos back when my kids were little and always hungry after school. They’re quick to put together, and you can prep most of the toppings while the beans heat up. Plus, they’re perfect for those busy weeknight dinners when you need something that’ll make everyone happy without keeping you in the kitchen for hours.
Whether you’re feeding a crowd during game day or just craving a satisfying snack, these nachos with refried beans always deliver. And the best part? You can customize them with whatever toppings your family loves most.

Why You’ll Love These Nachos
- Quick preparation – Ready in just 20 minutes, these nachos are perfect for last-minute gatherings or when you need a quick dinner solution.
- Customizable toppings – You can easily add or remove toppings based on what you have on hand or what your family prefers – make it your own!
- No fancy ingredients – Everything you need can be found at your regular grocery store, and you might already have most items in your pantry.
- Perfect for sharing – Whether it’s game day, movie night, or a casual get-together, these nachos are made for sharing and always bring smiles to the table.
- Vegetarian-friendly – With protein-rich refried beans as the base, these nachos make a satisfying meat-free meal that everyone can enjoy.
What Kind of Refried Beans Should I Use?
You’ll find both pinto and black refried beans at the grocery store, and either type will work great in these nachos. Most people tend to go with traditional pinto refried beans, which have a creamy, mild flavor that pairs really well with all the other nacho toppings. If you’re buying canned refried beans, look for ones labeled “traditional” or “authentic style” rather than “fat-free” – they’ll have better flavor and a smoother consistency. To make them even more spreadable for nachos, you can thin them out with a little chicken broth or water while heating them up, and don’t forget to give them a good stir before using.
Options for Substitutions
This nacho recipe is super adaptable and you can switch things up based on what you have in your kitchen:
- Tortilla chips: While corn tortilla chips give you that classic nacho crunch, you can use any sturdy tortilla chip. Just avoid thin chips that might break under the toppings.
- Refried beans: No refried beans? You can mash up whole black or pinto beans with a bit of their liquid. Or try using seasoned ground beef or shredded chicken instead.
- Cheese blend: The Monterey Jack and Cheddar combo is great, but feel free to use any melting cheese you have – pepper jack adds nice heat, or try a Mexican cheese blend.
- Sour cream: Greek yogurt makes a tangy, protein-rich substitute. Just mix it with a splash of lime juice to thin it out a bit.
- Avocado: If avocados aren’t ripe or available, use prepared guacamole, or skip it altogether – the nachos will still be tasty!
- Fresh cilantro: Not everyone loves cilantro – feel free to use fresh parsley, or skip the herbs if you prefer.
Watch Out for These Mistakes While Cooking
The biggest challenge when making nachos is ending up with a soggy bottom layer – to prevent this, spread your chips in a single layer and pre-heat them in the oven for 5 minutes before adding toppings. Another common mistake is piling on cold toppings like sour cream and avocado too early; these should always be added after the nachos come out of the oven to maintain proper temperature and texture. To avoid unevenly melted cheese, try layering your ingredients instead of piling them all on top – start with chips, then beans, then cheese, and repeat for a second layer if desired. For the crispiest results, broil your nachos for just 3-4 minutes and keep a close eye on them, as the difference between perfectly melted cheese and burnt chips can be less than a minute.
What to Serve With Nachos?
These loaded nachos can easily be turned into a complete meal with just a few simple sides. A fresh bowl of Mexican street corn (elote) or a simple corn salad makes an excellent companion, adding a sweet and creamy element to balance out the crunchy chips. For something cool and refreshing, try serving a crisp jicama slaw dressed with lime juice, or whip up a quick black bean and corn salad. If you’re feeding a crowd, consider adding some Mexican rice or a bowl of extra guacamole on the side – trust me, there’s no such thing as too much guac when it comes to nachos!
Storage Instructions
Keep Fresh: Once assembled, nachos are best eaten right away while the chips are still crispy and the cheese is melty. If you have leftover components, store them separately in airtight containers in the fridge – the beans will keep for 3-4 days, and chopped veggies will stay fresh for 2-3 days.
Prep Ahead: Want to save time? You can prep most components in advance! Chop your tomatoes, onions, and cilantro, and store them separately in the fridge. The refried beans can be made or portioned ahead too. Just wait to slice the avocado and assemble the nachos until you’re ready to eat.
Leftovers: If you end up with leftover assembled nachos, they won’t be as good the next day since the chips get soggy. But you can still crisp them up under the broiler for a few minutes – just watch them carefully so they don’t burn! Add fresh toppings like tomatoes, avocado, and sour cream after reheating.
| Preparation Time | 10-15 minutes |
| Cooking Time | 10 minutes |
| Total Time | 20-25 minutes |
| Level of Difficulty | Easy |
Estimated Nutrition
Estimated nutrition for the whole recipe (without optional ingredients):
- Calories: 1600-1800
- Protein: 50-60 g
- Fat: 100-110 g
- Carbohydrates: 160-180 g
Ingredients
For the main nachos:
- 1 cup cheddar cheese (sharp, freshly shredded for better flavor)
- 1 cup Monterey Jack cheese (shredded from a block for best melt)
- corn tortilla chips
For the bean mixture:
- 1/2 cup chunky salsa
- 1 cup refried beans (I use Rosarita Traditional Refried Beans)
For the toppings:
- 1 tbsp fresh cilantro (chopped, for garnish)
- 1/2 small red onion (finely diced for a milder flavor)
- 1 sliced avocado
- 1 diced Roma tomato
For the sour cream drizzle:
- 1 tbsp lime juice (freshly squeezed for brighter flavor)
- 1/3 cup sour cream
Step 1: Preheat Oven and Prepare Bean Mixture
Begin by preheating your oven to 425℉.
While the oven is heating up, take a small bowl and mix together the refried beans and salsa until well combined.
This mixture will serve as the base for your loaded nachos.
Step 2: Assemble the First Layer of Nachos
Line a large baking sheet with parchment paper to prevent sticking and make cleanup easier.
Take each chip and spread a small spoonful of the refried bean mixture onto it.
Place the prepared chips on the baking sheet in a single layer.
Once completed, sprinkle cheese over these first-layered chips generously.
Step 3: Add Second Layer and Bake
Add a second layer of chips on top of the first, again spreading the refried bean mixture onto each chip and sprinkling cheese over them.
Place the baking sheet into the preheated oven and bake for about 10 minutes, or just until the cheese melts and becomes bubbly.
Step 4: Garnish with Fresh Toppings
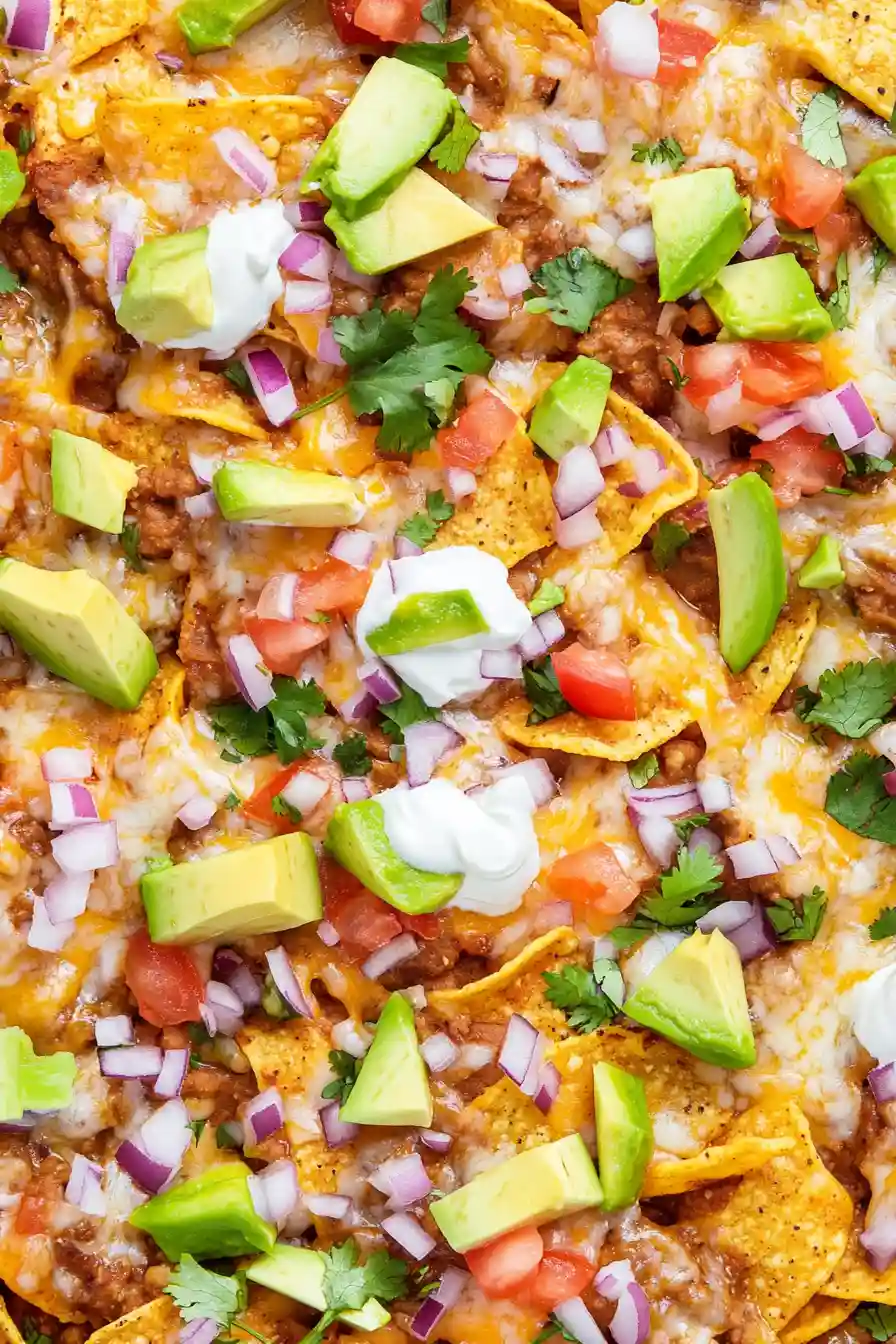
Remove the baking sheet from the oven and immediately sprinkle chopped onions, diced tomatoes, fresh cilantro, and pieces of avocado evenly across the hot nachos.
These fresh toppings add flavor and texture to your dish.
Step 5: Drizzle with Sour Cream Mixture
In a small bowl, combine sour cream and lime juice, stirring until smooth.
Drizzle this creamy mixture over the nachos as desired, adding a tangy finish to your nachos.
Step 6: Serve and Enjoy
Serve your nachos immediately while they are still warm and the cheese is gooey.
Enjoy this delicious snack with family or friends!
