Fall is hands down my favorite season for preserving food. There’s something so satisfying about filling up mason jars with summer’s last harvest before winter hits. But I’ll be honest – I used to think canning was way too complicated for someone like me.
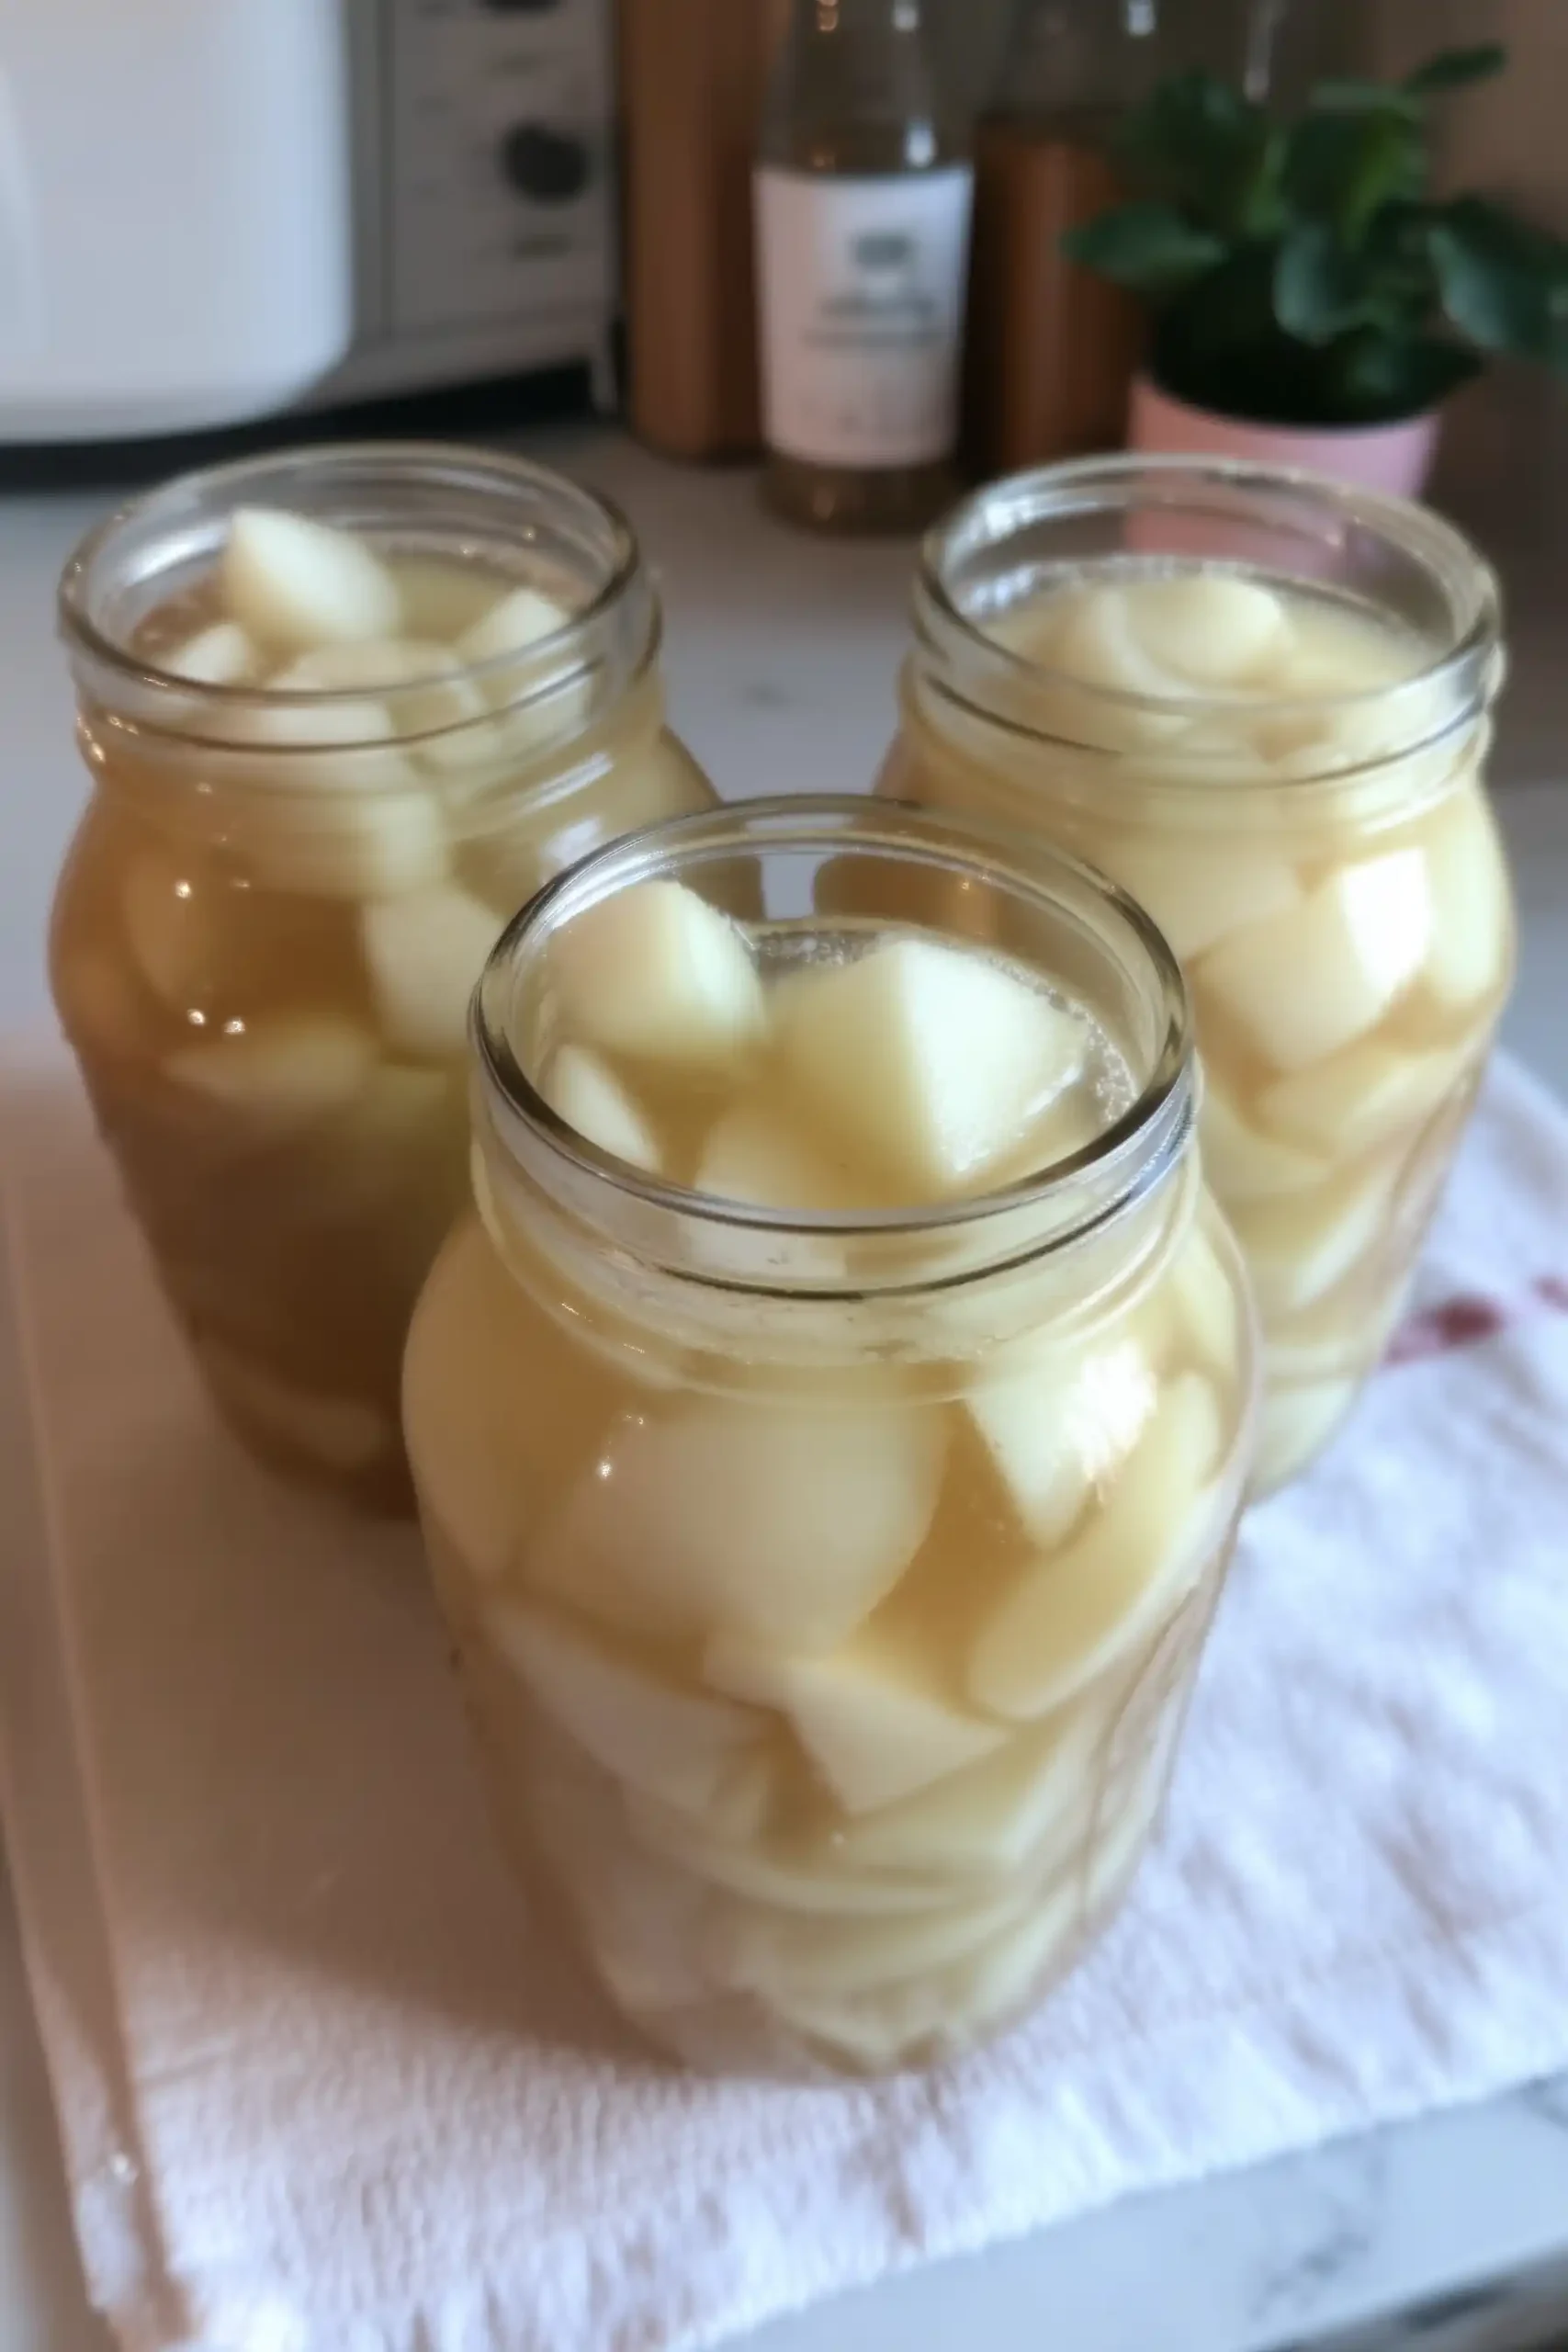
That’s why I love canning pears in light syrup. It’s one of the easiest ways to get started with preserving fruit. The process is pretty straightforward, and you don’t need fancy equipment. Just some basic canning supplies and a big pot. I usually knock out several batches on a weekend when pears are cheap at the farmers market.
Want pears that taste like summer in the middle of January? This is your recipe. Need a simple dessert that’s already portioned out? Same. Trust me, once you see how easy this is, you’ll be looking for excuses to can everything.
Why You’ll Love This Canned Pears in Light Syrup
- Preserves seasonal abundance – When pears are in peak season and you have more than you can eat fresh, this recipe lets you enjoy that perfect pear flavor all year long.
- Light syrup option – Using a lighter syrup means you get all the sweet pear taste without the heavy sugar overload that some canned fruits have.
- Simple ingredients – Just pears, water, and sugar – no complicated additives or hard-to-find ingredients needed.
- Great for beginners – Pears are one of the easier fruits to can, making this a perfect project if you’re new to home canning and want to build your confidence.
- Pantry staple – Having home-canned pears on hand means you always have a healthy snack, dessert ingredient, or side dish ready to go whenever you need it.
What Kind of Pears Should I Use?
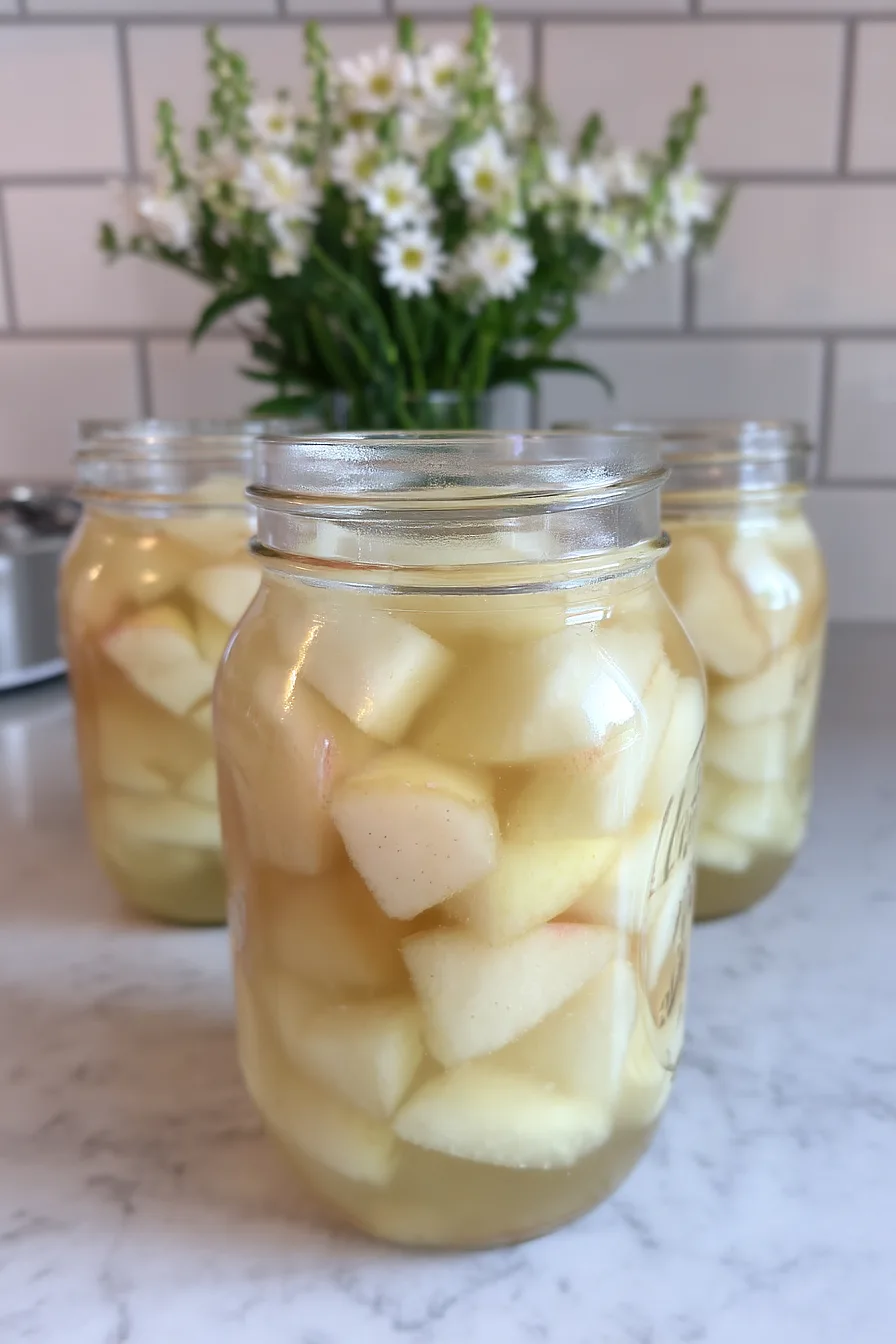
For canning, you’ll want to choose pears that are ripe but still firm to the touch – they should give just slightly when you press them gently. Bartlett pears are the most popular choice for canning because they hold their shape well and have great flavor, but Anjou and Bosc pears also work beautifully. Avoid pears that are overly soft or have brown spots, as they’ll turn mushy during the canning process. If your pears are a bit too ripe, you can still use them, but handle them extra gently and expect a softer texture in your finished product.
Options for Substitutions
While canning requires some precision, there are a few swaps you can make with this pear recipe:
- Raw sugar: You can substitute with regular granulated white sugar in the same amount. Honey works too, but use only 1 3/4 cups since it’s sweeter – just know your syrup will have a golden color and mild honey flavor.
- Lemon juice: If you’re out of fresh lemon juice, bottled lemon juice works fine. Fruit Fresh is basically citric acid, so you can use 1 teaspoon of citric acid powder mixed in water as a dipping solution instead.
- Pear varieties: Bartlett pears are classic for canning, but Anjou, Bosc, or Asian pears work well too. Just make sure they’re ripe but still firm – mushy pears will fall apart during processing.
- Light syrup: Want less sweetness? You can reduce the sugar to 1 1/2 cups for an extra-light syrup, or skip sugar entirely and use just water or unsweetened fruit juice like white grape juice.
- Jar sizes: You can mix and match jar sizes, but stick to pint or quart sizes only. Processing times remain the same for both sizes with this recipe.
Watch Out for These Mistakes While Canning
The biggest mistake when canning pears is using overripe fruit, which will turn mushy and break apart during processing – choose pears that are ripe but still firm to the touch for the best results.
Another common error is skipping the lemon juice treatment, which prevents your pears from turning brown and maintains their appealing color, so dip each piece in lemon juice or Fruit Fresh immediately after peeling and cutting.
Don’t forget to remove all air bubbles by running a chopstick or plastic knife around the inside of each jar, as trapped air can prevent proper sealing and lead to spoilage.
Finally, make sure your jars are properly sterilized and your water bath covers the jars by at least one inch – inadequate processing time or temperature can result in unsafe canned goods that won’t keep properly.

What to Serve With Canned Pears?
These sweet canned pears are perfect straight from the jar as a simple dessert or snack, but they really shine when paired with other treats. I love serving them over vanilla ice cream or Greek yogurt for an easy dessert that feels a bit fancy. They’re also great alongside a slice of pound cake or angel food cake, where the light syrup adds just the right amount of sweetness. For breakfast, try spooning them over oatmeal or pancakes, or even mix them into your morning yogurt parfait with some granola for extra crunch.
Storage Instructions
Pantry Storage: Once your canned pears have cooled and you’ve confirmed they’re properly sealed, store them in a cool, dark pantry or cupboard. They’ll keep beautifully for up to 2 years, though they’re best enjoyed within the first year for optimal flavor and texture.
After Opening: Once you pop open a jar, transfer any leftover pears and syrup to the refrigerator in a covered container. They’ll stay fresh for about a week, making them perfect for adding to yogurt, oatmeal, or enjoying as a quick snack throughout the week.
Check Seals: Always check that your jar lids have sealed properly before storing – they should be firm and not pop when pressed in the center. If any jars didn’t seal, just pop them straight into the fridge and use them first within a few days.
| Preparation Time | 30-45 minutes |
| Cooking Time | 20-30 minutes |
| Total Time | 50-75 minutes |
| Level of Difficulty | Medium |
Estimated Nutrition
Estimated nutrition for the whole recipe (without optional ingredients):
- Calories: 2000-2200
- Protein: 10-15 g
- Fat: 0-5 g
- Carbohydrates: 500-550 g
Ingredients
For the pears:
- 8-12 lbs ripe but firm pears (such as Bartlett or Bosc, peeled, cored, and halved)
- Lemon juice (or Fruit Fresh, to prevent browning)
For the syrup:
- 5 1/4 cups water
- 2 1/4 cups granular sugar
For the canning process:
- 8 pint or 4 quart canning jars (with new lids and rings)
- Canning tongs
- Wide mouth funnel
- Jar lifter
- Chopstick (to remove air bubbles)
Step 1: Prepare the Canning Equipment
- 8 pint-size or 4 quart-size canning jars with lids and rings
- wide mouth funnel
- canning tongs
- jar lifter
Wash the canning jars, lids, and rings thoroughly with soapy water to ensure they’re clean.
Fill your water bath canner with enough water to cover the jars by about 2 inches.
Place the jars into the canner on a canning rack or large cloth so they don’t touch the bottom of the pot.
Bring the water to a boil and then reduce the heat to low, keeping the jars warm until they’re ready to be filled.
In a separate pot, cover the lids and rings with water, bring to a slow boil, then turn off the heat and leave them in the pot until needed.
Step 2: Peel, Core, and Prepare the Pears
- 8 to 12 lb ripe but firm pears
- lemon juice or Fruit Fresh
Cut off the top and bottom of each pear.
Peel and core the pears, keeping them whole if desired.
Once prepared, dice or halve as you prefer.
Immediately place the peeled, cored, and cut pears into a large bowl of cold water that has been acidified with either lemon juice or Fruit Fresh; this prevents browning and maintains a fresh appearance.
I prefer to use an apple peeler and corer to speed up the process, making sure the blade is adjusted to keep the pear whole if that’s your preference.
Step 3: Make the Syrup
- 5 1/4 cups water
- 2 1/4 cups raw sugar
In a large pot or saucepan, combine 5 1/4 cups of water with 2 1/4 cups of raw sugar.
Bring this mixture to a boil over medium-high heat, stirring continuously until the sugar is fully dissolved.
Once boiling, reduce the heat to medium-low to maintain the syrup at a hot but not boiling temperature until you are ready to use it.
Step 4: Pack Pears and Syrup Into Jars
- prepared pears from Step 2
- hot syrup from Step 3
- wide mouth funnel
- chopstick or straw for air bubbles
Using a slotted spoon, remove the pears from the acidified water and pack them into the preheated jars.
Ladle the hot syrup over the pears in each jar, leaving about 1/2 inch of headspace at the top.
Use a chopstick or straw to remove any trapped air bubbles inside the jars.
Wipe the rims of the jars with a clean rag to ensure a good seal, then place the lids on and screw on the rings until fingertip tight.
Step 5: Process the Jars in a Water Bath
Place the filled jars onto the canner rack in the water bath canner.
Raise the heat and bring the water to a full boil, ensuring the jars are covered by at least 2 inches of water.
Process pint jars for 20 minutes and quart jars for 25 minutes.
I always set a timer to ensure I don’t forget about them!
Step 6: Cool and Check the Seals
Once processed, remove the jars carefully using the jar lifter and place them on a dish towel-lined counter.
Allow the jars to cool undisturbed for several hours.
After cooling, check all lids by gently pressing in the center—if the lid does not flex up and down, the jar has sealed properly.
Any jars that haven’t sealed will need to be reprocessed or refrigerated and used soon.
For extra peace of mind, I let the jars cool completely overnight before checking the seals.
