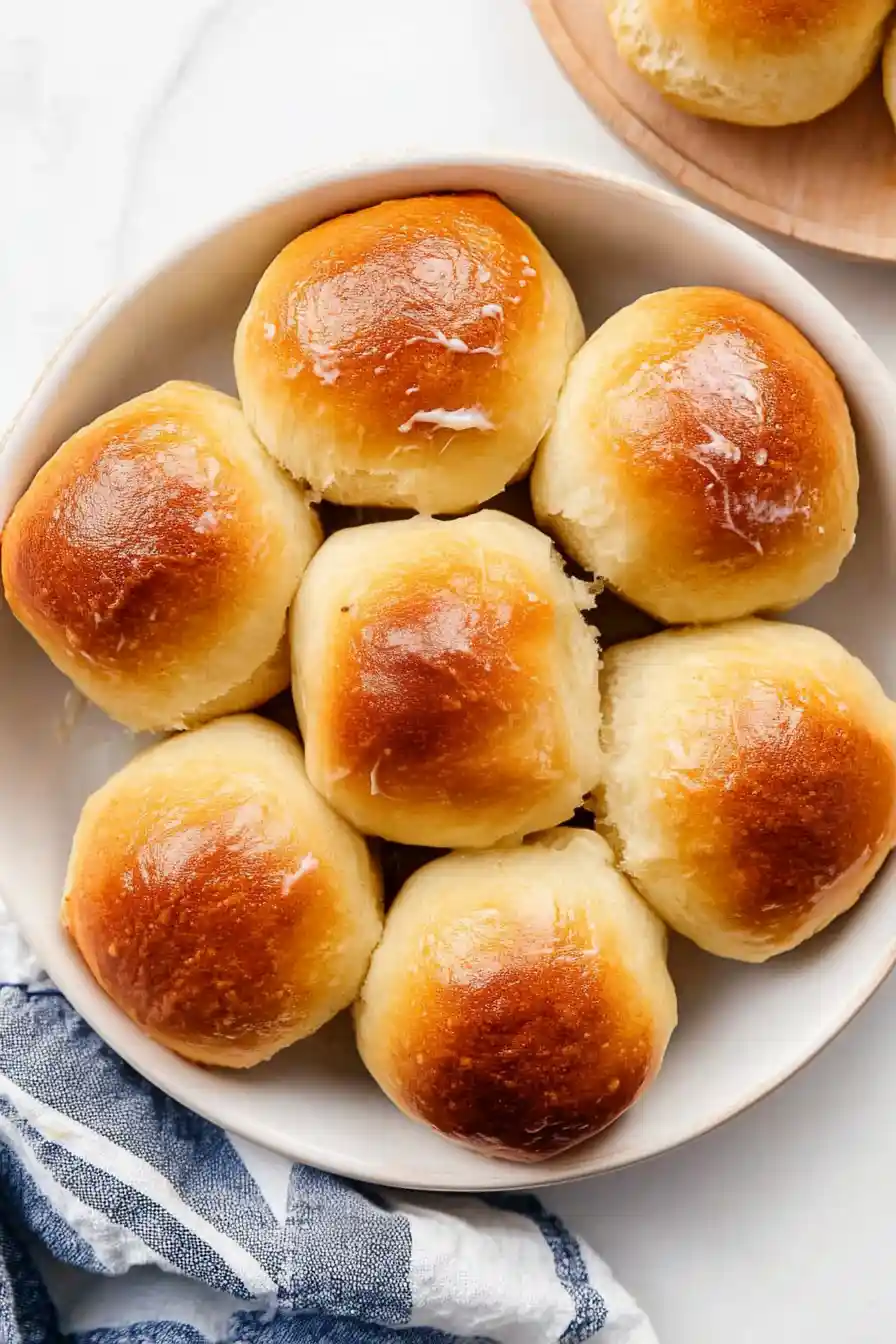
Here is my go-to recipe for honey butter yeast rolls, with a simple, foolproof dough that bakes up soft and fluffy, finished with a generous brush of sweet honey butter that melts right into each warm roll.
These rolls have become a must-have at our Sunday dinners. I always double the batch because they disappear so quickly – and everyone knows warm rolls straight from the oven are impossible to resist. Plus, they make the whole house smell amazing while they’re baking!
Why You’ll Love These Honey Butter Rolls
- Made from scratch – These rolls have that irreplaceable homemade taste that you just can’t get from store-bought versions. The smell of fresh-baked bread filling your kitchen is worth the effort alone!
- Perfect texture – Each roll comes out pillowy-soft on the inside with a lightly golden exterior, thanks to the combination of bread flour and whole milk.
- Sweet and buttery flavor – The honey-butter combo creates rolls that are just sweet enough without being overpowering, making them perfect for both dinner and breakfast.
- Basic ingredients – You’ll only need pantry staples like flour, yeast, and honey – no fancy or hard-to-find ingredients required.
- Make-ahead friendly – You can prepare these rolls in advance and refrigerate them overnight, making them perfect for holiday meals or special occasions.
What Kind of Yeast Should I Use?
You can use either instant yeast or active dry yeast in these rolls – both types will give you great results.
The main difference is that instant yeast (sometimes labeled as rapid-rise or quick-rise) can be mixed directly into your dry ingredients, while active dry yeast needs to be dissolved in warm liquid first to “wake it up.”
If you’re using active dry yeast, just make sure your milk is around 110°F – any hotter and you might kill the yeast, any cooler and it won’t activate properly.
To check if your yeast is still good, it should start to foam and bubble after about 5-10 minutes in the warm milk with a touch of honey – if nothing happens, it’s time to buy fresh yeast.

Options for Substitutions
Need to make some swaps? Here’s what you can change in these rolls:
- Whole milk: You can use 2% milk or even plant-based milk like soy or oat milk. For a richer taste with lower-fat milk, add 1 tablespoon of heavy cream.
- Bread flour: While bread flour gives the best chewy texture, all-purpose flour can work too. Just know your rolls might be slightly less chewy. Don’t substitute with pastry or cake flour – they won’t give you the right structure.
- Honey: You can swap honey with maple syrup or agave nectar in equal amounts. Regular sugar works too, but reduce the amount by 2 teaspoons and add 1 teaspoon of water to keep the moisture balance.
- Instant yeast: Active dry yeast works fine – just proof it in the warm milk with 1 teaspoon of honey for 5-10 minutes until foamy before using.
- Butter: Salted butter can replace unsalted – just reduce the added salt by 1/4 teaspoon per 4 tablespoons of butter. For dairy-free options, use coconut oil or plant-based butter, but the flavor will be different.
- Eggs: The eggs are pretty important for texture and richness. If you need to skip them, try using 1/4 cup of mashed banana or applesauce, but know the texture won’t be quite the same.
Watch Out for These Mistakes While Baking
The temperature of your milk is crucial when making yeast rolls – if it’s too hot (over 115°F), you’ll kill the yeast, but if it’s too cool, the dough won’t rise properly, so use a thermometer to hit that sweet spot around 110°F.
When kneading the dough, resist the urge to add extra flour even if it feels sticky at first – adding too much flour leads to dense, heavy rolls instead of the light, fluffy texture we’re after.
A common mistake is not giving the rolls enough time for their second rise after shaping – they should nearly double in size and look puffy before going into the oven, which typically takes about 45-60 minutes in a warm spot.
For the best results, brush the honey butter on the rolls right as they come out of the oven, when they’re still hot – this allows the butter to seep into all the nooks and crannies, creating that irresistible golden finish.

What to Serve With Honey Butter Rolls?
These sweet and fluffy rolls are perfect alongside hearty main dishes like pot roast, beef stew, or roasted chicken – basically anything with a good sauce or gravy that you can mop up with the rolls!
They’re also great with holiday meals, fitting right in next to turkey, ham, or prime rib. For everyday dinners, I love serving them with simple pasta dishes or even just a warm bowl of soup.
If you have any rolls left over (which rarely happens at my house!), they make amazing breakfast sandwiches the next morning with eggs and cheese.
Storage Instructions
Keep Fresh: These honey butter rolls stay soft and tasty at room temperature for up to 2 days when kept in a sealed container or zip-top bag. Just make sure they’re completely cool before storing to prevent moisture buildup. If you want them to last a bit longer, pop them in the fridge for up to 5 days.
Freeze: Good news – these rolls freeze really well! Once they’re completely cool, place them in a freezer bag, squeeze out the air, and they’ll keep for up to 3 months. You can freeze them individually or in a batch, whatever works best for you.
Warm Up: To get that fresh-from-the-oven taste back, wrap the rolls in foil and warm them in a 300°F oven for about 10 minutes, or until they’re heated through. If they’re frozen, let them thaw on the counter first. A quick 15-20 seconds in the microwave works too, though the texture might be slightly different.
Make Ahead: You can prep these rolls a day ahead! After shaping them, cover the pan with plastic wrap and let them do their second rise in the fridge overnight. The next day, let them sit at room temperature for about 1 hour before baking.
| Preparation Time | 30-45 minutes |
| Cooking Time | 20-25 minutes |
| Total Time | 1-2 hours |
| Level of Difficulty | Medium |
Estimated Nutrition
Estimated nutrition for the whole recipe (without optional ingredients):
- Calories: 2000-2200
- Protein: 40-50 g
- Fat: 100-110 g
- Carbohydrates: 250-280 g
Ingredients
For the rolls:
- 1/4 cup unsalted butter (melted and cooled)
- 3 1/2 cups bread flour (for a chewier texture)
- 1 large egg yolk
- 1 cup whole milk (warmed to about 105-115°F)
- 1 tsp salt
- 1/4 cup plus 1 tsp honey
- 2 1/4 tsp instant yeast (I use Red Star Yeast)
- 1 large egg (at room temperature)
For the honey butter topping:
- 2 tbsp honey
- 1/4 cup unsalted butter (softened to room temperature)
Step 1: Activate the Yeast
In the bowl of your stand mixer, whisk together warm milk, yeast, and 1 teaspoon of honey.
Loosely cover the bowl and let the mixture sit for 5–10 minutes until it becomes foamy and frothy on top.
If you don’t have a stand mixer, use a large mixing bowl and mix it with a wooden spoon or silicone spatula instead.
Avoid using a hand mixer as the sticky dough can get caught in the beaters.
Step 2: Prepare the Dough
With the stand mixer on low speed using the dough hook attachment, add the remaining honey, egg, egg yolk, melted butter, salt, and 3 cups of flour to the yeast mixture.
Mix on low speed for 1 minute.
Add the remaining 1/2 cup of flour and continue mixing on low speed for another minute until the dough is thick, soft, and slightly sticky, pulling away from the sides of the bowl.
If too sticky, incorporate more flour, 1 tablespoon at a time, but ensure the dough remains soft and slightly sticky.
Step 3: Knead the Dough
Continue to beat the dough in the mixer for an additional 8-10 minutes, or knead by hand on a lightly floured surface for the same amount of time.
If the dough becomes too sticky while kneading, sprinkle a small amount of flour as needed to maintain a soft and tacky consistency.
After kneading, the dough should be soft and bounce back slowly when poked.
Perform the “windowpane test” to ensure proper kneading: stretch a small piece of dough to see if light passes through without tearing.
Step 4: First Rise
Lightly grease a large bowl with oil or nonstick spray and place the dough inside, turning to coat all sides.
Cover the bowl with foil, plastic wrap, or a towel and let the dough rise in a warm place for 1–2 hours until it has doubled in size.
Step 5: Shape the Rolls
Grease a 9×13-inch pan or two 9-inch pans.
When the dough has risen, gently punch it down to release air.
Divide the dough into 15 pieces, roughly 2 ounces each.
Shape each piece into a smooth ball and arrange them in the prepared baking pan.
Loosely cover with plastic wrap and let them rise again until doubled and puffy, about 1 hour.
Step 6: Bake and Finish
Preheat your oven to 350°F (177°C).
Bake the rolls for 20–25 minutes until golden brown on top, rotating the pan halfway.
If the tops brown too quickly, loosely tent with foil.
Meanwhile, prepare the creamy honey butter topping.
Once the rolls are baked, spread the honey butter generously on each roll while still warm.
Serve with extra honey butter if desired.

I’m not sure what happened, but my bread had no taste. we did everything as printed and I don’t know what happened. (this was my first time making bread, so definitely could’ve been me). definitely discouraged from bread making.