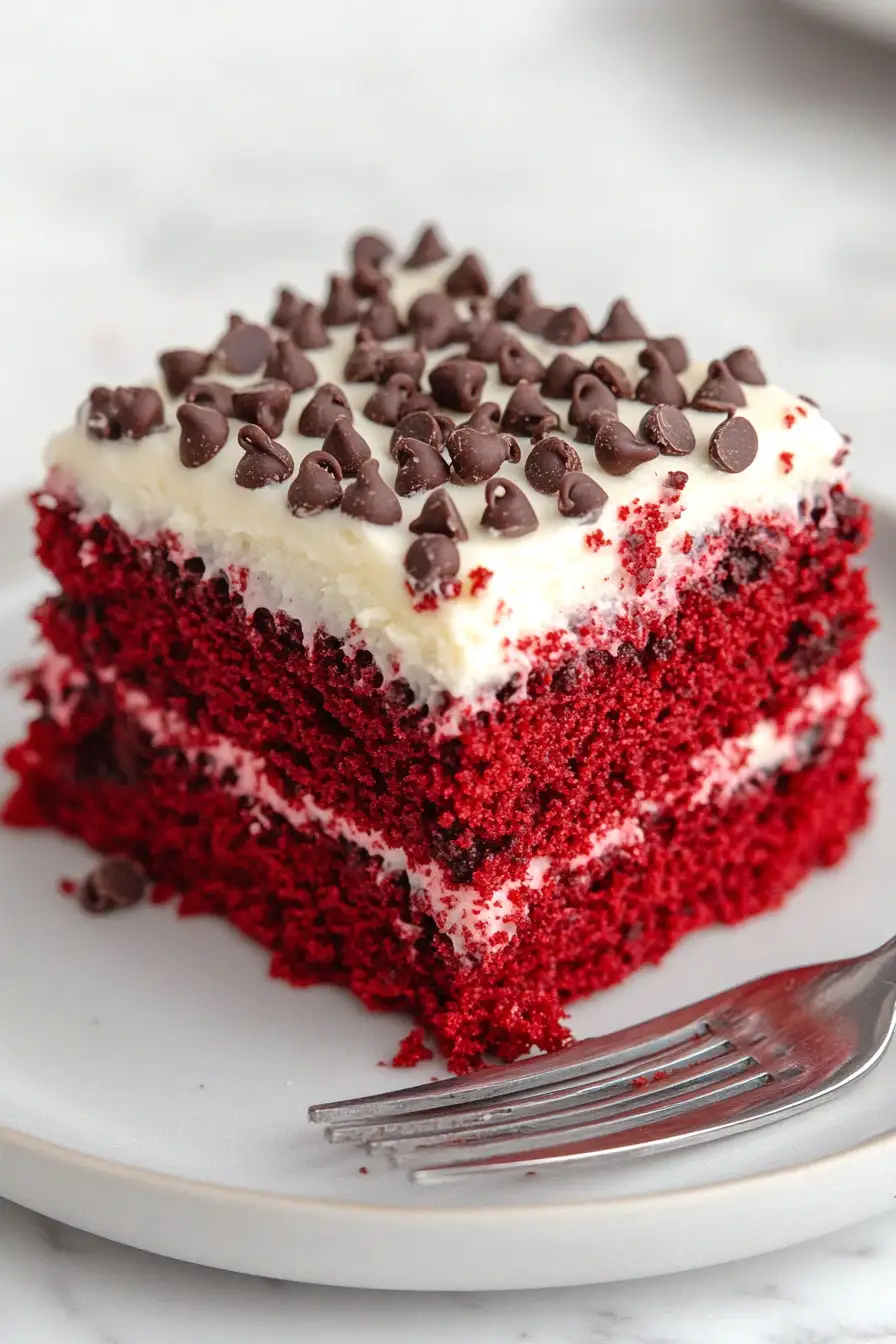
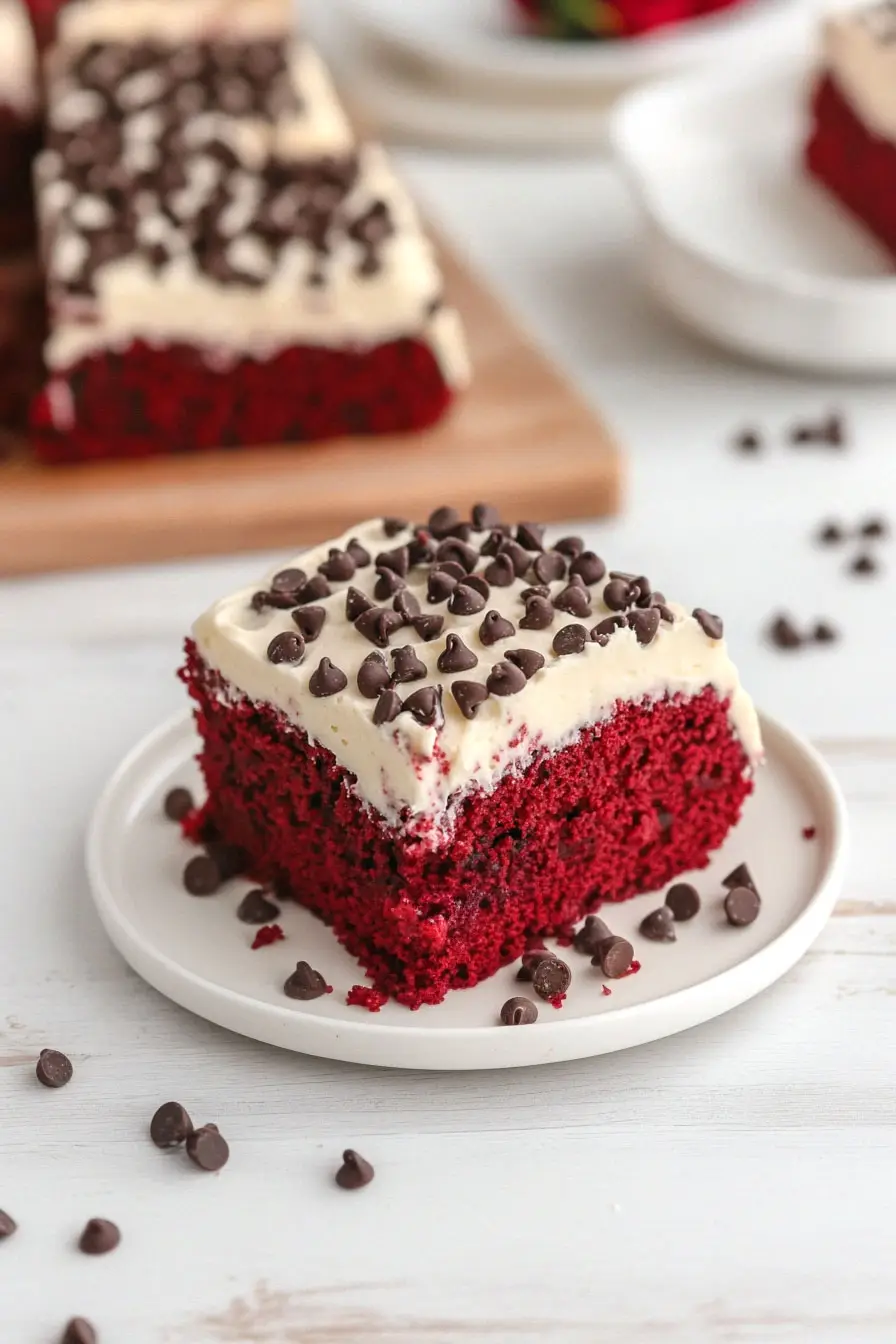
Here’s my take on a classic red velvet cake recipe, made extra special with chocolate chips mixed right into the batter. The deep red color and bits of chocolate throughout make this cake a real treat, and the cream cheese frosting ties it all together perfectly.
This red velvet cake has become my go-to dessert for birthday celebrations. I usually add a few extra chocolate chips on top because, let’s be honest, you can never have too much chocolate in a cake. And those little bits of melty chocolate make every bite even better!
Why You’ll Love This Red Velvet Cake
- Easy preparation – Starting with a cake mix base means you get that classic red velvet flavor without measuring multiple ingredients or worrying about food coloring ratios.
- Rich cream cheese frosting – The combination of cream cheese and sweetened condensed milk creates an extra creamy, perfectly sweet frosting that’s better than any store-bought version.
- Added chocolate surprise – The mini chocolate chips add little bursts of chocolate in every bite, making this cake even more special than a traditional red velvet cake.
- Make-ahead friendly – This cake actually tastes better when made a day ahead, giving the flavors time to develop and the frosting to set perfectly.
What Kind of Chocolate Chips Should I Use?
Semi-sweet chocolate chips are the perfect choice for this red velvet cake, but you’ve got some flexibility here. Mini chocolate chips tend to distribute more evenly throughout the cake and give you little bursts of chocolate in every bite, while regular-sized chips create bigger pockets of melty chocolate goodness. If you’re feeling adventurous, you could even swap in dark chocolate chips for a slightly less sweet, more intense chocolate flavor. Just make sure to use real chocolate chips rather than candy melts or chocolate-flavored baking chips – the real ones melt better and taste much better in the finished cake.

Options for Substitutions
Let’s talk about what you can swap in this recipe if you need to:
- Red velvet cake mix: While the red velvet mix gives this cake its signature color and taste, you could use a chocolate cake mix plus 2-3 tablespoons of red food coloring. Just know the flavor will be slightly different.
- Sweetened condensed milk: This is a key ingredient, but in a pinch, you can make your own by simmering 2 cups whole milk with 2/3 cup sugar until reduced by half. Let it cool completely before using.
- Cream cheese: Full-fat, reduced-fat, or Neufchâtel cheese all work well here. If you’re out of cream cheese, mascarpone can work too, though the frosting might be a bit softer.
- Chocolate chips: Feel free to use any type of chocolate chips – dark, milk, or even white chocolate. You can also chop up a chocolate bar instead of using chips.
- Vanilla essence: You can use vanilla extract, vanilla bean paste, or even almond extract for a different flavor profile.
- Powdered sugar: If you’re out, you can make your own by blending granulated sugar in a food processor until very fine. Use 1 cup granulated sugar plus 1 tablespoon cornstarch for each cup of powdered sugar needed.
Watch Out for These Mistakes While Baking
The biggest challenge when making red velvet cake is achieving the right moisture level – using room temperature ingredients is crucial, as cold cream cheese or butter can lead to a lumpy frosting and uneven cake texture.
Another common mistake is overmixing the batter, which can make your cake tough and dense instead of light and fluffy – mix just until the ingredients are combined, and no more.
When it comes to the chocolate chips, tossing them in a little flour before adding them to the batter will prevent them from sinking to the bottom during baking, and waiting until your cake layers are completely cool before frosting is essential to avoid a melted, messy situation.
For the smoothest frosting possible, beat the cream cheese and butter together first until perfectly smooth, then gradually add the powdered sugar – rushing this process can result in lumpy frosting that’s difficult to spread.
What to Serve With Red Velvet Cake?
Red velvet cake is perfect with a cold glass of milk or a hot cup of coffee, but there are lots of other tasty ways to serve this classic dessert! A scoop of vanilla ice cream on the side adds a nice temperature contrast and helps balance out the richness of the cake. For a fun presentation, try serving each slice with a dollop of fresh whipped cream and a few fresh berries – strawberries and raspberries work especially well with the chocolate and cream cheese flavors. If you’re serving this at a party, consider offering both regular and decaf coffee since this cake makes such a great after-dinner treat.
Storage Instructions
Keep Fresh: This red velvet cake stays moist and yummy when kept in an airtight container in the fridge. It’ll be good for up to 5 days, though I doubt it’ll last that long! Just make sure to cover any cut sections with plastic wrap to keep the cake from drying out.
Freeze: Want to save some for later? Cut the cake into individual slices, wrap each piece in plastic wrap and then aluminum foil, and pop them in the freezer for up to 3 months. This way, you can grab a slice whenever the craving hits!
Thaw & Serve: When you’re ready to enjoy your frozen cake, transfer it to the fridge overnight to thaw. For the best taste and texture, let it sit at room temperature for about 30 minutes before serving. The cream cheese frosting might need a gentle smoothing with a knife after thawing.
| Preparation Time | 20-30 minutes |
| Cooking Time | 25-30 minutes |
| Total Time | 250-300 minutes |
| Level of Difficulty | Medium |
Estimated Nutrition
Estimated nutrition for the whole recipe (without optional ingredients):
- Calories: 3500-3700
- Protein: 30-40 g
- Fat: 150-160 g
- Carbohydrates: 500-520 g
Ingredients
For the cake:
- 1 can sweetened condensed milk (gives better texture and moisture)
- 1 package red velvet cake mix (I use Duncan Hines)
For the frosting:
- 2 1/2 cups powdered sugar
- 8 oz block cream cheese (softened to room temperature)
- 1/2 tsp vanilla extract (for best flavor and aroma)
- 1/2 tsp salt
- 1/4 cup unsalted butter (softened)
For the topping:
- 3/4 cup miniature semi-sweet chocolate chips (optional, adds a nice crunch)
Step 1: Prepare the Baking Pan and Preheat the Oven
Start by preheating your oven to 350°F (175°C).
Line a 9×13-inch baking pan with aluminum foil, ensuring that the edges extend slightly over the sides for easy removal later.
Spray the foil with cooking spray to prevent sticking, and set the pan aside for now.
Step 2: Mix and Bake the Cake
Prepare the cake batter according to the package directions, which often includes adding ingredients such as 3 eggs, water, and oil.
Pour the batter into the prepared pan and bake in the preheated oven for about 25 to 28 minutes, or until a toothpick inserted into the center of the cake comes out clean.
Step 3: Poke Holes and Add Sweetened Condensed Milk
Once the cake has finished baking, remove it from the oven and let it cool for about 5 minutes.
Use the blunt end of a wooden spoon to poke approximately 60 evenly spaced holes over the entire surface of the cake.
Slowly pour sweetened condensed milk over the cake, ensuring that it seeps into all the holes.
Place the cake in the refrigerator to cool for at least 10 minutes.
Step 4: Prepare the Cream Cheese Frosting
In the bowl of a stand mixer fitted with the paddle attachment, or in a large bowl with a handheld electric mixer, combine the cream cheese, butter, confectioners’ sugar, vanilla extract, and a pinch of salt.
Beat on medium-high speed until the mixture is fluffy.
If the frosting is too thin, add more confectioners’ sugar to achieve the desired consistency.
Step 5: Frost the Cake and Add Toppings
Retrieve the chilled cake from the refrigerator.
Spread the cream cheese frosting over the surface of the cake, using a spatula or knife to create a smooth, even layer.
Evenly sprinkle chocolate chips over the top of the frosting.
Step 6: Chill and Serve the Cake
Place the cake back in the refrigerator and allow it to chill for at least 4 hours, or preferably overnight, to let the flavors meld and the texture set.
When ready to serve, cut into slices and enjoy your deliciously moist and creamy cake!
