Hey there, baking buddies!
Are you in the mood for some fresh bread? I’ve got the perfect recipe for you!
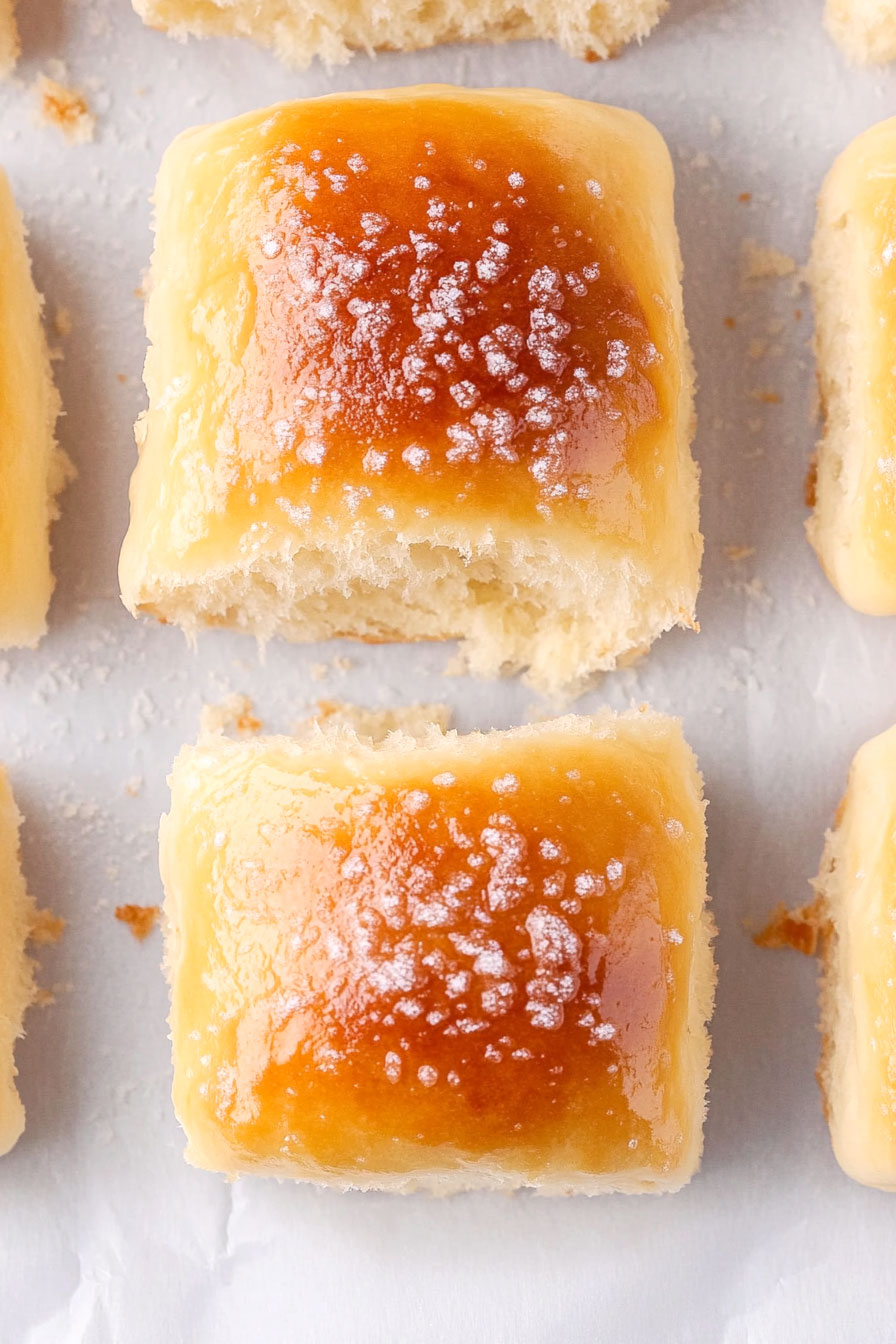
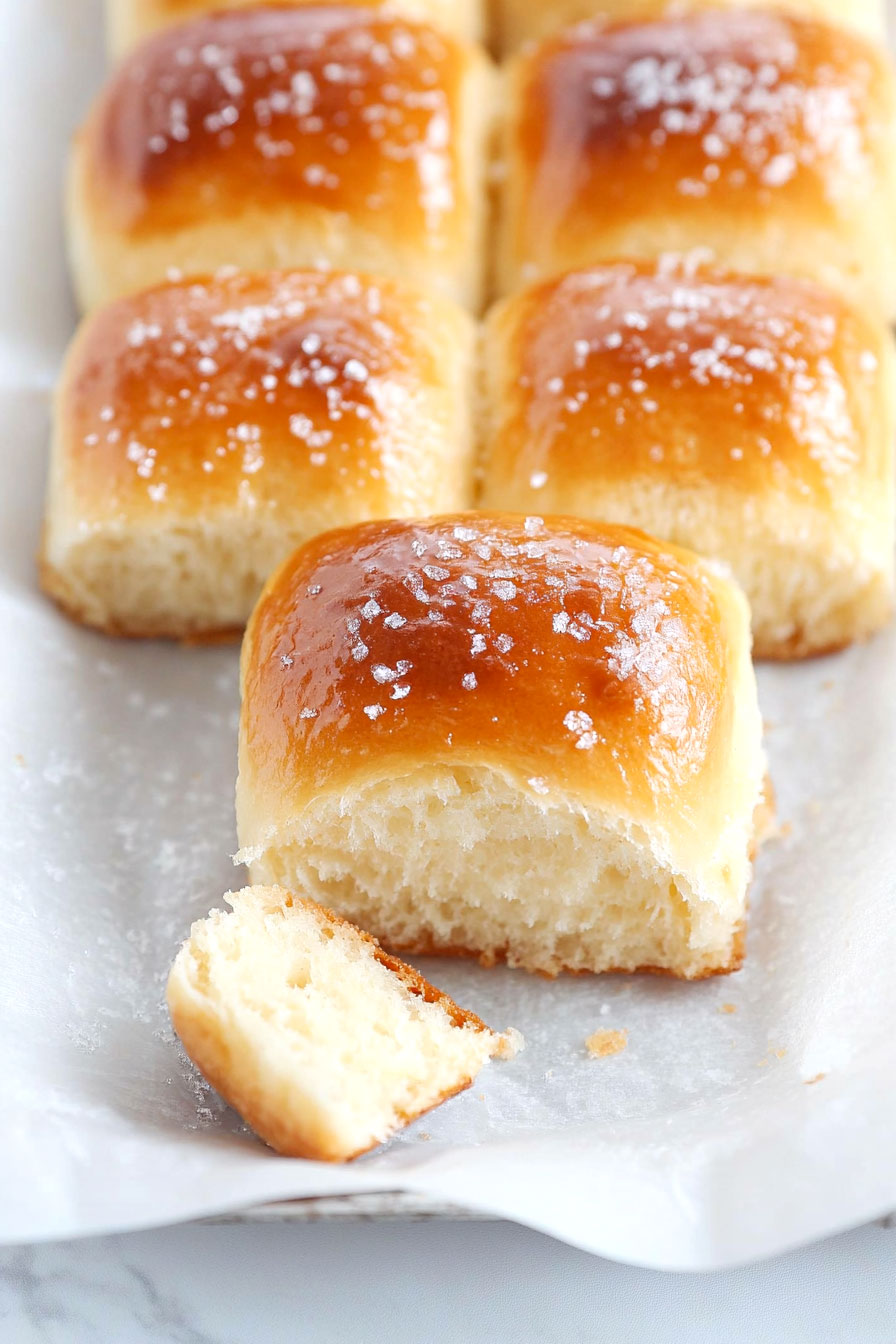
Today, I’m excited to share my small batch yeast rolls.
These little gems are soft, fluffy, and absolutely delicious.
Best part? You won’t be stuck with a mountain of leftovers.
Let’s roll into some baking fun!

Ingredient Substitutions
For the strong flour, all-purpose flour can be used as a substitute, though the rolls may have a slightly less chewy texture. The protein content in all-purpose flour is lower, so you might need to adjust the liquid slightly to achieve the right dough consistency.
Dry milk powder can be replaced with an equal amount of non-dairy milk powder (such as soy or coconut) for a lactose-free option. This substitution maintains the enriching effect of milk solids without compromising flavor.
Unsalted butter can be swapped with margarine or a plant-based butter alternative for a dairy-free version. Use the same amount as called for in the recipe, but be aware that the flavor may differ slightly. For a healthier option, you could use olive oil, reducing the amount to about 40 grams due to its liquid state.
| Preparation Time | 25-35 minutes |
| Cooking Time | 18-20 minutes |
| Total Time | 1.5-2.5 hours |
| Level of Difficulty | Medium |
Estimated Nutrition
Estimated nutrition for the whole recipe (without optional ingredients):
- Calories: 900-1000
- Protein: 25-30 g
- Fat: 40-50 g
- Carbohydrates: 120-130 g
Ingredients
For the tangzhong:
- 95g whole milk
- 20g bread flour
For the dough:
- 3g salt
- 20g dry milk powder (optional, but recommended for extra tenderness and flavor)
- 50g unsalted butter (softened to room temperature, about 70°F)
- 5g instant yeast
- 130g cold whole milk
- 270g bread flour (I always use King Arthur all-purpose flour for consistent results)
- 15g white sugar
Step 1: Make the Tangzhong
Combine the milk and bread flour in a medium saucepan.
Place over medium heat and cook, stirring continuously, until the mixture thickens into a paste.
Remove from heat and transfer to a medium bowl to cool down slightly.
Step 2: Prepare the Dough
To the tangzhong, add cold milk and mix until combined.
Ensure the temperature is cool or lukewarm by checking with your finger.
Add the flour, milk powder, sugar, yeast, and salt.
Mix to form a shaggy dough, then cover with a tea towel or plate and leave to sit for 5 minutes to allow the flour to hydrate.
Step 3: Knead the Dough
Add butter to the bowl and mix until incorporated.
Turn the dough out onto a clean work surface, using your hands and a bench scraper, knead the dough for about 10 minutes.
It will be quite sticky initially but continue kneading until a soft, smooth dough forms.
The dough should leave a slight indentation when pressed that starts to spring back.
Step 4: First Rise
Form the dough into a ball and place it in a buttered bowl.
Cover with plastic wrap and let it rise in a warm spot until doubled in size, approximately 1 to 1 ½ hours.
Step 5: Shape the Rolls
Grease and line an 8” (20 cm) square pan.
Turn the dough out onto a lightly floured surface, divide into 9 pieces (roughly 65g each).
For each piece, flatten it out, then tuck it into a ball and roll tightly using a ‘claw’ shape with your hand.
Arrange onto your counter with space to prevent sticking.
Cover lightly with plastic wrap and let them rest for 10 minutes.
Give the rolls a quick roll to tighten them and place them evenly in the pan.
Step 6: Second Rise and Baking
Cover the rolls with a lid, plastic wrap, or some lightly greased plastic.
Allow them to rise again for 45 minutes to 1 hour until puffed and doubled in size.
Preheat the oven to 350°F / 180°C.
Brush with egg wash (or milk as an alternative) and bake for 18-20 minutes until golden brown.
Remove and let cool slightly in the pan, then transfer to a wire rack to cool completely.
Step 7: Storing and Refreshing
Store any leftover rolls in an airtight container at room temperature.
Refresh before eating if desired.