If you ask me, caramelized onions are one of cooking’s best kept secrets.
These golden, sweet onions made on a Blackstone griddle turn ordinary meals into something special. The flat-top surface gives you plenty of room to cook a big batch, and the even heat helps them brown perfectly.
They start out sharp and pungent, but after some time on the griddle with a little butter, they become soft and sweet. The key is low heat and patience – no rushing allowed.
They’re perfect for topping burgers, mixing into scrambled eggs, or adding to grilled cheese sandwiches. Once you try them, you’ll want to put them on everything.
Why You’ll Love These Caramelized Onions
- Simple ingredients – You only need onions, oil or butter, and a pinch of salt to create something amazing. Most people already have these basics in their kitchen.
- Blackstone griddle magic – The flat top surface gives you perfect, even caramelization that’s hard to achieve on a regular stovetop, making the process so much easier.
- Incredibly versatile – These golden, sweet onions work on everything from burgers and steaks to pasta and pizza, so you’ll find yourself making them again and again.
- Make-ahead friendly – You can cook a big batch and store them in the fridge for up to a week, giving you an instant flavor boost for any meal.
- Restaurant-quality results – The slow cooking process transforms sharp onions into sweet, jammy goodness that tastes like something from a fancy restaurant.
What Kind of Onions Should I Use?
Yellow onions are your best bet for caramelizing since they have the perfect balance of sweetness and flavor that develops beautifully during the long cooking process. Sweet onions like Vidalia or Walla Walla are also excellent choices and will give you an even sweeter result with less bite. White onions can work in a pinch, but they tend to be sharper and won’t caramelize quite as nicely. When picking your onions, look for ones that feel firm and heavy for their size, with no soft spots or sprouting – fresh onions will give you the best flavor and won’t break down too much during cooking.
Options for Substitutions
This simple caramelized onion recipe is pretty forgiving when it comes to swaps:
- Yellow or sweet onions: While yellow and sweet onions work best for caramelizing, you can use white onions if that’s what you have. Red onions will work too, but they’ll give you a slightly different flavor and color. Avoid using green onions or shallots as they won’t caramelize the same way.
- Olive oil or butter: Feel free to use whatever fat you prefer – all olive oil, all butter, or mix them together. Vegetable oil or avocado oil work fine too, though you’ll miss some of the rich flavor that butter adds.
- Sugar: The sugar helps speed up the caramelizing process, but it’s totally optional. You can use brown sugar, white sugar, or even a drizzle of honey instead. If you skip it entirely, just plan on cooking a bit longer.
- Balsamic vinegar: Any vinegar will add that nice tangy note – try red wine vinegar, apple cider vinegar, or even a squeeze of lemon juice if that’s what you have on hand.
- Fresh thyme: Dried thyme works just fine (use about 1/3 the amount), or swap in rosemary, oregano, or bay leaves for different flavor profiles.
Watch Out for These Mistakes While Cooking
The biggest mistake people make with caramelized onions is cranking up the heat to speed things up, which will burn the onions instead of creating that sweet, golden caramelization you’re after – keep your Blackstone on medium-low heat and be patient.
Another common error is not slicing the onions evenly, so aim for consistent half-moon slices about 1/4 inch thick to ensure they cook at the same rate.
Don’t forget to stir regularly but not constantly – every 5-10 minutes is perfect to prevent sticking while allowing proper browning to develop.
If your onions start to stick or look too dry, add a splash of water or broth to deglaze the surface, and remember that true caramelization takes 30-45 minutes, so resist the urge to rush this process for the best results.

What to Serve With Blackstone Caramelized Onions?
These sweet, golden caramelized onions are perfect for topping just about anything! I love piling them on top of grilled burgers or steak – they add such a rich, sweet flavor that pairs beautifully with savory meats. They’re also amazing on flatbread pizza with some goat cheese and arugula, or stirred into pasta with a bit of cream and parmesan. For a simple weeknight dinner, try them over grilled chicken or pork chops, or even mixed into scrambled eggs for a fancy breakfast twist.
Storage Instructions
Refrigerate: These caramelized onions are a total game-changer for meal prep! Store them in an airtight container in the fridge for up to a week. I love having a batch ready to go because they make everything taste better – from burgers to pasta to scrambled eggs.
Freeze: You can definitely freeze these beauties for longer storage. Just portion them into ice cube trays or small containers and freeze for up to 3 months. Once frozen, pop them into freezer bags to save space and grab however much you need for recipes.
Use: When you’re ready to use them, just thaw in the fridge overnight or add them straight from frozen to hot dishes like soups or stir-fries. For cold applications like sandwiches or salads, let them come to room temperature first so they’re not ice-cold.
| Preparation Time | 10-15 minutes |
| Cooking Time | 30-60 minutes |
| Total Time | 40-75 minutes |
| Level of Difficulty | Easy |
Estimated Nutrition
Estimated nutrition for the whole recipe (without optional ingredients):
- Calories: 380-460
- Protein: 4-6 g
- Fat: 28-32 g
- Carbohydrates: 36-48 g
Ingredients
For the onions:
- 4 large sweet or yellow onions
- 2 tbsp olive oil, butter, or a mixture
- 1 pinch salt
Optional flavor add-ins:
- 1 tsp granulated sugar
- 1 splash balsamic vinegar
- Several fresh thyme sprigs
Step 1: Prepare the Onions
- 4 large sweet or yellow onions
Begin by peeling the onions.
Cut off both the root and stem ends.
Next, slice the onions in half from root to tip.
Lay each half flat on your cutting board and slice the onions thinly.
This will ensure even and consistent cooking during caramelization.
Step 2: Heat the Griddle and Add Fat
- 2 tbsp olive oil, butter, or a mixture
Set your outdoor griddle or a large pan over medium heat.
Add the olive oil, butter, or a mixture of both, and let it melt or heat up.
Make sure the fat is evenly distributed over the cooking surface before moving on.
Step 3: Combine and Season the Onions
- sliced onions from Step 1
- 1 pinch salt
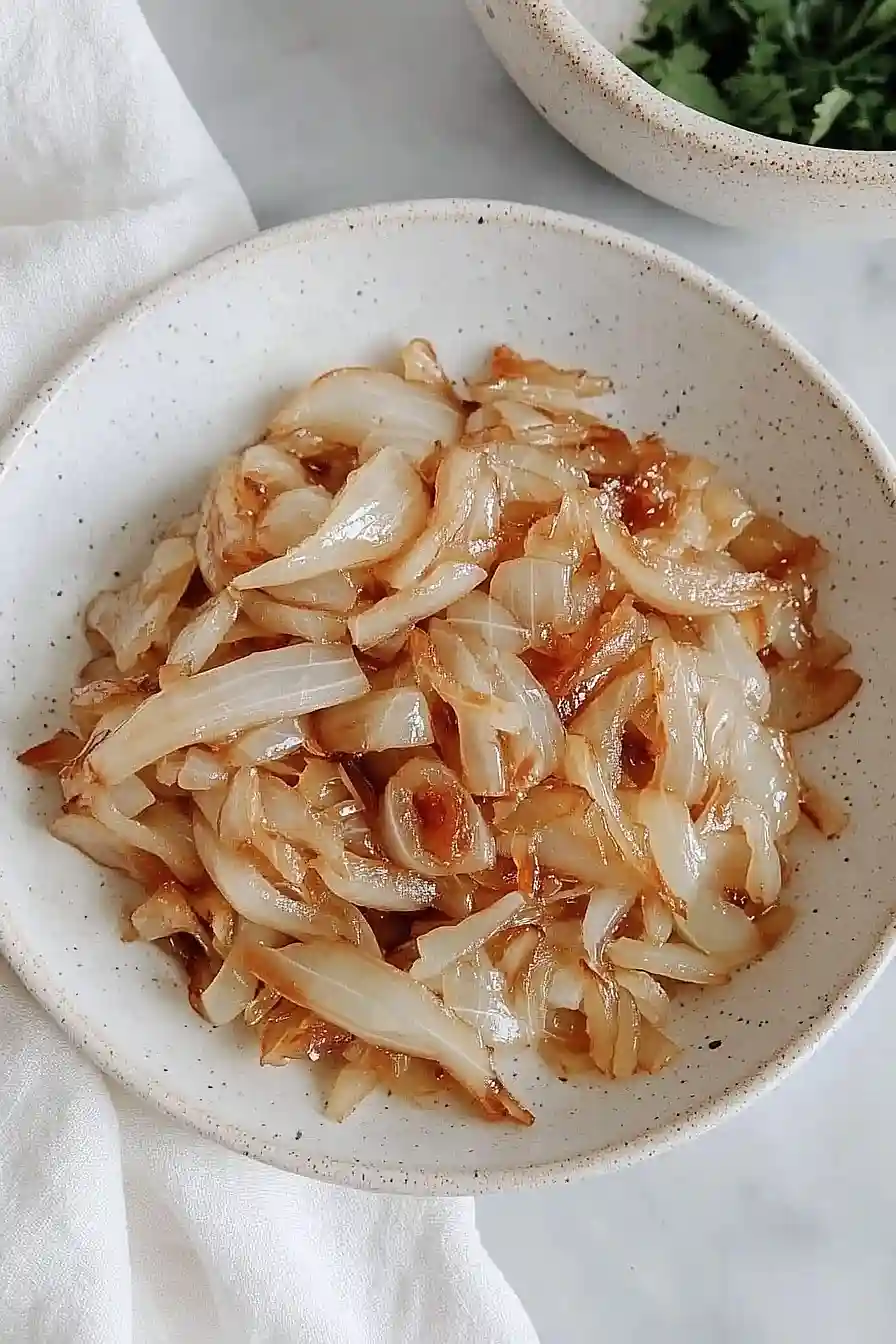
Once the oil or butter is hot, add the thinly sliced onions from Step 1 to the griddle.
Stir them gently to coat every piece with the fat.
Sprinkle a pinch of salt over the onions to help draw out moisture and start the caramelization process.
Step 4: Caramelize the Onions Low and Slow
- 1 tsp granulated sugar
Lower the heat to medium-low or low.
Stir the onions every few minutes to ensure they cook evenly and don’t stick to the griddle.
The onions will slowly release liquid and begin to darken in color, turning from white to golden brown.
Allow them to cook like this for 30 to 60 minutes—good caramelized onions take time!
I like to add a teaspoon of granulated sugar partway through; it really helps deepen the sweetness and color of the onions.
Step 5: Finish and Flavor the Onions
- 1 splash balsamic vinegar
- several fresh thyme sprigs
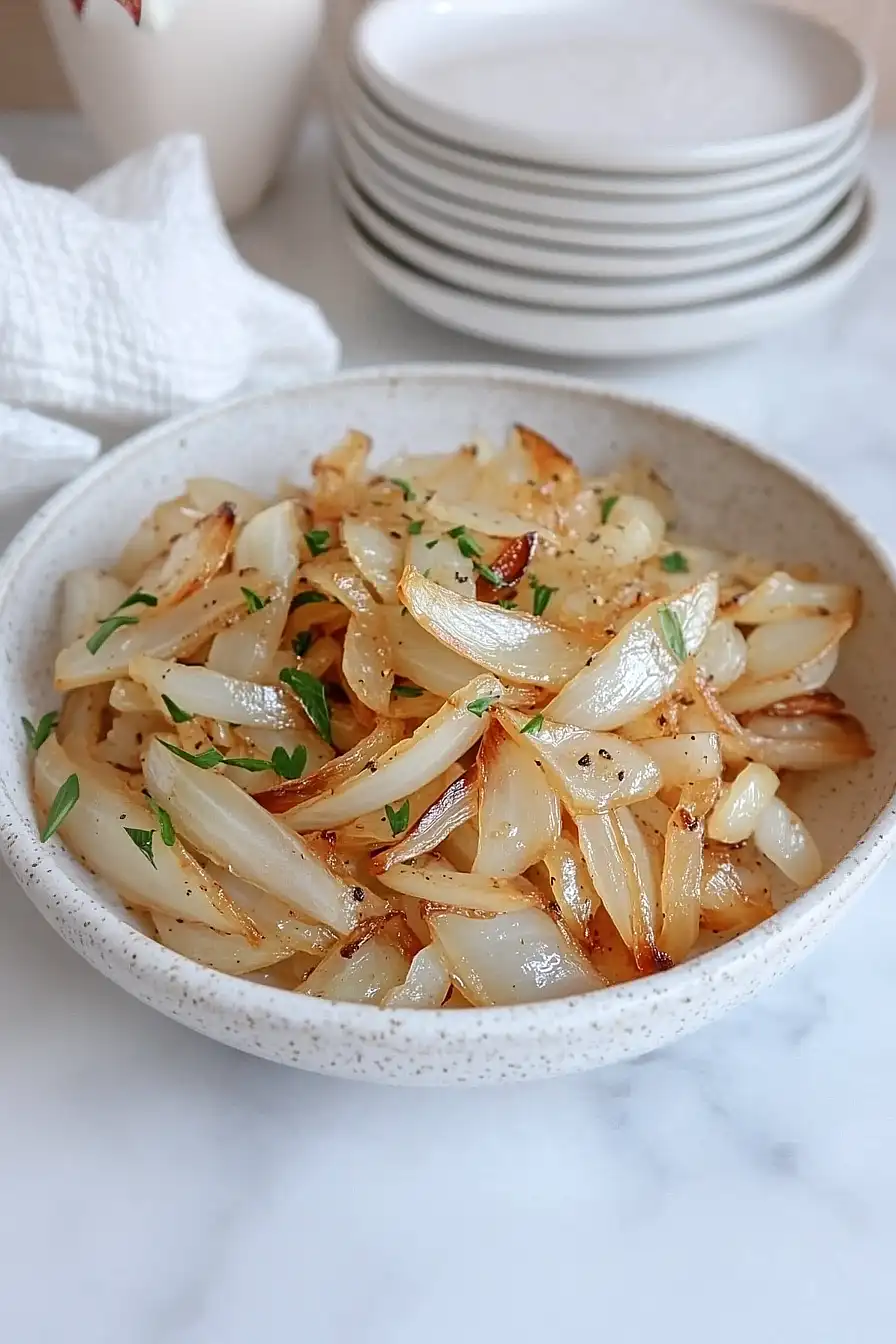
Once the onions are deeply caramelized and golden brown, finish them off by adding a splash of balsamic vinegar and scattering several fresh thyme sprigs over the top.
Stir well to deglaze and infuse with flavor.
Allow the onions to cook for another minute or two so the flavors meld together, then remove from the heat.
They’re now ready for serving—delicious on burgers, steaks, or sandwiches!
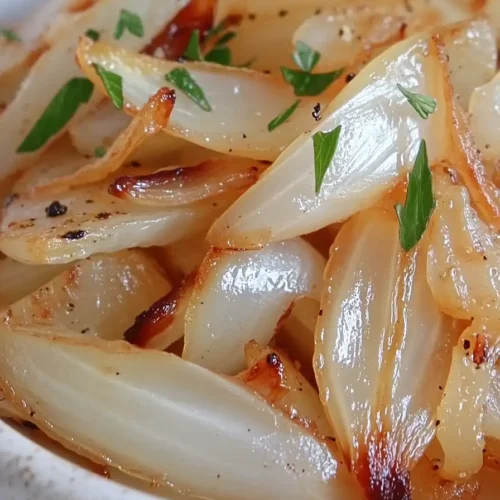
Mouthwatering Blackstone Caramelized Onions
Ingredients
For the onions:
- 4 large sweet or yellow onions
- 2 tbsp olive oil, butter, or a mixture
- 1 pinch salt
Optional flavor add-ins:
- 1 tsp granulated sugar
- 1 splash balsamic vinegar
- several fresh thyme sprigs
Instructions
- Begin by peeling the onions. Cut off both the root and stem ends. Next, slice the onions in half from root to tip. Lay each half flat on your cutting board and slice the onions thinly. This will ensure even and consistent cooking during caramelization.
- Set your outdoor griddle or a large pan over medium heat. Add the olive oil, butter, or a mixture of both, and let it melt or heat up. Make sure the fat is evenly distributed over the cooking surface before moving on.
- Once the oil or butter is hot, add the thinly sliced onions from Step 1 to the griddle. Stir them gently to coat every piece with the fat. Sprinkle a pinch of salt over the onions to help draw out moisture and start the caramelization process.
- Lower the heat to medium-low or low. Stir the onions every few minutes to ensure they cook evenly and don’t stick to the griddle. The onions will slowly release liquid and begin to darken in color, turning from white to golden brown. Allow them to cook like this for 30 to 60 minutes—good caramelized onions take time! I like to add a teaspoon of granulated sugar partway through; it really helps deepen the sweetness and color of the onions.
- Once the onions are deeply caramelized and golden brown, finish them off by adding a splash of balsamic vinegar and scattering several fresh thyme sprigs over the top. Stir well to deglaze and infuse with flavor. Allow the onions to cook for another minute or two so the flavors meld together, then remove from the heat. They're now ready for serving—delicious on burgers, steaks, or sandwiches!
