Finding time to make fresh, homemade dinner rolls on a busy weeknight can feel nearly impossible. Between work, kids’ activities, and everything else on your plate, spending hours mixing, kneading, and waiting for dough to rise just isn’t realistic for most of us.
That’s where frozen bread dough becomes a total game-changer. These dinner rolls give you that warm, fresh-baked taste and smell without all the work, and they’re ready in just about an hour from start to finish.

Why You’ll Love These Dinner Rolls
- Super convenient shortcut – Using frozen bread dough saves you hours of mixing, kneading, and waiting for dough to rise from scratch, but still gives you that homemade taste.
- Simple ingredients – You probably already have butter, garlic powder, and Italian seasoning in your pantry, making this an easy recipe to whip up anytime.
- Perfect for any meal – These buttery, seasoned rolls pair beautifully with everything from weeknight pasta dinners to holiday feasts.
- Foolproof results – Even if you’re new to baking, frozen dough takes the guesswork out of getting fluffy, golden rolls every time.
What Kind of Frozen Bread Dough Should I Use?
Any brand of frozen dinner rolls will work great for this recipe, so don’t stress too much about finding a specific type. You’ll find them in the freezer section of most grocery stores, usually sold in bags of 12 or more. Some popular brands include Rhodes, Rich’s, or even store brands – they all bake up nicely. Just make sure the rolls are specifically labeled as “dinner rolls” rather than sweet rolls or other specialty breads, since those might have different rising times or flavors that could affect your final result.
Options for Substitutions
This simple recipe is pretty forgiving when it comes to swaps:
- Frozen dinner rolls: You can use any brand of frozen dinner rolls or even frozen bread dough that you shape into rolls yourself. Just adjust the rising and baking time according to the package directions.
- Butter: Margarine or even olive oil work as substitutes, though butter gives the best flavor. If using olive oil, use about 3 tablespoons instead of 4.
- Italian seasoning: Don’t have Italian seasoning? Mix together dried basil, oregano, and thyme in equal parts. You could also use garlic herb seasoning or even everything bagel seasoning for a different twist.
- Sea salt: Regular table salt works just fine – use the same amount. You could also try flavored salts like garlic salt for extra taste.
- Non-stick spray: A light coating of butter or even a bit of olive oil rubbed on the baking dish will do the trick if you’re out of cooking spray.
Watch Out for These Mistakes While Baking
The biggest mistake people make with frozen dinner rolls is not giving them enough time to thaw and rise properly – rushing this process will leave you with dense, heavy rolls instead of light and fluffy ones.
Make sure to place the frozen rolls in a greased pan and cover them with a damp towel, then let them sit in a warm spot for 3-4 hours until they’ve doubled in size before baking.
Another common error is baking them at too high a temperature, which browns the outside before the inside is fully cooked through – stick to 350°F and brush with melted butter halfway through for golden, evenly baked rolls.
Don’t skip the resting step after baking either, as letting them cool for just 5 minutes makes them much easier to remove from the pan without falling apart.

What to Serve With Dinner Rolls?
These buttery dinner rolls are perfect alongside just about any main dish you can think of! They’re amazing for soaking up gravy with roast chicken or beef, and they make a great addition to pasta nights when you want something to mop up that extra sauce. I love serving them with soups and stews since they’re perfect for dunking, or alongside a big salad when you want to make it more filling. They also work great for holiday meals – just put a basket of these warm rolls on the table and watch them disappear!
Storage Instructions
Keep Fresh: Once your dinner rolls are baked and cooled, store them in an airtight container or bread bag at room temperature for up to 3 days. They’ll stay soft and delicious, perfect for grabbing whenever you need a quick side for dinner or a snack.
Freeze: These rolls freeze really well after baking! Just let them cool completely, then pop them in a freezer bag for up to 3 months. I like to freeze them individually first on a baking sheet, then transfer to a bag so they don’t stick together.
Warm Up: To bring back that fresh-baked taste, wrap the rolls in a damp paper towel and microwave for 15-20 seconds, or warm them in a 350°F oven for about 5 minutes. From frozen, just add a few extra minutes in the oven until they’re heated through.
| Preparation Time | 15-20 minutes |
| Cooking Time | 15-25 minutes |
| Total Time | 195-245 minutes |
| Level of Difficulty | Easy |
Estimated Nutrition
Estimated nutrition for the whole recipe (without optional ingredients):
- Calories: 1050-1200
- Protein: 18-22 g
- Fat: 34-40 g
- Carbohydrates: 170-190 g
Ingredients
For the rolls:
- Nonstick spray (or extra butter for greasing the pan)
- 12 frozen dinner rolls (such as Rhodes Bake-N-Serv)
For the spiced butter topping:
- 1/2 tsp Italian seasoning
- 1/8 tsp garlic powder
- 4 tbsp butter (unsalted, melted and divided)
- 1/4 tsp sea salt
Step 1: Prepare Baking Pan
- 1 tablespoon butter (from 4 tbsp butter, divided use)
- nonstick spray or extra butter for greasing (optional, in place of butter)
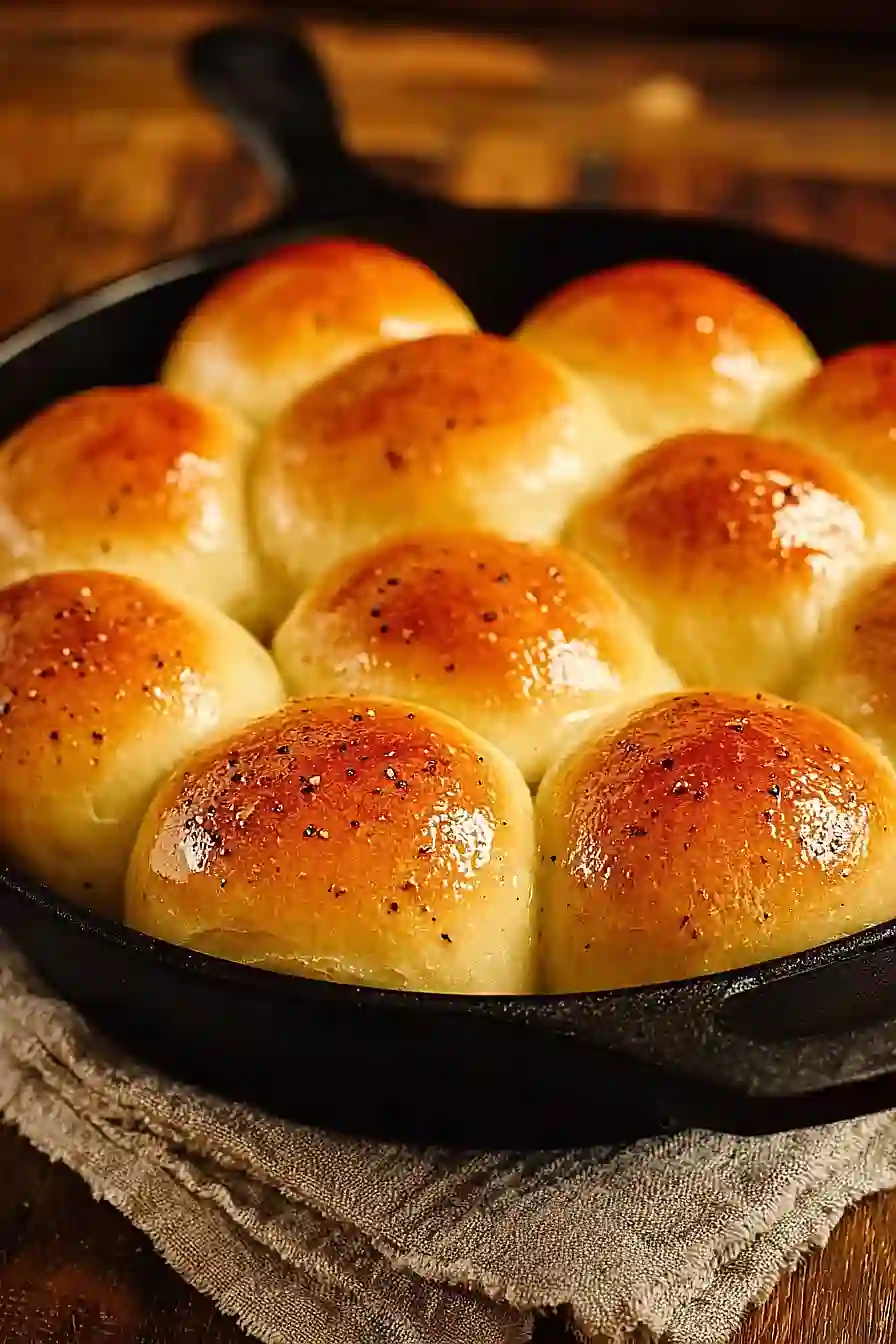
Generously grease the inside of a cast iron skillet or cookie sheet using 1 tablespoon of butter.
This helps prevent the rolls from sticking and adds great flavor.
Alternatively, you could use nonstick spray or extra butter if you prefer.
Step 2: Arrange and Proof the Dinner Rolls
- 12 frozen ready-to-bake dinner rolls
Place the 12 frozen ready-to-bake dinner rolls into the buttered skillet or sheet, spacing them about two inches apart to allow room for rising.
Cover the pan loosely with plastic wrap, then set in a warm area and let the rolls rise until doubled in size, about three to four hours.
This slow rise helps achieve a fluffy texture.
Step 3: Prepare Seasoned Butter and Brush Rolls
- 3 tablespoons butter (from 4 tbsp butter, divided use)
- 1/2 teaspoon Italian herb seasoning
- 1/8 teaspoon garlic powder
- 1/4 teaspoon sea salt
While the rolls are rising, melt the remaining 3 tablespoons of butter.
Stir in the Italian herb seasoning, garlic powder, and sea salt until fully combined.
Once the rolls have doubled in size, generously brush the seasoned melted butter onto the uncooked rolls, making sure each roll is evenly coated.
I like to use a pastry brush for this step to get an even layer of flavor on every roll.
Step 4: Bake the Rolls
- uncooked, butter-brushed rolls from Step 3
Preheat your oven and bake the seasoned dinner rolls according to the package directions until they are golden brown and cooked through.
Times may vary depending on your oven and the brand of dinner rolls, so keep an eye out for that beautiful golden color.
Step 5: Finishing Touch and Serving
Remove the baked rolls from the oven and immediately brush the tops with a little more melted butter for a shiny, flavorful finish.
Serve the rolls warm for the best taste and texture.
I always find that a final brush of butter right out of the oven really takes these rolls to the next level.
