Finding the perfect dessert for parties and gatherings can feel like a real puzzle. Between juggling different serving sizes, dealing with messy slicing, and trying to please everyone’s taste buds, traditional cheesecakes can be quite the hassle – especially when you’re already busy with a million other hosting duties.
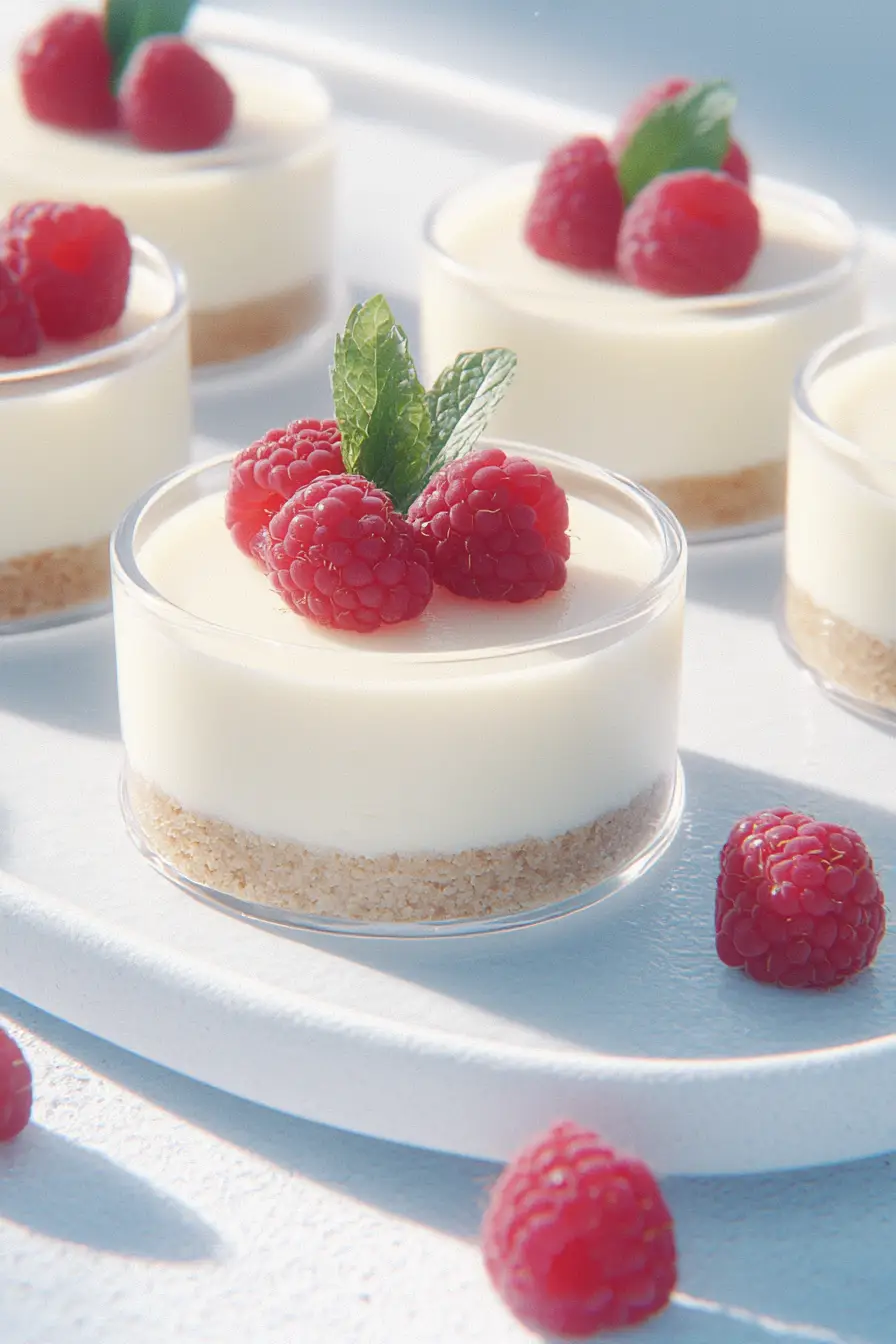
That’s where these mini cheesecake cups come to the rescue: they’re perfectly portioned, super easy to make ahead of time, and always a crowd-pleaser. Plus, you can customize the toppings to give your guests options without having to make multiple different desserts.

Why You’ll Love These Mini Cheesecakes
- Perfect portion control – Each mini cheesecake is individually sized, making them ideal for parties, dessert tables, or when you just want a small sweet treat without the temptation of a whole cake.
- No-bake recipe – These little treats don’t require any oven time – just mix, chill, and enjoy. It’s perfect for hot summer days when you don’t want to turn on the oven.
- Simple ingredients – You only need a handful of basic ingredients that are easy to find at any grocery store, and most of them might already be in your pantry.
- Make-ahead friendly – You can prepare these mini cheesecakes a day or two before serving, making them perfect for stress-free entertaining or party planning.
What Kind of Cream Cheese Should I Use?
Regular full-fat block cream cheese is the way to go for these mini cheesecakes – avoid using cream cheese spread that comes in tubs, as it’s too soft and contains additives that can affect the texture. Make sure your cream cheese is properly softened at room temperature (about 30-60 minutes on the counter should do it) to avoid any lumps in your filling. If you’re in a pinch, you can use lower-fat cream cheese, but keep in mind that the texture won’t be quite as rich and creamy as the full-fat version. Just remember to stick with unflavored cream cheese – we’ll be adding our own vanilla for flavor.
Options for Substitutions
Need to make some swaps for these mini cheesecakes? Here are some helpful alternatives:
- Graham crackers: Out of graham crackers? Try using crushed digestive biscuits, vanilla wafers, or even crushed Oreos (remove the cream filling first). Just keep the same measurement for any cookie substitute.
- Cream cheese: Cream cheese is pretty essential for cheesecake, but if you’re in a pinch, mascarpone cheese can work – though your cheesecake will be a bit richer. Stick with regular cream cheese for the best results.
- Heavy cream: You can use whipping cream as a direct substitute. If you only have half-and-half, the filling might be a bit softer, so add an extra 2 ounces of cream cheese to maintain the right texture.
- Vanilla essence: Feel free to swap vanilla essence with vanilla extract, or try almond extract for a different flavor profile. Use the same amount.
- Fresh fruit topping: Any fresh fruits work great here! Try strawberries, blueberries, raspberries, or sliced peaches. You can also use fruit preserves or lemon curd if fresh fruit isn’t available.
Watch Out for These Mistakes While Baking
The biggest challenge when making mini cheesecakes is achieving the perfect texture – room temperature ingredients are absolutely crucial, so remember to take your cream cheese out of the fridge at least 2 hours before starting. Another common mistake is overmixing the cream cheese mixture, which can lead to cracks and a dense texture – mix just until the ingredients are combined and smooth, no more than 2-3 minutes on medium speed. To prevent your crust from becoming too hard or crumbly, avoid pressing it too firmly into the cups – a gentle press with the back of a spoon is all you need. For the smoothest possible filling, scrape down the sides of your mixing bowl several times while combining ingredients, and consider straining the mixture through a fine-mesh sieve before pouring it into the cups.
What to Serve With Mini Cheesecake Cups?
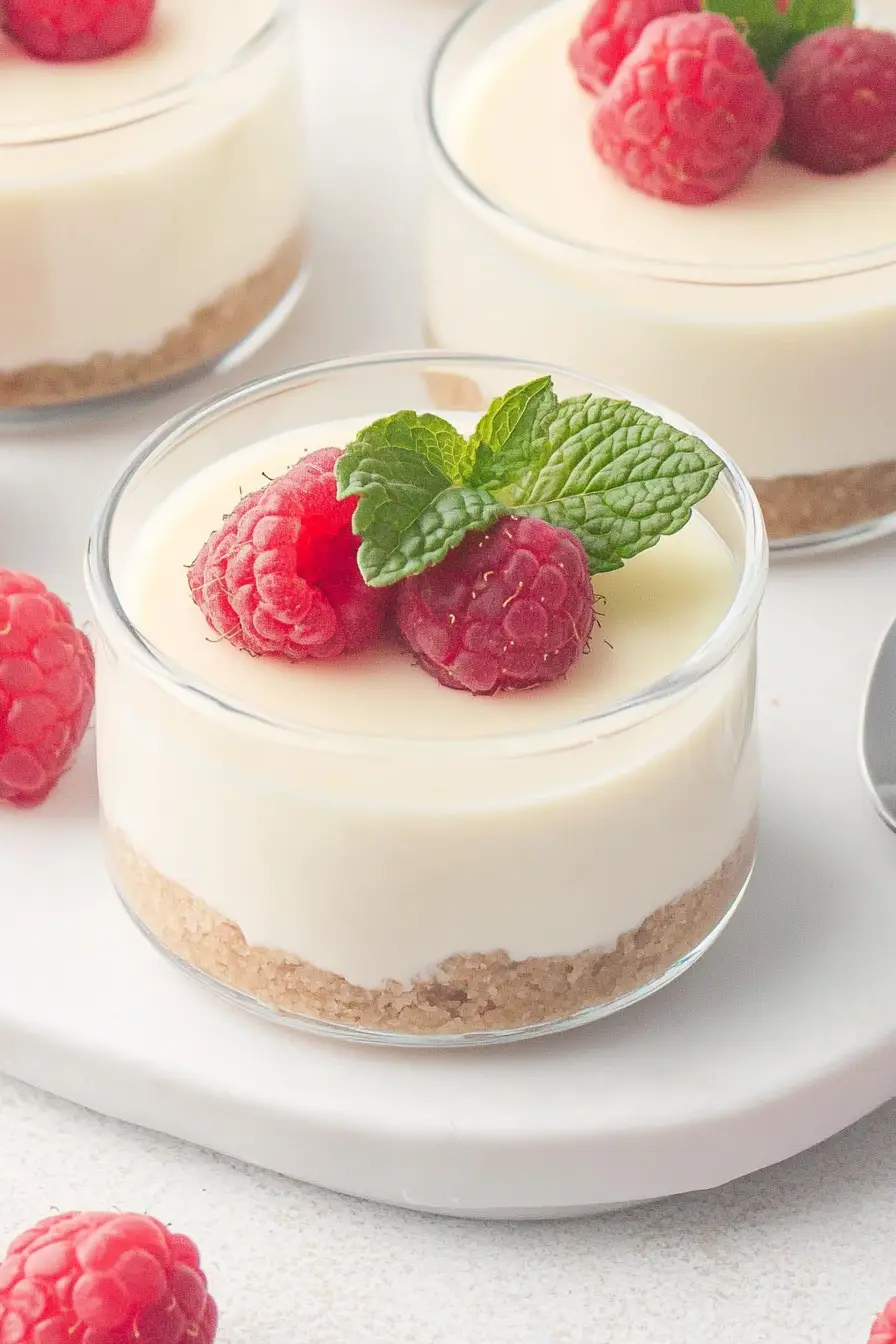
These adorable mini cheesecake cups are perfect for serving with a variety of toppings and sauces! A drizzle of warm caramel or chocolate sauce adds a nice touch, while fresh berry compote brings a lovely tartness that balances the rich, creamy filling. I like to set up a little toppings bar with different fruits, sauces, and maybe some crushed nuts or chocolate shavings so everyone can customize their own. For drinks, these pair wonderfully with coffee or tea, especially a bold espresso that cuts through the sweetness of the cheesecake.
Storage Instructions
Keep Fresh: These mini cheesecake cups stay perfect in an airtight container in the fridge for up to 5 days. I recommend adding the fresh fruit topping just before serving to keep everything looking fresh. The plain cheesecakes actually taste even better after a day in the fridge, as the flavors have time to develop!
Freeze: You can freeze these little treats for up to 3 months! Just place them in a freezer-safe container without any fruit toppings. Place a piece of parchment paper between layers if you need to stack them. When you’re ready to enjoy, thaw them overnight in the fridge.
Make Ahead: These mini cheesecakes are perfect for making ahead of time for parties or gatherings. You can prepare them up to 2 days in advance – just keep them covered in the fridge and add the fresh fruit right before serving. It makes party planning so much easier!
| Preparation Time | 15-20 minutes |
| Cooking Time | 0-0 minutes |
| Total Time | 240-260 minutes |
| Level of Difficulty | Easy |
Estimated Nutrition
Estimated nutrition for the whole recipe (without optional ingredients):
- Calories: 1800-2000
- Protein: 10-15 g
- Fat: 120-130 g
- Carbohydrates: 210-220 g
Ingredients
- 3/4 cup crushed graham crackers
- 2 tablespoons melted butter
- 1 tablespoon icing sugar
- 8 ounces softened cream cheese
- 1/2 cup heavy cream
- 1 cup icing sugar
- 1 teaspoon vanilla essence
- Beautiful fresh fruit or berries for garnish
Step 1: Prepare the Crust
Begin by making the crust.
In a small bowl, combine graham cracker crumbs with melted butter and powdered sugar.
Mix until all the ingredients are well combined and resemble damp sand.
Divide this mixture evenly among 4 serving cups.
Use the handle of a wooden spoon to lightly pack the crust into the bottom of each cup.
Make sure it is even and firmly packed for a solid base.
Step 2: Beat the Cream Cheese
In a separate small bowl, beat the cream cheese with an electric mixer on HIGH speed until it is soft and creamy.
This should take about 30 seconds.
Once the cream cheese is smooth, set it aside for the next mixing steps.
Step 3: Whip the Cream
In another small bowl, beat the whipping cream until soft peaks form.
Gradually beat in powdered sugar and vanilla extract to the whipped cream.
This will create a lightly sweetened and flavorful whipped topping that will be combined with the cream cheese.
Step 4: Combine Cream Cheese and Whipped Cream
Gently fold half of the whipped cream into the beaten cream cheese using a mixer on medium speed.
Once combined, add the remaining whipped cream and mix until thoroughly combined.
This will create a creamy and smooth cheesecake filling.
Step 5: Assemble and Chill
Evenly divide the cheesecake filling between the 4 cups on top of the prepared crust.
Smooth the tops for an even presentation.
Cover the cups and refrigerate them for at least 4 hours to allow the cheesecake to set.
Step 6: Serve and Enjoy
After chilling, take the cups out of the refrigerator just before serving.
Add your choice of fresh fruit on top of each cheesecake for a burst of color and flavor, then serve and enjoy your no-bake cheesecake cups!