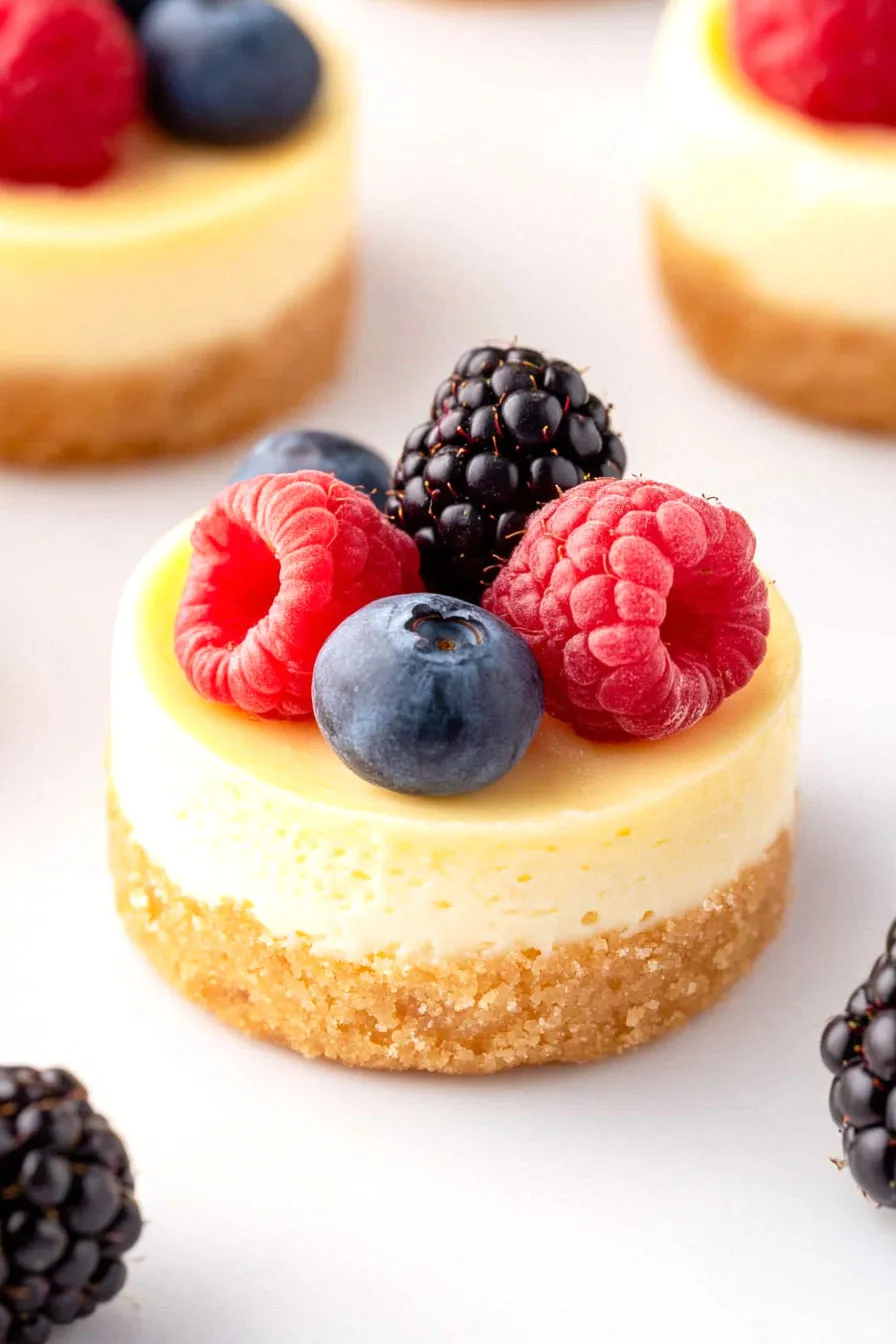
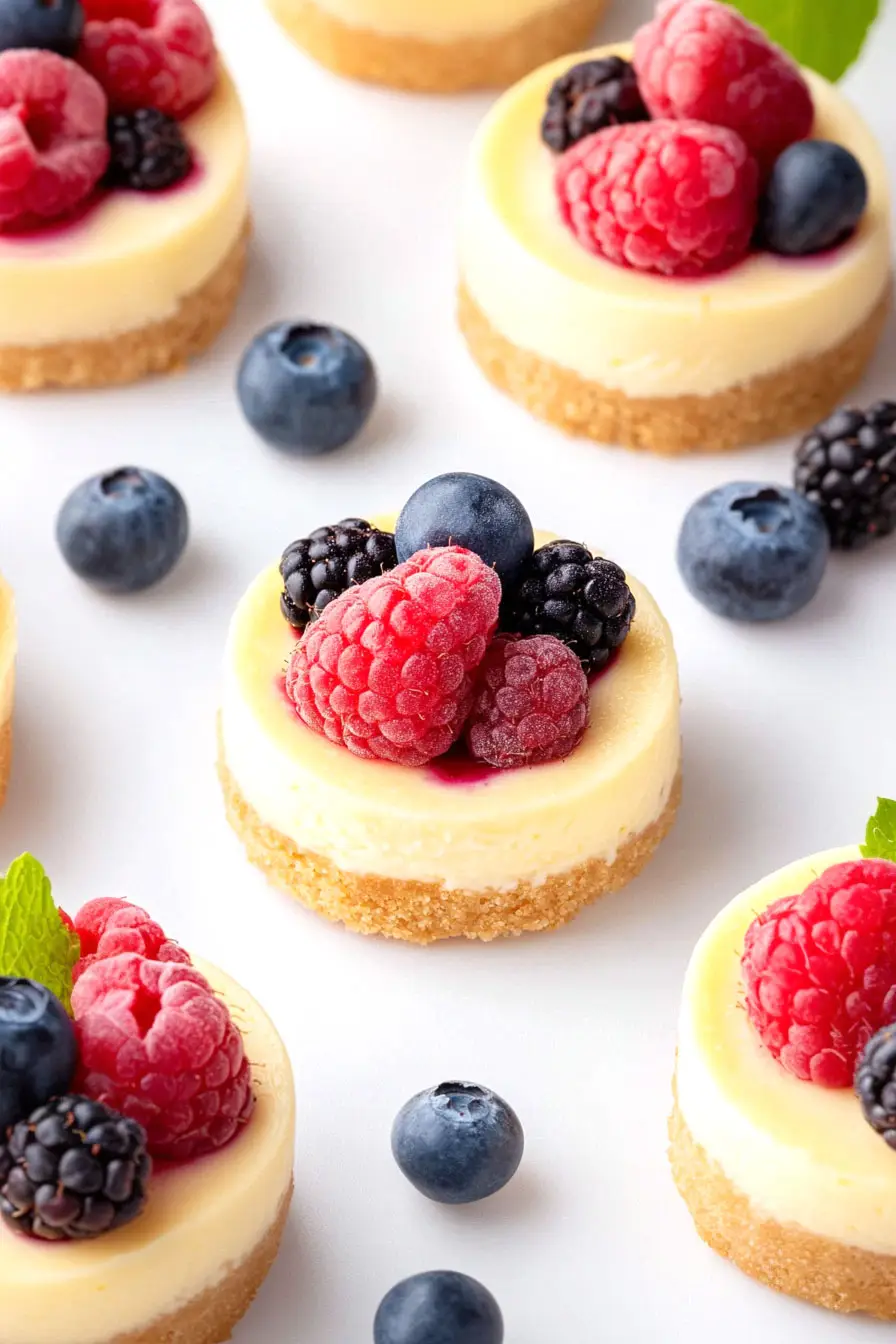
Here’s my go-to recipe for mini cheesecakes with a simple, buttery graham cracker crust that never disappoints. These little treats are just the right size and have that classic, creamy cheesecake filling that everyone loves.
These mini cheesecakes have become my family’s favorite dessert for parties and get-togethers. I usually make a double batch because they disappear so quickly – and honestly, who doesn’t love having a few extra cheesecakes in the fridge for late-night snacking?

Why You’ll Love These Mini Cheesecakes
- Perfect portion control – Each mini cheesecake is individually sized, making them ideal for parties, potlucks, or when you just want a small sweet treat without committing to a whole cheesecake.
- Quick preparation – Unlike traditional cheesecakes that can take hours to bake and chill, these mini versions are ready in under an hour – perfect for last-minute dessert cravings.
- Basic ingredients – You’ll only need a handful of common pantry staples and dairy items to make these – no special ingredients required.
- Foolproof recipe – Mini cheesecakes are much less likely to crack or sink than full-sized versions, making them perfect for beginners or anyone who’s had trouble with traditional cheesecakes before.
- Customizable dessert – The simple base recipe lets you add different toppings like fresh fruit, caramel, or chocolate to suit everyone’s taste preferences.
What Kind of Cream Cheese Should I Use?
For cheesecakes, full-fat block cream cheese is the way to go – skip the spreadable kind that comes in tubs. Philadelphia is the go-to brand for most bakers, but any block-style cream cheese will work well as long as it’s not reduced fat. Make sure your cream cheese is properly softened before you start mixing (about an hour on the counter should do it), as this helps prevent lumps in your batter. If you’re in a hurry, you can cut the block into cubes to speed up the softening process, but avoid using the microwave as it can make the texture inconsistent.

Options for Substitutions
Need to make some swaps? Here’s what you can do with this mini cheesecake recipe:
- Graham crackers: Out of graham crackers? You can use digestive biscuits, vanilla wafers, or even gingersnaps for the crust. Just crush them the same way and keep the proportions identical.
- Cream cheese: This is the star ingredient that you really shouldn’t substitute – it’s what makes a cheesecake a cheesecake! But if you must, mascarpone cheese can work, though your cheesecakes will be a bit richer and denser.
- Sour cream: You can swap this with plain Greek yogurt (full-fat works best) or crème fraîche for similar results.
- Vanilla essence: Feel free to use vanilla extract, vanilla bean paste, or even the seeds from half a vanilla pod. You could also try other flavors like almond extract or lemon zest.
- White sugar: Regular white sugar works best, but you can use caster sugar or even brown sugar (though this will change the color and add a slight caramel taste).
Watch Out for These Mistakes While Baking
The biggest challenge when making mini cheesecakes is preventing cracks, which often happen when your ingredients aren’t at room temperature – so make sure to take your eggs, cream cheese, and sour cream out of the fridge at least 2 hours before baking. Another common mistake is overmixing the batter after adding the eggs, which incorporates too much air and can lead to cracks and falling – mix just until the ingredients are combined, no more. The graham cracker crust can become too hard if you pack it too tightly into the muffin tins, so press it down gently with the back of a spoon until it’s just firm enough to hold together. For perfectly creamy results, avoid overbaking – the mini cheesecakes should still have a slight jiggle in the center when you take them out (they’ll continue to set as they cool), and always let them cool completely at room temperature before moving them to the fridge.

What to Serve With Mini Cheesecakes?
These little cheesecakes are perfect for dressing up with your favorite toppings! A simple berry sauce made from fresh or frozen strawberries, raspberries, or blueberries adds a nice pop of color and balances the richness of the cheesecake. For chocolate lovers, try a drizzle of warm chocolate sauce or a sprinkle of chocolate shavings on top. If you’re serving these at a party, set up a small toppings bar with whipped cream, caramel sauce, and fresh fruit so everyone can customize their own mini dessert. Keep some extra graham cracker crumbs on hand too – they make a nice garnish sprinkled around the plate!
Storage Instructions
Keep Fresh: These mini cheesecakes stay good in the fridge for up to 5 days when stored in an airtight container. I like to place them in a single layer to keep their pretty tops intact. They actually taste even better the next day after the flavors have had time to develop!
Freeze: You can freeze these little treats for up to 3 months! Just place them in a freezer-safe container with wax paper between layers. When you’re ready to enjoy them, move them to the fridge the night before to thaw gradually.
Make Ahead: These mini cheesecakes are perfect for making ahead of time. You can prepare them up to 2 days before your event – just keep them plain in the fridge and add any toppings right before serving. This makes party planning so much easier!
| Preparation Time | 15-20 minutes |
| Cooking Time | 25-30 minutes |
| Total Time | 40-50 minutes |
| Level of Difficulty | Medium |
Estimated Nutrition
Estimated nutrition for the whole recipe (without optional ingredients):
- Calories: 2000-2200
- Protein: 30-35 g
- Fat: 120-130 g
- Carbohydrates: 225-240 g
Ingredients
For the crust:
- 2 tbsp white sugar
- 1 cup crushed graham crackers (about 12 full sheets, finely crushed)
- 3-4 tbsp melted unsalted butter (I use Kerrygold unsalted butter)
For the filling:
- 1/3 cup sour cream
- 2 large eggs (room temperature for a smoother batter)
- 1/2 cup white sugar
- 1 tsp vanilla extract
- 16 oz softened cream cheese (full-fat cream cheese for best texture)
Step 1: Preheat and Prepare the Muffin Pan
Preheat your oven to 350°F.
While waiting for the oven to heat, line a 12-cup muffin pan with white cupcake liners, ensuring each cup is ready for the crumb mixture.
Step 2: Make the Graham Cracker Crust
In a small bowl, combine crushed graham crackers, sugar, and butter.
Mix until everything is well incorporated.
If the mixture feels too dry and is not sticking together, add an extra tablespoon of butter.
Once mixed, evenly distribute the crumb mixture into the lined muffin cups.
Press down to form a firm crust.
Bake the crust for 5 minutes, then remove from the oven and reduce the oven temperature to 325°F.
Step 3: Prepare the Cream Cheese Filling
In a large bowl, beat together the cream cheese and sugar using an electric mixer until smooth.
Add eggs one at a time, mixing well after each addition.
Then blend in the sour cream and vanilla extract until the mixture is creamy and smooth.
Step 4: Fill the Muffin Liners
Carefully divide the cream cheese batter evenly among the 12 liners.
Fill each approximately 1/4 inch from the top.
This ensures the mini cheesecakes have room to rise without overflowing.
Step 5: Bake and Cool the Cheesecakes
Bake at 325°F for about 20 minutes, or until a toothpick inserted into the center comes out clean and the tops have set.
Avoid opening the oven door too frequently to prevent collapsing.
It’s normal for them to sink a bit, creating the perfect spot for toppings.
Once baked, remove from the oven and let them cool completely.
For best results, refrigerate for at least 30 minutes until firm.
Step 6: Add Toppings and Serve
With the cheesecakes thoroughly chilled, add your favorite toppings just before serving.
Whether it’s fruit, chocolate, caramel, or whipped cream, customize your mini cheesecakes and enjoy the delicious result!

