Finding the perfect apple pie recipe that won’t leave you stressed about rolling out a perfect top crust can feel impossible. After all, traditional apple pies require serious pastry skills, and let’s be honest – getting that top crust to look presentable takes practice, patience, and sometimes a few choice words when it tears or shrinks.
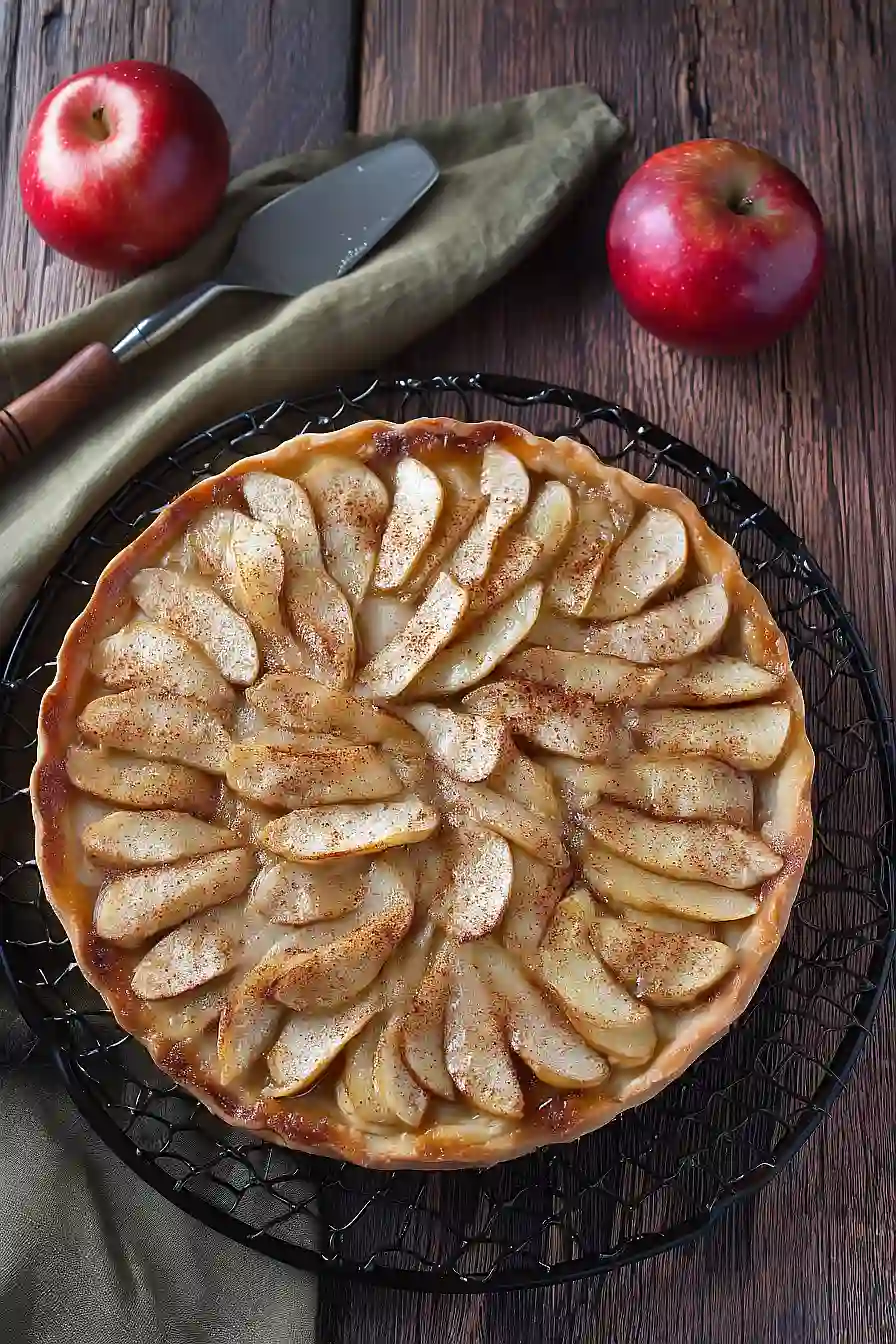
Luckily, this apple pie without a top crust delivers all the cozy fall flavors you’re craving without the fussy pastry work. It’s simple enough for busy weeknights, impressive enough for guests, and gives you all that buttery, cinnamon-spiced goodness with half the effort.
Why You’ll Love This Apple Pie
- Simple preparation – With no top crust to worry about, this pie is much easier to make than traditional apple pie – perfect for beginners or when you’re short on time.
- Quick baking time – Ready in just over an hour, this apple pie comes together faster than most desserts and fills your kitchen with amazing cinnamon aromas.
- Perfect spice blend – The combination of cinnamon, nutmeg, and both brown and white sugars creates that classic apple pie flavor we all crave.
- Convenient ingredients – Using a frozen pie crust saves time, and the rest are pantry staples you likely already have on hand.
- Beautiful presentation – Without a top crust, you can see all those gorgeous caramelized apples, making it as pretty as it is delicious.
What Kind of Apples Should I Use?
The best apples for pie are ones that hold their shape when baked and have a good balance of sweet and tart flavors. Granny Smith apples are a classic choice because they stay firm and their tartness pairs perfectly with the sweet filling. Honeycrisp, Braeburn, and Jonathan apples also work great since they won’t turn to mush in the oven. You can even mix two or three different varieties for more complex flavor – try combining a tart apple like Granny Smith with a sweeter one like Gala. Just avoid really soft apples like Red Delicious, as they tend to break down too much during baking.
Options for Substitutions
This simple apple pie is pretty forgiving when it comes to swapping ingredients:
- Frozen pie crust: You can definitely make your own homemade crust if you prefer, or use a graham cracker crust for a different twist. Just pre-bake whatever crust you choose for about 10 minutes before adding the filling.
- Apples: Mix and match your apple varieties! Granny Smith, Honeycrisp, Braeburn, or Gala all work great. Using a combination of tart and sweet apples gives you the best flavor balance.
- Lemon juice: If you’re out of fresh lemon juice, bottled works fine, or you can use lime juice in the same amount. This prevents the apples from browning and adds a nice tang.
- Brown sugar: You can replace brown sugar with an equal amount of granulated sugar, though you’ll lose some of that molasses flavor. Coconut sugar also works as a 1:1 substitute.
- All-purpose flour: Cornstarch or tapioca starch work well too – just use 2 tablespoons instead of 3. These help thicken the apple juices as the pie bakes.
- Ground nutmeg: No nutmeg? Try allspice, ginger, or just add a bit more cinnamon. You could even throw in some cardamom for something different.
Watch Out for These Mistakes While Baking
The biggest mistake when making an open-faced apple pie is skipping the egg white wash on the crust, which creates a barrier that prevents the bottom from getting soggy from all those juicy apples. Make sure to slice your apples evenly – about ¼ inch thick – because uneven pieces will cook at different rates, leaving you with some mushy and some undercooked fruit. Don’t forget to toss those apple slices with lemon juice right after cutting to prevent browning, and mix your flour with the sugars before coating the apples to ensure even distribution and proper thickening. If your apples start browning too quickly on top during baking, simply cover the pie loosely with foil for the remaining bake time to prevent burning while the filling finishes cooking through.
What to Serve With Apple Pie?
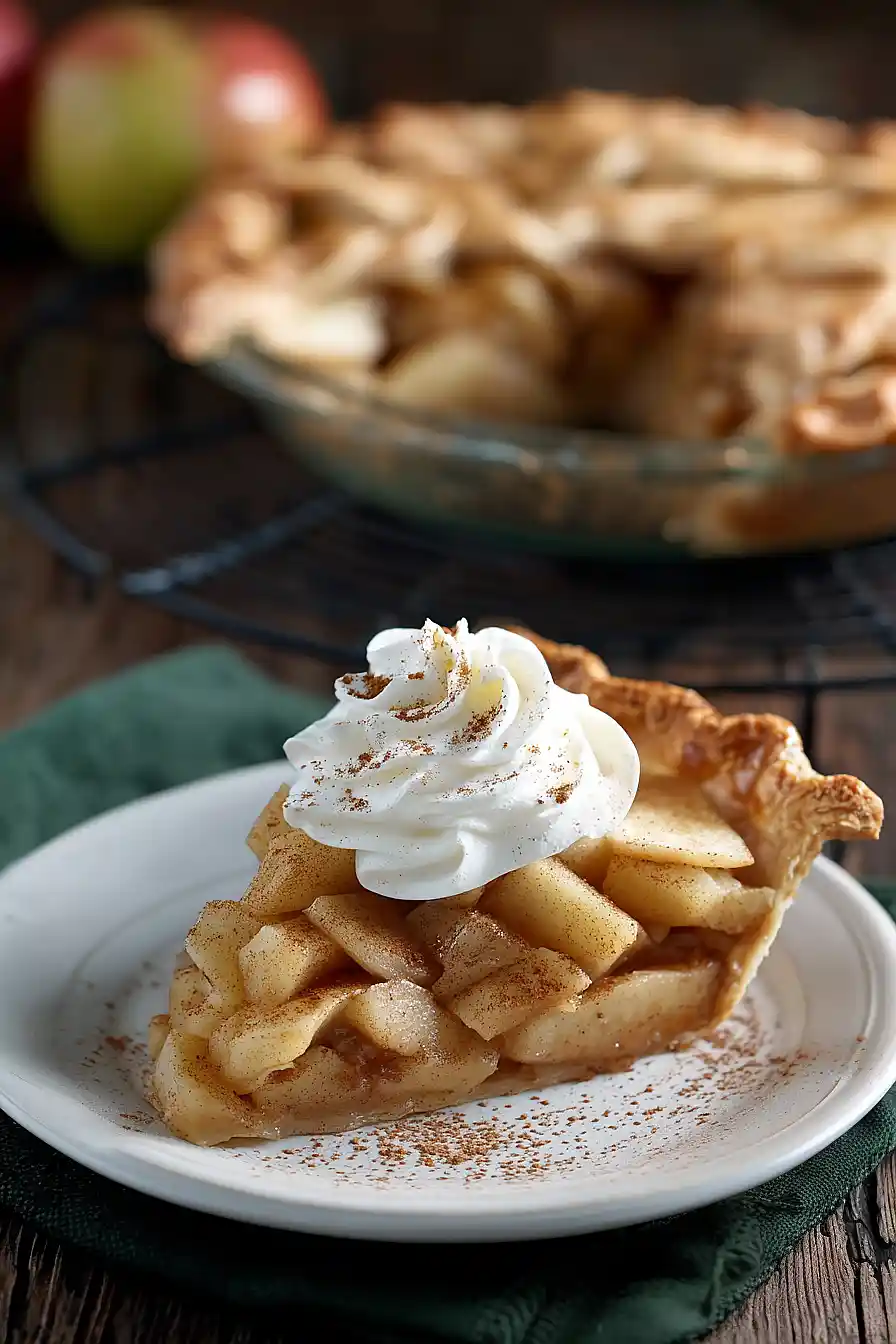
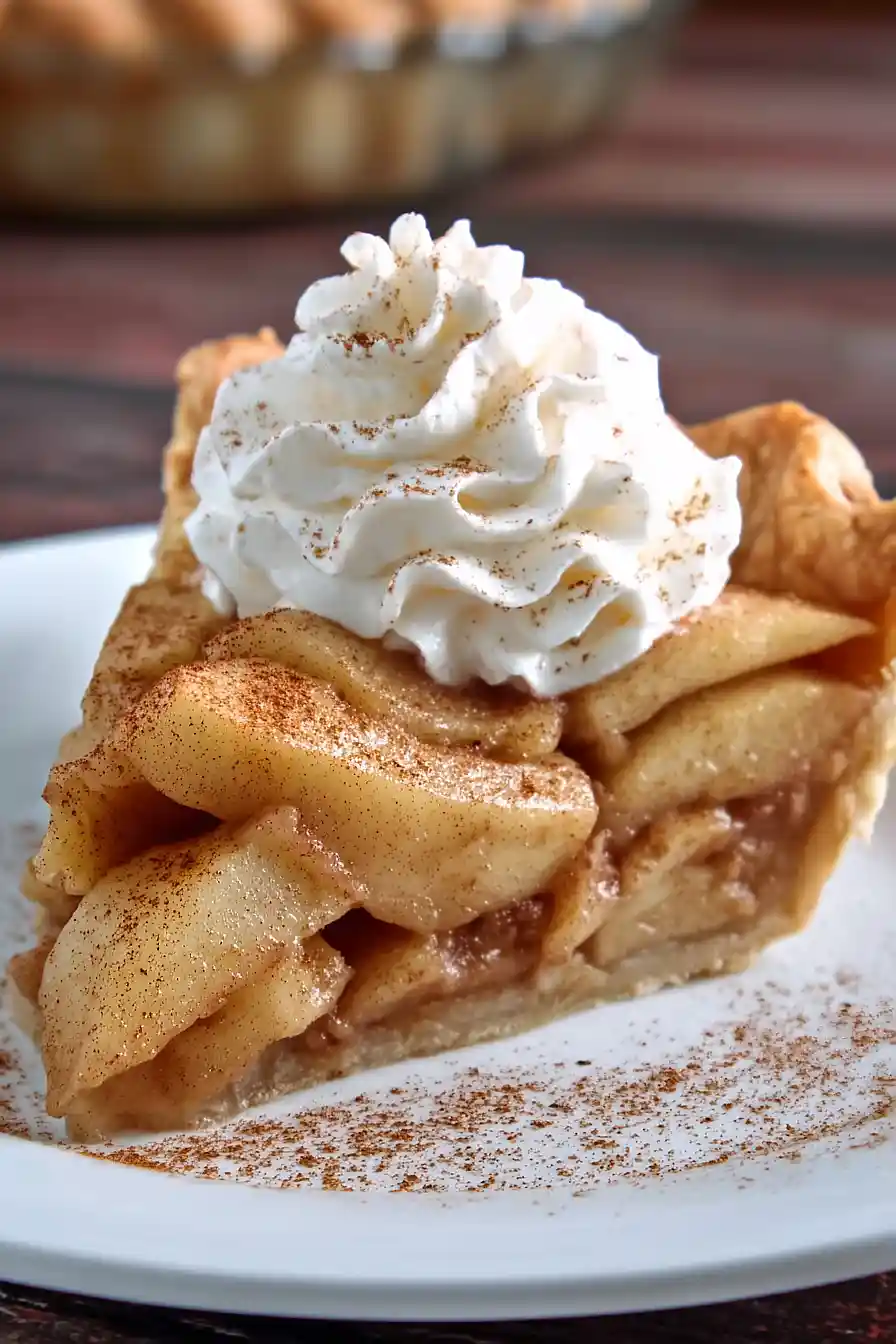
Apple pie is amazing on its own, but a scoop of vanilla ice cream on top really takes it to the next level – the contrast between the warm, spiced apples and cold, creamy ice cream is perfect. You can also serve it with a dollop of fresh whipped cream or even a drizzle of caramel sauce if you’re feeling fancy. For something a little different, try pairing it with a slice of sharp cheddar cheese, which might sound weird but the salty-sweet combo is surprisingly good. A hot cup of coffee or black tea also makes a great accompaniment, especially on a chilly evening when you want that cozy dessert experience.
Storage Instructions
Keep Fresh: Your apple pie will stay delicious covered loosely with foil or plastic wrap at room temperature for up to 2 days. After that, pop it in the fridge where it’ll keep for up to 5 days. I actually think apple pie tastes even better the next day when all those cinnamon and apple flavors have had time to meld together!
Freeze: This pie freezes really well for up to 3 months. Wrap it tightly in plastic wrap and then aluminum foil, or store it in a freezer-safe container. You can freeze it whole or cut it into individual slices first – whatever works better for your family.
Warm Up: To enjoy your stored pie, let frozen slices thaw in the fridge overnight, then warm them in a 350°F oven for about 10-15 minutes. For refrigerated pie, just a few minutes in the oven will bring back that fresh-baked warmth. A scoop of vanilla ice cream never hurts either!
| Preparation Time | 15-20 minutes |
| Cooking Time | 55-60 minutes |
| Total Time | 70-80 minutes |
| Level of Difficulty | Medium |
Estimated Nutrition
Estimated nutrition for the whole recipe (without optional ingredients):
- Calories: 1250-1400
- Protein: 7-10 g
- Fat: 30-38 g
- Carbohydrates: 260-290 g
Ingredients
For the crust:
- 1 9-inch frozen pie shell
- 1 egg white (whipped until foamy)
For the apple filling:
- 1 tbsp lemon juice
- 3 tbsp all-purpose flour
- 1/4 cup white sugar
- 1/4 tsp salt
- 1/4 tsp ground nutmeg (freshly grated for best flavor)
- 6 cups apples (peeled and sliced 1/4-inch thick as described in steps)
- 1/2 tsp ground cinnamon
- 1/4 cup packed light brown sugar (I like Domino Light Brown Sugar)
Step 1: Preheat Oven and Prepare Baking Sheet
Preheat your oven to 400°F (200°C).
Line a heavy baking sheet with aluminum foil and set it aside.
This will catch any juices that might bubble over and make cleanup easier.
Step 2: Prepare the Pie Crust
- 1 frozen 9-inch pie shell in aluminum plate
- 1 egg white, whipped until foamy
Remove the frozen pie shell in its aluminum plate from the freezer.
Using a pastry brush, brush the entire surface of the frozen pie crust with whipped egg white.
You won’t need all the egg white; simply discard any extra.
Place the brushed pie shell in the refrigerator and let it chill for 15 minutes.
Chilling helps the crust stay crisp during baking.
Step 3: Prepare the Apple Filling
- 6 cups apples, peeled and sliced
- 1 tbsp lemon juice
- 1/4 cup white sugar
- 1/4 cup packed light brown sugar
- 3 tbsp all-purpose flour
- 1/2 tsp ground cinnamon
- 1/4 tsp salt
- 1/4 tsp nutmeg, ground
Place the peeled and sliced apples in a large mixing bowl and drizzle them with lemon juice, stirring to coat the apples and help prevent browning.
In a separate small bowl, mix together the white sugar, light brown sugar, all-purpose flour, ground cinnamon, salt, and ground nutmeg.
Add the sugar-spice-flour mixture to the apples and stir until all apple slices are well coated.
I like to toss the apples just until they are fully covered, so they bake evenly in the pie.
Step 4: Assemble the Pie
- pie shell brushed with egg white from Step 2
- apple mixture from Step 3
After the crust has chilled, place the pie shell (still in its tin plate) on the foil-lined baking sheet.
Spoon the prepared apple filling from Step 3 evenly into the pie shell.
Pour any liquid that remains in the bowl over the apples in the crust.
Step 5: Bake the Pie
Place the baking sheet with the assembled pie into the preheated oven and bake for 30 minutes.
Then, tent a piece of aluminum foil loosely over the pie to prevent the edges from over-browning.
Continue baking for another 25 minutes, or until the apples are bubbly and tender.
Step 6: Cool and Serve the Pie
Remove the pie from the oven and allow it to cool on a wire rack for at least 1-2 hours before slicing.
This resting time lets the filling set, making it easier to cut clean slices.
Cut the pie into 8 slices and serve.
For extra flavor, I sometimes like to serve it slightly warm with a scoop of vanilla ice cream.
