There’s something about a perfectly cooked roast beef that brings everyone to the dinner table. I’ve been making this recipe for Sunday dinners since my early cooking days, and it’s still one of my family’s most requested meals. The best part? It’s actually much easier to make than most people think.
I remember being nervous about cooking roast beef the first time, worried I’d end up with something too tough or too rare. But after years of practice (and yes, a few not-so-perfect attempts), I’ve figured out a simple method that works every time. The oven does most of the work, leaving you free to prepare the sides or just relax with a cup of coffee while the house fills with that wonderful aroma.
Want to know the real secret to great roast beef? It’s all about getting the timing right and letting the meat rest. Trust me, once you try this method, you’ll never feel intimidated by roast beef again.
Why You’ll Love This Roast Beef
- Three-ingredient simplicity – With just beef, salt, and pepper, this recipe proves that sometimes less is more. No fancy ingredients or complicated techniques needed.
- Hands-off cooking – Once you pop it in the oven, you’re free to focus on other things while it cooks. The oven does all the work for you.
- Perfect for meal prep – Make it once and enjoy it throughout the week in sandwiches, salads, or with your favorite sides. The leftovers are just as good as the first serving.
- Naturally low-carb – This protein-rich dish fits perfectly into keto and low-carb diets, making it a great option for those watching their carb intake.
What Kind of Beef Roast Should I Use?
For a classic roast beef, you’ve got several great options at the meat counter. Ribeye roast (also called prime rib) is the most luxurious choice, with fantastic marbling that keeps the meat juicy and adds tons of flavor. If you’re looking for something a bit more budget-friendly, top round or bottom round roasts are solid choices – they’re leaner but still make a tasty roast beef when cooked properly. For a middle-ground option, try a top sirloin roast, which offers a nice balance of flavor and tenderness without breaking the bank. Just remember that no matter which cut you choose, look for meat with a bright red color and some marbling throughout for the best results.
Options for Substitutions
When it comes to making this classic roast beef, here’s what you should know about possible substitutions:
- Roast cut: While ribeye makes for a great roast, you can swap it with other cuts like top round (more budget-friendly), sirloin tip, or tenderloin. Keep in mind that cooking times may vary – leaner cuts will cook faster and work best at medium-rare, while fattier cuts can handle more cooking.
- Coarse salt: If you don’t have coarse salt, you can use regular table salt, but reduce the amount to about 2 teaspoons since table salt is more concentrated. Kosher salt works great too, using the same amount as coarse salt.
- Black pepper: Fresh ground pepper gives the best flavor, but pre-ground works too. You could also try a mix of black and white pepper, or add some crushed peppercorns for extra texture. Just stick to the same total amount.
Watch Out for These Mistakes While Roasting
The biggest mistake when cooking roast beef is not letting your meat come to room temperature before roasting – take it out of the fridge at least 1 hour before cooking to ensure even cooking from edge to center. Another common error is opening the oven door too frequently to check on the roast, which lets heat escape and leads to inconsistent cooking temperatures – instead, rely on a good meat thermometer inserted into the thickest part of the roast. Skipping the resting period after cooking can cause all those flavorful juices to run out when you slice the meat, so always let your roast rest for 15-20 minutes under loose foil before cutting. For the juiciest results, use a sharp knife and cut against the grain in thin slices, and don’t forget to save those pan drippings – they make an excellent base for gravy.
What to Serve With Roast Beef?
A classic roast beef dinner calls for some equally delicious sides to round out the meal. Creamy mashed potatoes are a natural choice – they’re perfect for soaking up all those tasty meat juices from the pan. You can also go with traditional Yorkshire puddings or roasted potatoes if you’re feeling a bit fancy. For vegetables, I love serving this with roasted carrots, green beans, or Brussels sprouts, which can cook in the oven alongside the beef. Don’t forget about the gravy – you can make it right in the roasting pan using the drippings for the best flavor!
Storage Instructions
Keep Fresh: Once your roast beef has cooled down, wrap it tightly in aluminum foil or place it in an airtight container. It’ll stay good in the fridge for up to 4 days. Pro tip: keeping the meat in its own juices helps maintain moisture and flavor!
Freeze: If you’ve made extra or scored a great deal on roast beef, you can freeze it for up to 3 months. Just wrap it well in plastic wrap, then foil, or place it in a freezer bag with as much air removed as possible. Don’t forget to label it with the date!
Reheat: To keep your roast beef juicy when reheating, wrap it in foil and warm it in the oven at 250°F for about 20 minutes. You can also slice it thin and give it a quick warm-up in some hot beef broth. Try to avoid the microwave if possible, as it can make the meat tough.
| Preparation Time | 60 minutes |
| Cooking Time | 25-30 minutes per pound |
| Total Time | Varies based on roast weight (60 minutes + baking time + 15 minutes resting) |
| Level of Difficulty | Medium |
Estimated Nutrition
Estimated nutrition for the whole recipe (without optional ingredients):
- Calories: 2400-2800
- Protein: 200-220 g
- Fat: 180-220 g
- Carbohydrates: 0-5 g
Ingredients
- 1 tbsp coarse salt (Diamond Crystal Kosher Salt recommended for even seasoning)
- 1-2 tsp ground black pepper
- 3-4 lb beef roast
Step 1: Prepare the Roast
Remove the roast from the refrigerator 60 minutes before cooking to allow it to reach room temperature.
This helps ensure even cooking.
If your roast is particularly lean, consider drizzling a tablespoon or two of olive oil over it to enhance flavor and moisture.
Step 2: Season and Preheat
Preheat your oven to 325 degrees Fahrenheit.
Season the roast generously with salt and pepper.
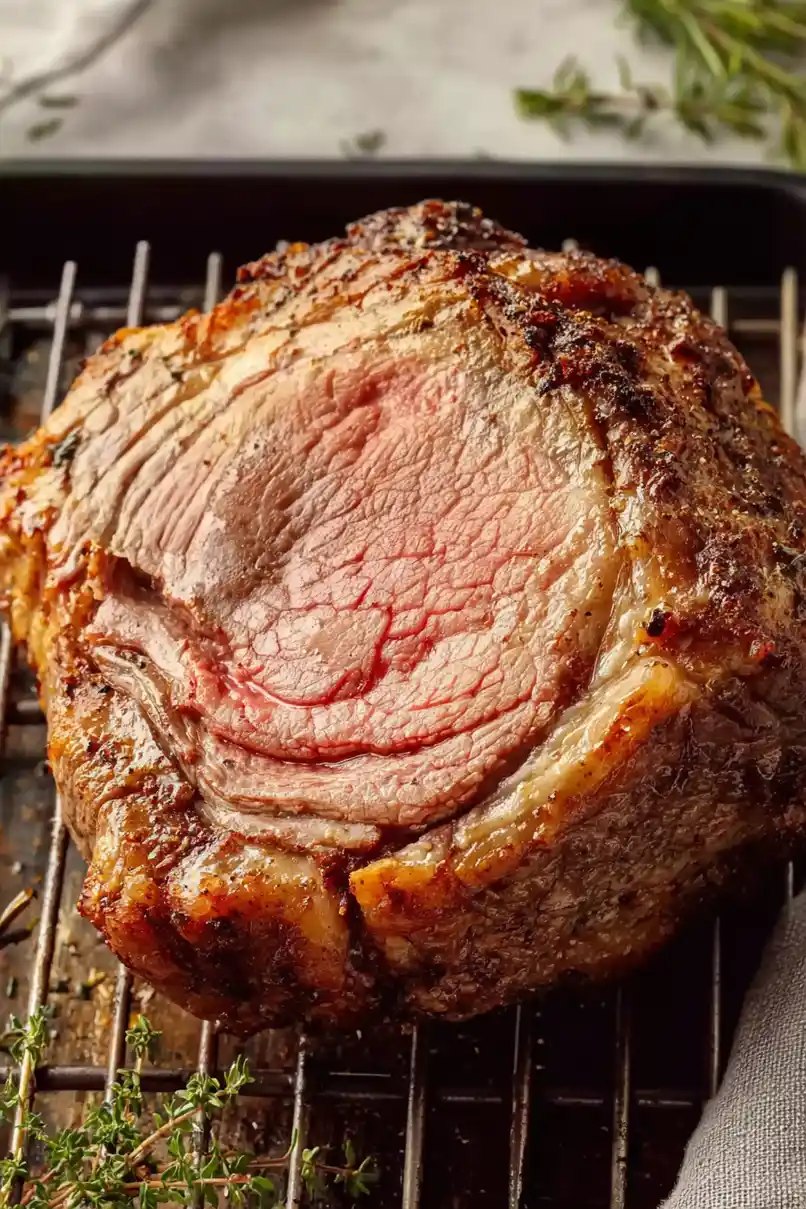
Position it on a wire rack set atop a baking sheet for optimal air circulation and even roasting.
Step 3: Cook the Roast
Place the roast in the preheated oven.
Plan for approximately 25 to 30 minutes of cooking time per pound of meat if aiming for a medium level of doneness.
Adjust this time according to your preferred level of doneness and the size of your roast.
Step 4: Check and Adjust Temperature
Use a meat thermometer to accurately determine when the roast is ready.
Insert the thermometer all the way into the center of the roast.
Remove the roast from the oven when the internal temperature is about 10 degrees less than your desired level of doneness, keeping in mind that the temperature will continue to rise as the roast rests.
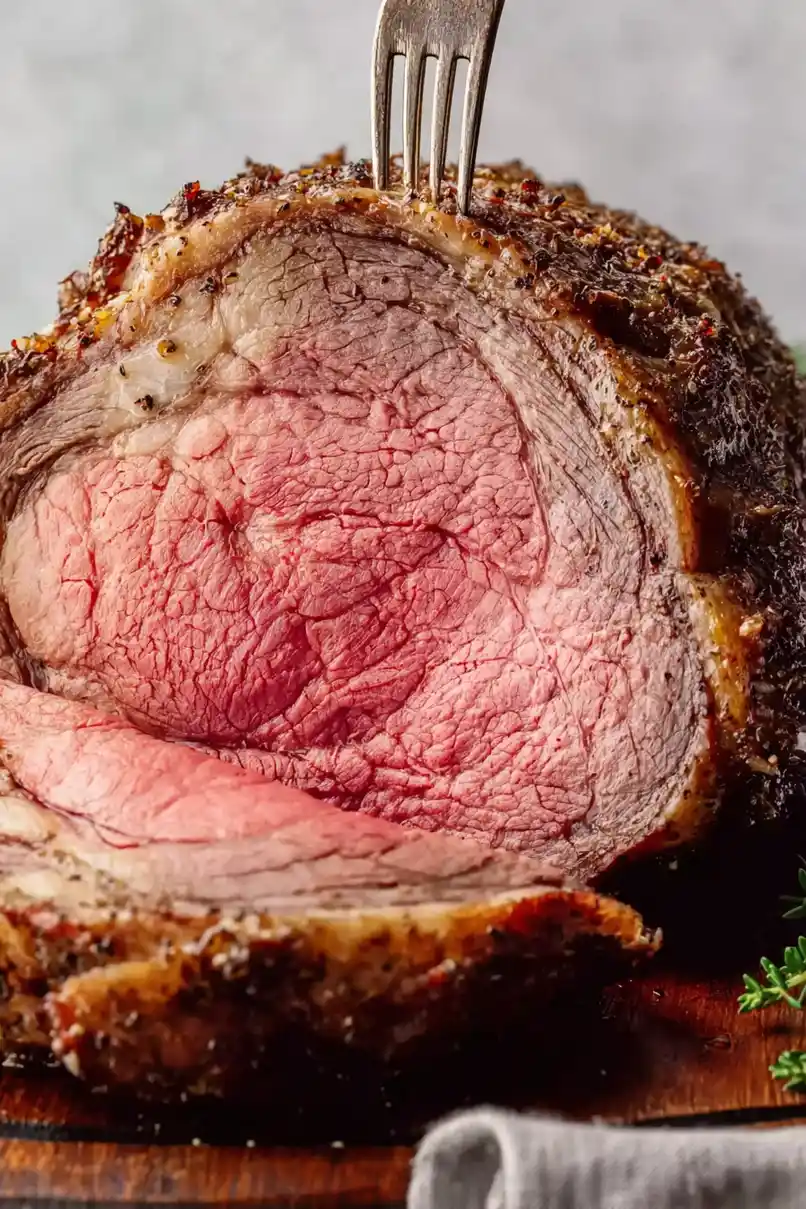
Step 5: Determine Doneness
- Rare: 120-130°F – Bright purple-red, tender, and juicy.
- Medium Rare: 130-135°F – Bright red, warm, tender, and very juicy.
- Medium: 135-145°F – Rich pink, slightly juicy.
- Medium Well: 145-155°F – Tan with slight pink, firm, slight juice.
- Well Done: 155°F and above – Tan to brown, very little juice, meat can become tough.
Step 6: Rest and Serve
Tent the roast in aluminum foil and let it rest for at least 15 minutes to allow the juices to redistribute and the roast to reach its final temperature.
This resting period is crucial for ensuring a juicy and flavorful serving.
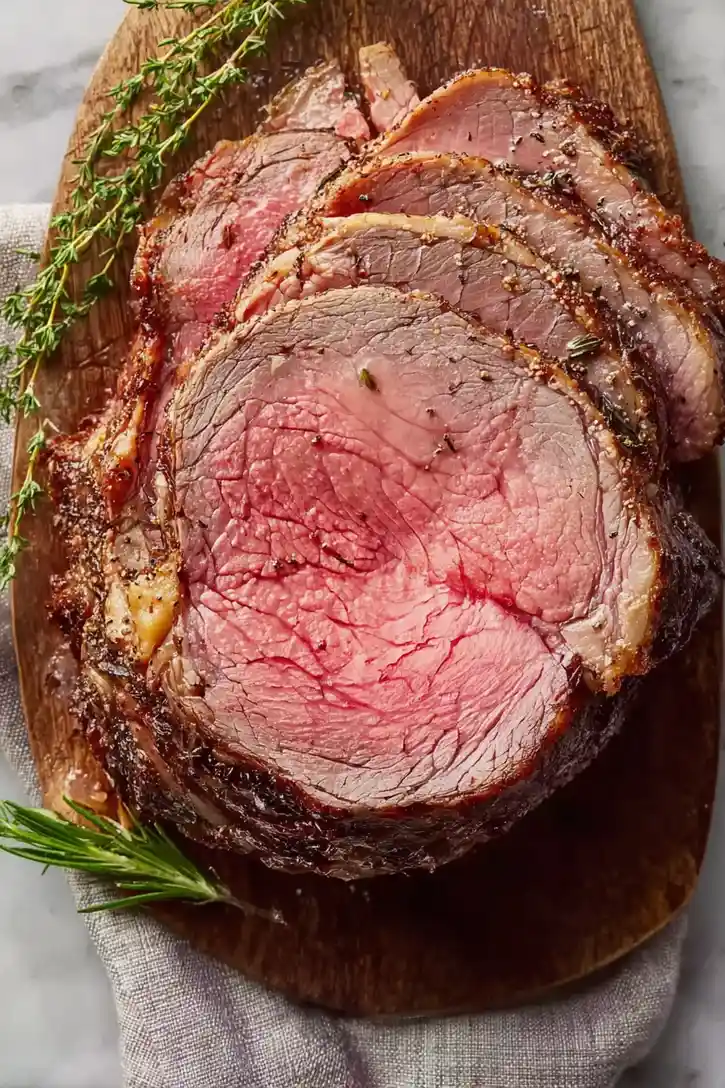
Finally, carve the roast and serve it according to your preference.
Remember, for the most accurate results and optimal taste, using a meat thermometer is highly recommended.
