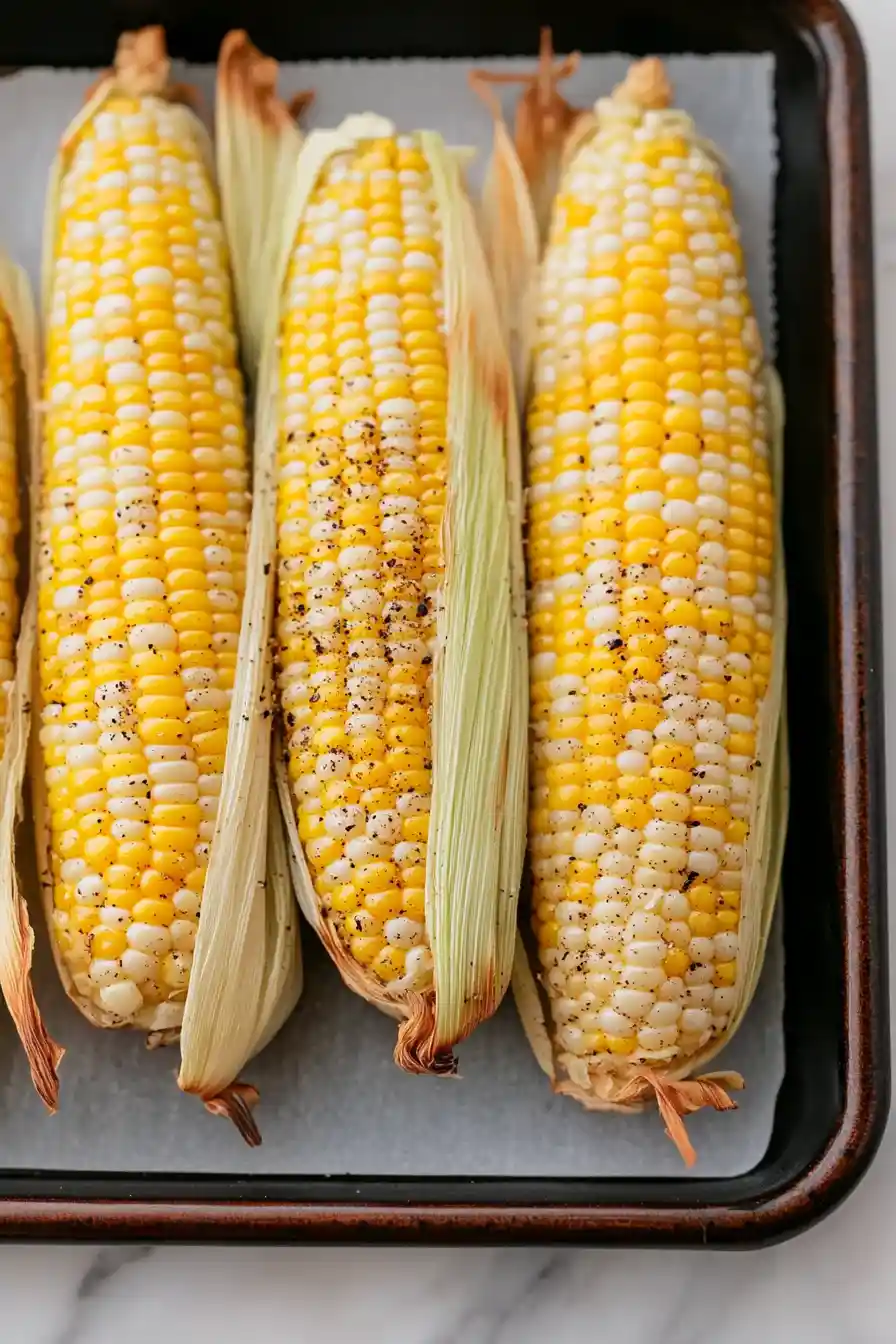
Getting perfectly cooked corn on the cob doesn’t mean you have to wait for grilling season or deal with a big pot of boiling water on your stovetop. Like many home cooks, I used to think those were my only options, especially during busy weeknight dinners when I’m trying to get a tasty side dish on the table without much fuss.
That’s why oven-roasted corn on the cob has become my go-to method – it’s hands-off, reliable, and gives you sweet, tender corn every time. Plus, you can prep other parts of your meal while the oven does all the work.
Why You’ll Love This Oven-Roasted Corn
- Two-ingredient simplicity – You only need corn and water – that’s it! No fancy ingredients or special equipment required.
- Hands-off cooking method – Just pop it in the oven and forget about it – no need to watch or flip the corn while it cooks, giving you time to prepare the rest of your meal.
- Year-round cooking option – When grilling isn’t possible due to weather or space limitations, this method gives you perfectly cooked corn any time of the year.
- No mess preparation – Since the corn cooks right in its husk, there’s minimal cleanup and no corn silk flying around your kitchen.
What Kind of Corn Should I Use?
Fresh sweet corn is your best bet for this simple oven-roasted method, and you’ll want to look for ears with bright green, tightly wrapped husks that feel slightly damp. When you peek inside, the kernels should be plump and go all the way to the tip, with rows that are tightly packed. Yellow, white, or bi-color sweet corn all work great – it really comes down to personal preference. If you’re shopping at a farmers market or grocery store, try to pick corn that’s been kept chilled, and cook it within a day or two of buying since the natural sugars start converting to starch as soon as it’s picked. Just skip any ears that have brown holes in the husks, which could mean unwanted visitors have gotten there first.
Options for Substitutions
While this recipe is super simple, here are some helpful tips about corn options and preparation methods:
- Corn cobs with husks: If you can only find pre-husked corn, that’s okay! Just wrap each cob tightly in aluminum foil before baking. You’ll want to add a tablespoon of water inside each foil packet to create steam.
- Fresh corn: While fresh corn is best for this method, you can use frozen corn cobs too. Just make sure to thaw them completely first and wrap them in foil. Keep in mind that frozen corn is usually pre-cooked, so you’ll need to reduce the cooking time by about 5 minutes.
- Cooking method: No oven? You can use the same technique with husked corn on a grill, or even in a microwave (though microwaving requires a different approach – keep the husks on and microwave for 4 minutes per cob).
Watch Out for These Mistakes While Roasting
The biggest mistake when making oven-roasted corn is removing the husks completely before cooking – those natural wrappers are actually your secret weapon for keeping the kernels moist and flavorful during the roasting process. Another common error is forgetting to soak your corn before putting it in the oven – a quick 15-minute bath in cool water helps create steam inside the husks, which prevents the kernels from drying out. Timing is crucial too – leaving corn in the oven too long (beyond 30-35 minutes at 350°F) can make your kernels tough and chewy instead of sweet and tender. For the best results, give your corn a quarter turn every 10 minutes while roasting, and let it rest for 5 minutes after taking it out of the oven – this helps the kernels retain their juiciness.
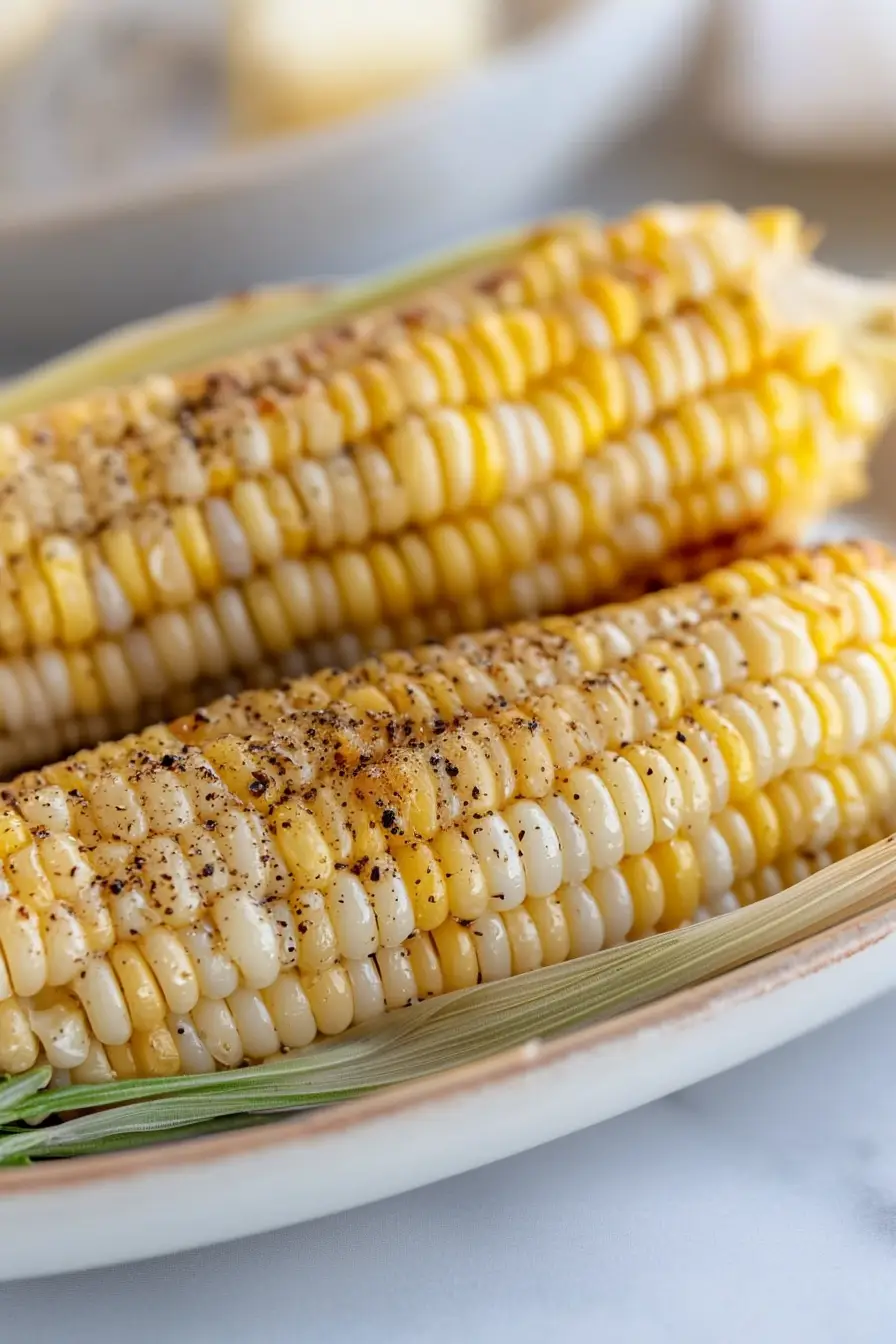
What to Serve With Corn on the Cob?
Corn on the cob is a classic summer side dish that pairs perfectly with all your favorite grilled foods! For a traditional cookout spread, serve it alongside juicy hamburgers, hot dogs, or grilled chicken – just don’t forget the butter and salt for the corn. If you’re going for a lighter meal, this sweet and simple corn works great with grilled fish or a fresh garden salad. You can also turn it into a fun DIY corn bar by setting out different toppings like butter, salt, pepper, chili powder, and grated parmesan cheese, letting everyone dress up their corn exactly how they like it.
Storage Instructions
Keep Fresh: If you have leftover cooked corn on the cob, wrap each ear tightly in plastic wrap or aluminum foil and pop them in the fridge. They’ll stay good for about 3-4 days, though they’re always best when eaten fresh!
Cut & Save: Already cooked but want to save the kernels? Simply cut them off the cob and store them in an airtight container in the fridge for up to 4 days. This makes it super easy to toss them into salads or other dishes later.
Warm Up: To enjoy your leftover corn, wrap it in a damp paper towel and microwave in 30-second intervals until it’s heated through. You can also wrap it in foil and pop it in a 350°F oven for about 5-7 minutes. Either way works great!
| Preparation Time | 5-10 minutes |
| Cooking Time | 30 minutes |
| Total Time | 35-40 minutes |
| Level of Difficulty | Easy |
Estimated Nutrition
Estimated nutrition for the whole recipe (without optional ingredients):
- Calories: 300-400
- Protein: 12-15 g
- Fat: 3-6 g
- Carbohydrates: 60-70 g
Ingredients
- 6 corn cobs in their husks (or as many as your oven can hold)
- Water, for rinsing
Step 1: Preheat the Oven
Start by preheating your oven to 350°F.
This will ensure that your corn cobs cook evenly and come out perfectly tender.
Step 2: Prepare the Corn
Gently rinse the ears of corn under running water to remove any visible dirt or debris.
Do not remove the husks as they will help to keep the corn moist during baking.
Step 3: Bake the Corn
Place the corn cobs directly on the middle rack of the preheated oven.
Let them bake for about 30 minutes.
This allows the corn to cook through while intensifying its natural sweetness.
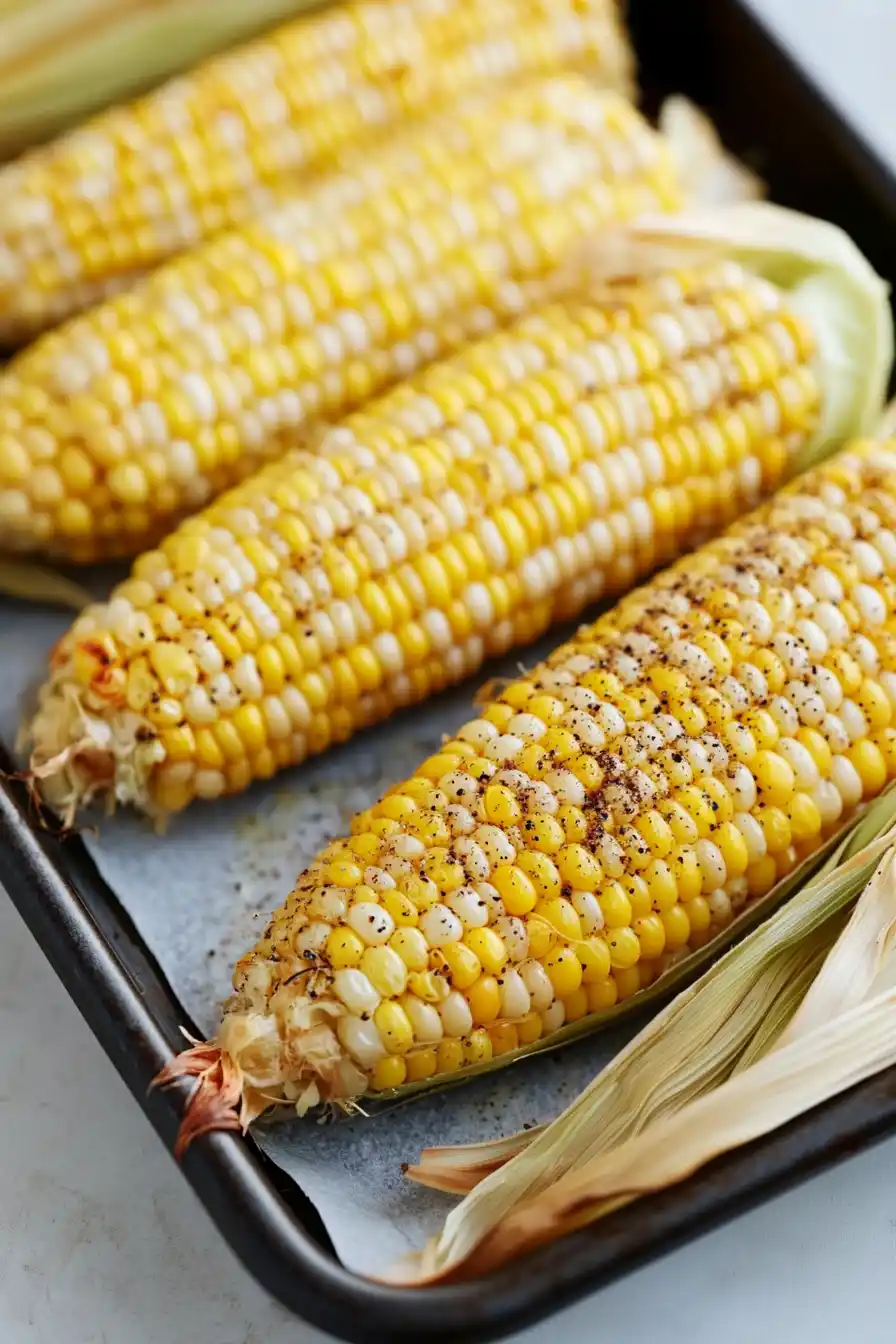
Step 4: Enjoy Your Corn
Carefully remove the corn cobs from the oven using oven mitts or tongs, as they will be hot.
Pull back the husks and enjoy your oven-baked corn.
The husks should easily peel away, leaving you with deliciously tender corn ready to be enjoyed!
