Three bean salad brings back memories of summer picnics and family gatherings. I’ve always enjoyed how this dish works for any occasion – from casual backyard BBQs to holiday potlucks. But the best part? I can make a big batch and keep it in jars for those busy days when I need a quick side dish.
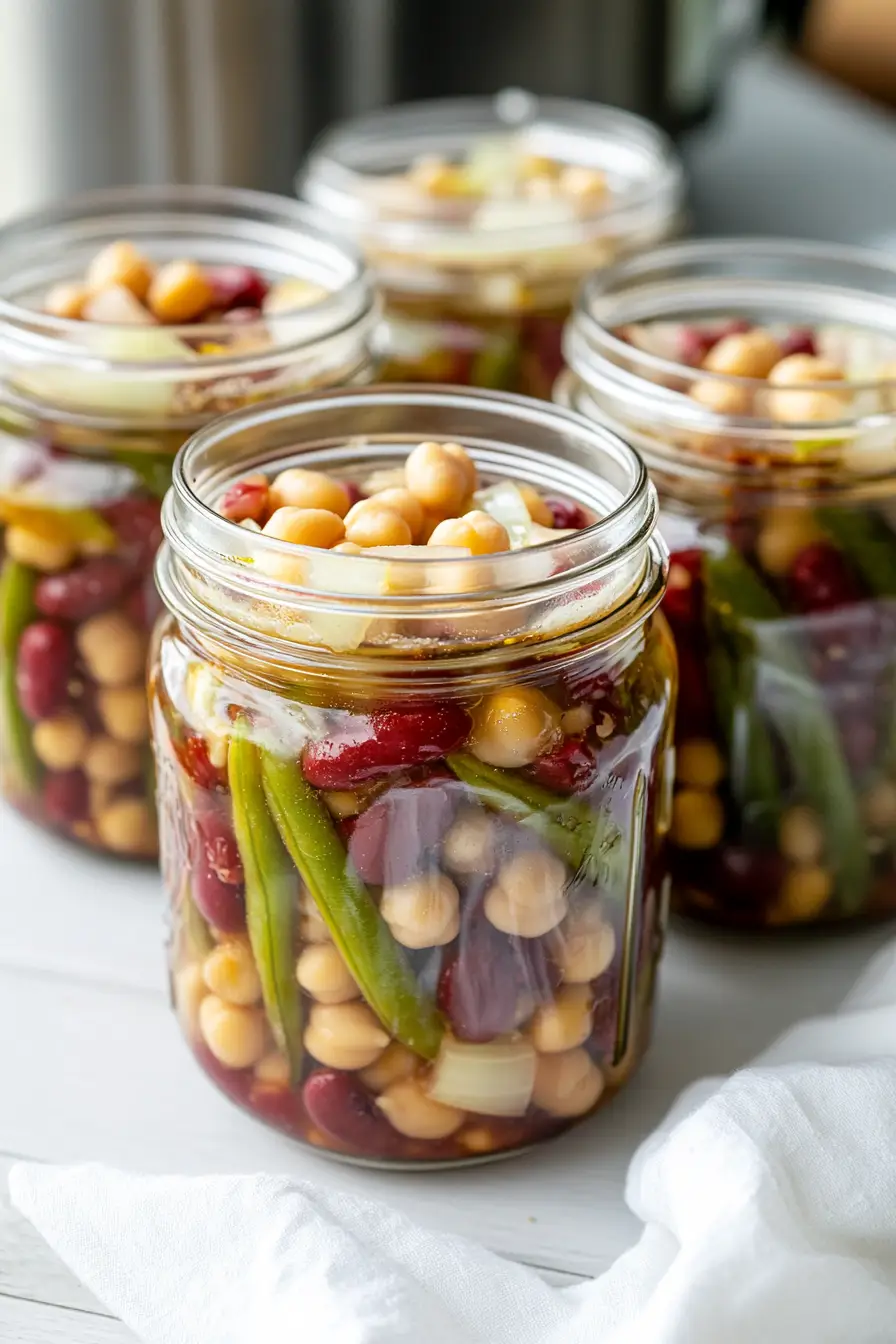
That’s why I started canning my three bean salad instead of just making it fresh. Now I have these ready-to-go jars sitting in my pantry whenever I need them. I usually prep a bunch during harvest season when fresh green beans are plentiful and affordable. The whole process is pretty straightforward, and trust me, your future self will thank you.
Want to stock your pantry with homemade three bean salad? Looking for a reliable canning recipe that’s been tested and approved? This is the recipe I’ve been using for years, and it hasn’t let me down yet.
Why You’ll Love This Three Bean Salad
- Make-ahead convenience – This canned bean salad is perfect for busy schedules – make a big batch now and enjoy it for months to come. It’s ready whenever you need a quick side dish or protein-packed addition to your meal.
- Budget-friendly ingredients – Using simple pantry staples like canned beans and basic vegetables, this recipe helps you create a nutritious dish without breaking the bank.
- Healthy and nutritious – Packed with fiber, protein, and fresh vegetables, this three bean salad makes a nutritious addition to any meal while being naturally vegan and gluten-free.
- No cooking required – Besides a quick blanching of green beans, there’s no actual cooking involved – just mix, marinate, and can. It’s perfect for hot summer days when you don’t want to turn on the oven.
- Customizable recipe – You can easily swap different types of beans or adjust the vegetables to your taste, making this recipe adaptable to what you have on hand.
What Kind of Green Beans Should I Use?
For canning three bean salad, you’ll want to look for fresh green beans that are firm, crisp, and bright green without any brown spots or blemishes. Regular string beans or bush beans work perfectly here – just make sure they’re young and tender rather than tough and overgrown. Before prepping, trim off both ends and cut them into manageable 1-2 inch pieces that will fit nicely in your jars. If fresh green beans aren’t available, you can substitute with frozen ones, but avoid using canned green beans as they’ll become too soft during the canning process. Just remember to choose beans that are about the same thickness so they’ll cook evenly in your recipe.

Options for Substitutions
When making this three bean salad for canning, here are some helpful substitution tips to keep in mind:
- Fresh green beans: You can swap fresh green beans with yellow wax beans, or even use canned green beans (drained) if fresh aren’t available. Just remember that canned beans will be softer in the final product.
- Kidney beans: Black beans or navy beans make good alternatives to kidney beans – just make sure they’re from cans, as dried beans aren’t recommended for this canning recipe.
- Chickpeas: Lima beans or cannellini beans can replace chickpeas. Again, stick to canned versions for food safety.
- Vinegar: For safe canning, don’t substitute the vinegar with less acidic options. Both white and apple cider vinegar work, but they must be 5% acidity. This is crucial for food safety.
- Bottled lemon juice: Stick to bottled lemon juice rather than fresh for consistent acidity levels. This is important for safe canning.
- Bell peppers: Any color bell pepper works fine – green, red, yellow, or orange. Just avoid using hot peppers as they might change the acidity levels.
- Vegetable oil: You can use any neutral-flavored oil like canola or light olive oil, but avoid strongly flavored oils like extra virgin olive oil or sesame oil.
Watch Out for These Mistakes While Canning
The biggest mistake when canning three bean salad is not properly sterilizing your jars and lids – make sure to wash them in hot, soapy water and keep them hot until filling time, then process them in boiling water for at least 10 minutes to ensure food safety. Another common error is not following the exact vinegar-to-water ratio, as this specific acidic balance is crucial for safe preservation – always use vinegar with 5% acidity and avoid reducing the amount. When preparing the vegetables, cutting them into inconsistent sizes can lead to uneven texture and poor presentation in the jars, so take time to slice everything uniformly. For the best results, leave 1/2 inch of headspace at the top of each jar and remove air bubbles before sealing – trapped air can lead to seal failure and spoilage during storage.
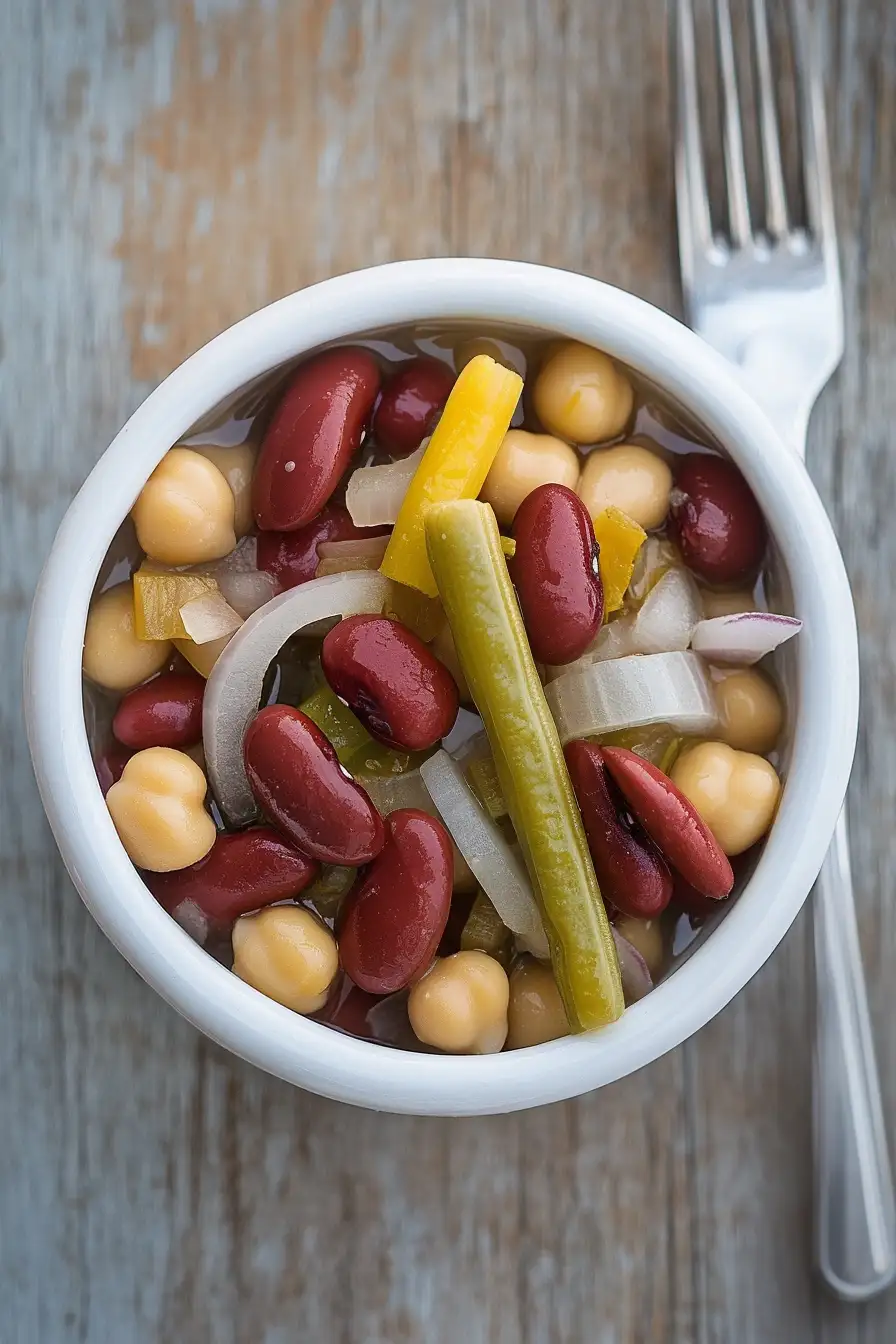
What to Serve With Three Bean Salad?
This tangy three bean salad makes a perfect side dish for summer cookouts and picnics! Since it’s already packed with protein from the beans, it pairs really well with grilled meats like hamburgers, hot dogs, or chicken breasts. For an easy weekday lunch, you can serve it alongside sandwiches or wraps – the vinegary kick helps cut through richer fillings like tuna salad or turkey and cheese. If you’re hosting a potluck or barbecue, this salad sits nicely on a buffet table next to potato salad, coleslaw, or macaroni salad since its zippy dressing offers a nice contrast to creamier sides.
Storage Instructions
Shelf Storage: When properly processed in sterilized jars, your three bean salad will keep safely on the shelf for up to 12 months. Store the sealed jars in a cool, dark place like your pantry or basement. Just remember to check that the seal is intact before opening.
After Opening: Once you’ve cracked open a jar, transfer any leftovers to an airtight container and pop it in the fridge. The bean salad will stay fresh and crunchy for about 2 weeks thanks to the vinegar brine. It actually gets better after a few days as the flavors continue to develop!
Quick Tip: Before serving from a newly opened jar, let it sit at room temperature for about 15 minutes – this helps the oil return to its liquid state if it solidified in the fridge. Give it a gentle stir to redistribute the dressing, and you’re good to go!
| Preparation Time | 30-45 minutes |
| Cooking Time | 20-30 minutes |
| Total Time | 12-14 hours (including marinating time) |
| Level of Difficulty | Medium |
Estimated Nutrition
Estimated nutrition for the whole recipe (without optional ingredients):
- Calories: 600-700
- Protein: 15-20 g
- Fat: 30-35 g
- Carbohydrates: 90-100 g
Ingredients
For the salad:
- 1/2 cup sliced celery
- 1/2 cup sliced bell pepper (any color works, adds visual appeal)
- 1/2 cup thinly sliced onion
- 1 1/2 cups fresh green beans (trimmed and cut into 1-inch pieces)
- 1 1/2 cups drained canned red kidney beans
- 1 cup drained canned chickpeas (I use Goya chickpeas for their firm texture)
For the marinade:
- 1/2 tsp pickling salt
- 1/4 cup bottled lemon juice (use a good quality brand like ReaLemon)
- 1 1/4 cups water
- 1/4 cup vegetable oil
- 3/4 cup granulated sugar
- 1/2 cup white vinegar (or apple cider vinegar for a milder flavor)
Step 1: Prepare the Beans and Vegetables
Begin by preparing fresh green beans.
Cut them into 2-inch pieces and blanch them in boiling water for 3 minutes.
After blanching, immediately transfer them to an ice bath to cool quickly.
Drain and rinse pre-canned kidney beans and garbanzo beans thoroughly.
Prepare the onions, celery, and peppers by cleaning and cutting them to desired sizes.
Measure all the beans and vegetables and combine them in a large bowl for mixing.
Step 2: Make the Marinade
In a saucepan, combine vinegar, lemon juice, sugar, and water.
Bring this mixture to a boil, then turn off the heat.
Add oil and salt to the mixture, stirring well.
Once combined, pour the marinade over the beans and vegetables in the large bowl.
Set the mixture to simmer briefly, then remove from heat and allow it to marinate in the refrigerator for 12 to 14 hours, preferably overnight.
Step 3: Reheat and Prepare for Canning
After marinating, reheat the mixture to a boil.
Using a slotted spoon, fill 1/2 pint or 1 pint jars with the solids, making sure to leave a 1/2 inch headspace.
Using a ladle, add the hot liquid over the solids, maintaining the 1/2 inch headspace.
Remove air bubbles and recheck the headspace, making adjustments as needed.
Clean the rims of the jars with a damp towel or paper towel before adding the canning lids and rings.
Tighten them only finger-tight.
Step 4: Process the Jars
Place the filled jars in the canner and lower the rack into the water.
Bring the water to a rolling boil.
Process the jars based on your altitude:
- 0-1000 feet: process for 15 minutes
- 1001-6,000 feet: process for 20 minutes
- Above 6,000 feet: process for 25 minutes
Process for the full amount of time, maintaining a consistent boil.
Once the time is complete, turn off the heat, remove the canner lid, and wait 5 minutes before removing the jars.
Step 5: Cool and Store the Jars
Carefully remove the jars from the canner.
If there’s excessive bubbling, wait an additional 5 minutes.
Place the jars a few inches apart on a thick towel and allow them to cool to room temperature undisturbed for about 12 hours.
Once completely cooled, remove the metal bands, check the seals, and wash the jars.
Dry them completely and store them in a cool, dark place for optimal preservation.
