I grew up thinking refried beans only came straight from the can, usually heated up quickly in the microwave. That’s how we always did it at home. The few times my dad tried making them from scratch, they turned into a dry, chunky mess that nobody wanted to eat.
Turns out, he was missing a few key steps—like adding the right amount of liquid and giving them enough time to get creamy. Using canned beans as a starter is actually a great middle ground. It’s faster than starting from dry beans, but with a few simple additions, you can make them taste way better than just heating them straight from the can.
Why You’ll Love These Refried Beans
- Quick preparation – Ready in just 10-20 minutes, these beans are perfect for those busy weeknights when you need a tasty side dish fast.
- Budget-friendly ingredients – Using canned beans and basic pantry staples, this recipe keeps your grocery bill low while delivering great taste.
- Customizable recipe – You can easily adjust the creaminess with your choice of milk or cream, and add cheese to make them exactly how you like them.
- Simple cooking method – With just a few ingredients and one pan, these beans come together so easily that even beginner cooks can make them perfectly.
What Kind of Canned Refried Beans Should I Use?
You’ll find two main types of canned refried beans at the grocery store – pinto and black beans – with pinto being the most traditional choice for Mexican dishes. Most major brands like Old El Paso, Rosarita, or store brands will work well, and you can pick between traditional, vegetarian (made without lard), or spicy varieties depending on your preference. If you’re watching sodium, look for the low-sodium versions, since regular canned refried beans can pack quite a bit of salt. Just remember that the texture straight from the can will be pretty thick, which is why we’re adding liquid to make them extra creamy and smooth.
Options for Substitutions
This simple recipe can be easily adapted with several substitutions to match your dietary needs or what you have in your pantry:
- Butter, lard, or bacon grease: For a vegetarian or healthier version, you can use olive oil or vegetable oil instead. If you’re watching calories, you can even reduce the amount to 1-2 teaspoons.
- Refried beans: While any brand works, you can choose between pinto or black refried beans. For vegetarian options, make sure to pick beans labeled ‘vegetarian’ as some brands use lard.
- Milk, cream, or crema: For a dairy-free version, try unsweetened almond milk, oat milk, or coconut milk. You can also use chicken or vegetable broth for a different flavor profile.
- Cheese: The type of cheese is flexible – try cheddar, Mexican blend, or cotija. For dairy-free needs, you can skip the cheese entirely or use your favorite plant-based cheese alternative.
Watch Out for These Mistakes While Cooking
The biggest mistake when heating canned refried beans is cooking them over high heat, which can cause them to stick to the bottom of the pan and develop an unpleasant burnt taste – instead, keep the heat on medium-low and stir frequently. Adding all the liquid at once can make your beans too runny, so start with a small amount and gradually add more until you reach your desired consistency. Many cooks skip the resting period after cooking, but letting the beans sit for 5-10 minutes allows them to thicken naturally and develop a creamier texture. For the best results, try mashing some of the beans against the side of the pan while cooking to create different textures, and remember that cold dairy ingredients can make your beans cool down quickly, so let them come to room temperature first.
What to Serve With Refried Beans?
Refried beans are a staple of Mexican-style meals and they pair perfectly with so many dishes! The most obvious partners are warm tortillas (corn or flour) and Mexican rice, but don’t stop there. These creamy beans make an excellent side dish for tacos, enchiladas, or fajitas, and they’re great tucked into burritos too. For a simple weeknight dinner, I like to set up a DIY taco bar with all the fixings – shredded lettuce, diced tomatoes, grated cheese, and sliced jalapeños – letting everyone build their own meal with the beans as the foundation. You can also serve them breakfast-style with some fried eggs and warm tortillas for a filling start to your day.
Storage Instructions
Keep Fresh: Got leftover refried beans? Just pop them in an airtight container and they’ll stay good in the fridge for 4-5 days. The beans might thicken up a bit when chilled, but that’s totally normal!
Freeze: These beans are perfect for freezing! Transfer them to a freezer-safe container or bag, leaving a bit of space for expansion, and they’ll keep well for up to 3 months. I like to freeze them in smaller portions – it’s super handy for quick meals.
Warm Up: When you’re ready to eat your leftover beans, warm them up in a pan over medium-low heat. Add a splash of milk or water if they seem too thick, and stir occasionally until heated through. You can also use the microwave – just remember to give them a good stir halfway through.
| Preparation Time | 5-10 minutes |
| Cooking Time | 5-10 minutes |
| Total Time | 10-20 minutes |
| Level of Difficulty | Easy |
Estimated Nutrition
Estimated nutrition for the whole recipe (without optional ingredients):
- Calories: 600-800
- Protein: 20-30 g
- Fat: 40-50 g
- Carbohydrates: 40-50 g
Ingredients
- 1 can refried beans (I use Rosarita Traditional)
- 1-2 tbsp butter (I like Kerrygold unsalted butter for this)
- cheese (optional, for sprinkling on top)
- 1/3-1/2 cup milk
Step 1: Heat the Fat
Begin by adding your choice of fat — butter, lard, or bacon drippings — to a pan.
Place the pan over medium heat and allow the fat to melt and heat through.
This will create a flavorful base for the refried beans.
Step 2: Cook the Beans
Once the fat is hot, add a can of refried beans to the pan.
Do not drain the liquid from the can; it will help in achieving a creamy consistency.
Stir the beans and the fat together, ensuring everything is combined well.
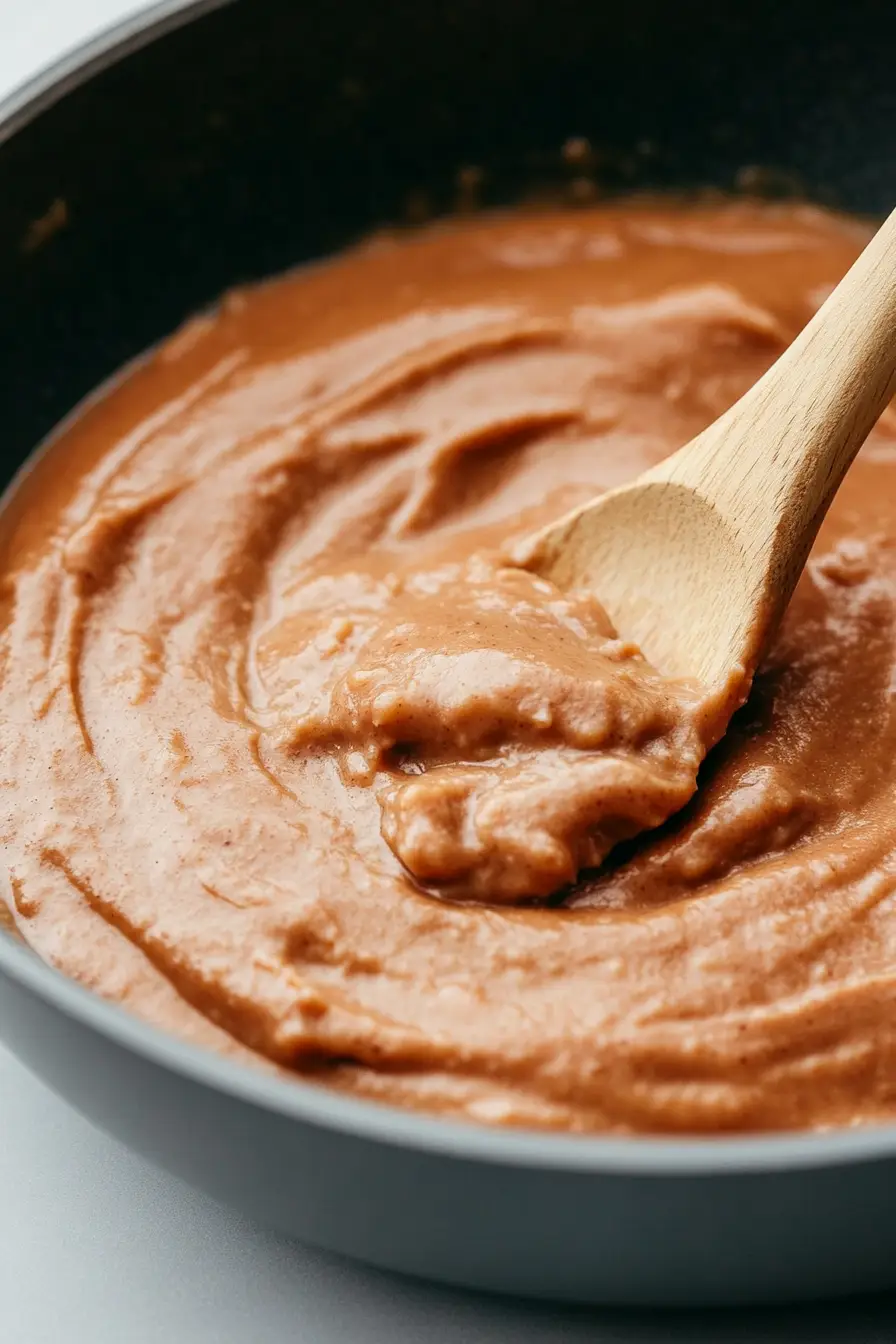
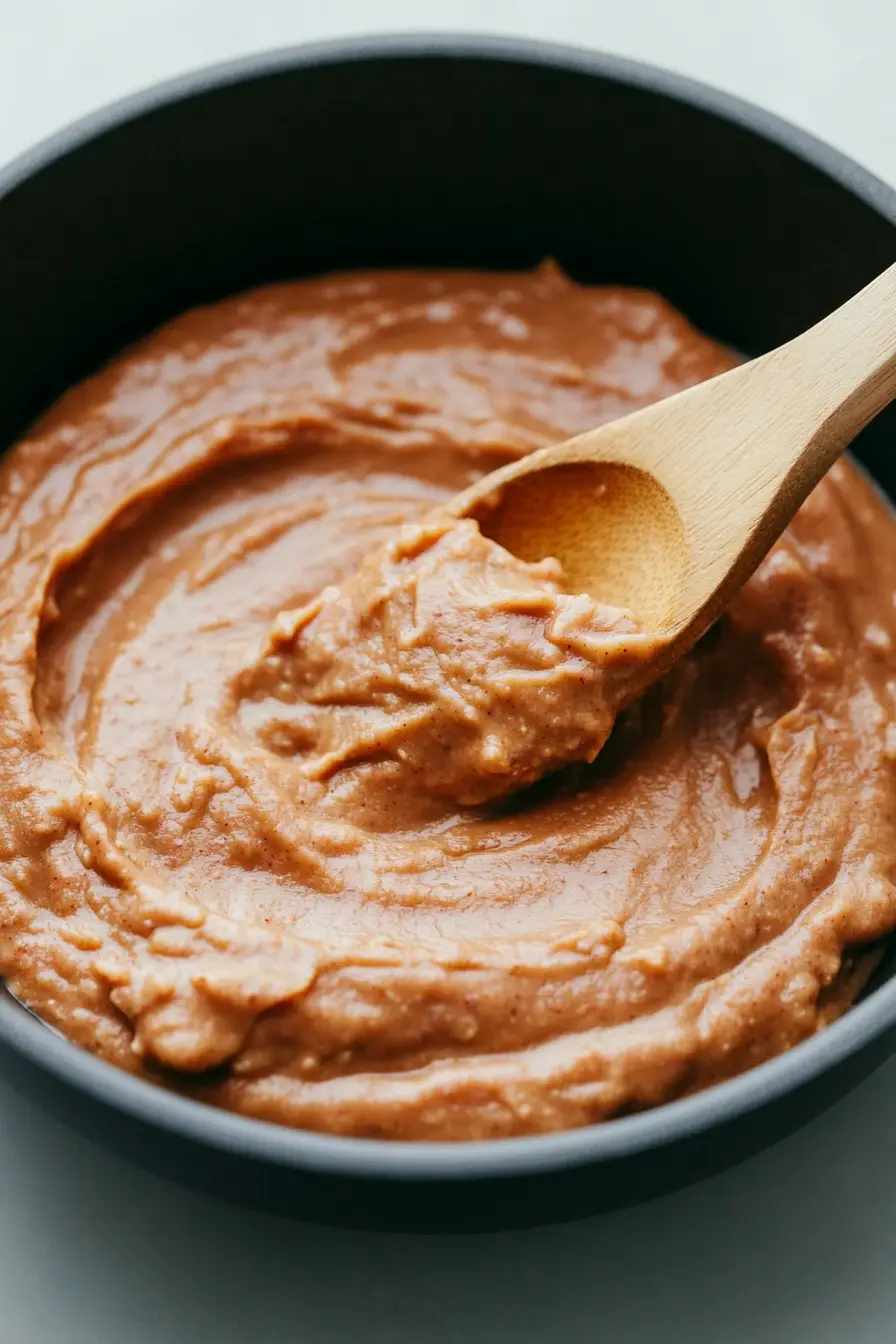
Step 3: Incorporate the Dairy
As the beans warm through, add your choice of dairy — this could be milk, cream, or a cheese of your liking.
Continue to heat the mixture, stirring occasionally.
Allow it to cook until it reaches your desired thickness, which should only take a minute or two.
The dairy will add richness to your refried beans.
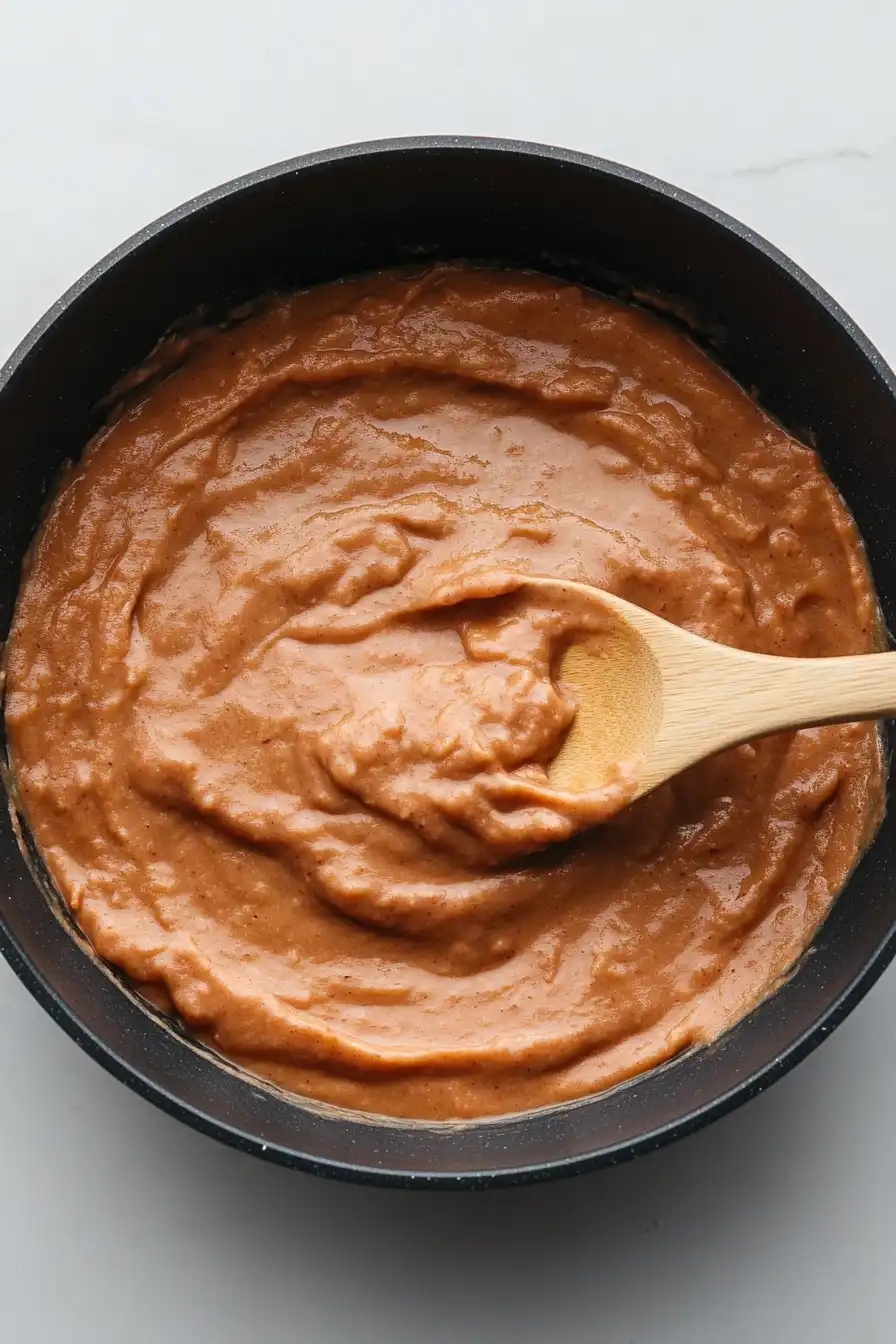
Step 4: Serve and Enjoy
Once you’ve achieved the preferred consistency, remove the pan from the heat.
Serve your creamy and flavorful refried beans as a tasty side dish or a filling for tacos, burritos, or any other desired dish.
Enjoy!
