I never thought I’d get excited about a dessert with “dump” in its name, but here we are. Growing up, my mom was all about fancy layer cakes and perfectly decorated treats. When I first heard about dump cakes, I wrinkled my nose at the name – it just didn’t sound appetizing.
But then I tried making one, and honestly? It changed my whole perspective on easy desserts. This gluten-free version is even better than the original because it’s so simple – you literally just dump everything in the pan and let the oven do its thing. For someone who’s always rushing between activities, it’s become my go-to dessert.

Why You’ll Love This Dump Cake
- 3-ingredient recipe – With just cake mix, butter, and pie filling, this couldn’t be any easier to make – perfect for those times when you need a quick dessert.
- Gluten-free friendly – Using gluten-free cake mix means everyone can enjoy this dessert, making it perfect for parties and gatherings where guests have dietary restrictions.
- No mixing bowls needed – True to its name, you just dump the ingredients right into the baking dish – which means minimal cleanup and less time in the kitchen.
- Customizable dessert – You can use any pie filling flavor you like, from cherry to apple to blueberry, making this recipe adaptable to your taste preferences or what you have on hand.
What Kind of Gluten-Free Cake Mix Should I Use?
Finding the right gluten-free cake mix can feel a bit overwhelming with all the options available these days. Most major brands like Betty Crocker, King Arthur, and Bob’s Red Mill make reliable gluten-free yellow or vanilla cake mixes that work great in dump cakes. Look for mixes that contain xanthan gum – this ingredient helps hold everything together since there’s no gluten to do the job. If you’re new to gluten-free baking, stick with well-known brands for your first try, as they’ve really perfected their flour blends over the years. Just make sure to check that your mix doesn’t already include butter or oil, as you’ll want a basic cake mix that just needs wet ingredients added.
Options for Substitutions
This simple dump cake can be customized in several ways to match your preferences:
- Gluten-free cake mix: Any brand of gluten-free vanilla or yellow cake mix will work here. If you don’t need it to be gluten-free, you can use regular cake mix instead. Just make sure to check the weight – you’ll want about 15-16 ounces.
- Butter: While butter gives the best flavor, you can use dairy-free margarine or coconut oil if you need a dairy-free option. Just make sure whatever you use is in solid form when cold.
- Pie filling: This is where you can get creative! Any pie filling works great – try cherry, apple, blueberry, or peach. You can even use fresh fruit mixed with sugar and cornstarch, or canned fruit in syrup. If using fresh fruit, add about 1/2 cup sugar and 2 tablespoons cornstarch to 4 cups of fruit.
Watch Out for These Mistakes While Baking
The biggest challenge with gluten-free dump cakes is uneven butter distribution, which can leave dry patches of cake mix on top – to prevent this, slice your butter into very thin pats and space them evenly across the entire surface.
Temperature control is crucial when making a gluten-free dump cake, as gluten-free mixes can brown too quickly on top while staying undercooked in the middle – start checking your cake about 10 minutes before the recommended baking time and cover with foil if the top is browning too fast.
A common mistake is stirring the ingredients together, but resist the urge – layering is key for the perfect texture, so simply spread your pie filling first, sprinkle the cake mix evenly on top, and finish with the butter pieces.
For best results, let the cake rest for 15-20 minutes after baking to allow the fruit filling to set and prevent a runny mess when serving.

What to Serve With Dump Cake?
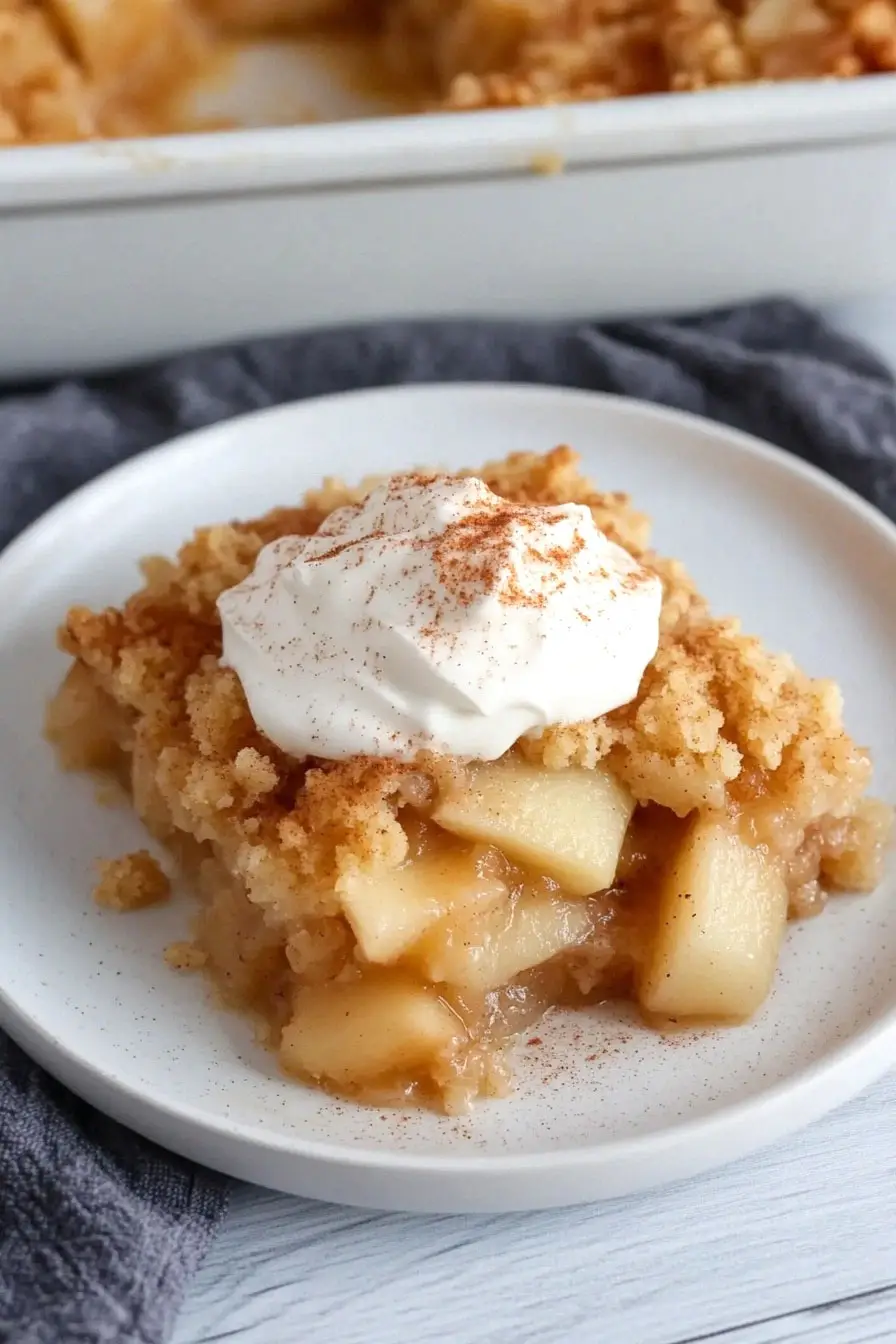
This easy gluten-free dessert is super cozy and tastes even better with a few simple additions! A scoop of vanilla ice cream on top is always a winner – the contrast between the warm cake and cold ice cream is just perfect. You can also dress it up with a dollop of whipped cream or a drizzle of caramel sauce if you’re feeling fancy. For a special breakfast treat, I love serving leftover dump cake warmed up with a cup of coffee or hot chocolate on the side.
Storage Instructions
Keep Fresh: Once your gluten-free dump cake has cooled down completely, cover it with plastic wrap or aluminum foil. You can keep it at room temperature for up to 2 days, but I prefer storing it in the fridge where it stays good for up to 5 days. The fruit filling helps keep the cake nice and moist!
Freeze: This cake freezes really well! Cut it into portions, wrap them individually in plastic wrap, and place in a freezer bag. It’ll stay fresh for up to 3 months in the freezer. This is super handy when you want just a piece or two at a time.
Serve Again: When you’re ready to enjoy your frozen cake, let it thaw overnight in the fridge. To bring back some of that fresh-baked warmth, pop your portion in the microwave for 20-30 seconds. Add a scoop of vanilla ice cream on top, and it’ll taste just like it’s fresh from the oven!
| Preparation Time | 10-15 minutes |
| Cooking Time | 30-35 minutes |
| Total Time | 40-50 minutes |
| Level of Difficulty | Easy |
Estimated Nutrition
Estimated nutrition for the whole recipe (without optional ingredients):
- Calories: 2100-2300
- Protein: 20-30 g
- Fat: 100-110 g
- Carbohydrates: 320-350 g
Ingredients
- 1 package gluten-free cake mix (I like Betty Crocker’s gluten-free yellow cake mix)
- 1/2 cup unsalted butter (melted)
- 22 oz pie filling (cherry or apple work great)
Step 1: Prepare the Baking Dish and Ingredients
Start by preheating your oven to 350º F.
Use a non-stick baking spray or coconut oil to coat a 9×13 baking dish thoroughly.
Spread the 22 ounces of pie filling evenly across the bottom of the baking dish, creating a delicious base layer.
Step 2: Add the Cake Mix
Open a box of gluten-free cake mix and sprinkle it evenly over the top of the pie filling.
Use a spoon to smooth out the cake mix, ensuring it is evenly distributed over the entire dish.
Step 3: Top with Butter
Cut the cold ½ cup unsalted butter into small pieces.
Distribute the butter pieces evenly across the top of the cake mix layer.
For an alternative method, you can combine the cake mix and butter in a food processor.
Pulse until blended, then pour this mixture evenly over the pie filling.
Step 4: Bake and Finish
Place the baking dish in the preheated oven and bake for 30 minutes.
The top should become slightly golden, and the fruit below should be bubbly, indicating the cake is ready to enjoy.
Step 5: Serve and Enjoy
Remove the cake from the oven and allow it to cool slightly.
Serve the cake warm or cold, topped with whipped cream or a scoop of ice cream for an extra indulgent treat.
Enjoy the flavors and textures of your freshly baked dessert!
