Fall wouldn’t be complete without caramel apples, but I’ve never been a fan of using corn syrup in my treats. After years of making these with my kids, I’ve found a simple way to create those sticky-sweet apples we all remember from childhood – minus the corn syrup. I know some people think making caramel apples from scratch sounds tricky, but trust me, it’s easier than you might expect.
I started making these when my daughter asked why we couldn’t just make our own instead of buying them at the store. Now it’s become our favorite October tradition, and the kitchen always fills with excited chatter as we dip and decorate our apples. The best part? You probably have most of these ingredients in your pantry already.
Want to make memories (and maybe a little mess) with your family? These homemade caramel apples are just what you’re looking for. And I promise, once you try this version, you won’t miss the corn syrup one bit.

Why You’ll Love These Caramel Apples
- All-natural ingredients – Made without corn syrup, this recipe uses simple, wholesome ingredients you can actually pronounce – just sugar, cream, and salt for the caramel coating.
- Quick preparation – You’ll have these ready in less than 45 minutes, making them perfect for last-minute fall festivities or weekend treats.
- Kid-friendly activity – This recipe is simple enough to make with children, creating fun kitchen memories while they learn about candy-making basics.
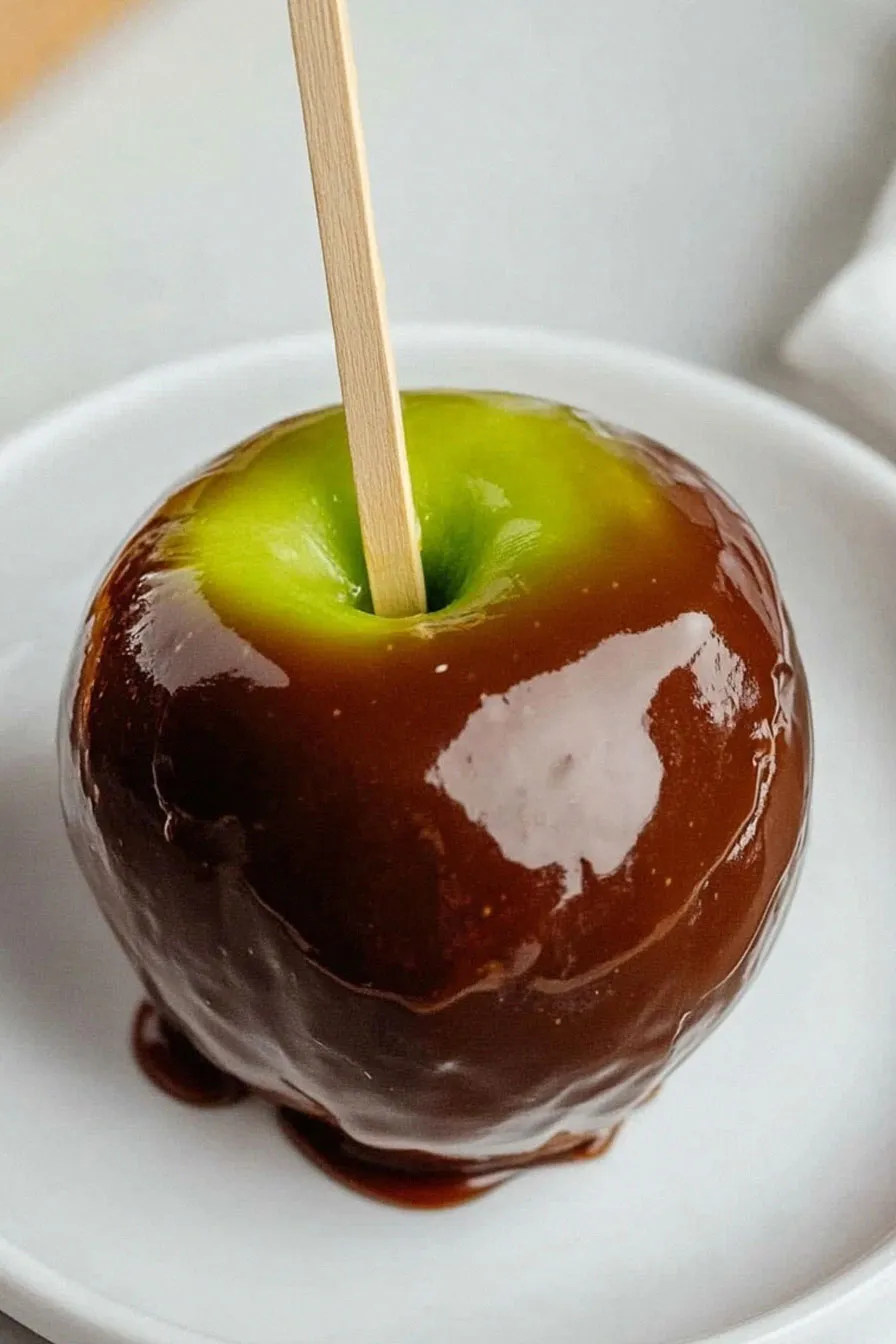
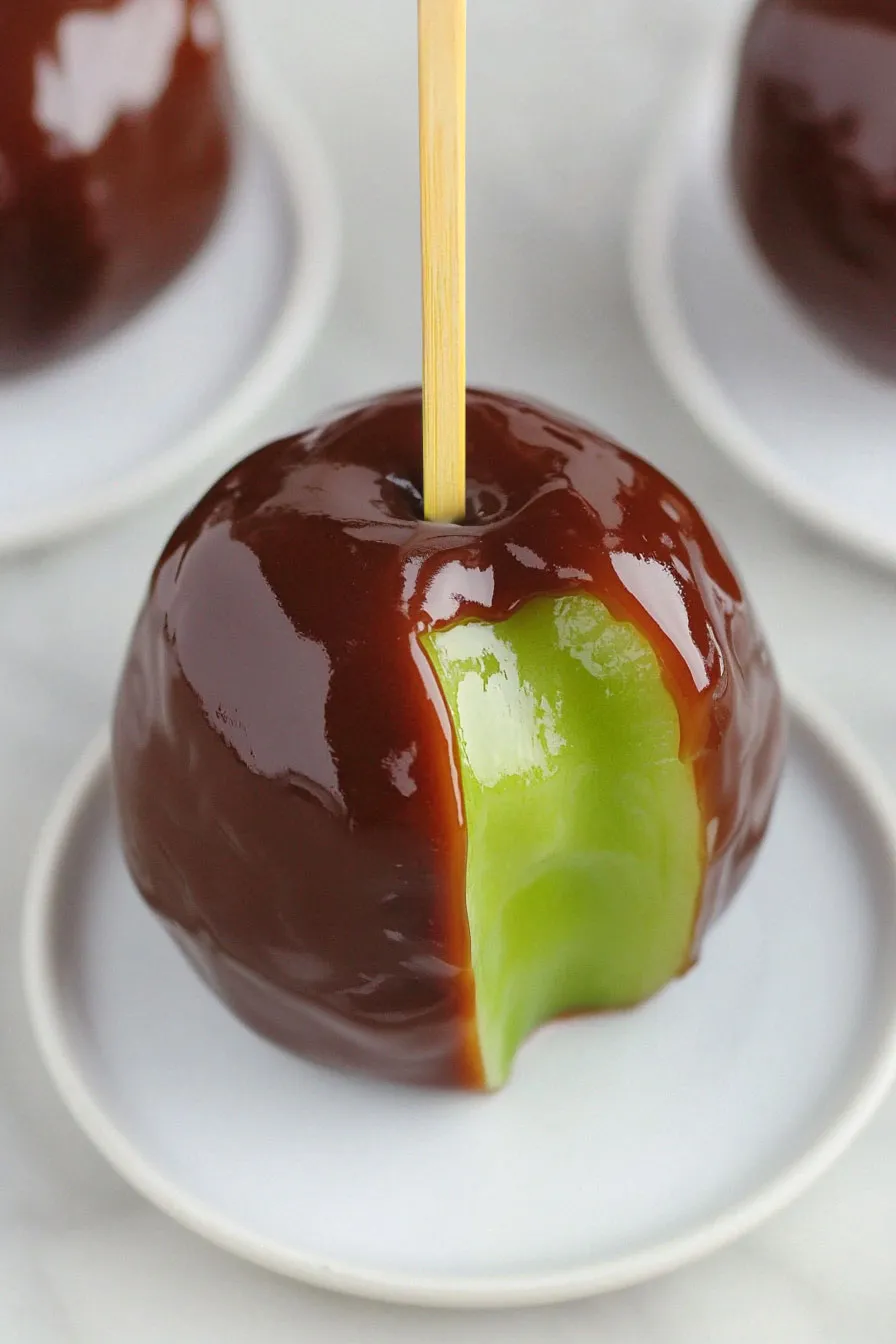
- Classic fall treat – The combination of tart Granny Smith apples with sweet homemade caramel creates that perfect balance of flavors that reminds you of autumn fairs and harvest festivals.
What Kind of Apples Should I Use?
While this recipe calls for Granny Smith apples, you’ve actually got several good options for making caramel apples. Granny Smiths are a classic choice because their tart flavor and firm texture create a perfect balance with the sweet caramel coating. Other crisp varieties like Honeycrisp, Pink Lady, or Fuji also work really well – just stay away from softer apples like Red Delicious or McIntosh, which can get mushy. No matter which type you pick, make sure your apples are fresh and firm, with no bruises or soft spots. It’s also super important to wash and thoroughly dry your apples before dipping, since any moisture will prevent the caramel from sticking properly.
Options for Substitutions
When making these caramel apples, here’s what you should know about possible substitutions:
- Granny Smith apples: While Granny Smiths are perfect because their tartness balances the sweet caramel, you can use Honeycrisp, Pink Lady, or Fuji apples. Just make sure they’re firm and fresh – soft apples won’t work well.
- Superfine sugar: If you don’t have superfine sugar, you can use regular granulated sugar. Just pulse it in a food processor for about 30 seconds to make it finer – this helps it melt more evenly.
- Heavy cream: This is one ingredient you shouldn’t substitute. Heavy cream (with at least 36% fat content) is necessary for the right caramel consistency. Light cream or half-and-half won’t work as they can make your caramel too thin or cause it to separate.
- Sea salt: You can use kosher salt instead of sea salt. If using regular table salt, reduce the amount to 3 grams since it’s more concentrated.
Watch Out for These Mistakes While Cooking
The biggest challenge when making caramel apples is getting the caramel to stick properly – make sure your apples are completely dry and cold before dipping, as any moisture or room temperature fruit will cause the caramel to slide right off.
Temperature control is crucial when making caramel without corn syrup – use a candy thermometer and cook the sugar mixture until it reaches exactly 240°F (firm-ball stage), as even a few degrees too high will result in a coating that’s too hard, while too low will give you a runny mess that won’t set.
A common error is stirring the sugar while it’s cooking – instead, gently swirl the pan to promote even heating, and only stir once you’ve added the cream (be careful, it will bubble up fiercely!).
For the smoothest coating, let excess caramel drip off for a few seconds before placing your apples on a well-greased parchment paper, and avoid moving them until they’re completely set.
What to Serve With Caramel Apples?
Caramel apples are a treat that stands perfectly well on their own, but there are some fun ways to make them even more special! I like to set up a little toppings bar with chopped nuts, mini chocolate chips, and crushed cookies so everyone can customize their own apple. These sweet treats pair really nicely with hot apple cider or warm spiced tea, especially on chilly fall days. For a fun dessert spread, you can slice some of the caramel apples and serve them alongside vanilla ice cream or whipped cream – the combination of warm and cold is just perfect.
Storage Instructions
Keep Fresh: Your caramel apples will stay fresh in the refrigerator for up to 5 days. Place them on a plate or in a container lined with wax paper, making sure they don’t touch each other. The cold temperature helps keep the caramel firm and the apples crisp.
Room Temperature: If you plan to eat your caramel apples within 24 hours, you can keep them at room temperature. Just make sure to place them on wax paper and keep them in a cool, dry spot away from direct sunlight. The caramel might soften a bit at room temp, but that’s totally normal!
Prep Ahead: While it’s best to enjoy caramel apples within a few days of making them, you can prep ahead by cleaning and chilling your apples the day before. Cold apples help the caramel stick better, making the dipping process much easier.
| Preparation Time | 10-15 minutes |
| Cooking Time | 15-30 minutes |
| Total Time | 25-45 minutes |
| Level of Difficulty | Medium |
Estimated Nutrition
Estimated nutrition for the whole recipe (without optional ingredients):
- Calories: 1500-1600
- Protein: 6-8 g
- Fat: 75-80 g
- Carbohydrates: 200-210 g
Ingredients
For the caramel:
- 200g heavy cream (for best results, use full-fat heavy cream with at least 36% milk fat)
- 60 ml water
- 200g superfine sugar
- 5g coarse sea salt (such as Maldon or Fleur de Sel, to balance sweetness)
For the apples:
- 6 small granny smith apples (chilled and thoroughly washed to remove any wax, which helps the caramel adhere better)
Step 1: Prepare the Apples and Baking Tray
Begin by inserting a popsicle stick, wooden skewer, or single chopstick into the stem end of each apple until the stick is about halfway down the apple.
This will provide a sturdy handle when dipping.
Line a baking tray with parchment paper and set it aside.
Also, place a small dish of water and a pastry brush next to the stove — you’ll need these for the caramel-making process.
Step 2: Dissolve the Sugar
Add the sugar to a small, heavy-bottomed saucepan and pour over ¼ cup (60ml) of water.
Set the saucepan over medium-low heat.
Stirring constantly with a silicone spatula, slowly dissolve the sugar.
Make sure the sugar is completely dissolved before allowing the mixture to come to a boil.
If the mixture seems to be heating too quickly, remove the saucepan from the heat periodically until all of the sugar is dissolved.
Avoiding undissolved sugar crystals will ensure a smooth caramel.
Step 3: Boil the Sugar Mixture
Once the sugar is fully dissolved, stop stirring the mixture and let it come up to a boil.
When the mixture begins to simmer, use the pastry brush dipped in the water dish to wash down the sides of the saucepan.
This prevents sugar crystals from forming on the sides, which can disrupt the smoothness of the caramel.
Step 4: Caramelize the Sugar
Allow the syrup to boil, not stirring but swirling the pan occasionally to distribute the heat evenly, until the syrup turns an amber color.
Keep a close eye on the caramel, as it can quickly transition from perfectly caramelized to burnt.
Depending on your preference for flavor intensity, you may choose how dark you’d like the caramel.
This process generally takes about 15-20 minutes.
Step 5: Add Cream and Finish the Caramel
Carefully pour in the cream and add the salt to the saucepan.
Expect the mixture to sputter and foam significantly; this reaction is normal.
Stir the mixture constantly with a silicone spatula and cook until the caramel reaches a temperature of 250°F (120°C).
Once at the correct temperature, pour the caramel into a heatproof bowl to cool.
Step 6: Dip and Set the Apples
Allow the caramel to cool for about 5 minutes, or until it reaches 212°F (100°C).
Dip each apple into the cooled caramel, making sure to coat it evenly.
Allow any excess caramel to drip off before placing the apple onto the prepared parchment-lined baking tray.
Let the caramel cool completely on the apples before serving.
