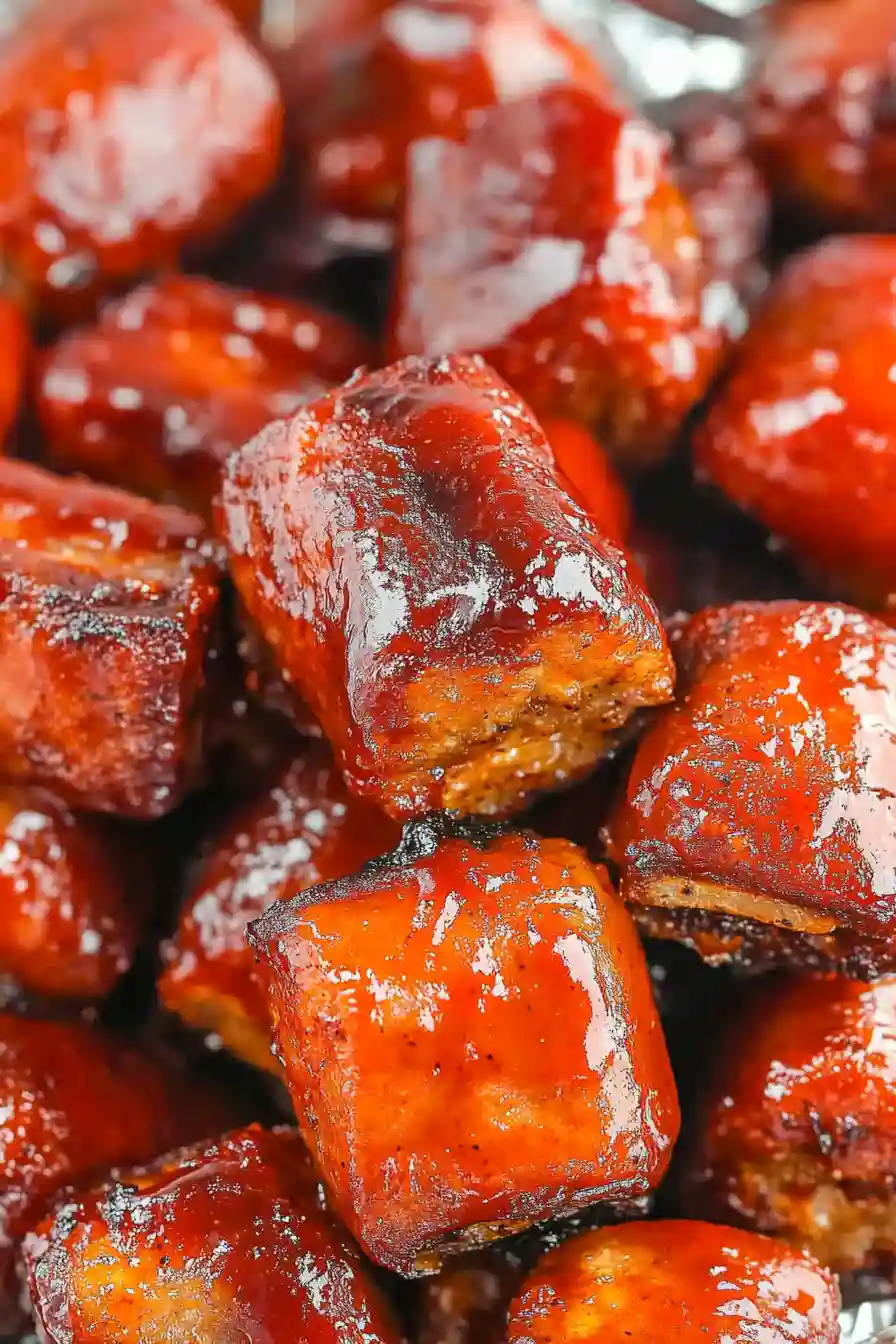
Here’s my twist on hot dog burnt ends – a fun take on BBQ that turns regular hot dogs into tasty, bite-sized pieces of smoky goodness. With a sweet and tangy sauce coating and that perfect charred exterior, these little morsels are impossible to resist.
These burnt ends have become my go-to party snack, especially during summer cookouts. I always make an extra batch because they disappear so quickly. Perfect for game day or any casual get-together where you want something a little different than the usual grilled dogs.
Why You’ll Love These Hot Dog Burnt Ends
- Budget-friendly twist – These hot dog burnt ends give you the same amazing flavors as traditional brisket burnt ends but at a fraction of the cost – perfect for feeding a crowd without breaking the bank.
- Simple ingredients – You only need hot dogs and common pantry staples to make this recipe, no fancy or hard-to-find ingredients required.
- Kid-approved – These sweet and savory bites transform regular hot dogs into an exciting new dish that kids absolutely love – they’re like candy-coated meat bites!
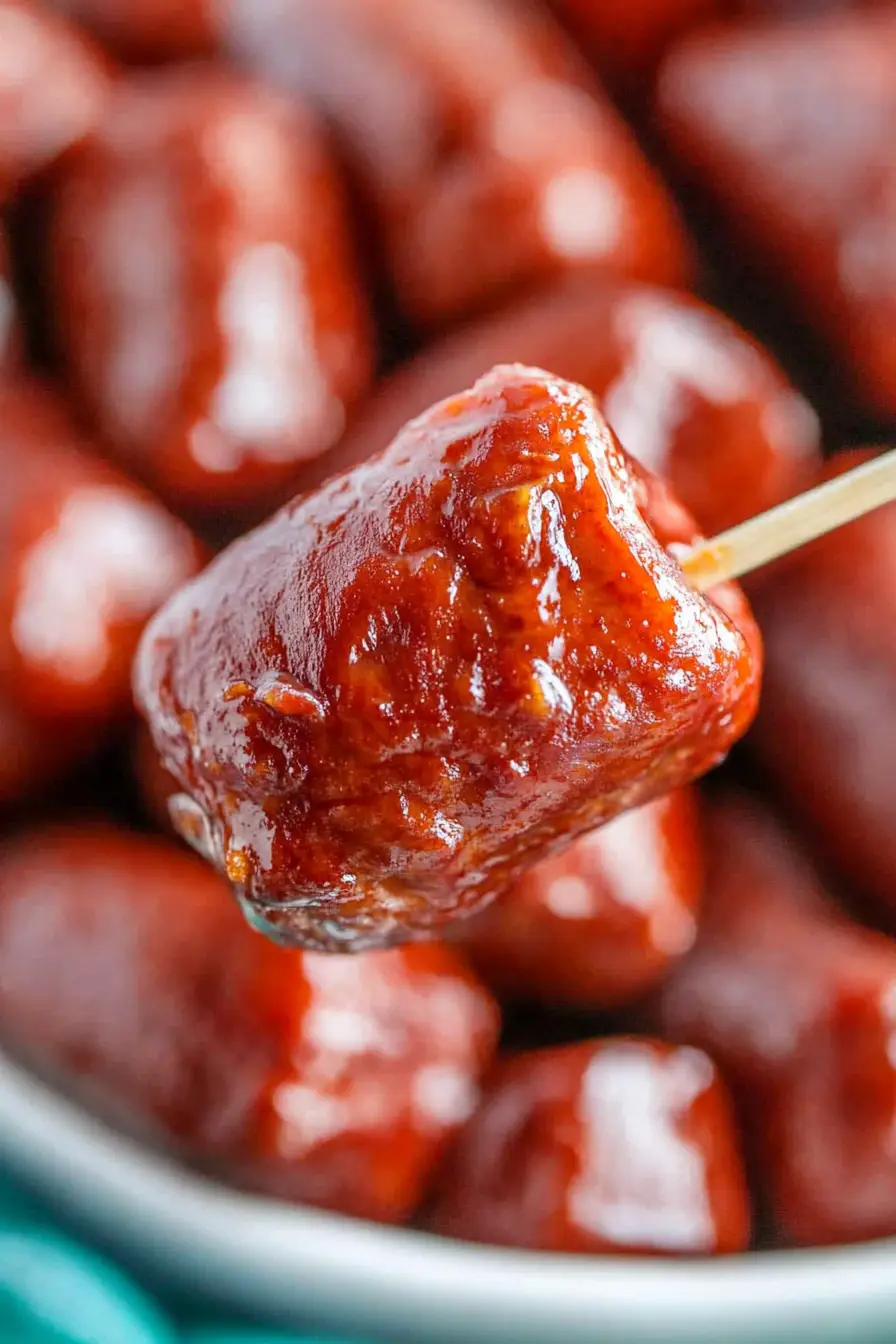
- Perfect party food – These bite-sized pieces are ideal for gatherings, game days, or backyard BBQs – they’re easy to grab and guaranteed to disappear fast.
What Kind of Hot Dogs Should I Use?
For this recipe, you’ll want to stick with all-beef hot dogs since they have the best flavor and texture when cooked low and slow. Quarter-pound hot dogs (like Nathan’s, Hebrew National, or similar premium brands) are ideal because they’re thick enough to hold up during cooking and won’t dry out. While turkey or chicken hot dogs could work, they tend to dry out more quickly and won’t give you that rich, beefy flavor that makes this dish special. Look for hot dogs labeled “uncured” or “no nitrates added” if you prefer a more natural option, but any good quality all-beef hot dog will do the trick. Just avoid the super cheap varieties – they often contain more fillers and won’t give you the best results.
Options for Substitutions
This fun twist on hot dogs is pretty adaptable – here’s what you can switch up:
- All-beef hot dogs: While all-beef hot dogs give the best flavor, you can use turkey dogs or even plant-based hot dogs. Just keep in mind that turkey dogs might cook faster, so watch them carefully to prevent drying out.
- Olive oil: Any neutral cooking oil works here – vegetable oil, canola oil, or even melted butter can do the job.
- Barbecue seasoning: Don’t have BBQ seasoning? Mix equal parts paprika, garlic powder, onion powder, and black pepper, with a pinch of salt. Or use your favorite meat rub instead.
- Barbecue sauce: Any BBQ sauce you like will work – from honey BBQ to spicy or smoky varieties. You can even mix in some hot sauce if you want to kick up the heat.
- Brown sugar: Regular sugar mixed with a touch of molasses works too. Or try honey or maple syrup – just use about 3 tablespoons since they’re sweeter than brown sugar.
- Mustard powder: Regular prepared yellow mustard works fine – just use 2 teaspoons instead of the powder. Or skip it if you’re not a mustard fan.
Watch Out for These Mistakes While Grilling
The biggest challenge when making hot dog burnt ends is managing your grill temperature – too hot and you’ll end up with charred, dried-out pieces, while too low of a temperature won’t give you that perfect caramelized exterior. The sweet spot is maintaining a consistent temperature around 250-275°F, using indirect heat to slowly render the fat and create tender, flavorful bites. Another common mistake is rushing the glazing process – these beauties need time to develop their sticky, caramelized coating, so be patient and let them spend at least 30 minutes in the sauce mixture, tossing occasionally. To prevent the sugar from burning, wait until the final 15-20 minutes of cooking before adding your brown sugar and sauce mixture, and keep a close eye on them during this final stage. For the best texture and flavor, make sure to cut your hot dogs into evenly-sized pieces (about 1.5 inches) so they cook uniformly and can be easily eaten in one bite.
What to Serve With Hot Dog Burnt Ends?
These smoky, sweet hot dog bites are perfect for casual gatherings and pair really well with classic barbecue sides. A cold, creamy coleslaw or potato salad makes an excellent partner to balance out the rich, sweet flavors of the burnt ends. If you want to keep things simple, set out some potato chips or make a quick mac and cheese – both options are crowd-pleasers that go great with these meaty bites. For a healthier option, try a crisp cucumber salad or some grilled corn on the cob, which adds a nice fresh element to the meal while staying true to the backyard BBQ vibe.
Storage Instructions
Keep Fresh: These tasty hot dog burnt ends will stay good in an airtight container in the fridge for up to 4 days. They make great leftovers for quick lunches or easy dinners – just remember they might not be quite as crispy as when they’re fresh off the grill!
Freeze: If you want to save them for later, these burnt ends freeze pretty well. Place them in a freezer-safe container or zip-top bag and they’ll keep for up to 2 months. Just make sure they’re completely cool before freezing to avoid ice crystals forming.
Warm Up: To get these little bites tasting great again, pop them in the oven at 350°F for about 10-15 minutes, or until they’re heated through. You can also microwave them, but they might lose some of their nice outer texture. For best results, add a fresh splash of barbecue sauce when reheating to keep them moist and flavorful.
| Preparation Time | 10-15 minutes |
| Cooking Time | 90-120 minutes |
| Total Time | 100-135 minutes |
| Level of Difficulty | Medium |
Estimated Nutrition
Estimated nutrition for the whole recipe (without optional ingredients):
- Calories: 1800-2000
- Protein: 40-50 g
- Fat: 120-130 g
- Carbohydrates: 150-160 g
Ingredients
For the hot dogs:
- 2 tbsp barbecue seasoning
- 2 tsp olive oil
- 1 tsp mustard powder
- 8 all-beef hot dogs (cut into 1-inch pieces)
For the sauce:
- 1/2 cup barbecue sauce (I use Sweet Baby Ray’s)
- 1/3 cup melted salted butter (I use Land O’Lakes)
- 1 tbsp barbecue seasoning
- 1/4 cup light brown sugar
Step 1: Prepare the Smoker and Hot Dogs
Begin by preheating your smoker to 250°F.
While the smoker is heating up, unpack and place the hot dogs on a plate or tray.
Use a paper towel to pat them dry.
Pour olive oil over the hot dogs to coat them evenly.
Sprinkle BBQ seasoning and dry mustard over the hot dogs, pressing gently to ensure the seasonings adhere well.
Step 2: Smoke the Hot Dogs
Once your smoker reaches the set temperature, place the seasoned hot dogs directly on the grill.
Note for Big Green Egg and charcoal users: Add soaked wood chips to the charcoal chamber at this step.
Close the smoker and let the hot dogs smoke for one hour, absorbing all the rich flavors.
Step 3: Prepare the BBQ Sauce Mixture
While the hot dogs are smoking, prepare the BBQ sauce mixture.
In a medium-sized bowl, combine BBQ sauce, melted butter, light brown sugar, and additional BBQ seasoning.
Stir these ingredients together until they are fully combined and smooth.
Step 4: Cut and Coat Hot Dogs
After smoking for one hour, remove the hot dogs from the smoker and cut them into 1 ½ inch sections.
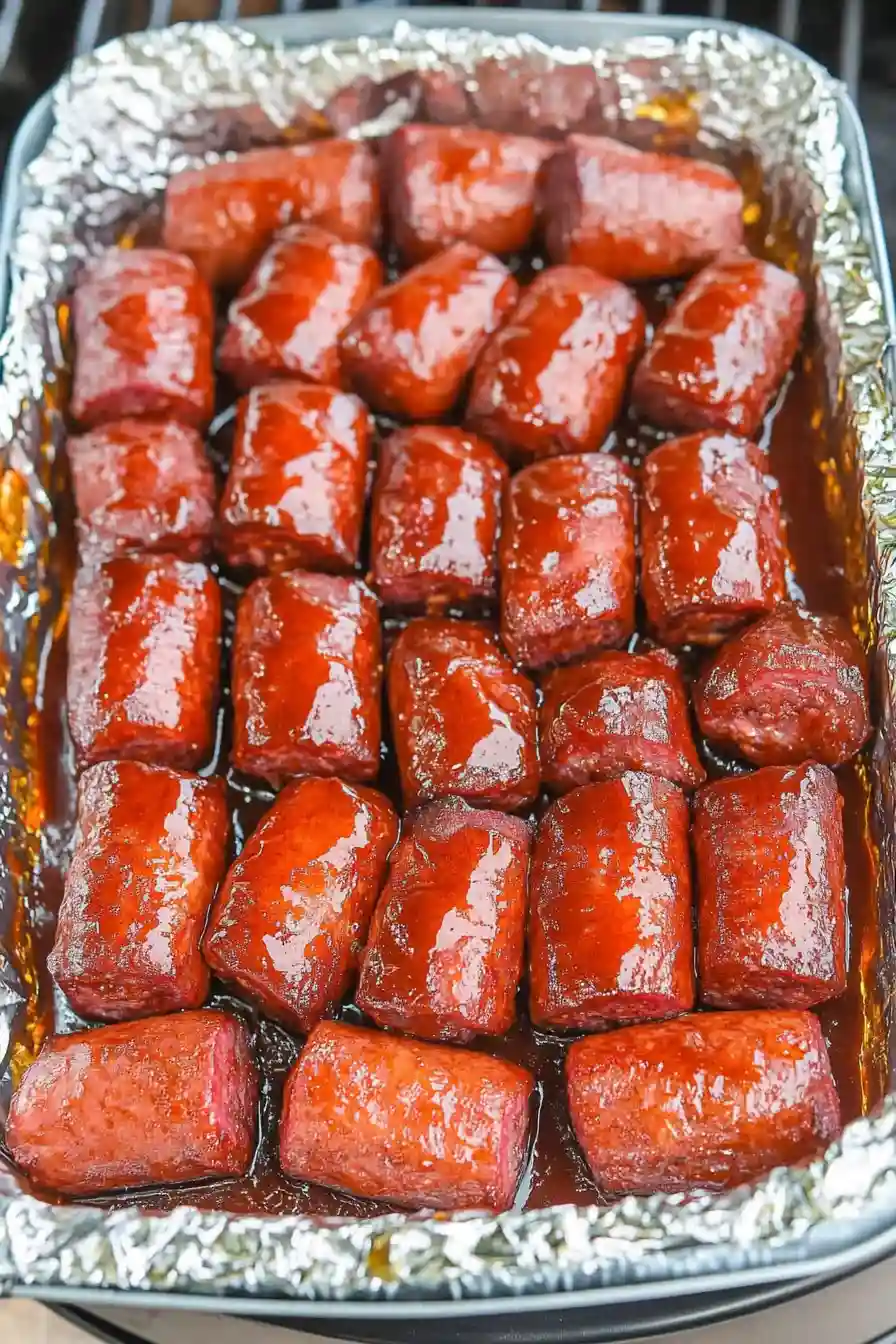
Place these pieces in a disposable 9×13-inch aluminum pan or any oven-safe pan or cast-iron skillet.
Pour the prepared BBQ sauce mixture over the hot dog pieces, mixing until each piece is thoroughly coated with the sauce.
Step 5: Final Smoke and Caramelization
Increase the smoker temperature to 350°F.
Place the pan with the sauce-coated hot dogs back on the grill.
Smoke for another 30 minutes or until the sauce is thickened and bubbling, indicating it has caramelized.
Keep an eye on the sauce’s consistency, as cooking times may vary.
Step 6: Serve and Enjoy
Once the sauce has reached the desired thickness and caramelization, remove the pan from the smoker.
Serve the smoky, saucy hot dogs hot, and enjoy this flavorful treat with friends and family!
