Here’s my go-to no bake cheesecake filling recipe that’s smooth, creamy, and ready in just minutes. No need to turn on the oven or worry about cracks in your cheesecake – this recipe always comes out perfect.
I make this filling at least once a month for family gatherings, and it disappears every single time. Plus, it’s so easy that my kids can help mix it up. And the best part? You can make it ahead and keep it chilled until you’re ready to serve!
Why You’ll Love This No Bake Cheesecake Filling
- No oven needed – Perfect for hot summer days or when you don’t want to turn on your oven – this filling comes together completely without baking.
- Just 4 ingredients – With only cream cheese, heavy cream, powdered sugar, and vanilla, this recipe keeps things wonderfully simple with basic pantry staples.
- Quick preparation – You can whip up this filling in under 45 minutes, making it perfect for last-minute dessert needs or when you’re short on time.
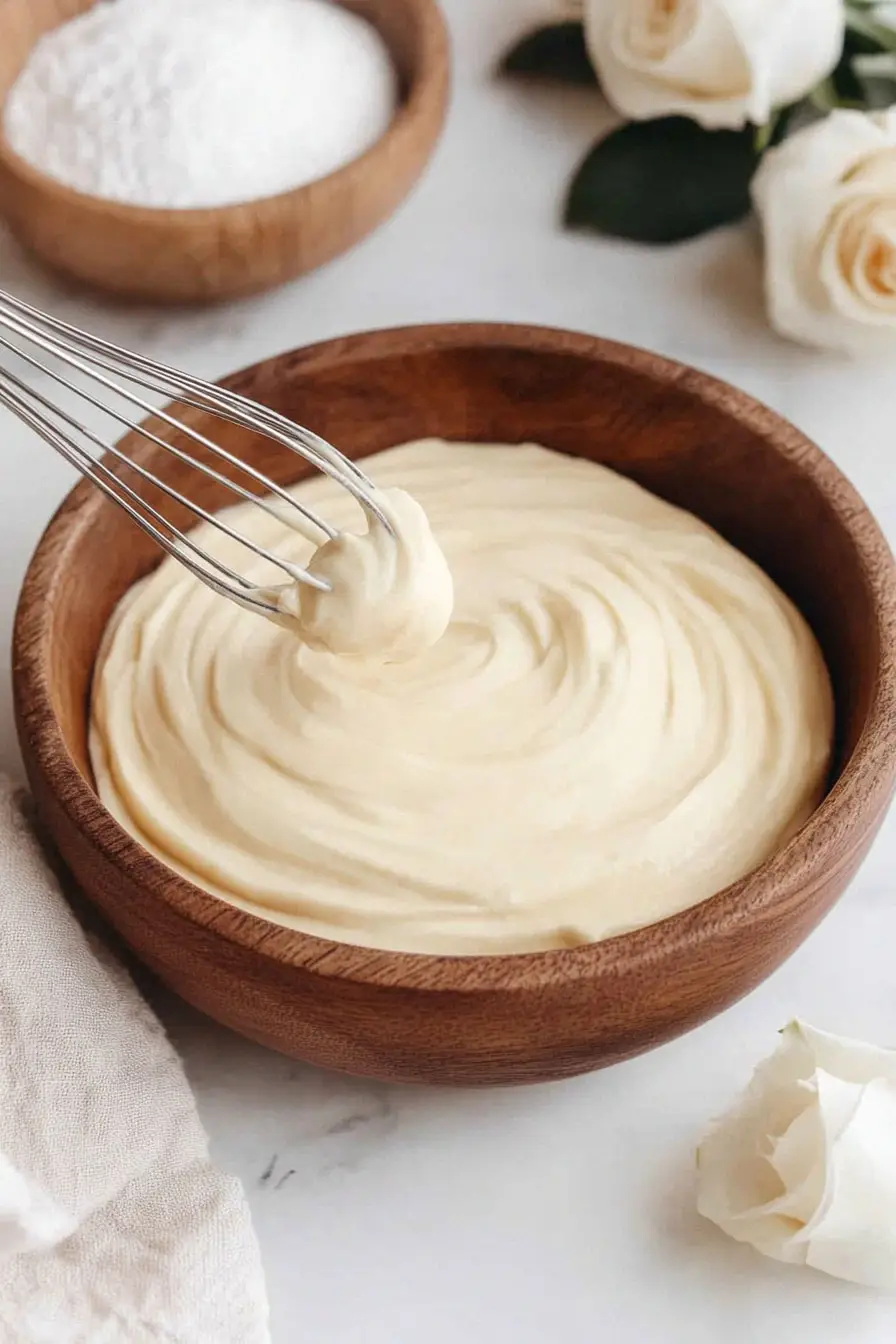
- Smooth and creamy texture – The combination of whipped cream and cream cheese creates a light, fluffy filling that’s rich and satisfying without being heavy.
What Kind of Cream Cheese Should I Use?
For no-bake cheesecake, regular full-fat block cream cheese is the way to go – skip the spreadable kinds that come in tubs. Philadelphia is the go-to brand for most bakers, but any block-style cream cheese will work well. Make sure your cream cheese is properly softened at room temperature (about 1 hour on the counter) before you start mixing, as cold cream cheese can lead to lumps in your filling. If you’re in a pinch and need to use lower-fat cream cheese, it will work, but your cheesecake won’t have quite the same rich, creamy texture that makes this dessert so special.

Options for Substitutions
While this recipe is pretty simple, here are some helpful substitution tips if you need them:
- Heavy cream: You can use whipping cream instead of heavy cream, though the filling might be slightly less firm. Avoid using half-and-half or milk as they won’t whip properly to create the structure needed for this no-bake filling.
- Cream cheese: This is the star ingredient that can’t be substituted without changing the recipe entirely. Make sure to use full-fat block cream cheese, not the spreadable kind from a tub, as it won’t set properly.
- Powdered sugar: If you’re out of powdered sugar, you can make your own by blending regular granulated sugar in a food processor until very fine. Use the same amount by weight (260g) rather than volume for best results.
- Vanilla extract: Feel free to swap vanilla extract with vanilla bean paste (same amount) or other flavoring extracts like almond, lemon, or orange. If using vanilla beans, use 1 scraped pod instead of the extract.
Watch Out for These Mistakes While Making
The temperature of your ingredients plays a crucial role in achieving that perfect, smooth cheesecake filling – using cream cheese that’s too cold will result in a lumpy mess, so make sure it’s properly softened at room temperature for at least 2 hours before starting.
The second common mistake is under-whipping or over-whipping the heavy cream – you’ll want soft peaks that hold their shape but aren’t grainy or curdled, which typically takes about 2-3 minutes of beating on medium-high speed.
When combining the whipped cream with the cream cheese mixture, fold gently rather than stirring vigorously, as aggressive mixing can deflate the air bubbles that give your cheesecake its light, fluffy texture.
For the smoothest possible filling, scrape down the sides of the bowl several times while mixing the cream cheese and sugar, and consider sifting your powdered sugar to prevent any lumps from forming in your final product.

What to Serve With No Bake Cheesecake?
This creamy no bake cheesecake is just begging for some tasty toppings and sides to make it even more special! Fresh berries like strawberries, raspberries, or blueberries are perfect for adding a burst of natural sweetness and pretty color to each slice. You can also drizzle your cheesecake with some warm caramel sauce, chocolate sauce, or berry compote – or try all three for a dessert bar setup that lets everyone customize their slice. For a simple but classic approach, a dollop of whipped cream and a sprinkle of graham cracker crumbs on top adds nice texture and brings out those traditional cheesecake vibes.
Storage Instructions
Keep Fresh: Your no-bake cheesecake filling will stay creamy and delicious in an airtight container in the fridge for up to 5 days. If you’ve already piped or spread it, cover the surface directly with plastic wrap to prevent a skin from forming on top.
Freeze: Want to make this ahead? You can freeze the cheesecake filling in a freezer-safe container for up to 3 months. Just remember to leave some space for expansion, and thaw it overnight in the fridge when you’re ready to use it.
Make Ahead: This filling is perfect for preparing in advance! You can make it up to 2 days before you need it – just keep it covered in the fridge. When you’re ready to use it, give it a quick stir if needed, and it’ll be good to go. The texture might be a bit firmer from the fridge, but that actually makes it easier to work with.
| Preparation Time | 10-15 minutes |
| Cooking Time | 0 minutes |
| Total Time | 40-45 minutes |
| Level of Difficulty | Easy |
Estimated Nutrition
Estimated nutrition for the whole recipe (without optional ingredients):
- Calories: 3000-3200
- Protein: 20-25 g
- Fat: 250-260 g
- Carbohydrates: 300-310 g
Ingredients
- 2 tsp vanilla extract (I use McCormick pure vanilla extract for deep flavor)
- 2 cups heavy cream (chilled for best whipping results)
- 2 cups powdered sugar
- 1 block (16 oz) cream cheese (softened to room temperature for a smooth filling)
Step 1: Whip the Cream
Place heavy cream in a bowl of a stand mixer or use a handheld electric mixer fitted with the whisk attachment.
Beat the cream for 4-8 minutes until medium-stiff peaks form.
Be careful during this process not to overwhip, as overheating can turn the cream into butter.
Once whipped, transfer the whipped cream to another bowl and set aside.
Step 2: Prepare the Cream Cheese Mixture
Using the same mixing bowl, without needing to wash it, add the cream cheese.
Sift the confectioner sugar on top of the cream cheese to ensure there are no lumps.
Attach the paddle attachment and beat the mixture for 3-5 minutes until it becomes thick and smooth.
Step 3: Combine the Mixtures
Carefully incorporate 1/4 cup of the whipped cream at a time into the cream cheese mixture.
Either mix on low speed or gently fold with a spatula to maintain a light texture, just until combined.
Lastly, mix in the vanilla for 10-20 seconds to fully integrate the flavors.
Step 4: Refrigerate the Filling
Once combined, refrigerate the filling for at least 30 minutes.
This step is essential to achieve the best spreadable consistency, perfect for layering or coating cakes.
The chilled filling will not only enhance the flavor but also make it easier to handle during cake assembly.
