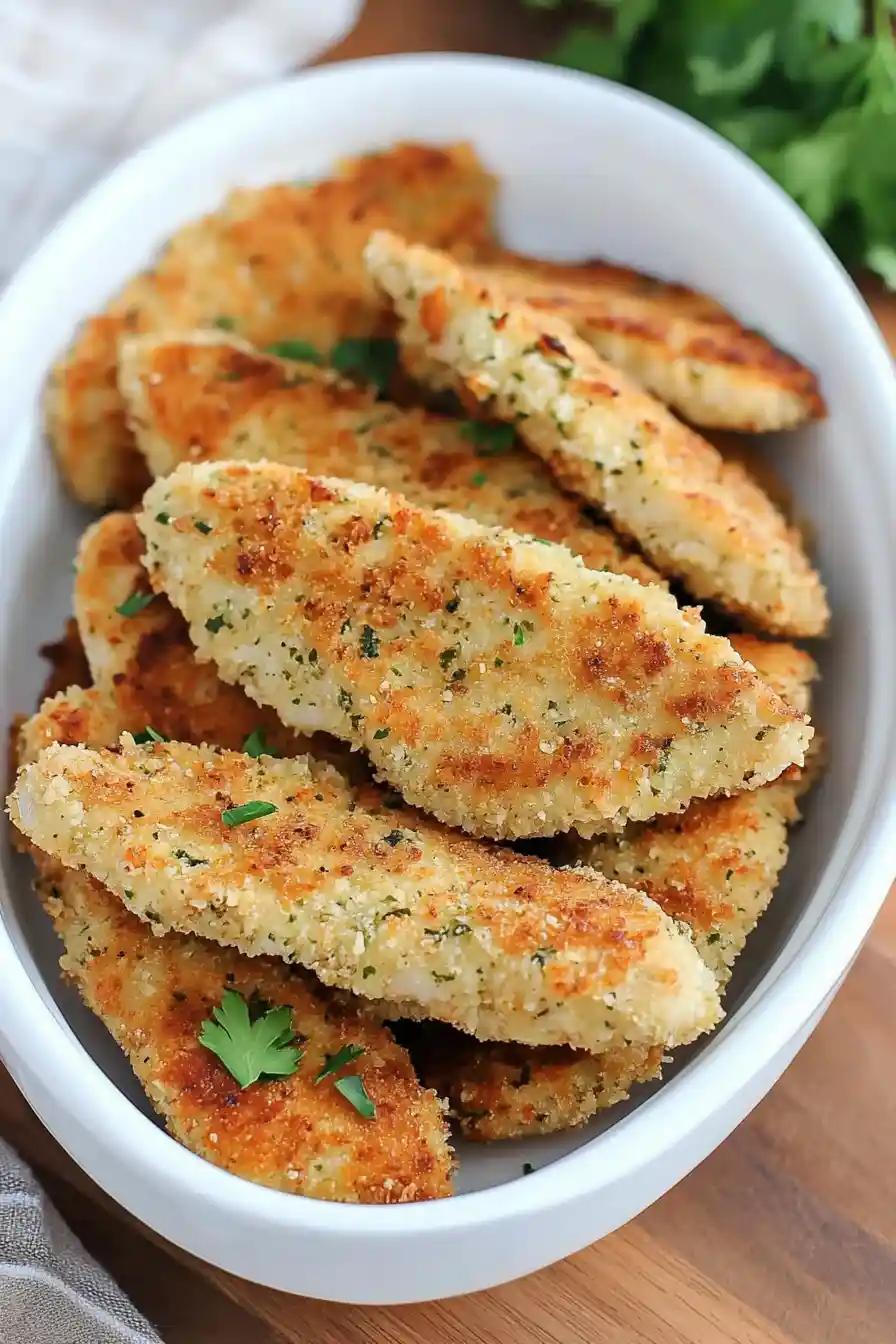
Here is my go-to breaded chicken tenders recipe, with a crispy coating that actually stays on, juicy meat inside, and a simple mix of seasonings that makes everyone ask for seconds.
These chicken tenders are my kids’ most requested weeknight dinner. I usually make a double batch so we have extras for lunch boxes the next day. Nothing better than finding these in your lunch, right?
Why You’ll Love These Chicken Tenders
- Kid-friendly favorite – These homemade chicken tenders are always a hit with children, but made better than any restaurant version since you control the ingredients.
- Quick preparation – From start to finish, you can have these on the table in less than 45 minutes, making them perfect for busy weeknight dinners.
- Basic ingredients – You probably already have most of these ingredients in your pantry and fridge – just grab some chicken and you’re ready to cook.
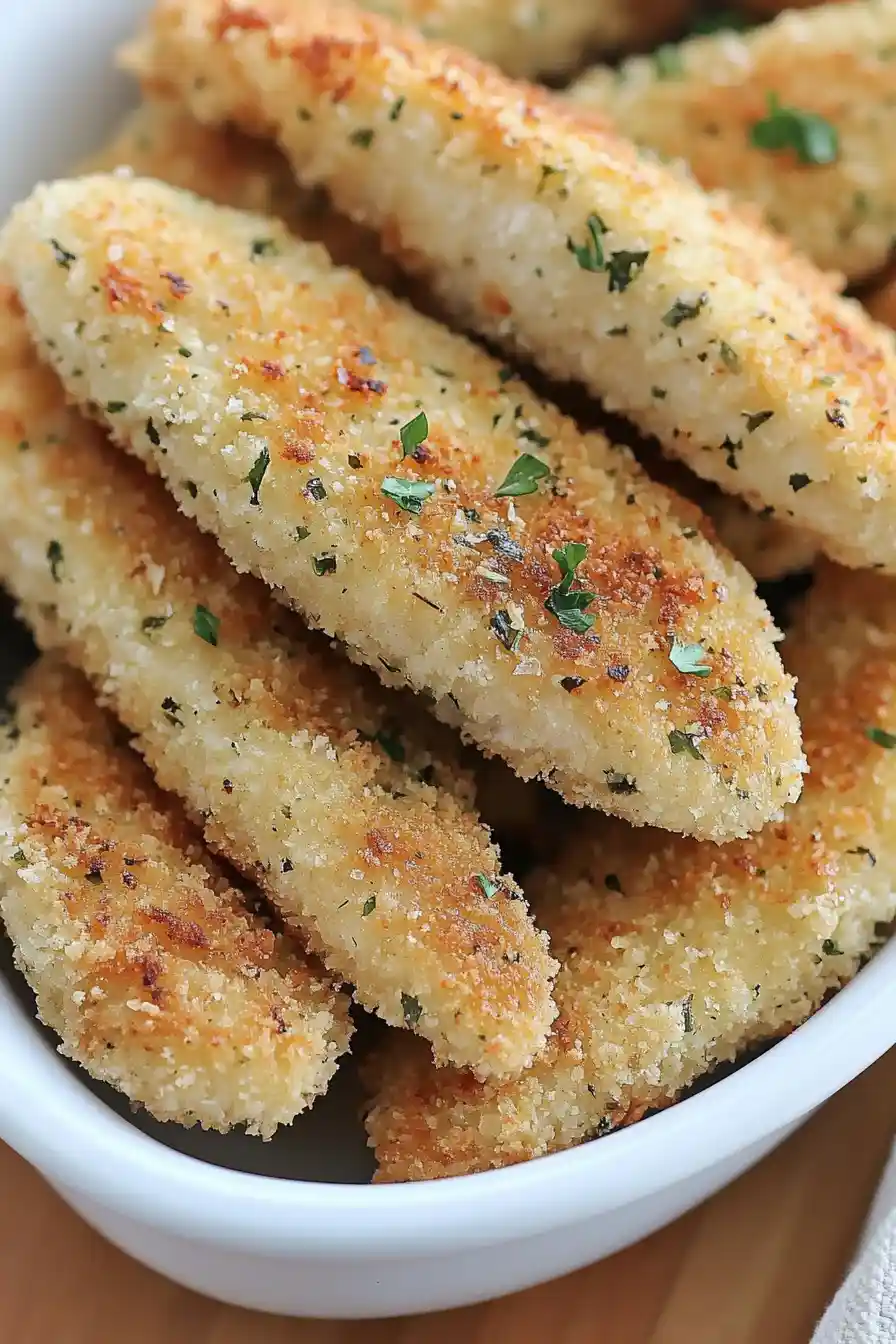
- Crispy coating – The combination of bread crumbs and Parmesan cheese creates a perfectly crunchy exterior while keeping the chicken juicy inside.
- Customizable seasoning – You can easily adjust the herbs and spices to match your family’s taste preferences or what you have on hand.
What Kind of Chicken Should I Use?
You’ve got two great options when it comes to making chicken tenders at home. The first is to buy pre-cut chicken tenders, which are actually a specific part of the chicken breast – they’re the little strip of meat that’s naturally attached to the underside of each breast. Your second option is to simply slice chicken breasts into strips yourself, which can be more cost-effective. If you’re cutting your own, try to make them about 1½ inches wide and 4-5 inches long for even cooking. Just make sure whichever option you choose, the chicken is fresh and hasn’t been previously frozen, as this can affect how well the breading sticks.
Options for Substitutions
This chicken tender recipe is pretty adaptable – here are some handy swaps you can try:
- Chicken tenders: No tenders? No worries! Chicken breasts cut into strips work just as well. You could even use chicken thighs – just cut them into similar-sized pieces for even cooking.
- Bread crumbs: If you don’t have fresh bread or panko, regular breadcrumbs work fine. You can also crush corn flakes or crackers for a different crunch. Gluten-free? Try crushed rice cereal or gluten-free breadcrumbs.
- Eggs: For an egg-free version, try buttermilk or plain yogurt. You can also mix 2 tablespoons of mayonnaise with a splash of milk for a similar coating effect.
- Parmesan cheese: Romano or Asiago cheese make good substitutes. You can skip the cheese altogether and add an extra pinch of salt to make up for the lost saltiness.
- Fresh parsley: Feel free to use dried parsley (about 1 teaspoon) or swap it with other fresh herbs like basil or cilantro. You can also skip it if you don’t have any on hand.
- Frying oils: Any neutral oil with a high smoke point works here. Canola, vegetable, or peanut oil are all good options. Just avoid extra virgin olive oil as it can burn quickly.
Watch Out for These Mistakes While Cooking
The biggest challenge when making chicken tenders is maintaining the perfect cooking temperature – oil that’s too hot will burn the coating while leaving the chicken raw inside, while oil that’s too cool will make your tenders greasy and soggy. To get it right, use a cooking thermometer to maintain the oil at 350°F, and don’t overcrowd the pan which can drop the temperature too quickly. Another common mistake is not patting the chicken dry before breading – excess moisture prevents the coating from sticking properly, so take an extra minute to thoroughly dry your chicken with paper towels. For the crispiest results, let your breaded tenders rest on a wire rack for 5-10 minutes before frying, which helps the coating adhere better and prevents it from falling off during cooking. Finally, remember to season your flour mixture, not just your breadcrumbs – this creates layers of flavor that make your chicken tenders extra tasty.

What to Serve With Chicken Tenders?
These crispy chicken tenders pair perfectly with all kinds of dipping sauces – honey mustard, ranch, BBQ sauce, or even a spicy buffalo sauce if you’re feeling adventurous! For sides, you can’t go wrong with classic french fries or sweet potato fries, but a crisp coleslaw adds a nice fresh crunch that balances out the fried chicken. If you’re trying to keep things lighter, a simple green salad or some roasted vegetables work great too. For a fun twist on the usual sides, try serving these tenders sliced up over a Caesar salad or tucked into soft slider buns with some lettuce and tomato for mini chicken sandwiches.
Storage Instructions
Keep Fresh: These chicken tenders stay crispy and tasty when stored properly! Place them in an airtight container lined with paper towels and keep them in the fridge for up to 3 days. The paper towels help absorb any excess moisture and keep that crispy coating intact.
Freeze: Make a big batch and freeze them for later! Let the tenders cool completely, then place them on a baking sheet and freeze until solid (about 1-2 hours). Transfer to a freezer bag or container and they’ll keep for up to 3 months. Just remember to squeeze out as much air as possible to prevent freezer burn.
Reheat: To get that crispy coating back, pop them in the oven at 375°F for about 10-15 minutes, or until heated through. You can also use an air fryer for 5-7 minutes at 375°F – they’ll come out super crispy! Avoid using the microwave as it can make the breading soggy.
| Preparation Time | 15-30 minutes |
| Cooking Time | 10-15 minutes |
| Total Time | 25-45 minutes |
| Level of Difficulty | Medium |
Estimated Nutrition
Estimated nutrition for the whole recipe (without optional ingredients):
- Calories: 1200-1400
- Protein: 100-110 g
- Fat: 70-90 g
- Carbohydrates: 100-120 g
Ingredients
- 1 pound chicken tenders, approximately 8-10 pieces (or cut chicken breast into strips)
- Salt and pepper, to taste
- 2 eggs, whisked
- 1/2 cup plain flour
- Oil for frying (such as avocado, grape seed, light olive oil, or sunflower oil)
- 4 slices of high-quality bread or roughly 3 cups panko crumbs
- 1/3 cup grated parmesan cheese
- 1/2 teaspoon salt
- 1/2 teaspoon black pepper, ground
- 1 teaspoon garlic powder
- 1 teaspoon onion powder
- 1/2 tablespoon dried herbs and spices (optional)
- 1 tablespoon chopped fresh parsley
Step 1: Prepare the Chicken Tenders
Begin by flattening each chicken tender to an even thickness for consistent cooking.
Place the chicken tenders on a cutting board, cover with plastic wrap, and pound them lightly with the flat side of a meat mallet.
Once flattened, season both sides with salt and pepper to taste.
Step 2: Make the Seasoned Bread Crumbs
Cut the bread into cubes or tear it into large chunks.
Place the pieces in a food processor and pulse until you have fine crumbs.
Add Parmesan cheese, salt, pepper, garlic powder, onion powder, and parsley to the crumbs.
Pulse a few more times until the ingredients are evenly mixed.
Step 3: Set Up the Breading Station
Prepare three shallow dishes: one with the seasoned bread crumbs, one with flour, and another with 2 beaten eggs.
To bread the chicken, first dredge it in flour, ensuring it’s lightly coated.
Then, dip it in the beaten eggs, followed by the breadcrumb mixture.
Press the breadcrumbs onto the chicken with your hands to ensure they adhere well.
Step 4: Bread the Chicken Tenders
When breading the chicken, keep one hand dry for the flour and breadcrumbs, and use the other hand when dipping in the eggs.
This technique will help prevent your fingers from becoming breaded too.
Step 5: Cook the Chicken Tenders
Heat about 1 1/2 tablespoons of oil in a nonstick skillet over medium heat.
Add the breaded chicken tenders to the skillet.
Cook for about 2-4 minutes on each side, or until they’re golden brown on both sides and cooked through.
Step 6: Serve and Store
Serve the chicken tenders hot, fresh from the skillet.
For any leftovers, store them in an airtight container in the refrigerator for 3-5 days.
Enjoy your delicious homemade chicken tenders!
