Growing up, cheese balls were always my mom’s go-to appetizer for Thanksgiving. She’d make the same recipe every year – cream cheese, cheddar, and a coating of nuts. Don’t get me wrong, it was good, but it was just… predictable.
That’s why I started experimenting with different cheese ball variations for our holiday gatherings. These Thanksgiving cheese balls are a fun twist on the classic – they’re shaped like little turkeys, and my kids get such a kick out of helping decorate them. Even my mother-in-law, who rarely strays from traditional recipes, asked for this one last year.
Why You’ll Love These Cheese Balls
- Make-ahead friendly – You can prepare these cheese balls up to 3 days before your gathering, making holiday entertaining so much easier.
- Simple ingredients – With just a handful of basic cheese varieties and common pantry items, you can create an appetizer that looks like it came from a fancy cheese shop.
- Party perfect – These cheese balls are ideal for holiday gatherings – guests can easily help themselves, and the recipe can be doubled or tripled for larger crowds.
- Customizable recipe – You can swap out different cheeses, nuts, or seasonings to create your own signature version that matches your taste preferences.
What Kind of Cream Cheese Should I Use?
Full-fat brick-style cream cheese is your best bet for making cheese balls that hold their shape and have the right consistency. While you might be tempted to use low-fat cream cheese to cut calories, it contains more moisture and can make your cheese ball too soft to maintain its form. Make sure your cream cheese is at room temperature before starting – this usually takes about 30 minutes on the counter and will help it blend smoothly with the other cheeses. If you’re in a hurry, you can unwrap the cream cheese and cut it into cubes to speed up the softening process.
Options for Substitutions
Need to switch things up with this cheese ball recipe? Here are some handy swaps you can try:
- Cream cheese: This is the base of the recipe and really shouldn’t be substituted, but if you need to, you can use Neufchâtel cheese for a lighter version.
- Sharp cheddar: Feel free to swap this with other firm cheeses like Gouda, Gruyere, or even pepper jack if you want a kick of heat.
- Blue cheese: Not a fan of blue cheese? Try using feta or goat cheese instead. They’ll still give you that tangy flavor without the strong blue cheese taste.
- Pecans: Any nuts will work here! Try walnuts, almonds, or even pistachios. Just make sure to chop them finely. You can also use seeds like pumpkin or sunflower for a nut-free version.
- Green olives: You can swap these with black olives, or skip them altogether and add finely chopped sun-dried tomatoes or jarred pimentos instead.
- Worcestershire sauce: Soy sauce or tamari can work in place of Worcestershire – just use half the amount since they’re saltier.
Watch Out for These Mistakes While Making
The biggest challenge when making cheese balls is working with cream cheese that’s too cold, which leads to lumpy mixtures and frustrated cooks – let your cream cheese sit at room temperature for at least an hour before starting. Another common mistake is over-mixing the ingredients, which can make your cheese ball too soft to hold its shape; instead, mix just until the ingredients are well combined and stop. To prevent your cheese ball from becoming too wet, make sure to drain and pat dry the green olives thoroughly before adding them to the mixture, and when rolling in pecans, chill the cheese mixture first for about 30 minutes so it’s firm enough to handle. For the best flavor development, try making your cheese ball a day ahead and storing it in the fridge – this gives all those tasty ingredients time to meld together.

What to Serve With Cheese Balls?
A cheese ball is the perfect appetizer that needs some tasty dippers to make it shine! I always set out a variety of crackers – water crackers, wheat thins, and butter crackers work great for scooping up that creamy cheese mixture. For some crunch and freshness, add a plate of raw vegetables like carrot sticks, celery, and cucumber slices. Since this cheese ball has bold flavors from the blue cheese and sharp cheddar, it pairs really nicely with sweet additions like grapes or sliced apples on your appetizer board. If you’re serving this at a party, consider adding some thin-sliced baguette or pretzel crisps to give your guests plenty of options for enjoying this crowd-pleasing appetizer.
Storage Instructions
Keep Fresh: These tasty cheese balls can hang out in your fridge for up to a week when wrapped tightly in plastic wrap. Just hold off on rolling them in the pecans until you’re ready to serve – this keeps the nuts nice and crunchy. I like to make a few at once and keep them ready for unexpected guests!
Freeze: Want to plan ahead? You can freeze these cheese balls for up to 1 month! Just wrap them well (without the pecan coating) in plastic wrap, then pop them in a freezer bag. When you’re ready to use them, let them thaw overnight in the fridge, then roll in pecans before serving.
Make Ahead: These cheese balls actually taste better when made a day or two ahead – it gives all those yummy flavors time to blend together. Just remember to take them out of the fridge about 30 minutes before serving so they’re easier to spread. Perfect for holiday planning!
| Preparation Time | 15-20 minutes |
| Cooking Time | 0 minutes |
| Total Time | 240-260 minutes |
| Level of Difficulty | Easy |
Estimated Nutrition
Estimated nutrition for the whole recipe (without optional ingredients):
- Calories: 1100-1300
- Protein: 25-30 g
- Fat: 90-100 g
- Carbohydrates: 20-25 g
Ingredients
- 1 garlic clove, minced (freshly minced for best flavor)
- 4 oz sharp cheddar cheese (finely shredded or grated)
- 1/2 cup finely chopped pecans (toasted for enhanced flavor)
- 1 can green olives (drained and finely chopped, I use Lindsay olives)
- 2 tbsp grated onion
- 4 drops Worcestershire sauce
- 2 oz crumbled blue cheese
- 8 oz cream cheese (softened to room temperature for easy mixing)
Step 1: Blend the Cheese Mixture
Begin by placing cream cheese, Cheddar cheese, blue cheese, onion, garlic, and Worcestershire sauce into a food processor.
Process the ingredients until they are well blended and achieve a smooth consistency.
Step 2: Incorporate the Olives
Add the olives to the cheese mixture in the food processor.
Pulse until the olives are chopped into small chunks and are evenly distributed within the mixture.
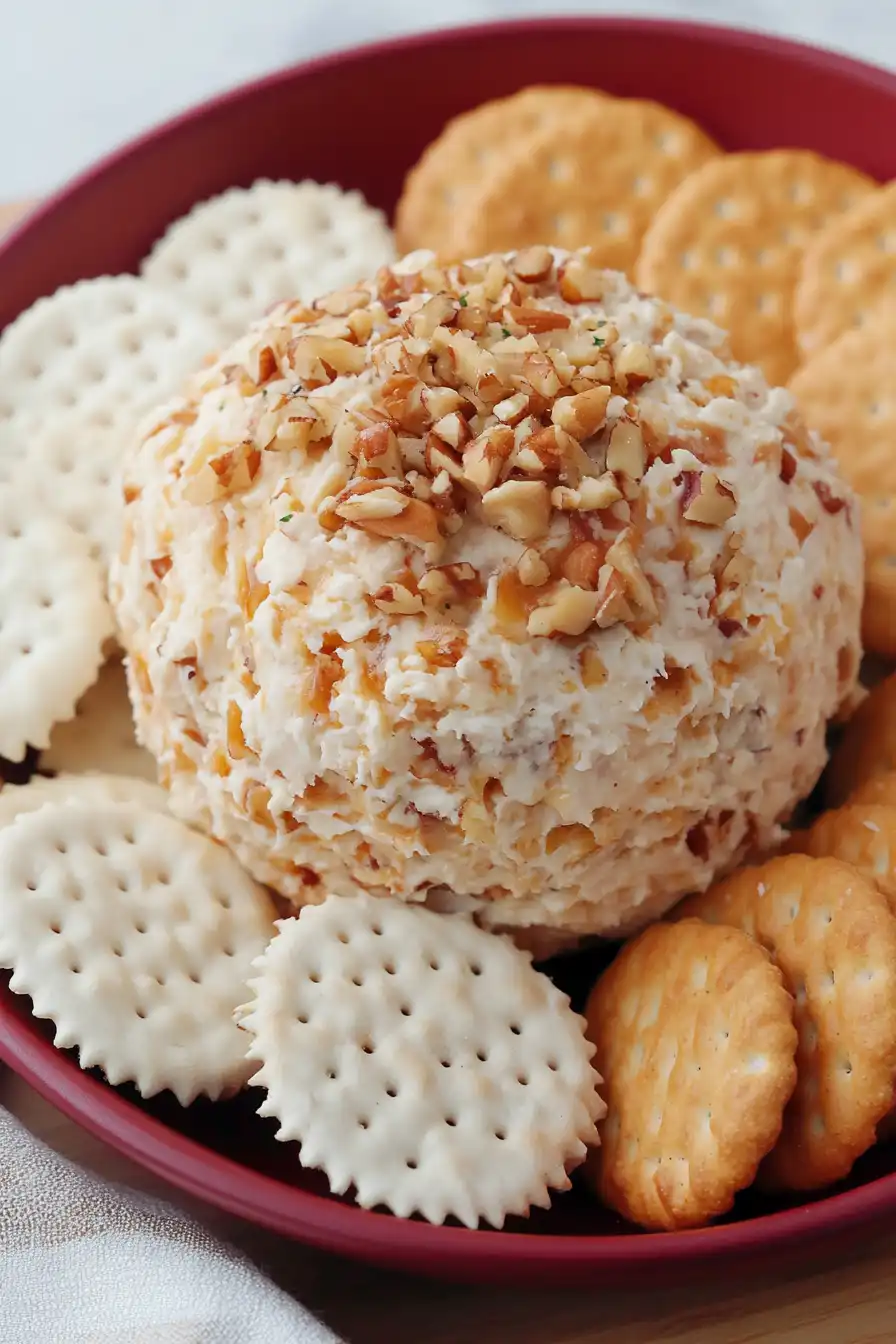
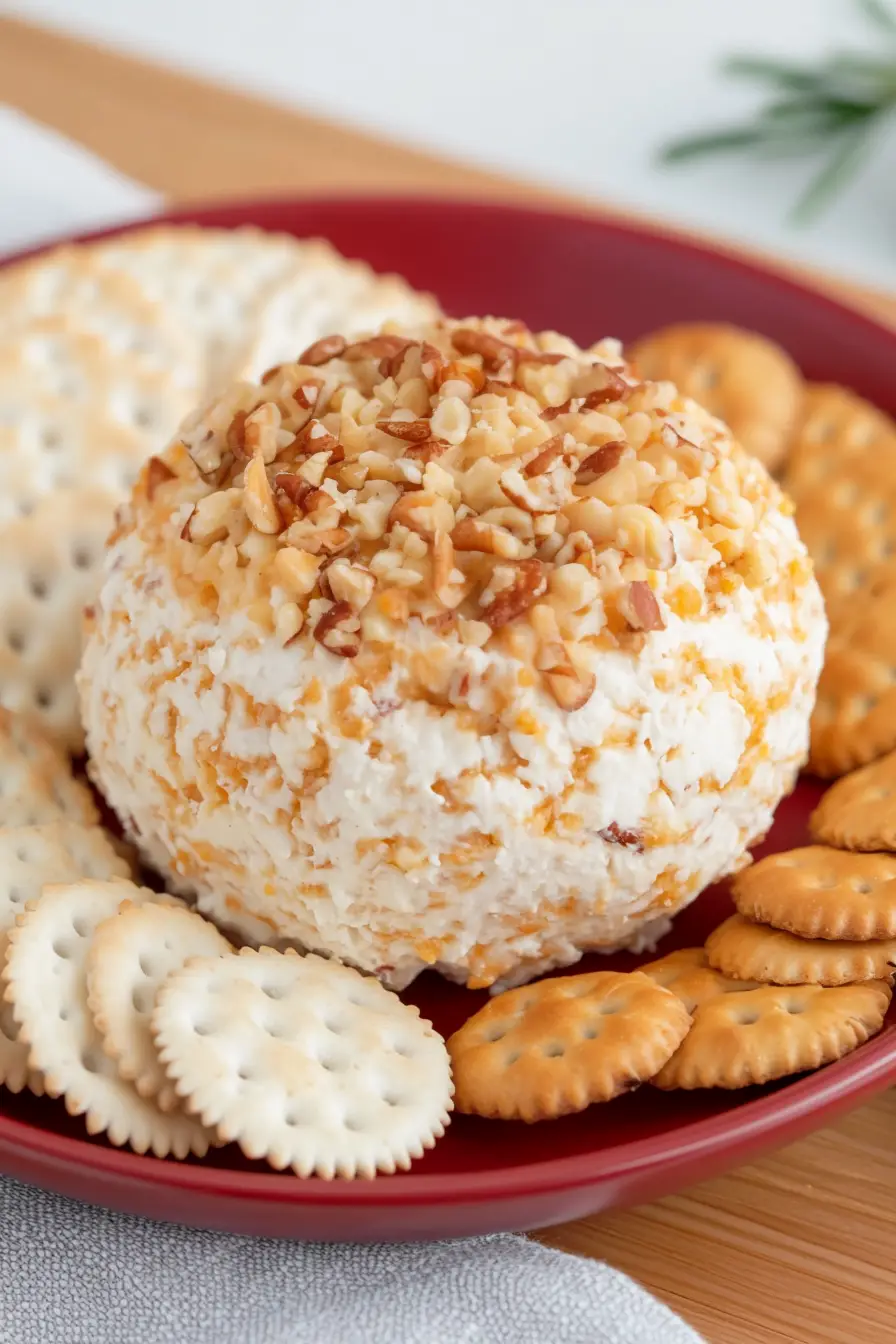
Step 3: Form and Coat the Cheese Ball
Take the cheese mixture and shape it into a ball.
Once shaped, roll the cheese ball in chopped pecans to coat it evenly on all sides.
This adds a delightful crunch and flavor contrast to the soft cheese interior.
Step 4: Wrap and Chill
Wrap the pecan-coated cheese ball in plastic wrap to keep it fresh and intact.
Place it in the refrigerator to chill for at least 4 hours.
Chilling allows the flavors to meld together and helps the cheese ball firm up.
Step 5: Serve and Enjoy
After chilling, remove the cheese ball from the refrigerator.
Unwrap and serve with your choice of crackers, bread, or veggies.
Enjoy this delicious, crowd-pleasing appetizer!
