Growing up, I never knew about turnip cake until I visited my first dim sum restaurant. Now, it’s become one of those comfort foods I crave on weekend mornings. What I love most about this recipe is how it brings together simple ingredients to create something truly special. The best part? You can make it ahead of time and pan-fry slices whenever you’re in the mood for a savory breakfast or snack.
I’ve learned that the key to good turnip cake isn’t complicated techniques or fancy ingredients. It’s all about getting the right texture – soft on the inside with those perfectly crispy edges when you fry it up. I usually make a big batch on Sunday, and my family enjoys it throughout the week. Sometimes we’ll have it plain, other times with a dash of soy sauce or chili oil. It’s one of those dishes that just gets better after a day or two in the fridge.
Why You’ll Love This Turnip Cake
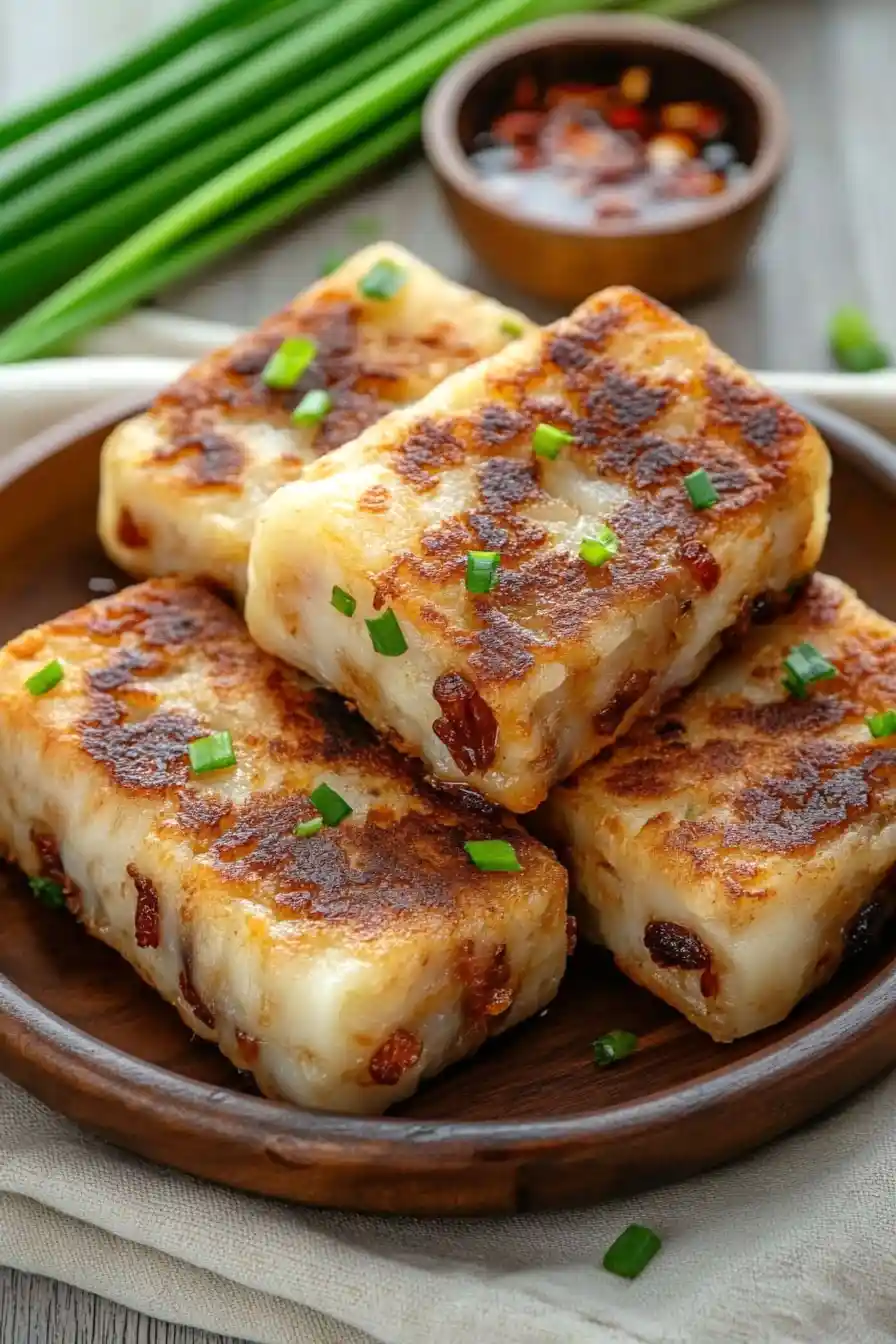
- Authentic dim sum flavor – This homemade version brings the taste of your favorite dim sum restaurant right to your kitchen, with the perfect balance of savory dried shrimp, mushrooms, and Chinese sausage.
- Make-ahead friendly – You can prepare this turnip cake in advance and pan-fry it whenever you’re ready to eat – it actually tastes even better the next day when the flavors have had time to develop.
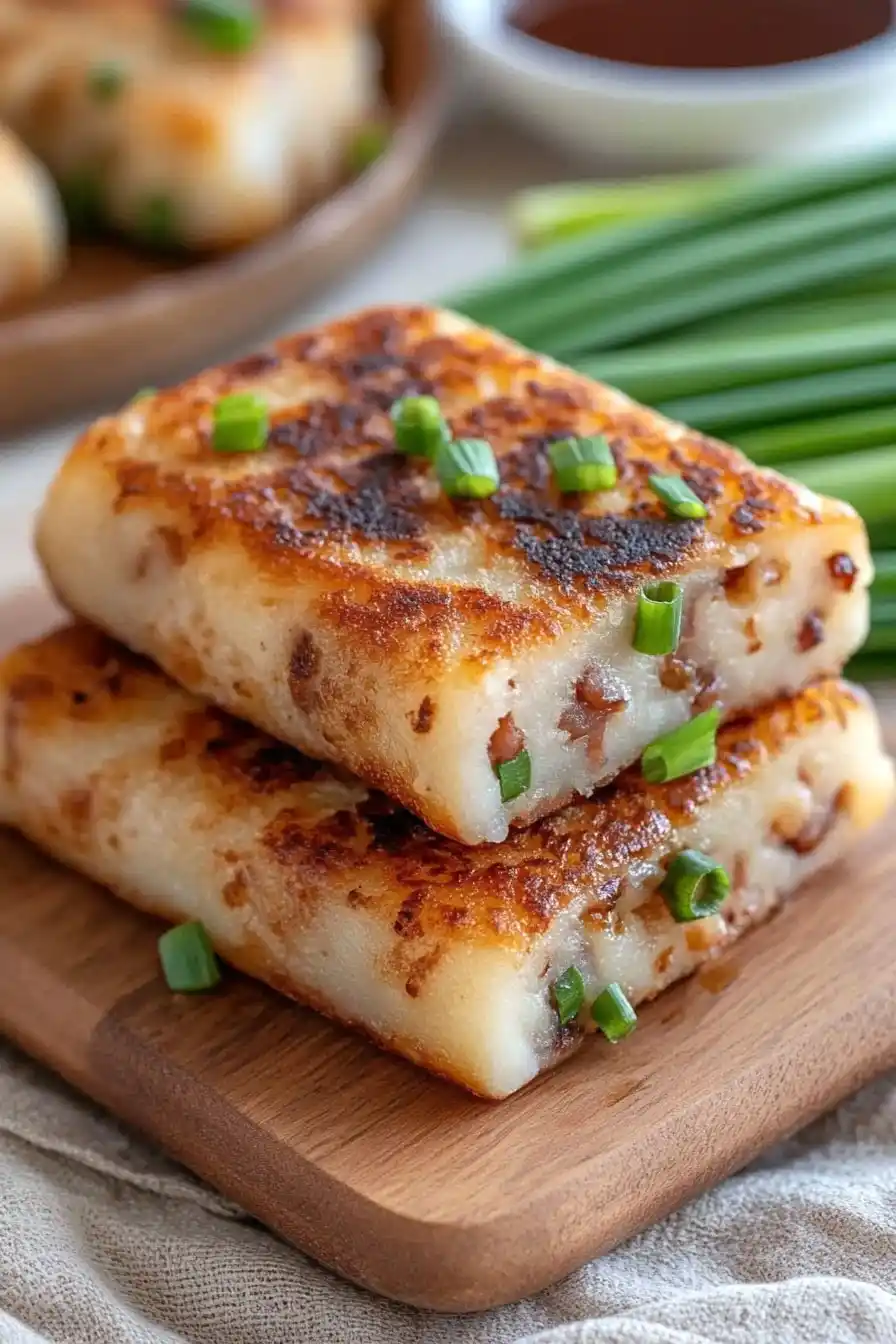
- Crispy outside, soft inside – When pan-fried, these cakes develop a golden-brown crust while maintaining their tender, savory interior – it’s the best of both textures.
- Customizable recipe – You can adjust the seasonings and add-ins to match your taste preferences, making it more or less salty, or adding extra ingredients like dried scallops or Chinese bacon.
What Kind of Daikon Radish Should I Use?
For turnip cake, you’ll want to look for Chinese or Japanese daikon radish, which you can find in most Asian grocery stores. These white radishes should feel firm and heavy for their size, with smooth, unblemished skin – avoid any that feel spongy or have brown spots. The best daikon for this recipe will be about 2-3 inches thick and 8-12 inches long. If you can only find smaller daikon, that’s totally fine – just grab a couple to reach the amount you need. When grating your daikon, you can use either the large holes of a box grater or save some time with a food processor fitted with a grating attachment.
Options for Substitutions
While some ingredients are essential for an authentic turnip cake, there’s room for flexibility with others:
- Rice flour: This is a must-have ingredient that can’t be substituted – it gives the cake its signature texture. Make sure to use regular rice flour, not sweet/glutinous rice flour or brown rice flour.
- Daikon radish: This is another key ingredient that’s hard to replace. If you absolutely can’t find daikon, you could use regular white turnip, but the texture and flavor won’t be quite the same.
- Dried shrimp: If you’re vegetarian or can’t find dried shrimp, you can leave it out and add extra mushrooms for more umami flavor.
- Chinese sausage: You can swap this with bacon or ham for a different but still tasty version. For a vegetarian option, use dried mushrooms or firm tofu.
- Shiitake mushrooms: Any dried mushrooms will work here – try porcini or wood ear mushrooms. If using fresh mushrooms, use less water in the recipe.
- Cornstarch: You can substitute with potato starch or tapioca starch in the same amount.
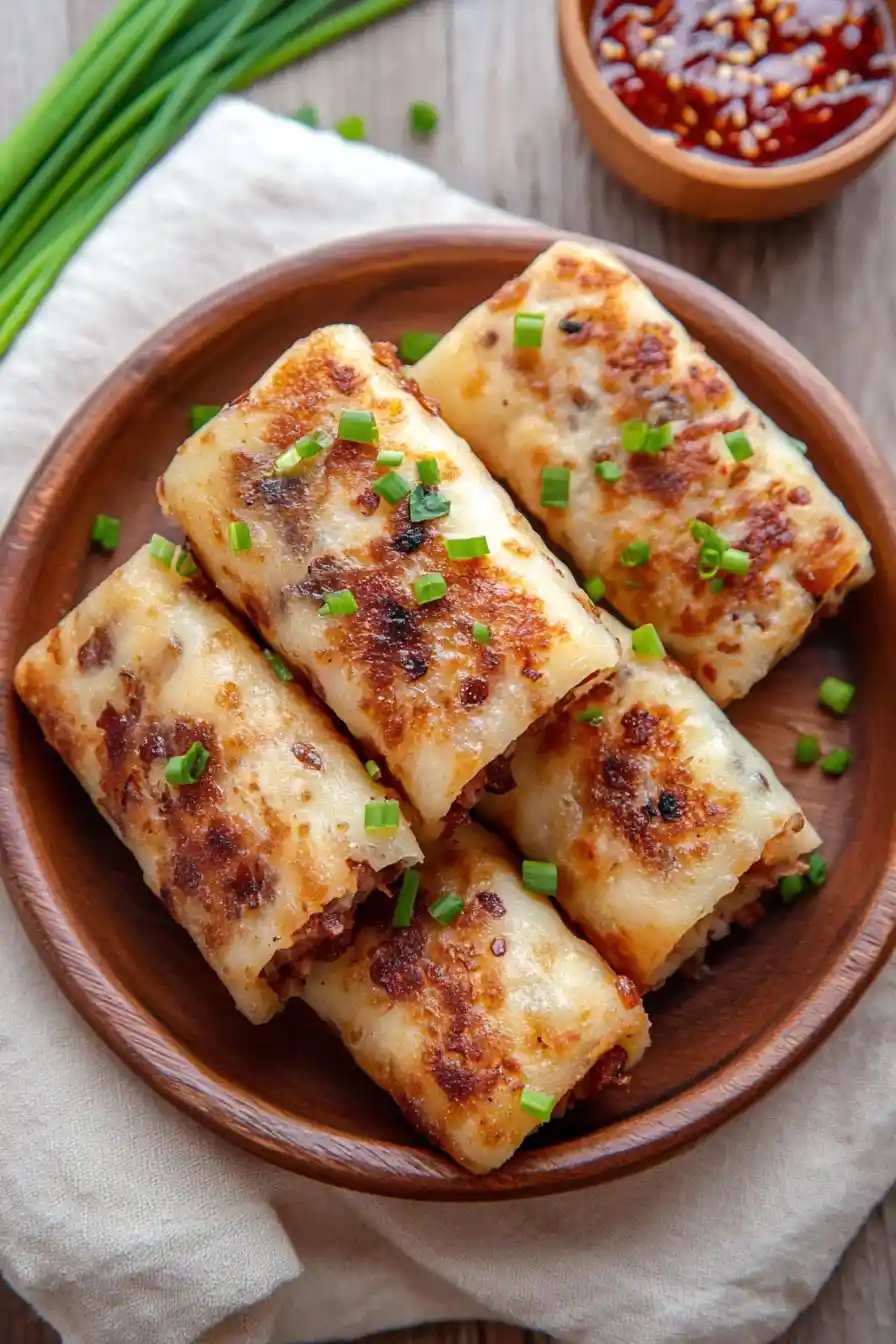
- Oyster sauce: For dipping, try soy sauce or vegetarian mushroom sauce instead. For a spicy kick, add some chili oil to your dipping sauce.
Watch Out for These Mistakes While Cooking
The biggest challenge when making turnip cake is getting the moisture level right – too much water will make your cake mushy, while too little will make it dry and crumbly. When cooking the daikon radish, start with 1 cup of water and add more only if needed – you’ll know it’s ready when the radish turns translucent and soft. Another common mistake is using the wrong type of rice flour – make sure to use regular rice flour, not glutinous or sweet rice flour, which will give you a completely different texture. The secret to achieving that coveted crispy exterior when pan-frying the slices is to resist the urge to flip them too early – let each side cook undisturbed for 3-4 minutes until golden brown, and make sure your pan is hot enough before adding the slices. For the best texture, don’t skip the crucial step of letting the steamed cake cool completely before cutting and pan-frying, as this allows it to set properly.
What to Serve With Turnip Cake?
Turnip cake is a classic dim sum dish that pairs wonderfully with other Chinese breakfast and brunch favorites. A hot cup of Chinese tea, like jasmine or oolong, is the perfect beverage to serve alongside these savory cakes. For a complete dim sum experience, serve them with other small plates like steamed dumplings, congee, or Chinese broccoli with oyster sauce. Since turnip cake already has a good mix of protein and vegetables inside, it works great as the main dish of a casual breakfast or as part of a larger spread for weekend brunch.
Storage Instructions
Keep Fresh: Once your turnip cake has cooled completely, wrap it tightly in plastic wrap or place it in an airtight container. It’ll stay good in the fridge for up to 5 days. The flavors actually get better after a day or two as everything settles together!
Freeze: Cut your turnip cake into portions before freezing – this makes it super convenient to grab and cook later. Place the pieces in a freezer bag with parchment paper between layers and they’ll keep well for up to 3 months. I like to make a double batch just for freezing!
Pan-Fry Later: When you’re ready to eat, take your turnip cake straight from the fridge or freezer and pan-fry it until golden brown on both sides. No need to thaw if it’s frozen – just cook it a bit longer. The outside gets wonderfully crispy while the inside stays soft and tender.
| Preparation Time | 20-30 minutes |
| Cooking Time | 90-120 minutes |
| Total Time | 110-150 minutes |
| Level of Difficulty | Medium |
Estimated Nutrition
Estimated nutrition for the whole recipe (without optional ingredients):
- Calories: 800-900
- Protein: 20-25 g
- Fat: 35-40 g
- Carbohydrates: 100-110 g
Ingredients
For the stir-fry mix:
- 1 Chinese sausage
- 1 tbsp dried shrimp
- 2 tbsp neutral oil
- 3-5 dried shiitake mushrooms
- 1 scallion (finely sliced for garnish)
For the turnip cake base:
- 20 oz grated daikon radish (about 3 cups tightly packed)
- 1/2 tsp salt
- 1 to 3 tbsp cornstarch (use more for a firmer cake)
- 1/4 tsp white pepper
- 1 to 2 cups water
- 1 1/4 cups rice flour (glutinous rice flour provides a chewier texture)
- 1/2 tsp sugar
For serving (optional):
- oyster sauce (I use Lee Kum Kee brand)
Step 1: Stir-fry the Ingredients
Place your wok over medium heat.
Add the oil, shrimp, mushrooms, and sausage, and stir-fry for about 5 minutes until the ingredients are cooked and slightly browned.
Stir in the chopped scallion and remove the mixture from the wok, setting it aside for later use.
Step 2: Cook the Radish/Turnip
In the same wok, add the grated radish/turnip and 1 cup of water.
Bring to a simmer and cook for approximately 10 minutes, stirring occasionally to prevent browning.
As the radish cooks, it will release liquid; some of this will evaporate.
You should have about 1 cup of liquid left in the wok with the radish by the end of this step.
Step 3: Prepare the Batter
In a separate bowl, combine the rice flour and cornstarch with 1/2 cup of water.
For a moister lo bak go, you may add an additional 1/4 to 1/2 cup of water, up to a total of 1 cup.
Adjust cornstarch as needed: 1 tablespoon for 1/2 additional cup, 2 tablespoons for 3/4 cup, or 3 tablespoons for 1 cup total water.
Cornstarch is key to binding the radish cake.
Add salt, sugar, white pepper, and the reserved shrimp, mushroom, and sausage mixture.
Use a rubber spatula to mix well and incorporate any remaining oil into the batter.
If the batter appears too thin, gently heat it on low, stirring until it thickens to resemble thick pancake batter.
Step 4: Steam the Cake
Brush a 9×5-inch loaf pan or an 8-inch round pan liberally with oil.
Pour the batter into the prepared pan, spreading it evenly.
Place the pan into a steamer with plenty of water and steam over medium-high heat—about 50 minutes for a loaf pan or 40 minutes for a round pan.
Check the doneness by poking the cake with a chopstick; if it comes out clean, the cake is ready.
Step 5: Cool and Slice the Cake
Carefully remove the pan from the steamer and allow the turnip cake to cool and set for at least 30 minutes.
Once cooled, loosen the edges with a spatula and turn the cake out onto a cutting board.
If desired, cover and chill the cake in the refrigerator to make it easier to slice.
Use a sharp knife dipped in water to slice the cake into ½-inch/1cm thick pieces.
Step 6: Fry and Serve
If preferred, pan-fry the slices for a crispy exterior.
Heat a couple of tablespoons of oil in a non-stick or seasoned cast iron pan over medium heat.
Fry the turnip cake pieces on both sides until they achieve a golden, crispy texture.
Serve hot with oyster sauce for dipping!
