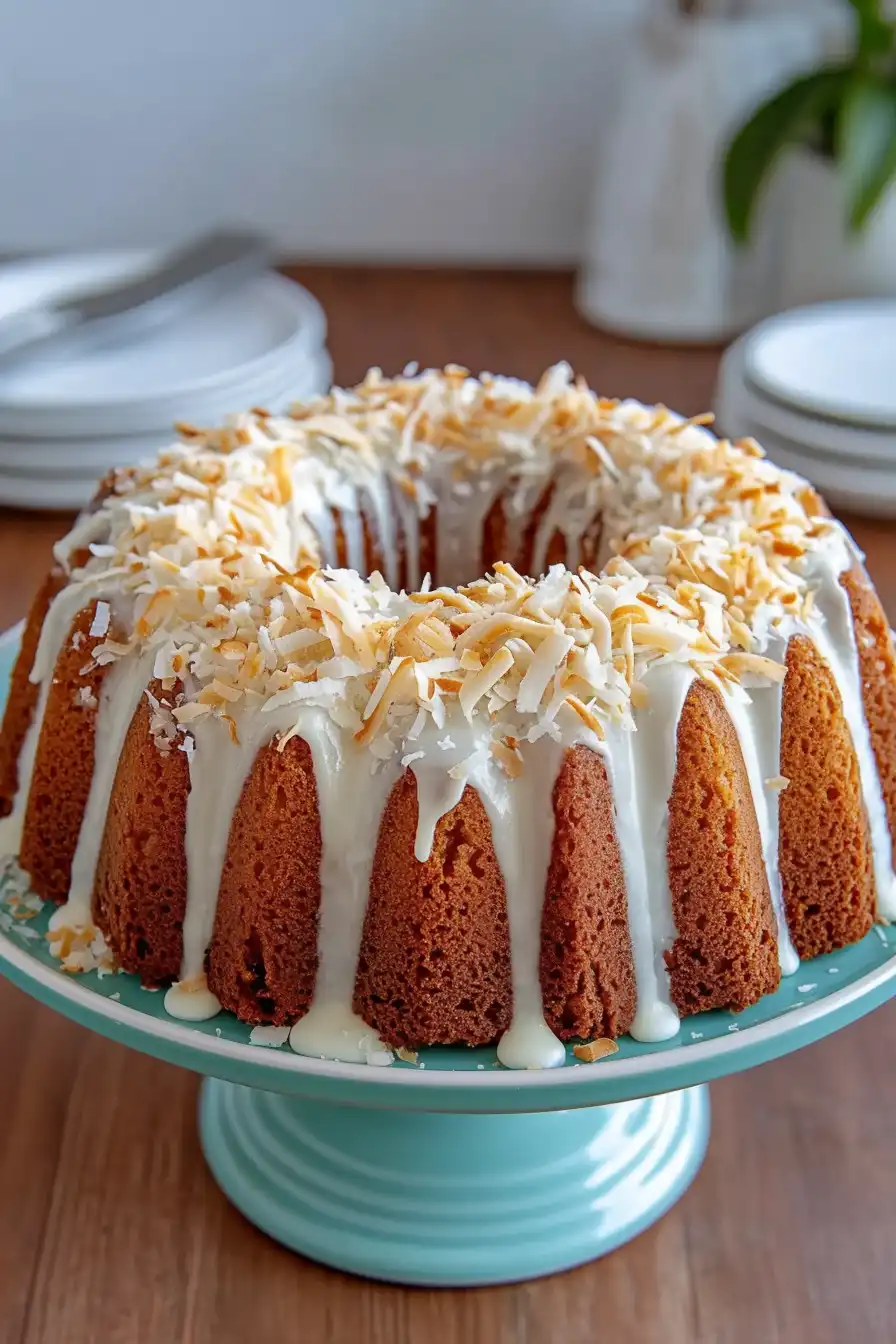
Here’s my go-to coconut bundt cake recipe, with a moist, tender crumb and that classic old-fashioned flavor we all grew up with. The simple glaze soaks right into the cake, making every bite taste like pure nostalgia.
This coconut bundt cake has become my family’s favorite weekend treat. I often bake it on Sunday afternoons, and somehow it never lasts past Tuesday. There’s something special about having a slice with your morning coffee, don’t you think?

Why You’ll Love This Coconut Bundt Cake
- Classic dessert – This old-fashioned recipe brings back memories of grandma’s kitchen with its perfect blend of sweet coconut flavor and moist, tender crumb.
- Simple ingredients – You’ll find most of these basic baking ingredients already in your pantry, making it easy to whip up whenever the craving strikes.
- Make-ahead friendly – This bundt cake actually tastes better the next day, making it perfect for preparing in advance for parties or family gatherings.
- Impressive presentation – The beautiful bundt shape and coconut topping create a show-stopping dessert that looks like it came from a bakery, even though it’s surprisingly easy to make.
What Kind of Coconut Should I Use?
For this bundt cake, you’ll want to use sweetened shredded coconut, which is the most common type you’ll find in the baking aisle of your grocery store. The sweetened variety works better than unsweetened in this recipe because it adds both moisture and sweetness to the cake, plus it tends to be more tender when baked. If you’re looking to switch things up, you could use finely shredded coconut instead of regular shredded – it’ll give you a more delicate texture in the finished cake. Just make sure you’re not using coconut flakes, which are much larger pieces and won’t distribute as evenly throughout your batter.
Options for Substitutions
This coconut cake is pretty forgiving and allows for several ingredient swaps if needed:
- Plain flour: You can use cake flour for an even softer texture – just add 2 extra tablespoons per cup of flour. Self-rising flour works too, but remember to skip the baking powder and salt if you go this route.
- Coconut flavoring: If you can’t find coconut flavoring, try coconut extract or even rum extract for a different but tasty twist. You could also use vanilla extract, though you’ll get less coconut flavor.
- Butter: For the cake batter, you can swap butter with margarine or neutral oil (like canola), using the same amount. For the glaze, stick with butter for the best results.
- Shredded coconut: Unsweetened coconut works fine – just know your cake will be a bit less sweet. You can also use fresh grated coconut, but make sure to pat it dry first.
- Regular milk: Feel free to use coconut milk for even more coconut flavor, or buttermilk for a slightly tangier cake. If using buttermilk, add 1/4 teaspoon baking soda to the dry ingredients.
- Confectioners’ sugar: For the glaze, if you’re out of confectioners’ sugar, you can blend regular sugar in a food processor until powdery. Just use the same amount.
Watch Out for These Mistakes While Baking
The biggest challenge when making a coconut bundt cake is getting it to release perfectly from the pan – make sure to thoroughly grease every nook and cranny of your bundt pan, including the center tube, and dust it with flour before adding the batter.
Room temperature ingredients are crucial for this recipe – cold eggs or milk can cause the butter to clump, leading to an uneven texture, so take them out of the fridge at least an hour before starting.
When mixing the batter, avoid overbeating once you add the flour as this can develop too much gluten and make your cake tough – instead, mix just until the ingredients are combined.
For the perfect coconut topping, toast your shredded coconut before sprinkling it on the glaze (watch it closely as it can burn quickly), and make sure your cake is completely cool before glazing to prevent the icing from melting and running off the sides.

What to Serve With Coconut Bundt Cake?
This sweet coconut cake pairs wonderfully with a hot cup of coffee or tea for an afternoon treat. If you’re serving it for dessert, try adding a scoop of vanilla ice cream or a dollop of whipped cream on the side – the cool, creamy texture goes perfectly with the cake’s moist crumb. For a tropical twist, serve it with fresh fruit like mango slices or fresh berries, which add a nice pop of color and fresh flavor to balance the cake’s sweetness. Since this is quite a rich dessert, a small glass of cold milk on the side helps wash it all down nicely.
Storage Instructions
Counter Storage: This coconut bundt cake stays fresh at room temperature for up to 3 days when kept in an airtight container or wrapped well in plastic wrap. The coconut topping helps keep the cake moist, and it actually tastes even better the next day as the flavors have time to meld together!
Refrigerate: Want to keep your cake around longer? Pop it in the fridge in an airtight container, and it’ll stay good for up to a week. Just remember to let it sit at room temperature for about 30 minutes before serving to get the best texture and flavor.
Freeze: This cake freezes really well for up to 3 months! Wrap it tightly in plastic wrap, then in aluminum foil to prevent freezer burn. For best results, freeze the cake without the glaze and coconut topping – you can add those fresh after thawing.
Thaw: When you’re ready to enjoy your frozen cake, let it thaw overnight in the refrigerator, then bring it to room temperature before serving. If you frozen it unglazed, this is the perfect time to add fresh glaze and coconut topping!
| Preparation Time | 20-30 minutes |
| Cooking Time | 50-55 minutes |
| Total Time | 70-85 minutes |
| Level of Difficulty | Medium |
Estimated Nutrition
Estimated nutrition for the whole recipe (without optional ingredients):
- Calories: 4000-4500
- Protein: 40-50 g
- Fat: 250-300 g
- Carbohydrates: 400-450 g
Ingredients
For the cake:
- 1 cup sweetened shredded coconut (adds texture and flavor)
- 4 eggs (room temperature for better emulsion)
- 1 tsp baking powder
- 1/2 tsp salt
- 1 tsp vanilla extract
- 2 1/2 cups granulated sugar
- 2 1/4 cups all-purpose flour (I always use King Arthur all-purpose flour)
- 2 tsp coconut extract
- 1 cup unsalted butter (softened to room temperature, about 68°F)
- 1/2 cup whole milk
For the glaze:
- 1 tsp coconut extract
- 2 tbsp unsalted butter, melted
- 1 1/2 cups confectioners’ sugar (sifted to prevent lumps)
- 2 tbsp whole milk (adjust for desired glaze consistency)
For the topping:
- 2/3 cup sweetened shredded coconut (toasted for extra flavor)
Step 1: Prepare the Oven and Bundt Pans
Begin by preheating your oven to 325°F.
Position an oven rack in the center of the oven for even baking.
Thoroughly grease and lightly flour two 6-cup bundt pans to ensure the cakes will release easily after baking.
Step 2: Mix the Dry Ingredients
In a medium-size mixing bowl, whisk together the flour, baking powder, and salt until well combined.
Once done, set this bowl aside as you proceed to the next step.
Step 3: Prepare the Wet Ingredients
In a large mixing bowl, beat together the butter and sugars at medium speed until the mixture is light and fluffy.
Add the eggs, vanilla extract, and coconut extract to the bowl and beat until the mixture is smooth.
Gradually add the milk, beating on low speed just to combine.
Finally, incorporate the flour mixture you set aside earlier, beating just until combined.
Gently stir in the coconut to complete the batter.
Step 4: Bake the Cakes
Pour the prepared batter evenly into the greased and floured bundt pans.
Place the pans in the preheated oven and bake for 50-55 minutes.
Look for a golden top and light brown edges.
A toothpick inserted into the center should emerge with just moist crumbs.
Once baked, let the cakes cool in their pans on a wire rack for about 15 minutes.
Step 5: Cool the Cakes
After the initial cooling period, place a cooling rack on top of one of the bundt pans.
Firmly hold the sides and gently invert the pan so the cake drops onto the rack.
If necessary, gently tap the pan with a wooden spoon to release the cake.
Allow the cake to cool completely before moving on to the glazing step.
Step 6: Prepare and Apply the Glaze
For the glaze, melt butter in a small glass bowl.
Add powdered sugar, milk, and coconut extract, whisking until the glaze is smooth.
The ideal consistency should allow the glaze to pour off the spoon in a white stream.
Adjust as necessary by adding a teaspoon more milk for thinning or 1-2 tablespoons more powdered sugar to thicken it.
Drizzle the glaze over the cooled cake and sprinkle generously with coconut for decoration.
Step 7: Store the Cake
Store the finished cake at room temperature, loosely covered, but not airtight.
This method will ensure the cake remains moist and flavorful for 3-4 days.
