Making gravy from pot roast drippings can feel like a daunting task, especially when you’re already juggling the timing of your sides and trying to get dinner on the table while everyone hovers around the kitchen asking “Is it ready yet?” I get it – I’ve been there more times than I can count, watching those precious drippings in the bottom of the pan and wondering if I should even attempt making gravy.
But here’s the good news: turning those flavorful drippings into smooth, rich gravy is actually much easier than you might think. This foolproof method works every time, uses ingredients you already have in your kitchen, and takes just a few extra minutes while your roast is resting.
Why You’ll Love This Pot Roast Gravy
- Quick preparation – This gravy comes together in just 15-25 minutes, making it the perfect last-minute addition to your pot roast dinner.
- No-waste cooking – Using the drippings from your roast means you’re making the most of your ingredients while capturing all those rich flavors that would otherwise go to waste.
- Simple ingredients – With just 4 basic ingredients you probably already have in your kitchen, this gravy is both practical and economical to make.
- Rich flavor – The natural meat drippings create a deep, savory taste that store-bought gravy just can’t match.
What Kind of Roast Drippings Should I Use?
The best drippings for gravy come from a well-seasoned pot roast that’s been cooked low and slow. If you’re starting with fresh drippings from your roast, let them sit for a few minutes so the fat rises to the top – you’ll want to keep some of that fat for flavor, but not all of it. Don’t worry if you don’t have quite enough drippings from your roast – you can always stretch them by adding some store-bought beef broth to reach the amount you need. Just make sure to strain your drippings through a fine-mesh sieve first to remove any solid bits that might make your gravy lumpy.
Options for Substitutions
When making this simple gravy recipe, you have a few options for substitutions:
- Roast juices: If you don’t have enough drippings from your roast, you can use beef broth or stock instead. You can even mix chicken broth with a teaspoon of Worcestershire sauce to get a deeper flavor.
- Plain flour: Out of regular flour? You can use cornstarch (2 tablespoons instead of 1/4 cup flour) or arrowroot powder (2 tablespoons) for a gluten-free option. Remember to mix these with cold water first to prevent lumps.
- Salt and pepper: These are basic seasonings that you can adjust to taste. If your drippings or broth are already well-seasoned, you might want to taste before adding more salt.
Watch Out for These Mistakes While Cooking
The biggest challenge when making gravy from drippings is ending up with lumpy sauce – to prevent this, always whisk the flour into a small amount of cool liquid first to create a smooth paste before adding it to the hot drippings. Another common mistake is rushing the cooking process – gravy needs at least 5-10 minutes of gentle simmering to cook out the raw flour taste and reach the right consistency. If you’re working with fatty drippings, take time to skim off excess fat first, leaving just enough to create a rich gravy without making it greasy (about 2-3 tablespoons of fat per cup of liquid is ideal). For the smoothest results, keep whisking constantly while the gravy thickens, and remember that it will continue to thicken slightly as it cools.
What to Serve With Pot Roast Gravy?
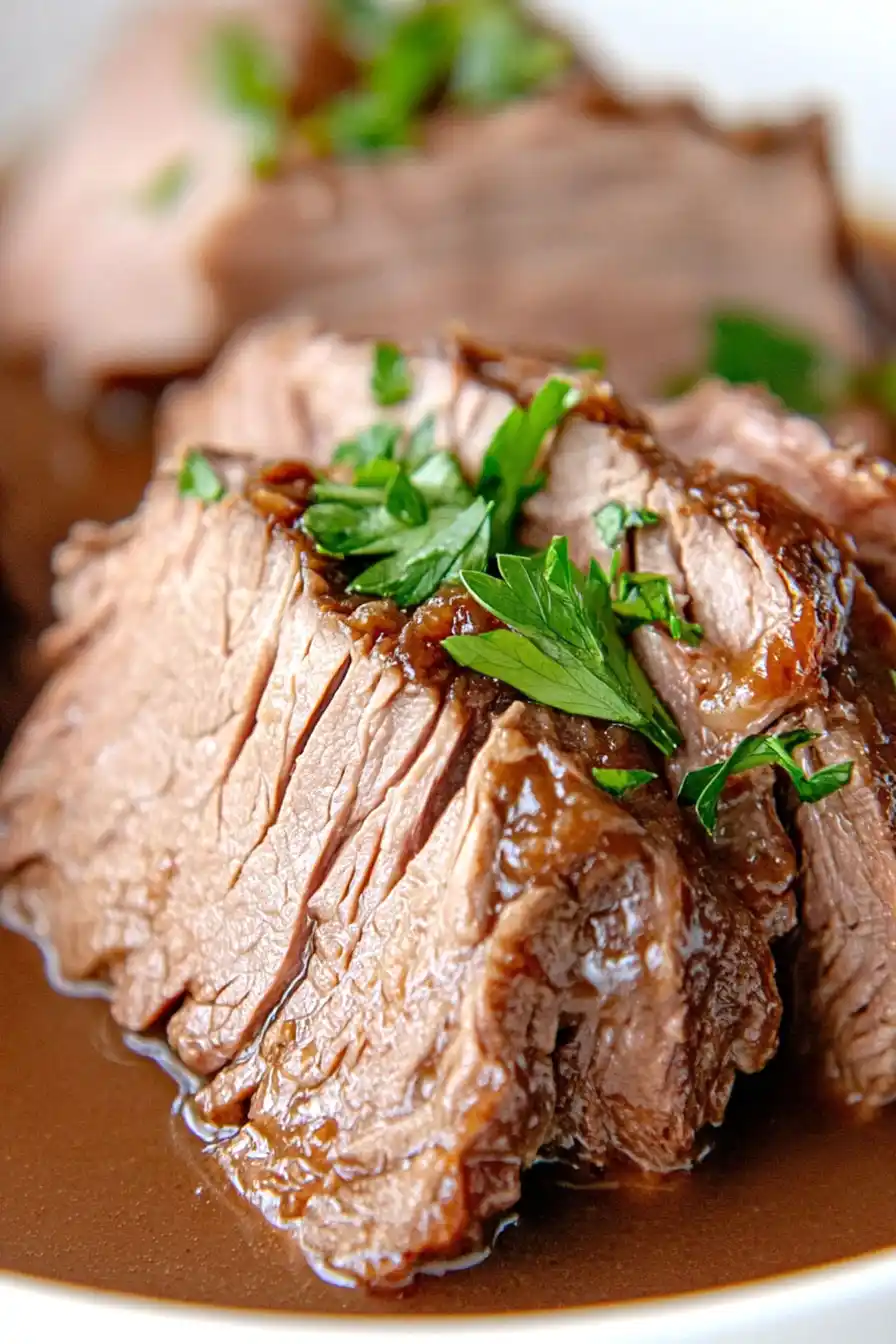
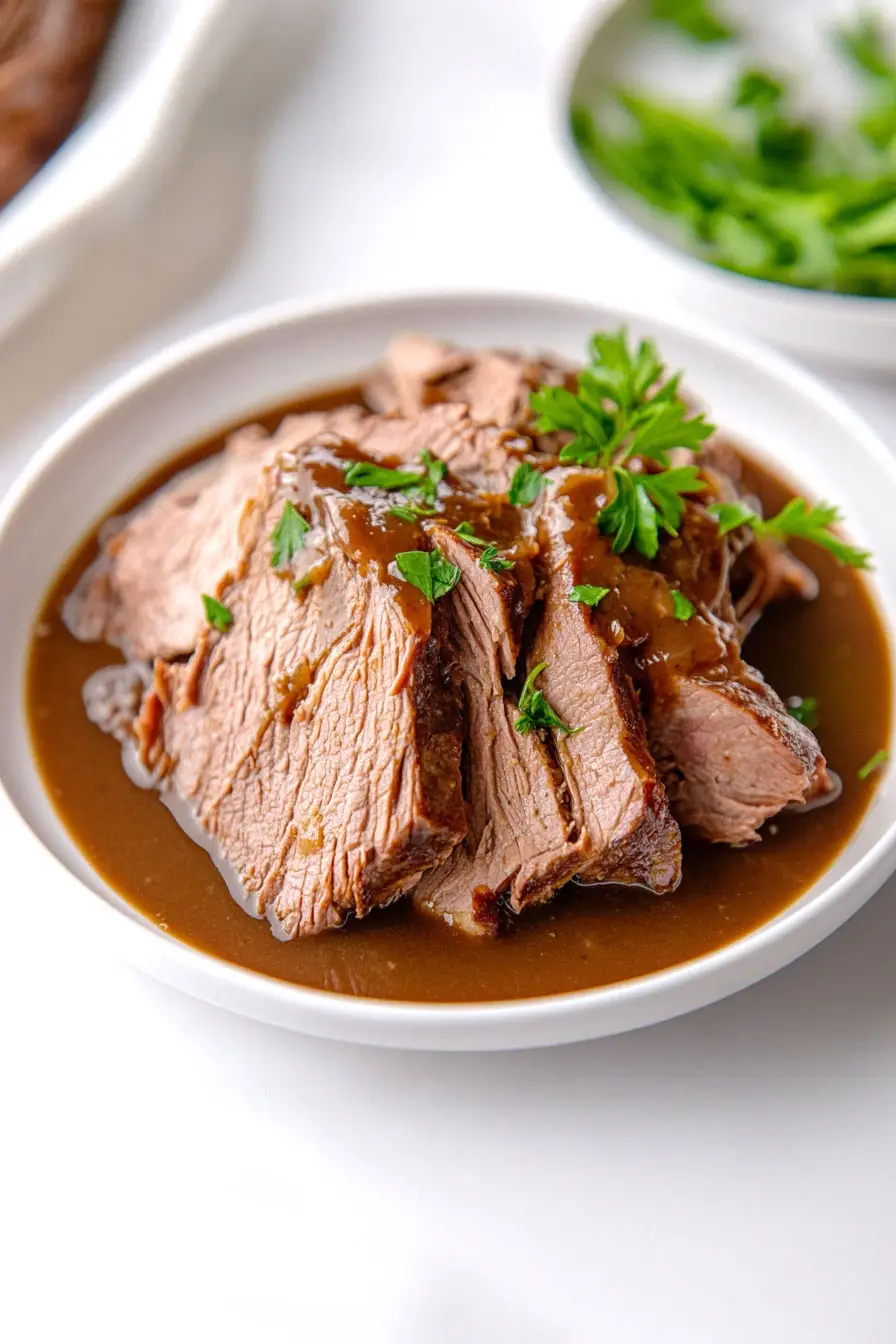
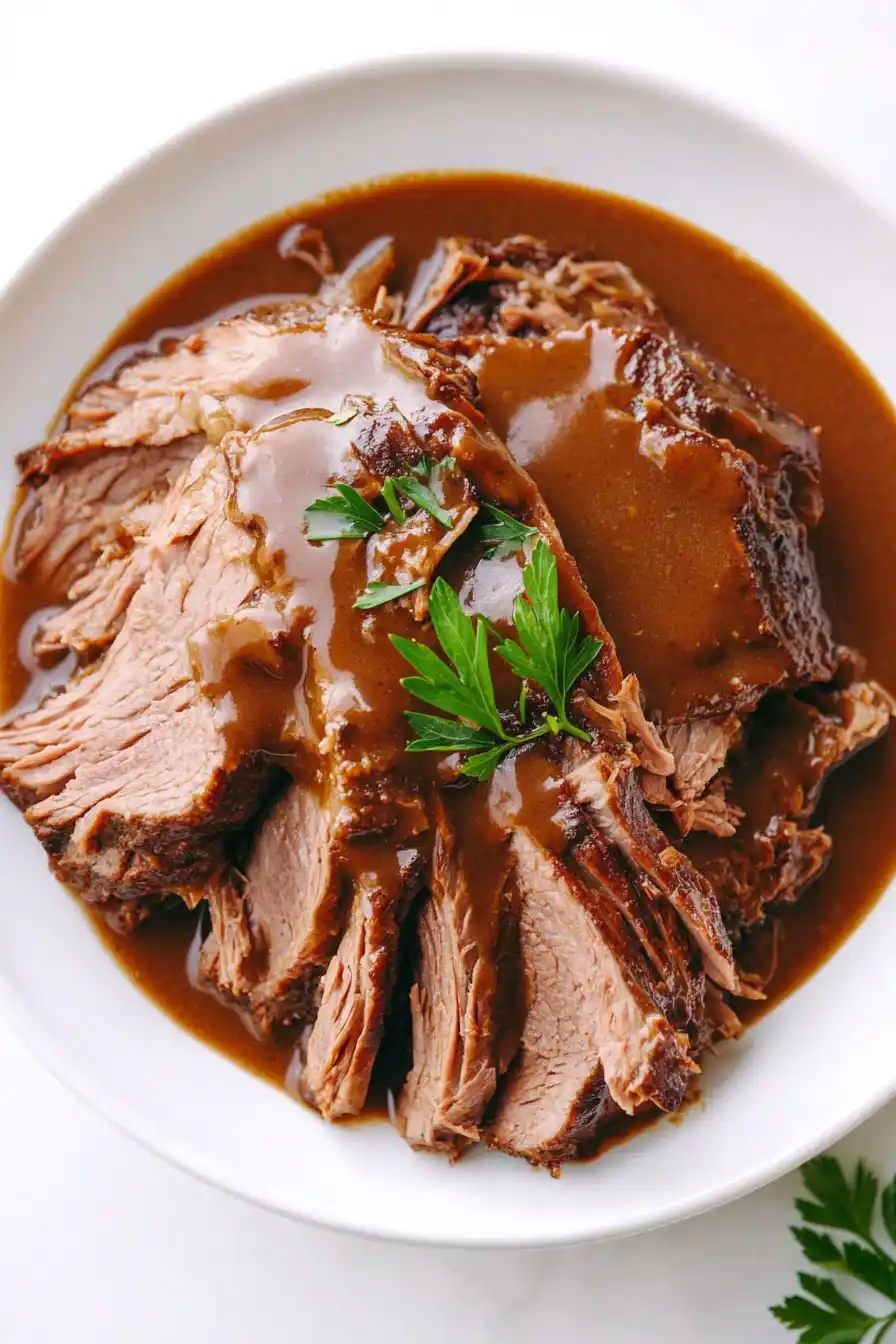
This rich pot roast gravy is perfect for spooning over all sorts of comfort food favorites! The obvious choice is to serve it over sliced pot roast, but don’t stop there – mashed potatoes practically beg for a generous pour of this savory gravy. I love to round out the meal with simple roasted vegetables like carrots, green beans, or Brussels sprouts, which taste amazing when they get a little gravy on them too. For soaking up every last bit of gravy, try serving some warm dinner rolls or crusty bread on the side.
Storage Instructions
Keep Fresh: Your homemade pot roast gravy will stay good in an airtight container in the fridge for up to 4 days. The gravy might thicken up a bit while chilling, but don’t worry – that’s totally normal!
Freeze: This gravy freezes really well! Pour it into freezer-safe containers or ice cube trays (perfect for smaller portions) and it’ll keep for up to 3 months. Just remember to leave a little space at the top of your container since liquids expand when frozen.
Warm Up: When you’re ready to use your gravy, warm it up slowly on the stovetop over low heat, stirring frequently. If it’s too thick, just add a splash of beef broth or water until you get the consistency you want. For frozen gravy, thaw it overnight in the fridge before reheating.
| Preparation Time | 5-10 minutes |
| Cooking Time | 10-15 minutes |
| Total Time | 15-25 minutes |
| Level of Difficulty | Easy |
Estimated Nutrition
Estimated nutrition for the whole recipe (without optional ingredients):
- Calories: 250-300
- Protein: 5-10 g
- Fat: 1-3 g
- Carbohydrates: 50-55 g
Ingredients
- 3 cups braising liquid
- 1/4 tsp salt
- 1/4 cup all-purpose flour
- 1/4 tsp black pepper
Step 1: Strain the Roast Drippings
Begin by pouring the roast drippings through a fine mesh sieve into a bowl to remove any solids.
This will ensure a smooth gravy texture by eliminating bits of meat or fat.
Step 2: Prepare and Mix Ingredients in the Skillet
Transfer the strained drippings to a skillet.
Add flour, salt, and pepper to the drippings, starting with a small amount and adjusting to taste as needed.
Stir the mixture until the flour is fully incorporated, ensuring there are no lumps.
Step 3: Cook the Gravy
Place the skillet over medium heat and bring the mixture to a boil.
Stir frequently to prevent any sticking or clumping.
Continue stirring as the gravy thickens to your desired consistency.
Step 4: Serve the Gravy
Once the gravy has thickened and reached the consistency you like, remove it from the heat.
Serve the gravy while warm alongside your favorite roasted meats, mashed potatoes, or any dish of your choice.
Enjoy the rich, homemade flavor!
