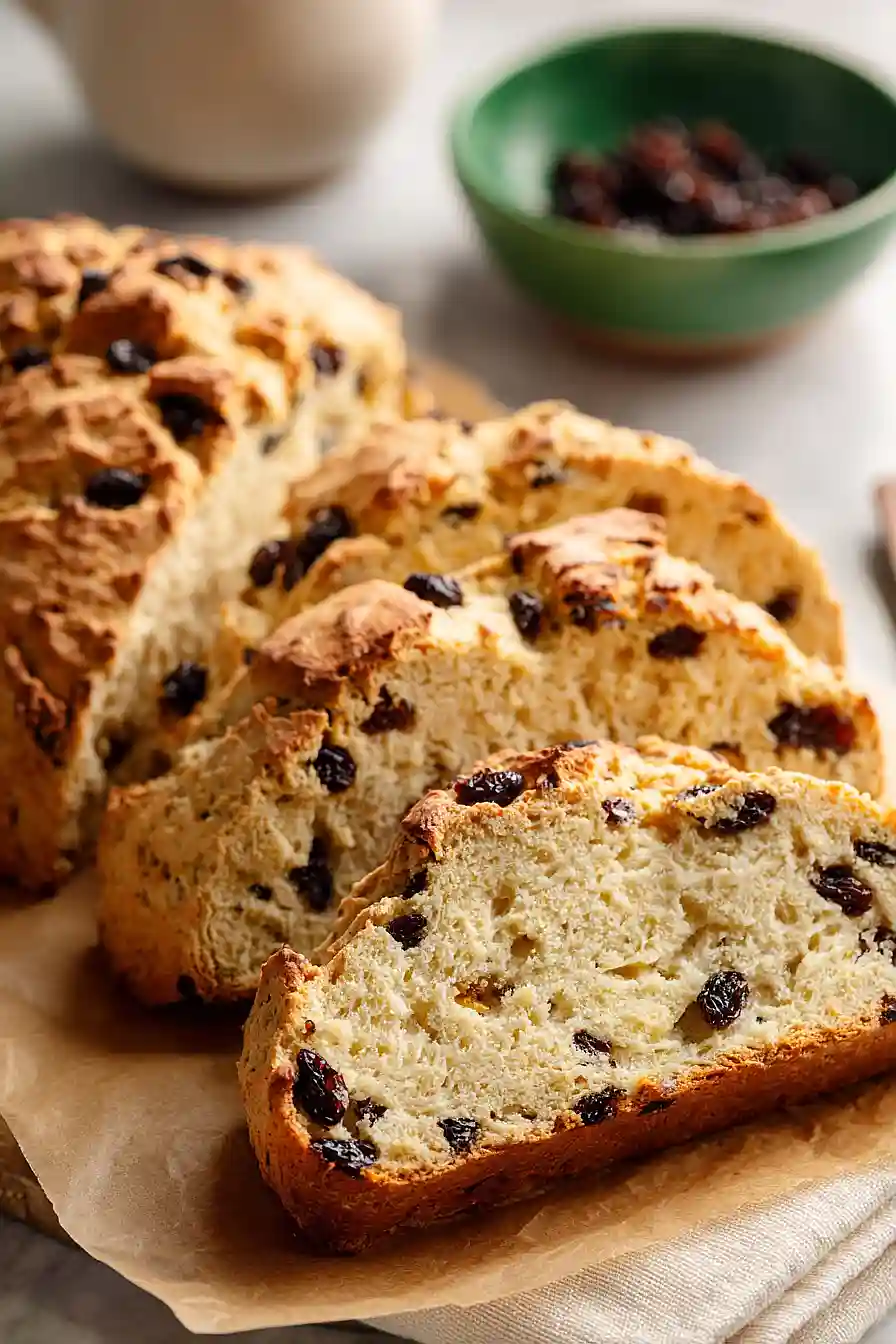
I’ll be honest—I used to think Irish soda bread was just for St. Patrick’s Day. Then I made it on a random Tuesday in February, and I realized what I’d been missing. This bread comes together in less than an hour, and you don’t need any fancy equipment or even yeast. Just mix, shape, and bake.
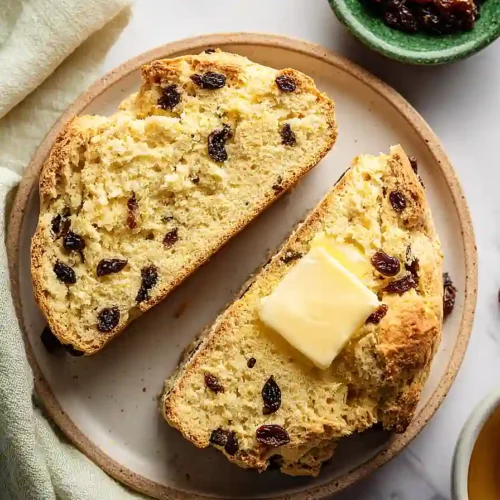
The currants give it just enough sweetness without making it taste like dessert. I like to serve it warm with butter for breakfast, but it’s also great alongside soup or stew for dinner. My kids will even eat it plain as a snack after school, which tells you everything you need to know.
What I love most is that you probably have most of these ingredients in your pantry already. The only thing you might need to pick up is buttermilk and currants. And if you’ve never worked with buttermilk before, don’t worry—it’s just regular milk that’s been cultured. Nothing complicated about it.

Why You’ll Love This Irish Soda Bread
- No yeast required – This bread uses baking soda instead of yeast, so there’s no waiting around for dough to rise. You can have fresh, homemade bread on the table in about an hour.
- Simple ingredients – With just six basic ingredients, this recipe is straightforward and doesn’t require any fancy pantry items.
- Perfect for beginners – Even if you’ve never baked bread before, this recipe is forgiving and easy to follow. No kneading skills or special techniques needed.
- Sweet and savory balance – The currants add just the right amount of sweetness to complement the hearty, slightly tangy bread, making it great for breakfast or alongside dinner.
What Kind of Currants Should I Use?
For Irish soda bread, you’ll want to use dried currants, which are actually small dried grapes similar to raisins. You can find them in the baking aisle near the raisins and other dried fruits at most grocery stores. If you can’t find currants, regular raisins make a perfectly fine substitute and many people actually prefer them since they’re a bit plumper and sweeter. Some folks like to soak their currants in warm water for about 10 minutes before adding them to the dough – this helps them stay moist and prevents them from drying out during baking.

Options for Substitutions
While traditional Irish soda bread is pretty straightforward, here are some swaps you can make if needed:
- Buttermilk: Don’t have buttermilk? Make your own by adding 1 3/4 tablespoons of lemon juice or white vinegar to regular milk and letting it sit for 5 minutes. You can also use plain yogurt thinned with a bit of milk to reach a pourable consistency.
- Currants: Raisins work great as a substitute for currants – they’re a bit larger but taste similar. You can also try dried cranberries for a slightly tart twist, or leave them out completely for a plain soda bread.
- All-purpose flour: You can swap up to half of the all-purpose flour with whole wheat flour for a nuttier, heartier bread. Just know it will be denser and a bit heavier.
- Baking soda: This one’s essential for soda bread – don’t substitute it. The baking soda reacts with the acidic buttermilk to help the bread rise, so it’s what makes this recipe work.
- Butter: The butter pats on top add a nice finish, but you can brush the top with a bit of buttermilk instead if you prefer to skip the butter.
Watch Out for These Mistakes While Baking
The biggest mistake people make with Irish soda bread is over-kneading the dough, which activates too much gluten and turns your tender, crumbly loaf into a tough, dense brick – just knead it gently for about 30 seconds until it barely comes together.
Another common error is skipping the cross cut on top, which isn’t just decorative but actually helps the bread bake evenly and allows steam to escape, preventing a gummy center.
Don’t forget to check the internal temperature with an instant-read thermometer, as underbaked soda bread will be doughy in the middle even if the crust looks golden brown.
Finally, resist the urge to slice into the bread right away – letting it cool on a rack for at least 20 minutes allows the crumb to set properly and makes slicing much cleaner.
What to Serve With Irish Soda Bread?
Irish soda bread is perfect alongside a hearty bowl of beef stew or Irish stew, where you can use thick slices to soak up all that rich gravy. I love serving it at breakfast or brunch with plenty of butter and jam, or even with scrambled eggs and bacon for a filling morning meal. The slightly sweet currants make it great with a cup of tea or coffee in the afternoon, and you can also toast leftover slices the next day and spread them with honey or cream cheese. For dinner, try it with a simple roasted chicken or pork chops – the bread’s texture is ideal for mopping up any pan juices or sauces.
Storage Instructions
Store: Irish soda bread is best enjoyed within the first day or two, but you can keep it fresh by wrapping it tightly in plastic wrap or storing it in an airtight container at room temperature for up to 3 days. The crust will soften a bit over time, but it still tastes great toasted with butter.
Freeze: This bread freezes really well for longer storage. Wrap the cooled loaf tightly in plastic wrap, then in foil, and freeze for up to 3 months. You can also slice it first and freeze individual slices with parchment paper between them for easy grab-and-go portions.
Refresh: To bring back that fresh-baked taste, thaw frozen bread at room temperature for a few hours. If you want to crisp up the crust again, warm the whole loaf in a 350°F oven for about 10 minutes, or toast individual slices until golden.
| Preparation Time | 10-15 minutes |
| Cooking Time | 45-50 minutes |
| Total Time | 55-65 minutes |
| Level of Difficulty | Easy |
| Servings | 12 slices |
Estimated Nutrition
Estimated nutrition for the whole recipe (without optional ingredients):
- Calories: 2050-2200
- Protein: 50-55 g
- Fat: 16-20 g
- Carbohydrates: 425-445 g
Ingredients
- 4 cups + 2 tablespoons all-purpose flour
- 1 teaspoon baking soda
- 1 teaspoon baking powder
- 1 1/4 teaspoons salt
- 1 1/4 cups currants
- 2 cups buttermilk (shaken well before measuring)
- 1 tablespoon unsalted butter (melted and cooled to room temperature)
- 425°F oven temperature
- 180°F internal temperature
Step 1: Prepare Mise en Place and Preheat
- 4 cups + 2 tablespoons all-purpose flour
- 1 teaspoon baking soda
- 1 teaspoon baking powder
- 1 1/4 teaspoons salt
- 2 cups buttermilk
Preheat your oven to 425°F with a Dutch oven inside—this creates steam during baking that gives Irish soda bread its characteristic crust.
While the oven heats, measure out all ingredients: whisk together the flour, baking soda, baking powder, and salt in a large bowl, then set aside.
Make sure to shake your buttermilk well before measuring, as the solids settle at the bottom and need to be incorporated for proper texture.
Step 2: Combine Dry Ingredients with Currants
- dry ingredient mixture from Step 1
- 1 1/4 cups currants
Add the currants to the dry ingredient mixture from Step 1 and stir to coat them evenly with flour.
This prevents the currants from sinking to the bottom during baking and ensures they’re distributed throughout the loaf.
The flour coating also helps them stay moist and tender.
Step 3: Form the Dough
- dry ingredient mixture with currants from Step 2
- 2 cups buttermilk
Pour the buttermilk into the dry mixture and mix gently with your hands or a wooden spoon just until a shaggy dough forms—don’t overmix, as this develops gluten and makes the bread tough.
I find that mixing by hand lets me feel when the dough comes together naturally without overworking it.
Turn the dough onto a lightly floured surface and knead it gently for about one minute, just until it becomes cohesive into a round loaf roughly 6-7 inches in diameter.
Step 4: Score and Prepare for Baking
- dough from Step 3
- Dutch oven
Carefully remove the preheated Dutch oven from the oven and place the dough round inside.
Using a sharp knife, cut a deep cross (about 1/4-inch deep) across the top of the loaf—this allows heat to penetrate to the center and helps the bread expand evenly.
Brush the top lightly with a bit of buttermilk for extra browning, then cover the Dutch oven with its lid.
Step 5: Bake Covered, Then Finish Uncovered
- bread dough in Dutch oven from Step 4
Bake the covered bread for 30 minutes—the lid traps steam that creates a tender crumb and soft crust.
After 30 minutes, carefully remove the lid and continue baking for 15 minutes more, or until the loaf reaches an internal temperature of 180°F when measured with an instant-read thermometer in the center.
The uncovered time allows the crust to brown and crisp.
I always use a thermometer rather than relying on color alone, since the dark crust can mask whether the inside is fully baked.
Step 6: Cool and Finish
- baked soda bread from Step 5
- 1 tablespoon unsalted butter
Transfer the bread to a wire cooling rack and let it cool for at least 15-20 minutes before slicing—this allows the crumb to set properly.
While it’s still warm, brush the top of the loaf with the melted butter, which will soak in slightly and add richness.
Serve warm or at room temperature with butter and jam.
Rustic Irish Soda Bread with Currants
Ingredients
- 4 cups + 2 tablespoons all-purpose flour
- 1 teaspoon baking soda
- 1 teaspoon baking powder
- 1 1/4 teaspoons salt
- 1 1/4 cups currants
- 2 cups buttermilk (shaken well before measuring)
- 1 tablespoon unsalted butter (melted and cooled to room temperature)
- 425°F oven temperature
- 180°F internal temperature
Instructions
- Preheat your oven to 425°F with a Dutch oven inside—this creates steam during baking that gives Irish soda bread its characteristic crust. While the oven heats, measure out all ingredients: whisk together the flour, baking soda, baking powder, and salt in a large bowl, then set aside. Make sure to shake your buttermilk well before measuring, as the solids settle at the bottom and need to be incorporated for proper texture.
- Add the currants to the dry ingredient mixture from Step 1 and stir to coat them evenly with flour. This prevents the currants from sinking to the bottom during baking and ensures they're distributed throughout the loaf. The flour coating also helps them stay moist and tender.
- Pour the buttermilk into the dry mixture and mix gently with your hands or a wooden spoon just until a shaggy dough forms—don't overmix, as this develops gluten and makes the bread tough. I find that mixing by hand lets me feel when the dough comes together naturally without overworking it. Turn the dough onto a lightly floured surface and knead it gently for about one minute, just until it becomes cohesive into a round loaf roughly 6-7 inches in diameter.
- Carefully remove the preheated Dutch oven from the oven and place the dough round inside. Using a sharp knife, cut a deep cross (about 1/4-inch deep) across the top of the loaf—this allows heat to penetrate to the center and helps the bread expand evenly. Brush the top lightly with a bit of buttermilk for extra browning, then cover the Dutch oven with its lid.
- Bake the covered bread for 30 minutes—the lid traps steam that creates a tender crumb and soft crust. After 30 minutes, carefully remove the lid and continue baking for 15 minutes more, or until the loaf reaches an internal temperature of 180°F when measured with an instant-read thermometer in the center. The uncovered time allows the crust to brown and crisp. I always use a thermometer rather than relying on color alone, since the dark crust can mask whether the inside is fully baked.
- Transfer the bread to a wire cooling rack and let it cool for at least 15-20 minutes before slicing—this allows the crumb to set properly. While it's still warm, brush the top of the loaf with the melted butter, which will soak in slightly and add richness. Serve warm or at room temperature with butter and jam.
