There’s something about a pot roast that feels like home to me. On chilly evenings, when the rain is tapping against the windows, I love having a Dutch oven doing all the work on my stovetop. The way the red wine mingles with the beef and vegetables creates the kind of aroma that draws everyone to the kitchen, asking “Is dinner ready yet?”
I’ve learned that the best pot roasts don’t need fancy ingredients or complicated steps. Just good beef, everyday vegetables, and a splash of red wine. It’s the kind of meal that basically cooks itself while you catch up on your favorite show or help the kids with homework. Plus, the leftovers taste even better the next day – if there are any!
If you’re new to Dutch oven cooking or just want a reliable pot roast recipe that won’t let you down, this one’s for you. It’s my go-to when I need something warm and filling that’ll make everyone at the table happy.
Why You’ll Love This Pot Roast
- One-pot meal – Everything cooks together in your Dutch oven, which means less cleanup and more flavor as all the ingredients mingle together during cooking.
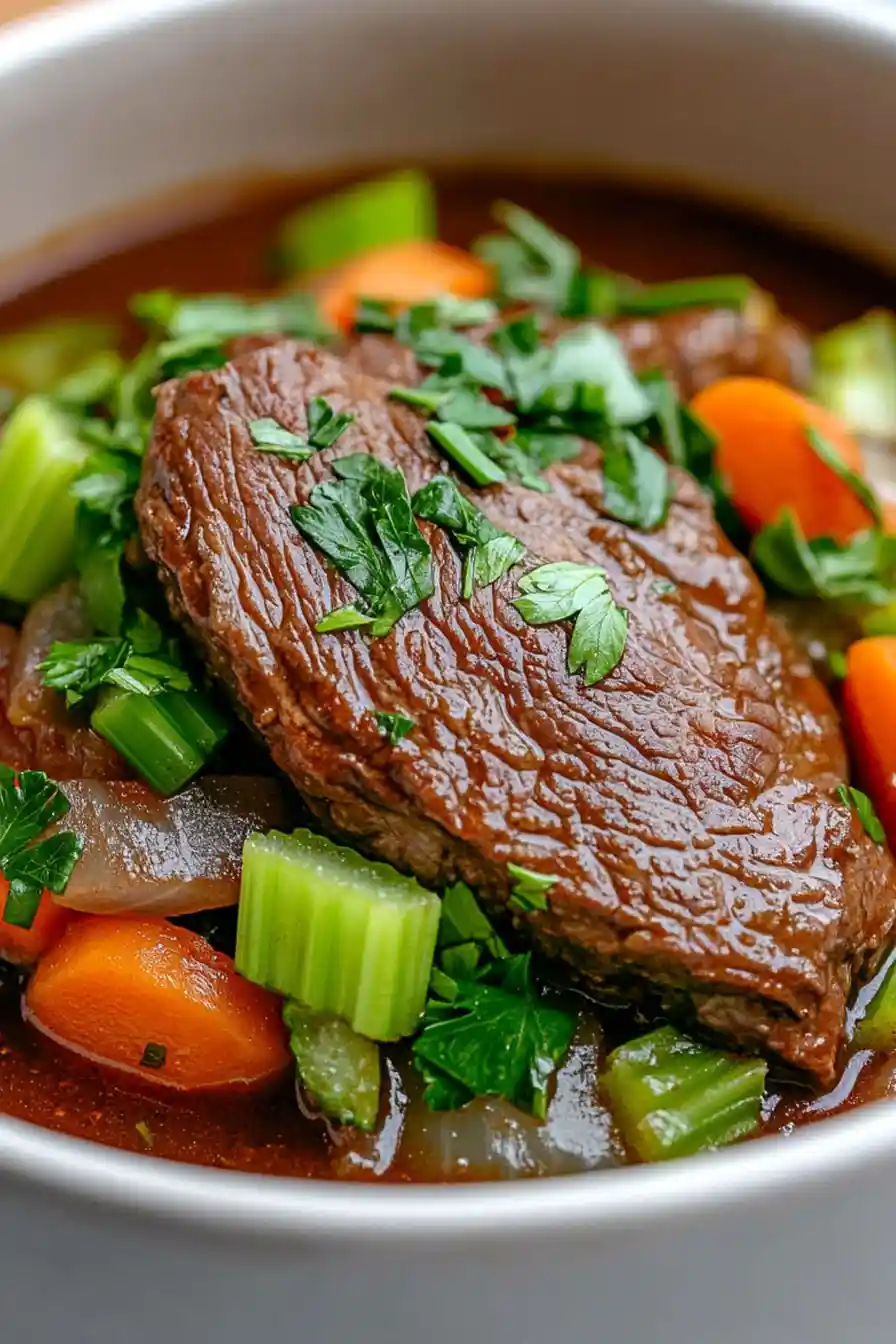
- Rich, wine-based sauce – The combination of red wine, beef stock, and tomatoes creates a deep, flavorful sauce that makes this pot roast extra special – no dry meat here!
- Simple ingredients – You’ll only need a handful of basic ingredients you can find at any grocery store, making this an accessible recipe for any home cook.
- Tender, fall-apart meat – The low and slow cooking method transforms even tougher cuts of beef into perfectly tender, melt-in-your-mouth meat that you can cut with a fork.
What Kind of Beef Roast Should I Use?
Chuck roast is your best bet for this recipe, though other cuts like rump, top round, or London broil will work too. Chuck comes from the shoulder area of the cow and has excellent marbling (those little streaks of fat) that melts during the long cooking time, making the meat super tender and flavorful. If you’re at the store, look for a piece that’s well-marbled but not too fatty, with a bright red color. While leaner cuts like top round can be used, they tend to end up a bit less tender than chuck, even with the long cooking time. Just remember to let your roast sit at room temperature for about 30 minutes before cooking – this helps it cook more evenly.
Options for Substitutions
This classic pot roast recipe can be adapted with several easy substitutions:
- Beef roast: While chuck roast is ideal for its marbling and flavor, you can use any tough cut like bottom round, brisket, or shoulder roast. Just keep in mind that leaner cuts might need a bit more liquid and slightly longer cooking time.
- Red wine: No wine on hand? You can replace it with extra beef stock plus 2 tablespoons of balsamic vinegar or Worcestershire sauce to add that rich depth. Apple juice mixed with a tablespoon of vinegar works too.
- Beef stock: Chicken stock or vegetable broth can work in place of beef stock, though the flavor won’t be quite as rich. If using these alternatives, add 1 beef bouillon cube to maintain that beefy taste.
- Stewed tomatoes: You can swap stewed tomatoes with diced tomatoes, crushed tomatoes, or even 2 tablespoons of tomato paste mixed with 1 cup of water.
- Butter: Olive oil or vegetable oil work fine instead of butter. If using oil, add a tiny pat of butter at the end for that nice richness, if you have it.
- All-purpose flour: For thickening, you can use cornstarch (1 tablespoon mixed with cold water) or gluten-free flour as a 1:1 replacement.
Watch Out for These Mistakes While Cooking
The biggest mistake when making pot roast is rushing the cooking process – this tough cut needs low and slow cooking (at least 3-4 hours) to break down the connective tissue and become fork-tender. A common error is opening the Dutch oven too frequently to check on the meat, which lets precious heat and moisture escape; instead, trust the process and keep the lid on except for one flip halfway through cooking. To get the most flavor from your roast, don’t skip the crucial step of searing the meat on all sides until it’s deeply browned – this creates a rich flavor base that makes all the difference in your final dish. For the best texture, let your pot roast rest for 15-20 minutes after cooking before slicing, and always cut against the grain to ensure each bite is as tender as possible.

What to Serve With Pot Roast?
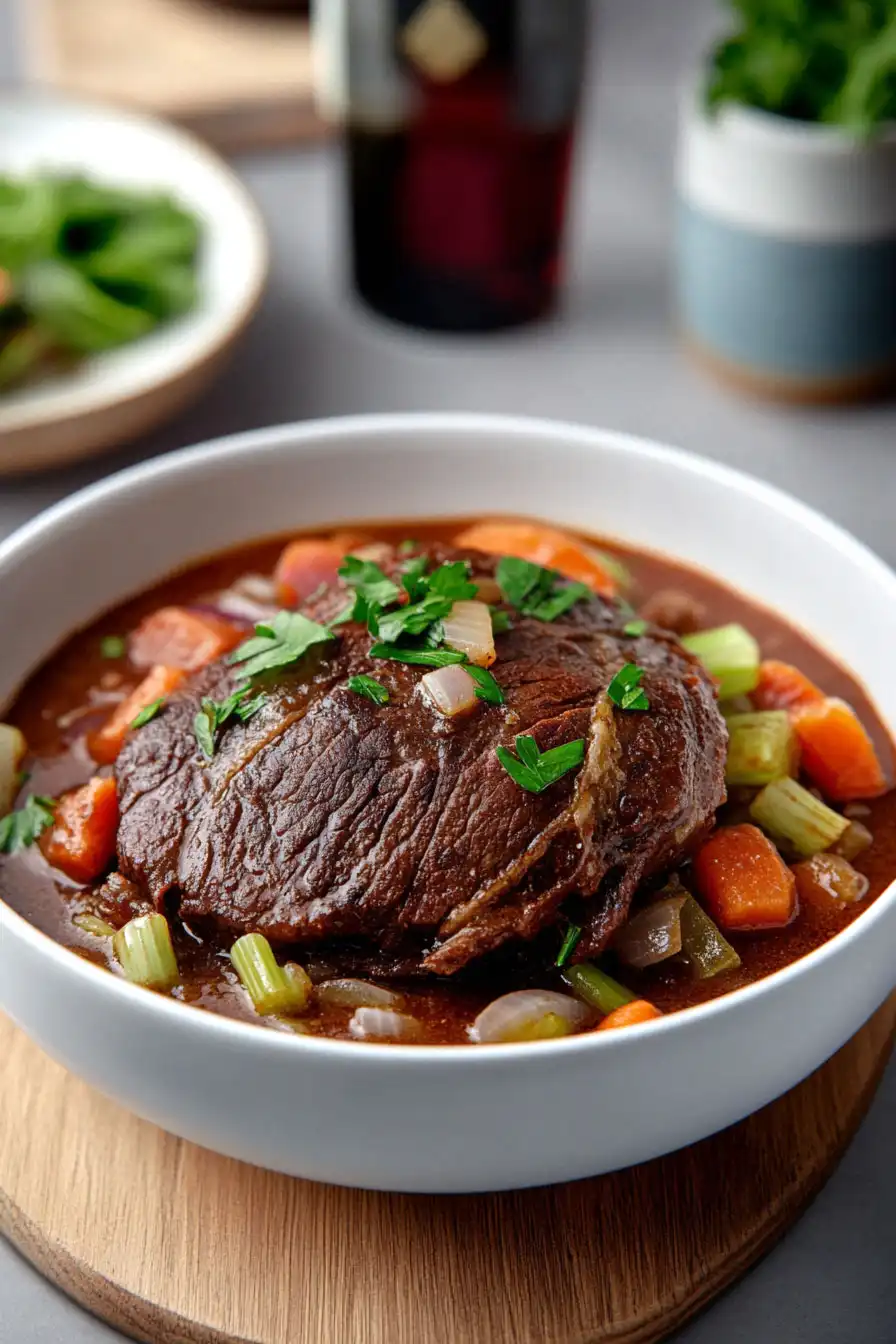
When it comes to pot roast, I love serving it with creamy mashed potatoes – they’re perfect for soaking up all that rich, wine-infused gravy! Since this dish already includes carrots, you might want to add another vegetable side like roasted Brussels sprouts or green beans to round out the meal. For a complete comfort food experience, try serving some warm, crusty bread on the side (I usually go for a rustic sourdough or French bread), which is great for catching any extra sauce on your plate. If you’re feeding a crowd, a simple mixed green salad with a light vinaigrette can help balance out the richness of the pot roast.
Storage Instructions
Keep Fresh: This hearty pot roast will stay good in the fridge for up to 4 days when stored in an airtight container. The flavors actually get even better after a day or two as everything mingles together! Just make sure to let it cool completely before putting it away.
Freeze: Pot roast is perfect for freezing! Let it cool completely, then transfer to freezer-safe containers or bags. It’ll keep well for up to 3 months. I like to portion it out before freezing so I can thaw just what I need for a meal.
Reheat: To warm up your pot roast, place it in a covered pot over low heat on the stove, adding a splash of beef broth if needed to keep it moist. You can also use the microwave – just heat in short intervals, stirring occasionally. The meat should be tender and heated through, but be careful not to overcook it.
| Preparation Time | 15-30 minutes |
| Cooking Time | 150-180 minutes |
| Total Time | 165-210 minutes |
| Level of Difficulty | Medium |
Estimated Nutrition
Estimated nutrition for the whole recipe (without optional ingredients):
- Calories: 1800-2000
- Protein: 150-170 g
- Fat: 100-120 g
- Carbohydrates: 40-50 g
Ingredients
For the pot roast:
- 3 garlic cloves (freshly minced)
- 2 tbsp unsalted butter (I like Kerrygold for rich flavor)
- 3 carrots (cut into 1-inch pieces)
- 1 yellow onion (halved and cut into 1/2-inch slices)
- 3 lb beef roast (I prefer chuck roast for this)
For the gravy:
- 1 cup red wine (a dry red like Cabernet Sauvignon works well)
- 1 cup beef stock
- 1 tbsp all-purpose flour
- 15 oz stewed tomatoes
Step 1: Brown the Roast
Begin by thoroughly heating your Dutch oven over medium heat.
This ensures even warming before cooking begins.
Drizzle olive oil into the pot, then place the roast, seasoned generously with salt and pepper, into the pan.
Listen for the sizzle as the meat hits the hot surface.
Allow the roast to brown on one side without rushing the process, as the crispy bits that stick will contribute to a rich flavor later.
Once browned, turn the roast over to brown the other side.
After both sides are nicely browned, remove the roast from the Dutch oven and set it aside.
Step 2: Sauté Aromatics and Vegetables
Add two more tablespoons of olive oil to the Dutch oven.
Add roughly chopped yellow onion and sauté until softened.
Next, add some minced garlic and carrot chunks, seasoning with salt and pepper.
To enhance the flavor, add a pat of butter to the sautéed vegetables, stirring everything until well coated.
Sprinkle in some flour and let it brown slightly, stirring continuously.
Step 3: Deglaze and Begin Making Gravy
Pour red wine into the Dutch oven to deglaze the pot.
Use a wooden spoon to scrape up the flavorful browned bits from the bottom.
Bring the wine to a simmer for about 5 minutes to reduce it slightly.
You’ll notice the butter and flour mixture creates a slightly cloudy texture in the wine, marking the beginning of your gravy.
This mixture will continue to develop in flavor as the roast cooks.
Step 4: Add Liquids and Seasonings
Add stewed tomatoes and beef broth to the Dutch oven, along with two bay leaves.
This will serve as the braising liquid for the roast.
Ensure there is enough liquid covering a good portion of the meat without submerging it completely.
Step 5: Braise the Roast
Return the browned roast to the Dutch oven, nestling it into the prepared braising liquid.
Cover the Dutch oven tightly with its lid.
You can opt to cook using the oven or stovetop method.
For the oven, preheat to 325°F, then place your Dutch oven inside; cook for 2.5 to 3 hours, allowing roughly an hour per pound of meat.
If using the stovetop, bring the braising liquid to a low simmer, reduce the heat to low, and cover, cooking for 2 to 3 hours.
Remember to check the liquid halfway through, adding more beef broth if it appears low or too thick.
Stovetop cooking might require more frequent checks due to faster evaporation.
