I never thought I’d get excited about a sandwich without bread, but here we are. Growing up, tuna melts were my go-to lunch – thick slices of toast loaded with creamy tuna salad and melted cheese. It wasn’t until I started watching my carbs that I discovered chaffles.
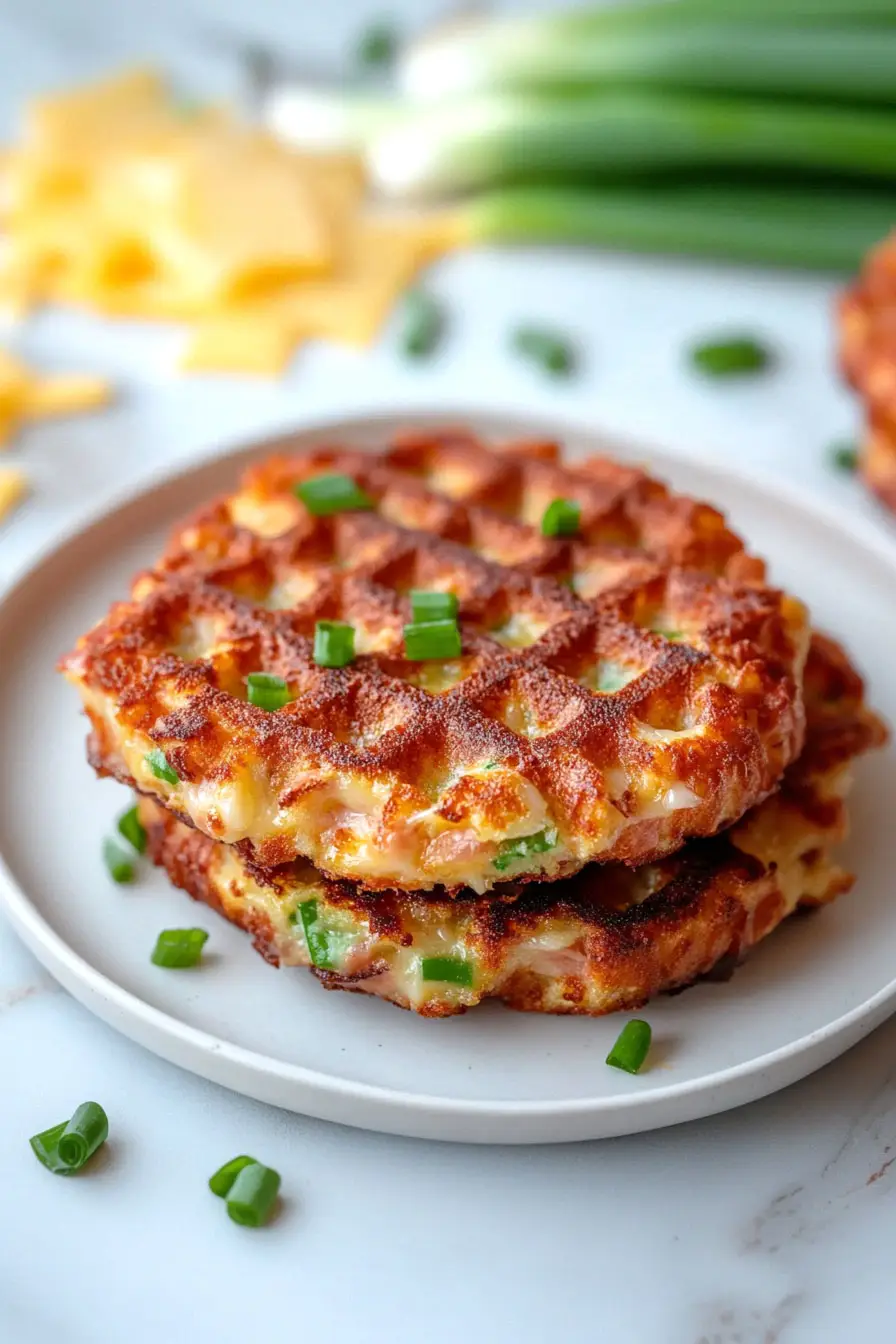
For anyone who hasn’t tried them yet, chaffles are basically cheese and egg waffles – and they make an amazing substitute for bread. When I first made a tuna melt this way, I was honestly surprised at how good it was. The crispy waffle texture actually works better than regular bread, and it’s so much easier to make than you might think.
Why You’ll Love This Tuna Chaffle
- Quick preparation – Ready in just 15 minutes, this tuna chaffle is perfect for those busy weekday lunches when you need something fast but satisfying.
- Keto-friendly meal – With just cheese, egg, and tuna as main ingredients, this recipe is perfect for anyone following a low-carb or keto diet.
- Budget-friendly – Using just four simple ingredients you probably already have in your kitchen, this recipe is easy on your wallet while still being filling and tasty.
- High in protein – Packed with protein from both the tuna and cheese, this chaffle will keep you feeling full and energized throughout your day.
What Kind of Tuna Should I Use?
For this chaffle recipe, you’ll want to start with solid white albacore or chunk light tuna in a pouch or can. The main difference is that solid albacore has a milder, cleaner taste and lighter color, while chunk light tuna is slightly darker and has a stronger fish flavor. Since we’re draining the tuna anyway, pouches can be super convenient as they’re already low in liquid. If you’re watching your mercury intake, chunk light tuna is generally considered a safer choice since it’s made from smaller fish. Just make sure to get tuna packed without water or oil since extra moisture can make your chaffle less crispy.

Options for Substitutions
This simple chaffle recipe can be adapted with a few easy swaps:
- Tuna: While tuna is the star here, you can use canned chicken, salmon, or even finely chopped deli meat. Just make sure whatever protein you choose is well-drained to prevent a soggy chaffle.
- Mozzarella cheese: Mozzarella gives the best texture, but you can experiment with cheddar, provolone, or a cheese blend. Keep in mind that mozzarella melts the best for that classic chaffle texture, so try to keep at least half mozzarella if mixing cheeses.
- Egg: The egg is essential for this recipe and cannot be substituted – it’s what holds everything together and gives the chaffle its structure.
- Jalapeno flavored tuna: If you can’t find jalapeno-flavored tuna, use plain tuna and add a teaspoon of diced jalapenos or a dash of hot sauce to get that spicy kick.
Watch Out for These Mistakes While Cooking
The biggest challenge when making chaffles is getting that perfect crispy exterior while keeping the inside tender – this comes down to preheating your waffle maker properly until it’s nice and hot before adding your batter.
A common mistake is using wet tuna, which can make your chaffle soggy, so make sure to drain the tuna thoroughly and pat it dry with paper towels before mixing it with other ingredients.
Temperature control is crucial – cooking your chaffle too quickly on high heat can result in a burnt exterior and raw interior, so stick to medium heat and wait for the steam to slow down before checking if it’s done.
For the best texture, let your chaffle rest for 1-2 minutes after cooking, as this allows the cheese to set slightly and creates that satisfying crunch when you bite into it.
What to Serve With Tuna Melt Chaffles?
Since tuna melt chaffles are already pretty filling with their protein and cheese, you’ll want to pair them with lighter sides that add some freshness to your plate. A simple mixed green salad with a light vinaigrette dressing is my go-to choice – the crisp lettuce and tangy dressing balance out the rich, cheesy chaffle perfectly. For something with a bit more crunch, try some dill pickle spears on the side, or whip up a quick coleslaw with a vinegar-based dressing instead of mayo (since the chaffle is already creamy enough!). If you’re extra hungry, a cup of tomato soup works great for dipping, just like with a regular grilled cheese.
Storage Instructions
Keep Fresh: Tuna melt chaffles are best enjoyed right after making them when they’re still warm and crispy. If you have leftovers, place them in an airtight container in the fridge for up to 2 days. Just keep in mind that the chaffle might lose some of its crispiness over time.
Make Ahead: You can prep the tuna mixture ahead of time and keep it in the fridge for up to 24 hours. When you’re ready to eat, just make fresh chaffles and top them with your prepared tuna mix – this way you’ll get the best texture and taste!
Warm Up: To bring back some crispiness to leftover chaffles, pop them in a toaster or air fryer for a minute or two. Avoid using the microwave as it can make them soggy. Once heated, add your tuna mixture and enjoy!
| Preparation Time | 5-10 minutes |
| Cooking Time | 8-10 minutes |
| Total Time | 13-20 minutes |
| Level of Difficulty | Easy |
Estimated Nutrition
Estimated nutrition for the whole recipe (without optional ingredients):
- Calories: 380-430
- Protein: 40-45 g
- Fat: 20-25 g
- Carbohydrates: 2-5 g
Ingredients
- 1/2 cup mozzarella cheese (shredded for even melting)
- 1 pkg tuna (packed in water or oil, drained well)
- 1 egg (large)
- 1 pinch salt (to taste)
Step 1: Preheat the Waffle Maker
Begin by preheating your mini waffle maker.
This ensures it’s hot and ready for cooking once your ingredients are prepared.
Step 2: Prepare the Chaffle Mixture
In a small bowl, crack an egg and whip it until the yolk and white are fully combined.
Add tuna, cheese, and a pinch of salt to the bowl.
Mix well until all ingredients are thoroughly incorporated.
Step 3: Optional Step for a Crispy Crust
For an extra crispy chaffle, sprinkle a teaspoon of cheese onto the preheated waffle maker.
Allow it to cook for about 30 seconds before adding the tuna mixture.
This step helps create a delicious crispy crust when the chaffle is finished.
Step 4: Cook the Tuna Chaffles
Spoon half of the tuna mixture onto the waffle maker, closing the lid gently.
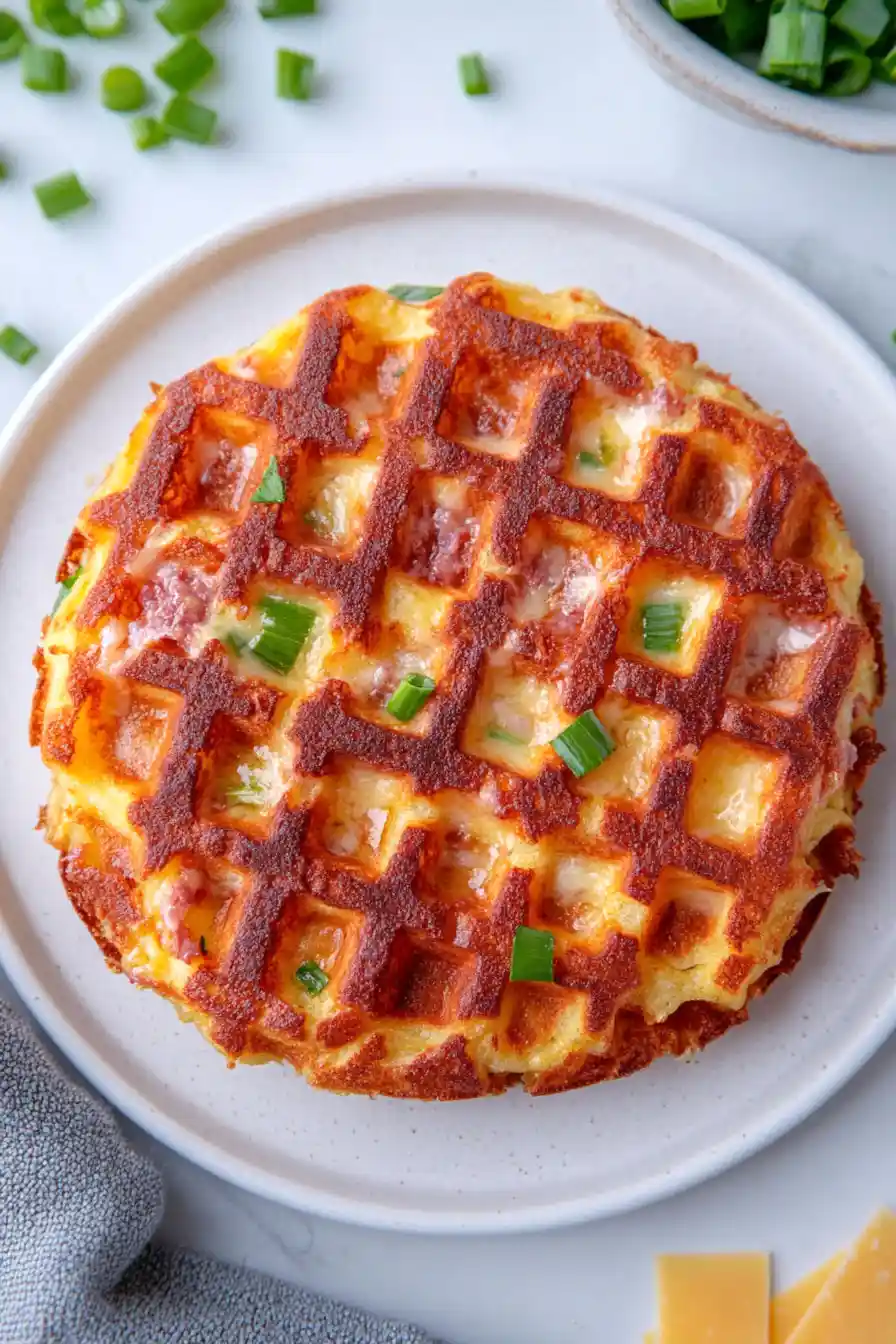
Cook for a minimum of 4 minutes, or until the chaffle is set and golden brown.
Carefully remove the cooked chaffle from the waffle maker.
Step 5: Cook the Second Chaffle
Repeat the process with the remaining half of the tuna mixture, cooking it for another 4 minutes until golden and crispy.
Remove, let it cool slightly, and then serve hot.

This sounds very tasty! I look forward to making these. Thanks!