Preserving fresh pears when they’re in season can feel overwhelming, especially when you’re trying to avoid all that extra sugar that traditional canning recipes call for. Whether you’re watching your sugar intake, dealing with dietary restrictions, or simply prefer the natural sweetness of the fruit itself, finding a reliable sugar-free canning method isn’t always straightforward.
Fortunately, canning pears without sugar is not only possible but surprisingly simple. This method lets the natural flavor of the pears shine through while still giving you safely preserved fruit that will last for months in your pantry.
Why You’ll Love This Canned Pears
- Sugar-free preservation – You can enjoy the natural sweetness of pears without any added sugar, making this a healthier option for your family.
- Minimal ingredients – With just pears and water, this recipe couldn’t be simpler – no need to hunt down specialty ingredients or additives.
- Long-term storage – Once canned, these pears will keep in your pantry for up to a year, giving you access to summer’s bounty all winter long.
- Quick process – In under an hour, you can have multiple jars of preserved pears ready to store or give as gifts.
- Natural and wholesome – You control exactly what goes into your jars, avoiding the preservatives and excess sugar found in store-bought canned fruit.
What Kind of Pears Should I Use?
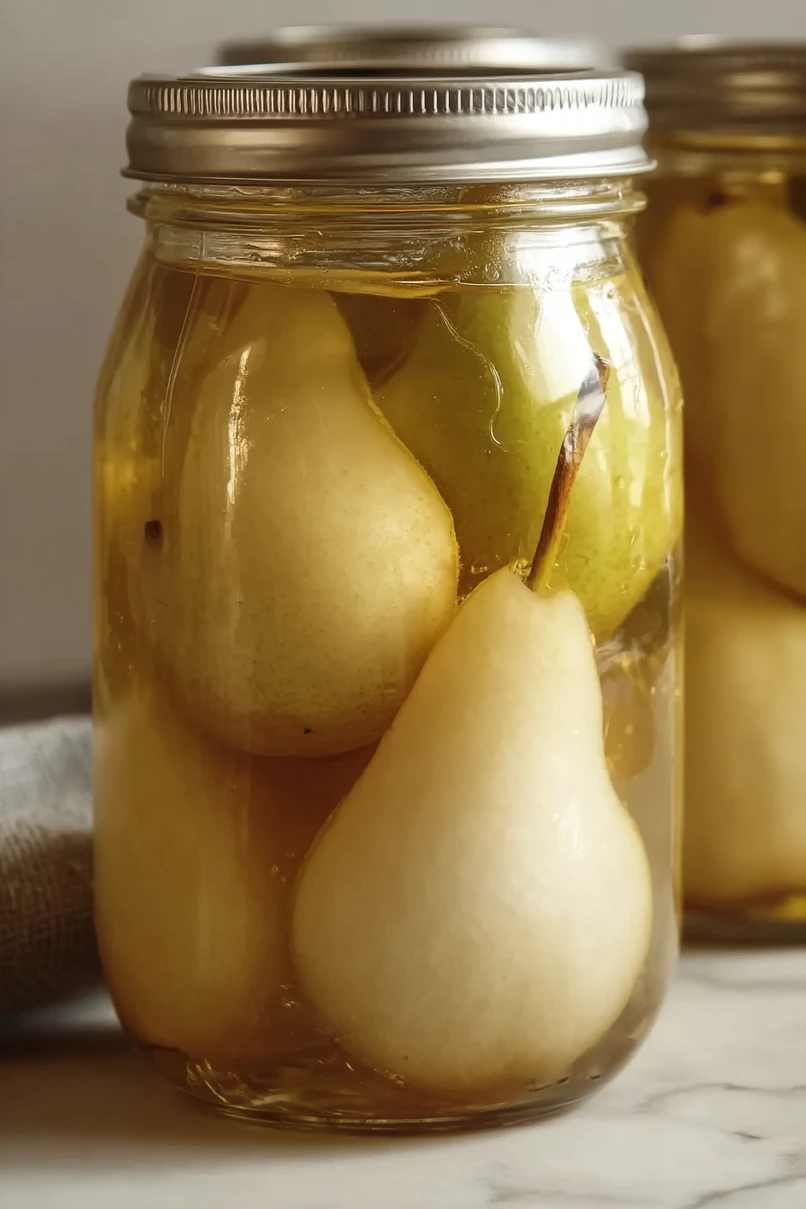
For canning, you’ll want to choose pears that are firm and ripe, but not overly soft or mushy. Bartlett pears are probably the most popular choice for canning since they hold their shape well and have that classic sweet pear flavor we all love. Anjou and Bosc pears also work great and tend to be a bit firmer, which means they’ll maintain their texture even better during the canning process. Avoid pears that are too ripe or have soft spots, as they’ll turn to mush once they’re processed. The key is finding that sweet spot where your pears are ripe enough to be flavorful but still firm enough to handle the heat of canning.
Options for Substitutions
This simple canning recipe is pretty straightforward, but here are a few things to keep in mind:
- Firm, ripe pears: You really can’t substitute the pears here – they’re the star of the show! Bartlett, Anjou, or Bosc pears all work well. Just make sure they’re ripe but still firm, as overripe pears will turn mushy during processing.
- Water: Plain water is perfect for this recipe, but you can use unsweetened apple juice or white grape juice instead for a bit more flavor. Just remember this will change the taste slightly and may affect the color.
- Lemon juice: While lemon juice is optional for pretreatment, it really helps prevent browning. If you don’t have fresh lemons, bottled lemon juice works fine. You can also use citric acid powder – just follow the package directions for the right amount.
Watch Out for These Mistakes While Canning
The biggest mistake when canning pears is using fruit that’s either too ripe or too green – overripe pears will turn to mush during processing, while underripe ones stay hard and flavorless, so look for pears that give slightly to pressure but aren’t soft. Another common error is skipping the lemon juice pretreatment, which prevents your pears from turning brown while you’re working – just dip each piece in lemon water as you go. Make sure to pack your jars properly by leaving exactly 1/2 inch of headspace and removing air bubbles with a plastic spatula, as too much or too little space can prevent proper sealing. Finally, don’t rush the processing time or try to speed up cooling – follow your tested recipe’s processing time exactly and let jars cool naturally on a towel for 12-24 hours before checking the seals.
What to Serve With Canned Pears?
These home-canned pears are perfect straight from the jar as a light dessert or healthy snack, but they really shine when you get a little creative with them. I love serving them over vanilla ice cream or Greek yogurt for a simple treat, or you can warm them up with a sprinkle of cinnamon for a cozy dessert. They also make a great addition to oatmeal or pancakes in the morning, adding natural sweetness without any extra sugar. For something more fancy, try pairing them with some soft cheese like brie or ricotta on crackers for an easy appetizer that always impresses guests.
Storage Instructions
Store: Once your canned pears have cooled and you’ve checked that all the lids have sealed properly, store them in a cool, dark place like a pantry or basement. Properly canned pears will keep for 1-2 years, though they’re best enjoyed within the first year for optimal flavor and texture.
Check Seals: Always check that your jar lids have sealed before storing – you should hear that satisfying ‘pop’ as they cool, and the center of the lid shouldn’t flex when pressed. Any jars that didn’t seal properly should go straight to the refrigerator and be eaten within a week.
Enjoy: Once you open a jar, treat it like any store-bought canned fruit and keep it in the fridge for up to a week. These sugar-free pears are perfect for eating straight from the jar, adding to oatmeal, or using in baking when you want to control the sweetness yourself.
| Preparation Time | 15-20 minutes |
| Cooking Time | 25-30 minutes |
| Total Time | 40-50 minutes |
| Level of Difficulty | Easy |
Estimated Nutrition
Estimated nutrition for the whole recipe (without optional ingredients):
- Calories: 200-250
- Protein: 2-3 g
- Fat: 0-1 g
- Carbohydrates: 50-60 g
Ingredients
For the main canning:
- boiling water as needed (to fill canning jars)
- 2-3 lb firm, ripe pears (such as Bartlett or Bosc, peeled, cored, and halved)
For the optional lemon bath:
- 1 gallon water (cold, for the anti-browning bath)
- 1/2 cup lemon juice (freshly squeezed for best results)
Step 1: Prepare the Pears
- 2 to 3 lb firm, ripe pears (enough for 1 quart jar)
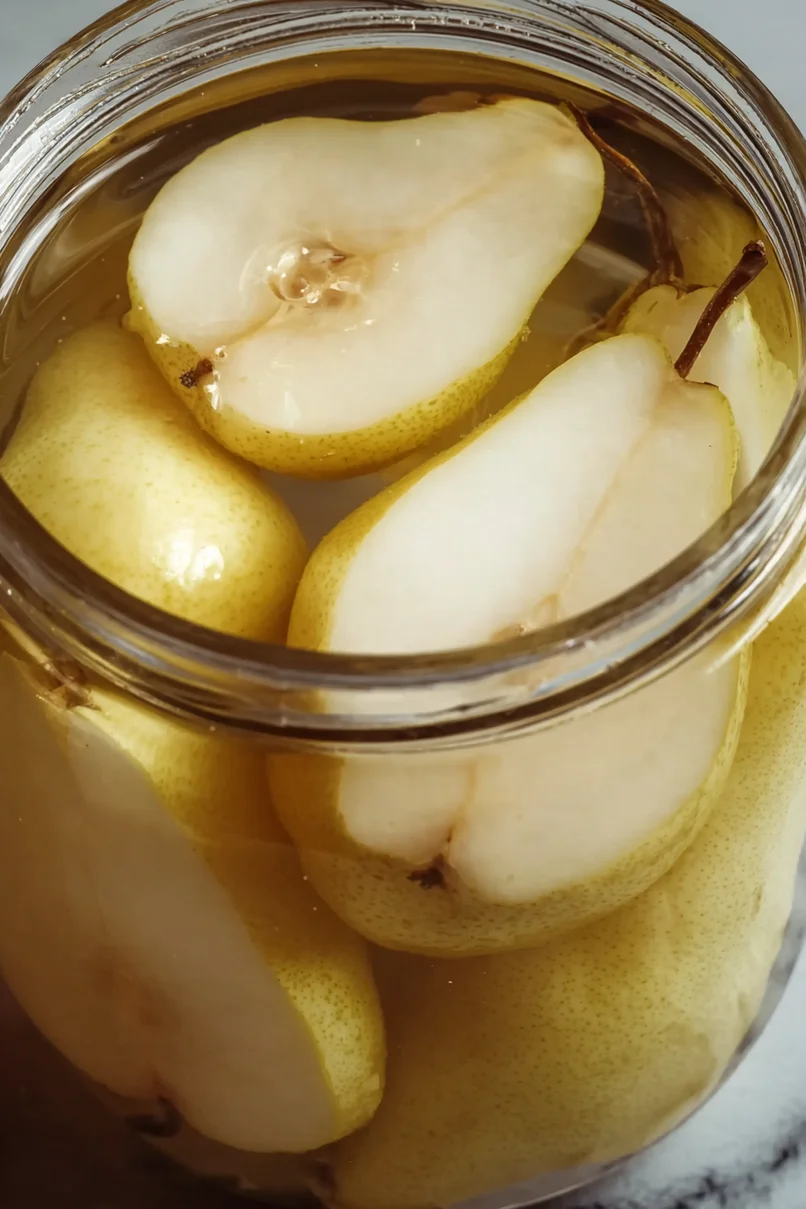
Wash the pears thoroughly, then halve or quarter them.
Remove any spoiled spots.
You may also peel the pears if you prefer, but it’s not necessary.
Step 2: Soak the Pears in Lemon Bath
- 1/2 cup lemon juice (optional, for soaking)
- 1 gallon water (for lemon bath, optional)
- halved or quartered pears from Step 1
Prepare a lemon juice bath by mixing 1/2 cup lemon juice with 1 gallon of water.
Soak the prepared pears from Step 1 for 2-3 minutes to help prevent discoloration.
After soaking, briefly rinse and drain the pears.
I like to use this step for the best-looking canned fruit, but it’s optional if you’re short on time.
Step 3: Pack Pears into Jars
- soaked pears from Step 2
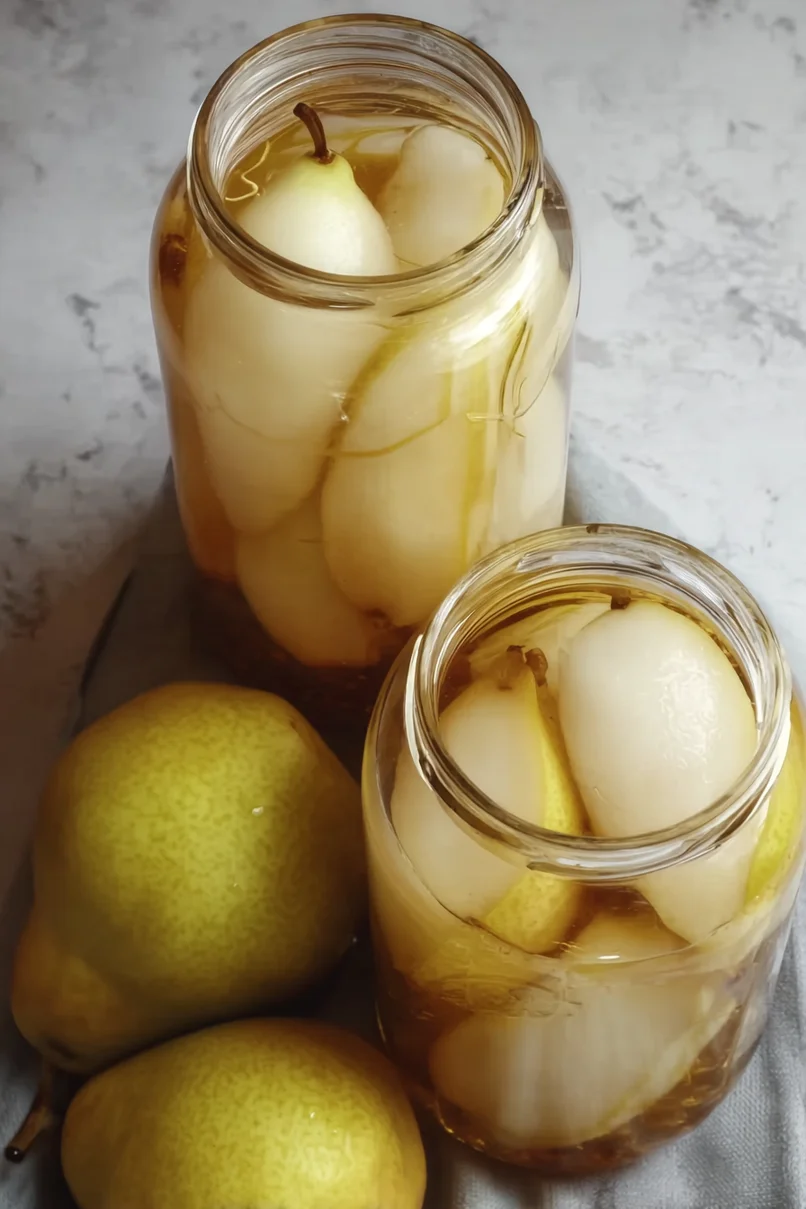
Pack the pears (from Step 2, drained) tightly into hot, sterilized canning jars.
Leave about 1/2 inch of room at the top of each jar (headspace).
Step 4: Cover Pears with Boiling Water
- boiling water as needed
Pour boiling water over the packed pears in jars, ensuring the pears are fully covered and leaving 1/2-inch headspace at the top.
Step 5: Process the Jars in a Boiling Water Canner
Process the jars in a boiling water canner: 25 minutes for pint jars or 30 minutes for quart jars.
Carefully remove jars and let them cool completely before storing.
I always listen for the ‘pop’ sound of the lids sealing—it’s so satisfying!
