Living with diabetes doesn’t mean giving up on tasty baked goods. I’ve spent years tweaking traditional recipes to create treats that everyone can enjoy, including my family members who watch their sugar intake. Zucchini bread has always been a favorite in our house, especially during summer when gardens are overflowing with fresh zucchini.
This diabetic-friendly version came about after countless attempts to get the texture and sweetness just right without using regular sugar. Now it’s become my go-to recipe whenever I need something special for breakfast or afternoon tea. The best part? Nobody can tell the difference between this and regular zucchini bread – even my kids grab a slice without thinking twice.
Whether you’re managing diabetes yourself or cooking for someone who is, this recipe proves that healthy adjustments don’t have to sacrifice flavor. Plus, it’s a great way to sneak some extra vegetables into your day!
Why You’ll Love This Zucchini Bread
- Diabetes-friendly recipe – Made with Splenda sweeteners and whole wheat flour, this zucchini bread keeps blood sugar levels in mind while still delivering that classic sweet bread taste.
- Hidden vegetables – With both zucchini and carrots mixed in, you’re getting extra nutrients and moisture while the sweet spices make sure you won’t even taste the veggies.
- Low-fat ingredients – Using egg whites, fat-free margarine, and applesauce instead of oil keeps this bread light while maintaining its moist, tender texture.
- Make-ahead friendly – This bread is perfect for meal prep – you can slice and freeze it, then grab a piece whenever you need a healthy snack or breakfast option.
What Kind of Zucchini Should I Use?
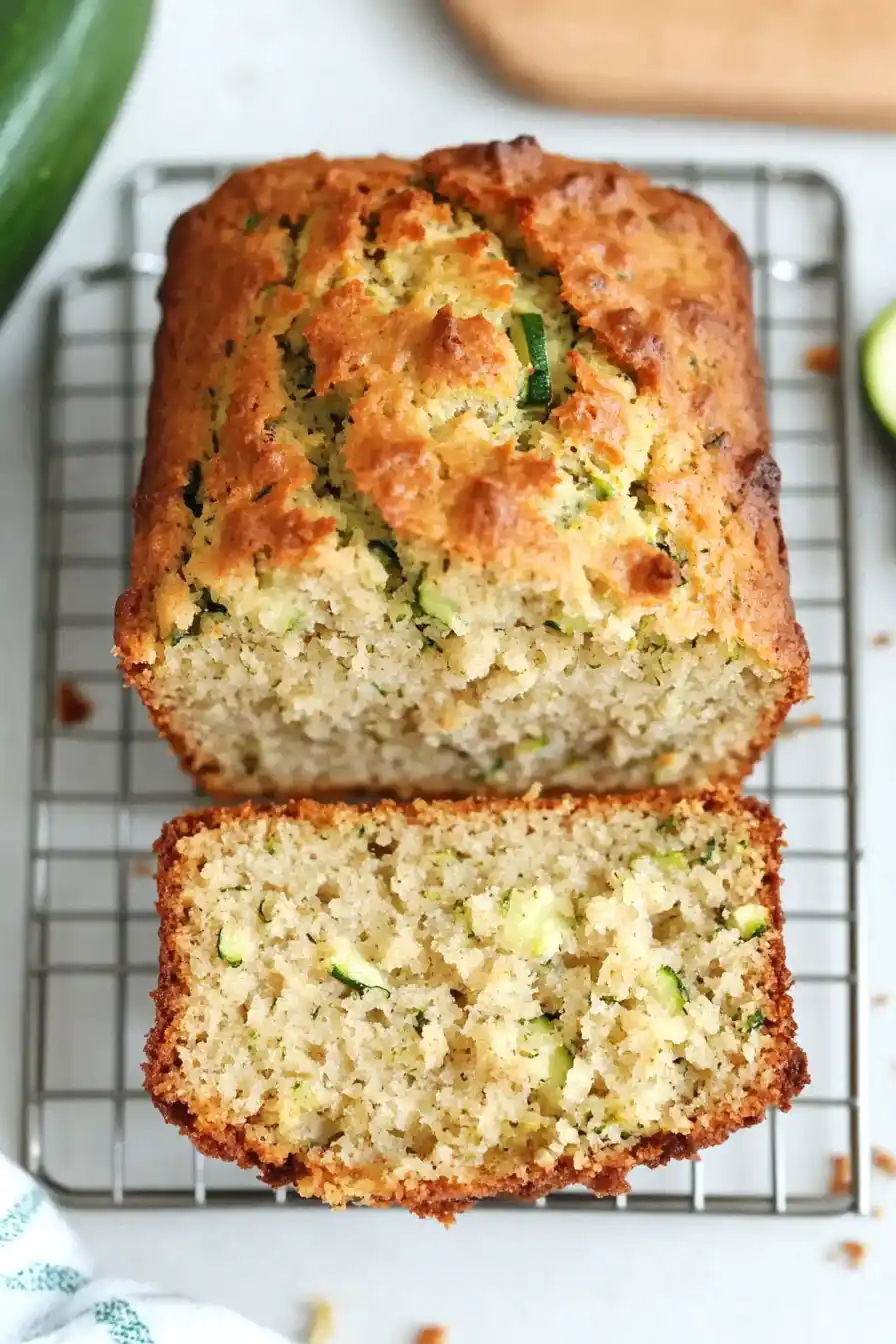
For zucchini bread, medium-sized zucchini (about 8 inches long) are your best bet since they’re tender and have smaller seeds than larger ones. If you’ve got giant zucchini from your garden, you can still use them, but make sure to cut them in half lengthwise and scoop out the seedy center first. When grating your zucchini, there’s no need to peel it – the dark green skin adds nice flecks of color to your bread and contains extra nutrients. One tip that’ll make a big difference: after grating, give your zucchini a gentle squeeze to remove some excess moisture, but don’t wring it completely dry since that moisture helps keep your bread nice and moist.
Options for Substitutions
This health-conscious zucchini bread recipe offers several swap options to suit your dietary needs:
- Egg whites: You can use regular whole eggs (3 medium eggs), or for a vegan version, try 3/4 cup of mashed banana or unsweetened applesauce as an egg replacer.
- Fat-free margarine: Feel free to use melted coconut oil, regular butter, or even more applesauce (though this might make the bread more dense).
- Splenda products: Any sugar substitute works here – try monk fruit sweetener, stevia, or allulose in equal amounts. Just check the conversion chart on your chosen sweetener’s package.
- Whole wheat flour: You can use almond flour (though the texture will be more dense), or a gluten-free all-purpose flour blend with xanthan gum. Regular all-purpose flour works too, but you’ll lose some of the nutritional benefits.
- Walnuts: Any nuts work great – try pecans, almonds, or even sunflower seeds if you need a nut-free option.
- Zucchini and carrots: These veggies are key to the moisture and texture – don’t skip them! Just make sure to squeeze out excess moisture from the zucchini before adding it to the batter.
Watch Out for These Mistakes While Baking
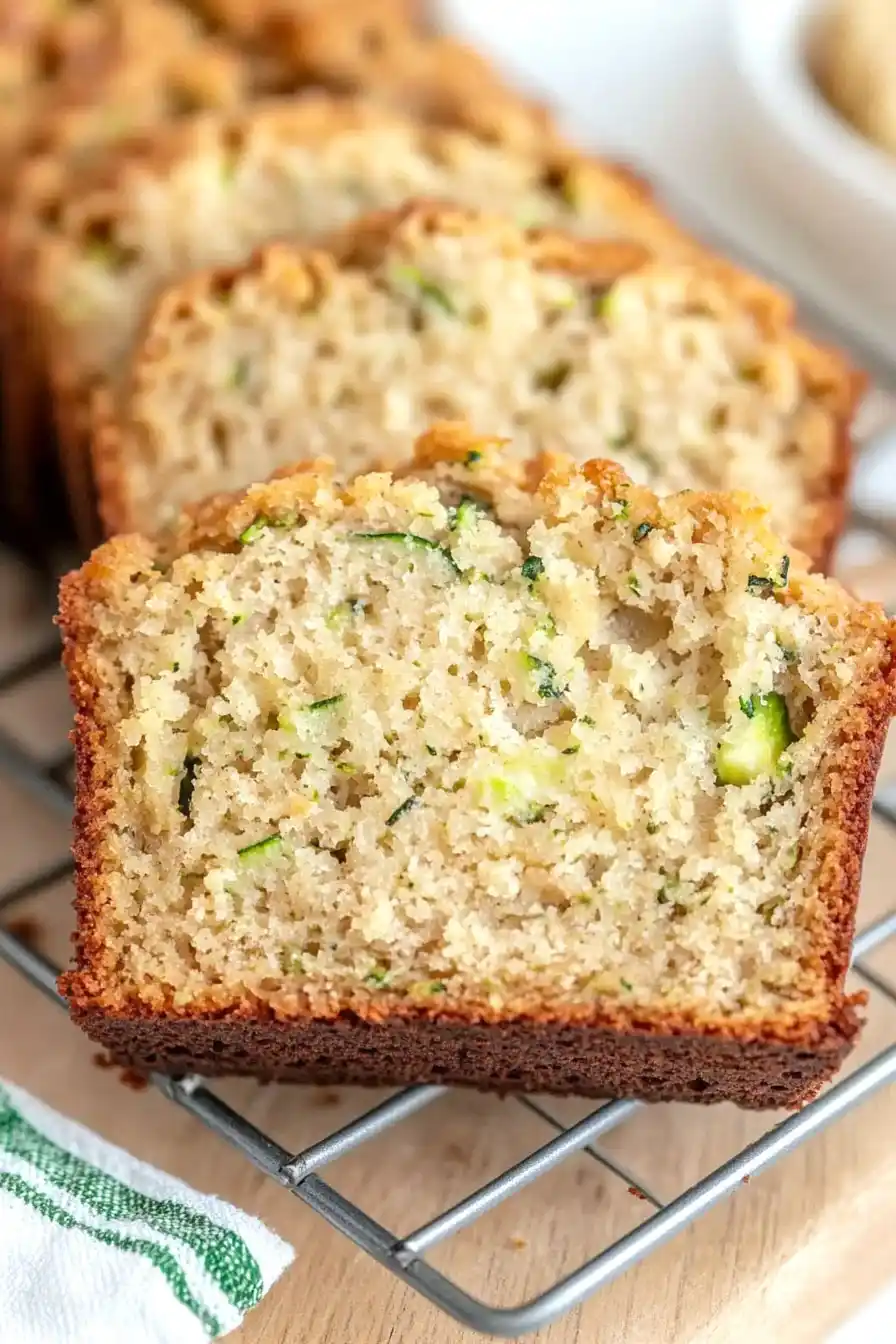
The biggest challenge when making diabetic zucchini bread is dealing with excess moisture – make sure to thoroughly squeeze out the grated zucchini using a clean kitchen towel or cheesecloth, or you’ll end up with a dense, soggy loaf. When measuring your flour, avoid the temptation to pack it down in the measuring cup; instead, use the spoon-and-level method for the right texture. Another common mistake is opening the oven door too frequently while baking, which can cause the bread to sink in the middle – resist checking until at least 45 minutes into baking time, then use a toothpick test to check for doneness. For the best results, let the bread cool completely (at least 1 hour) before slicing, as cutting into it too soon can make it crumbly and difficult to serve.
What to Serve With Zucchini Bread?
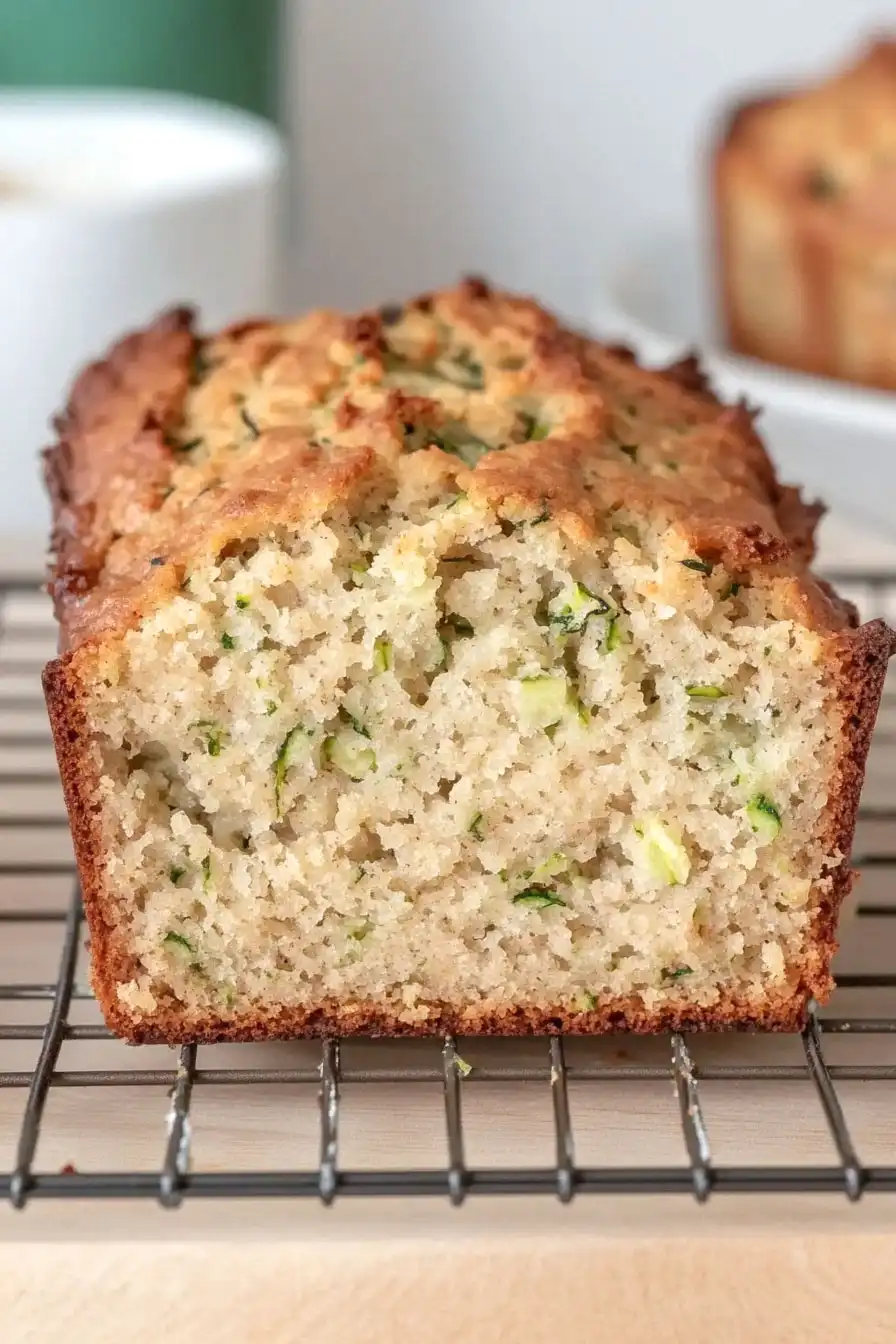
This healthy zucchini bread makes a great breakfast or afternoon snack, and there are lots of simple ways to serve it! A warm slice pairs perfectly with a cup of coffee or unsweetened tea, especially on lazy weekend mornings. For breakfast, try spreading a thin layer of sugar-free cream cheese or a dollop of Greek yogurt on top for extra protein. If you’re serving this as an afternoon treat, it’s nice alongside fresh fruit like berries or apple slices, which complement the cinnamon and nutmeg flavors in the bread.
Storage Instructions
Keep Fresh: This diabetic-friendly zucchini bread stays good at room temperature for about 2 days when wrapped well in plastic wrap or stored in an airtight container. For longer storage, pop it in the fridge where it’ll keep fresh for up to a week. The bread might even taste better the next day as the flavors have time to develop!
Freeze: Want to save some for later? Cut the cooled bread into slices, wrap them individually in plastic wrap, and place in a freezer bag. They’ll stay fresh in the freezer for up to 3 months. This is super handy when you want just one slice at a time!
Thaw & Enjoy: When you’re ready to enjoy your frozen zucchini bread, just take out what you need and let it thaw at room temperature for about an hour. If you like it warm, give it a quick 10-15 seconds in the microwave or pop it in the toaster for a slightly crispy edge.
| Preparation Time | 15-20 minutes |
| Cooking Time | 45-60 minutes |
| Total Time | 60-80 minutes |
| Level of Difficulty | Medium |
Estimated Nutrition
Estimated nutrition for the whole recipe (without optional ingredients):
- Calories: 800-900
- Protein: 20-25 g
- Fat: 30-35 g
- Carbohydrates: 120-130 g
Ingredients
- 6 tbsp Splenda brown sugar blend
- 2 cups grated zucchini (well-drained to prevent a soggy bread)
- 1/2 cup unsweetened applesauce
- 3/4 cup Splenda granulated sweetener
- 2 cups whole wheat flour (King Arthur is my preference for baking)
- 1/2 tsp salt
- 2 tsp vanilla essence
- 1 tsp ground cinnamon
- 1/2 cup fat-free margarine (melted and cooled slightly)
- 1 tsp ground nutmeg (freshly ground for best aroma)
- 1/4 cup chopped walnuts (optional, but adds a nice crunch)
- 1/2 cup grated carrot
- 1 tsp baking soda
- 1 tsp baking powder (I use Rumford)
- 3/4 cup egg whites (beaten until frothy)
Step 1: Prepare the Oven and Pans
Begin by preheating your oven to 350 degrees Fahrenheit (175 degrees Celsius).
While the oven is heating, grease and flour two medium loaf pans to prevent the loaves from sticking.
Step 2: Mix Wet Ingredients
In a large mixing bowl, combine the egg, brown sugar, sugar, apple sauce, and margarine.
Mix these ingredients together until well combined and smooth.
Step 3: Add Dry Ingredients and Spices
To the mixture, add baking powder, baking soda, cinnamon, nutmeg, salt, and vanilla.
Stir these into the wet ingredients until evenly distributed.
Step 4: Incorporate Flour and Additions
Slowly add the flour to the bowl, mixing well after each addition to ensure a smooth batter.
Then, gently fold in the shredded carrots, zucchini, and nuts until fully integrated with the batter.
Step 5: Blend and Prepare for Baking
Beat the mixture until well combined.
You can do this by hand or with a hand mixer.
Once the batter is ready, pour it evenly into the prepared loaf pans.
Step 6: Bake the Loaves
Place the loaf pans in the preheated oven and bake for approximately 45 minutes, or until a toothpick inserted into the center of the loaves comes out clean, indicating they are fully cooked.
Step 7: Cool and Serve
Once baked, remove the loaves from the oven and allow them to cool in the pans for a few minutes.
Carefully transfer them to a wire rack to cool completely before slicing and serving.
