I’ll be honest—I used to think mashed potatoes were just mashed potatoes. Boil them, mash them with a fork or masher, add some butter and milk, and call it a day. Then I borrowed a potato ricer from my neighbor and everything changed. The texture was so much better. Light and fluffy instead of gluey and dense.
A potato ricer might seem like one of those kitchen gadgets that takes up space in your drawer, but it’s actually pretty simple to use. You just press the cooked potatoes through it, and it does all the work of breaking them down without overworking them. That’s the secret to getting mashed potatoes that aren’t sticky or heavy.
Now I keep my ricer right next to my potato peeler because I use it that often. Once you try this method, you’ll understand why it makes such a difference. No lumps, no paste, just smooth mashed potatoes that actually taste like potatoes.

Why You’ll Love These Mashed Potatoes
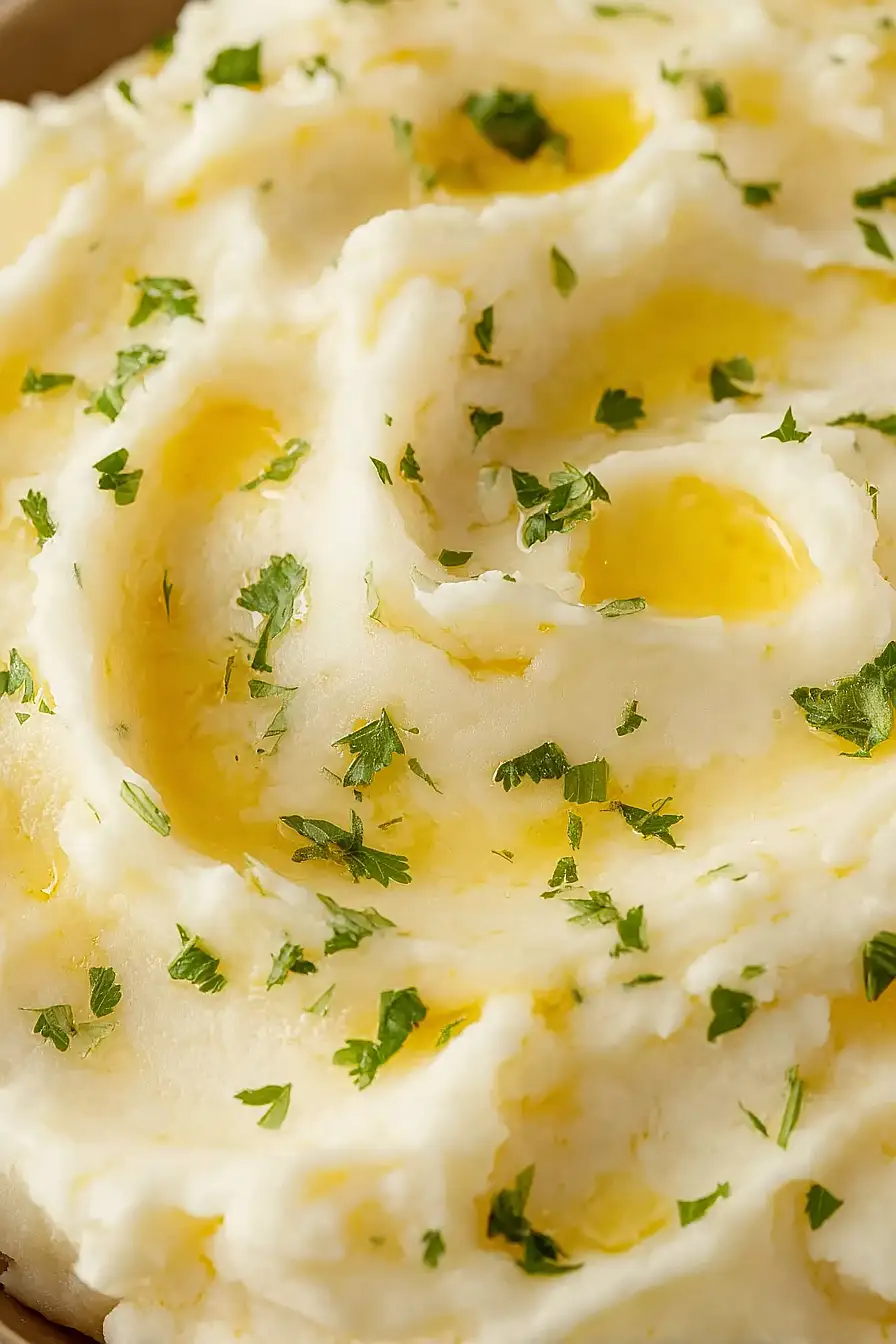
- Incredibly fluffy texture – Using a potato ricer creates the smoothest, cloud-like mashed potatoes you’ve ever had—no lumps, just pure creamy perfection.
- Ready in under 35 minutes – From start to finish, you’ll have restaurant-quality mashed potatoes on the table in no time, making them perfect for busy weeknights or last-minute dinner guests.
- Simple ingredients – Just potatoes, butter, milk, and salt—you probably have everything you need in your kitchen right now.
- Foolproof method – The potato ricer does most of the work for you, so even if you’ve struggled with gummy or lumpy mashed potatoes before, this technique guarantees success every time.
What Kind of Potatoes Should I Use?
Russet potatoes are really your best bet for making mashed potatoes with a ricer. They’re high in starch and low in moisture, which means they’ll give you that light, fluffy texture everyone loves. Yukon Golds can work too if that’s what you have on hand – they’ll give you a slightly creamier, more buttery result, though they won’t be quite as fluffy. Whatever you do, avoid waxy potatoes like red potatoes or fingerlings for this recipe, since they tend to get gummy and gluey when you put them through a ricer.

Options for Substitutions
This recipe is pretty straightforward, but here are some swaps you can make if needed:
- Russet potatoes: Russets are really the best choice here for fluffy mashed potatoes – their high starch content is what makes them work so well. Yukon golds can work in a pinch, but they’ll give you a creamier, denser texture instead of light and fluffy.
- Milk: Any milk works fine – whole milk, 2%, or even half and half if you want extra richness. For non-dairy options, try oat milk or unsweetened almond milk. Just warm it up before adding to keep your potatoes hot.
- Butter: You can use salted butter if that’s what you have, just reduce the added salt to taste. For a dairy-free version, plant-based butter or olive oil works, though the flavor will be a bit different.
- Potato ricer: If you don’t have a ricer, a food mill works great too. In a real pinch, you can use a regular masher, but you won’t get quite the same smooth, fluffy texture that makes this recipe special.
- White pepper: Black pepper is totally fine if you don’t have white pepper. White pepper just keeps the appearance cleaner, but the taste difference is minimal.
Watch Out for These Mistakes While Cooking
The biggest mistake when making mashed potatoes with a ricer is overworking them after ricing, which activates the starches and turns your fluffy potatoes into a gluey paste – once you’ve riced them and added your butter and milk, stir gently just until combined.
Another common error is adding cold butter and milk straight from the fridge, which cools down your potatoes and makes them harder to mix smoothly, so always warm your milk and melt your butter before folding them in.
Don’t skip cutting your potatoes into evenly sized chunks before boiling, as uneven pieces cook at different rates and leave you with some pieces that are mushy while others are still firm.
Finally, make sure to drain your potatoes completely and let them sit in the pot for a minute or two after draining – this extra step allows excess moisture to evaporate and prevents watery mashed potatoes.
What to Serve With Mashed Potatoes?
Mashed potatoes are the perfect side dish for just about any protein you’re serving for dinner. They pair beautifully with roasted chicken, grilled steak, pork chops, or meatloaf – basically anything with a good gravy or pan sauce that can pool into those creamy potatoes. I love serving them alongside roasted vegetables like green beans, Brussels sprouts, or glazed carrots to round out the plate. For a cozy weeknight meal, try them with pot roast or braised short ribs where all those rich cooking juices can soak right in.
Storage Instructions
Store: Keep your leftover mashed potatoes in an airtight container in the fridge for up to 4 days. They might look a little dry on top, but don’t worry – they’ll come back to life when you reheat them with a splash of milk or butter.
Freeze: Mashed potatoes freeze surprisingly well for up to 2 months. Portion them into freezer bags or containers, and press out as much air as possible before sealing. Just know they might be slightly less creamy after freezing, but they’re still great for casseroles or shepherd’s pie.
Reheat: Warm them up in the microwave with a tablespoon or two of milk, stirring every 30 seconds until heated through. You can also reheat them on the stovetop over low heat, adding a bit of butter or milk and stirring frequently to bring back that creamy texture.
| Preparation Time | 15-20 minutes |
| Cooking Time | 10-15 minutes |
| Total Time | 25-35 minutes |
| Level of Difficulty | Easy |
| Servings | 6 servings |
Estimated Nutrition
Estimated nutrition for the whole recipe (without optional ingredients):
- Calories: 950-1100
- Protein: 18-22 g
- Fat: 38-46 g
- Carbohydrates: 145-165 g
Ingredients
- 1 tbsp salt
- 6 tbsp unsalted butter (I use Kerrygold for rich flavor)
- 3 lb russet potatoes (cut into 2-inch chunks for even cooking)
- 6 fl oz milk (warmed to room temperature)
- 1/4 tsp white pepper (freshly ground preferred)
Step 1: Prepare Potatoes and Start Cooking
- 3 lb russet potatoes
- 1 tbsp salt
Cut the russet potatoes into 2-inch chunks for even, consistent cooking throughout.
Place the cut potatoes in a large pot and cover them completely with cold water by about 1 inch—starting with cold water helps the potatoes cook evenly and prevents the outside from falling apart before the inside is tender.
Add the salt to the water, which seasons the potatoes from within and also raises the water’s boiling point slightly, helping achieve a better texture.
Step 2: Simmer Potatoes Until Tender
- potatoes from Step 1
Bring the pot to a boil over high heat, then reduce to a gentle simmer and cook for 10–15 minutes until the potatoes are completely tender and a fork passes through them with no resistance.
While the potatoes cook, you can prepare the butter and milk in the next step to maximize your time in the kitchen.
Step 3: Prepare Butter and Milk
- 6 tbsp unsalted butter
- 6 fl oz milk
While the potatoes are simmering, cut the unsalted butter into smaller pieces and set it out to soften—this helps it blend seamlessly into the hot potatoes without overworking the mixture.
Warm the milk to room temperature or slightly warm; cold milk will cool down your hot potatoes and can make them gluey, while room-temperature milk incorporates smoothly and creates a creamy texture.
I like using Kerrygold butter because its rich, golden quality elevates the final flavor beyond standard butter.
Step 4: Drain and Dry Potatoes
- cooked potatoes from Step 2
When the potatoes are tender, drain them thoroughly in a colander, shaking gently to remove excess water.
Return the drained potatoes to the hot pot and let them sit undisturbed for about 1 minute—this allows any remaining surface moisture to evaporate, which is crucial for achieving fluffy, light mashed potatoes rather than dense, wet ones.
Step 5: Rice and Combine Potatoes with Dairy
- dried potatoes from Step 4
- softened butter from Step 3
- warmed milk from Step 3
Working with the hot potatoes, press them through a potato ricer directly into the pot, pressing firmly to create light, fluffy strands.
Once all potatoes are riced, immediately add the softened butter from Step 3 and stir gently with a spatula or wooden spoon using a folding motion—this distributes the butter evenly without overworking the potatoes, which can make them gluey.
Pour in the warmed milk gradually while stirring until you reach your desired consistency; I prefer creamy but still holding some shape, so I add milk slowly and stop when the texture feels right.
Step 6: Season and Finish
- 1/4 tsp white pepper
- additional salt to taste
Taste the mashed potatoes and adjust the seasoning with white pepper and additional salt if needed.
White pepper is preferred over black pepper here because it blends invisibly into the creamy white potatoes and provides a subtle heat without visible flecks, creating a refined, smooth appearance.

Smooth Mashed Potatoes Using Potato Ricer
Ingredients
- 1 tbsp salt
- 6 tbsp unsalted butter (I use Kerrygold for rich flavor)
- 3 lb russet potatoes (cut into 2-inch chunks for even cooking)
- 6 fl oz milk (warmed to room temperature)
- 1/4 tsp white pepper (freshly ground preferred)
Instructions
- Cut the russet potatoes into 2-inch chunks for even, consistent cooking throughout. Place the cut potatoes in a large pot and cover them completely with cold water by about 1 inch—starting with cold water helps the potatoes cook evenly and prevents the outside from falling apart before the inside is tender. Add the salt to the water, which seasons the potatoes from within and also raises the water's boiling point slightly, helping achieve a better texture.
- Bring the pot to a boil over high heat, then reduce to a gentle simmer and cook for 10–15 minutes until the potatoes are completely tender and a fork passes through them with no resistance. While the potatoes cook, you can prepare the butter and milk in the next step to maximize your time in the kitchen.
- While the potatoes are simmering, cut the unsalted butter into smaller pieces and set it out to soften—this helps it blend seamlessly into the hot potatoes without overworking the mixture. Warm the milk to room temperature or slightly warm; cold milk will cool down your hot potatoes and can make them gluey, while room-temperature milk incorporates smoothly and creates a creamy texture. I like using Kerrygold butter because its rich, golden quality elevates the final flavor beyond standard butter.
- When the potatoes are tender, drain them thoroughly in a colander, shaking gently to remove excess water. Return the drained potatoes to the hot pot and let them sit undisturbed for about 1 minute—this allows any remaining surface moisture to evaporate, which is crucial for achieving fluffy, light mashed potatoes rather than dense, wet ones.
- Working with the hot potatoes, press them through a potato ricer directly into the pot, pressing firmly to create light, fluffy strands. Once all potatoes are riced, immediately add the softened butter from Step 3 and stir gently with a spatula or wooden spoon using a folding motion—this distributes the butter evenly without overworking the potatoes, which can make them gluey. Pour in the warmed milk gradually while stirring until you reach your desired consistency; I prefer creamy but still holding some shape, so I add milk slowly and stop when the texture feels right.
- Taste the mashed potatoes and adjust the seasoning with white pepper and additional salt if needed. White pepper is preferred over black pepper here because it blends invisibly into the creamy white potatoes and provides a subtle heat without visible flecks, creating a refined, smooth appearance.
