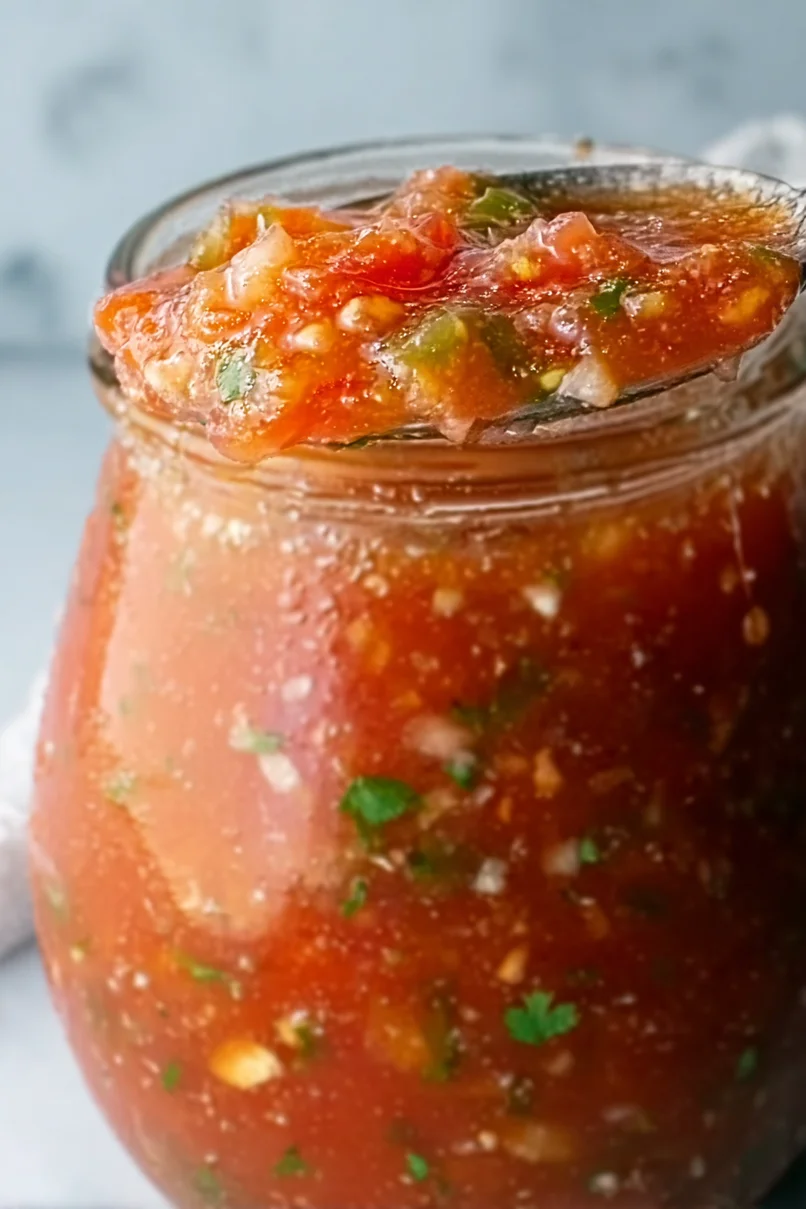
Growing up, I thought salsa only came from the grocery store in those glass jars with the red-and-white checkered lids. That’s just how we did it in our house. When my neighbor brought over homemade jalapeño salsa one summer, it completely changed how I thought about this Mexican staple.
Turns out, making your own salsa for canning isn’t complicated at all – it just takes fresh ingredients and a little patience. While store-bought salsa works in a pinch, there’s something special about opening a jar of homemade salsa in the middle of winter, knowing exactly what went into it. Plus, you can control just how spicy you want it to be.

Why You’ll Love This Jalapeño Salsa
- Make-ahead convenience – This canning-ready salsa lets you preserve summer’s fresh flavors to enjoy all year long – perfect for stocking your pantry or giving as homemade gifts.
- Customizable heat level – You can easily adjust the spiciness by keeping or removing the jalapeño seeds, making it perfect for both mild salsa lovers and heat seekers.
- Fresh, clean ingredients – Made with simple, whole ingredients like fresh tomatoes, lime juice, and cilantro – no preservatives or artificial ingredients needed.
- Quick preparation – From chopping to cooking, this salsa comes together in under an hour, making it a practical project even for busy home canners.
What Kind of Tomatoes Should I Use?
For salsa that’s meant for canning, paste tomatoes are definitely your best choice. Roma tomatoes are the most common and easiest to find, but San Marzano, Amish Paste, or Opalka tomatoes are all great options too. These varieties have thick, meaty flesh with fewer seeds and less juice, which means your salsa will have the right consistency without getting watery. Regular slicing tomatoes like Beefsteak aren’t ideal here since they’re too juicy and can make your salsa runny. Just make sure your tomatoes are ripe but still firm, and if you’re using store-bought, look for ones that are deep red and free from soft spots or blemishes.
Options for Substitutions
When making this salsa for canning, you’ll want to keep some things in mind about substitutions:
- Paste tomatoes: You can swap Roma tomatoes with other paste varieties like San Marzano or Amish Paste. Regular slicing tomatoes aren’t recommended for canning as they’re too watery – if you must use them, drain excess liquid and cook the salsa longer to reduce.
- Lime juice: For safe canning, don’t reduce the amount of lime juice. You must use bottled lime juice instead of fresh, as it has consistent acidity levels needed for safe preservation. You can also use bottled lemon juice as a 1:1 replacement.
- Jalapeños: Feel free to swap jalapeños with serrano peppers for more heat, or with poblanos for a milder kick. Just keep the same volume to maintain safe acidity levels for canning.
- Onion: White, yellow, or red onions all work well here – just keep the amount the same. Green onions aren’t recommended for canning.
- Cilantro: If you’re not a cilantro fan, you can leave it out completely or replace it with fresh parsley. The amount is small enough that it won’t affect the canning safety.
Watch Out for These Mistakes While Cooking
The biggest challenge when making salsa for canning is getting the acidity level right – always stick to the exact amount of lime juice listed in the recipe, as this ensures your salsa will be safe for long-term storage. When working with jalapeños, avoid touching your face or eyes, and consider wearing gloves while handling them – if you skip this step, you might end up with burning hands for hours. To prevent a watery salsa, make sure to properly drain your tomatoes after chopping and seeding them, and don’t skip the step of peeling them, as the peels can create an unpleasant texture in canned salsa. For the best flavor development, let your finished salsa sit in the jars for at least 2-3 weeks before opening, allowing the ingredients to meld together and create a more balanced taste.
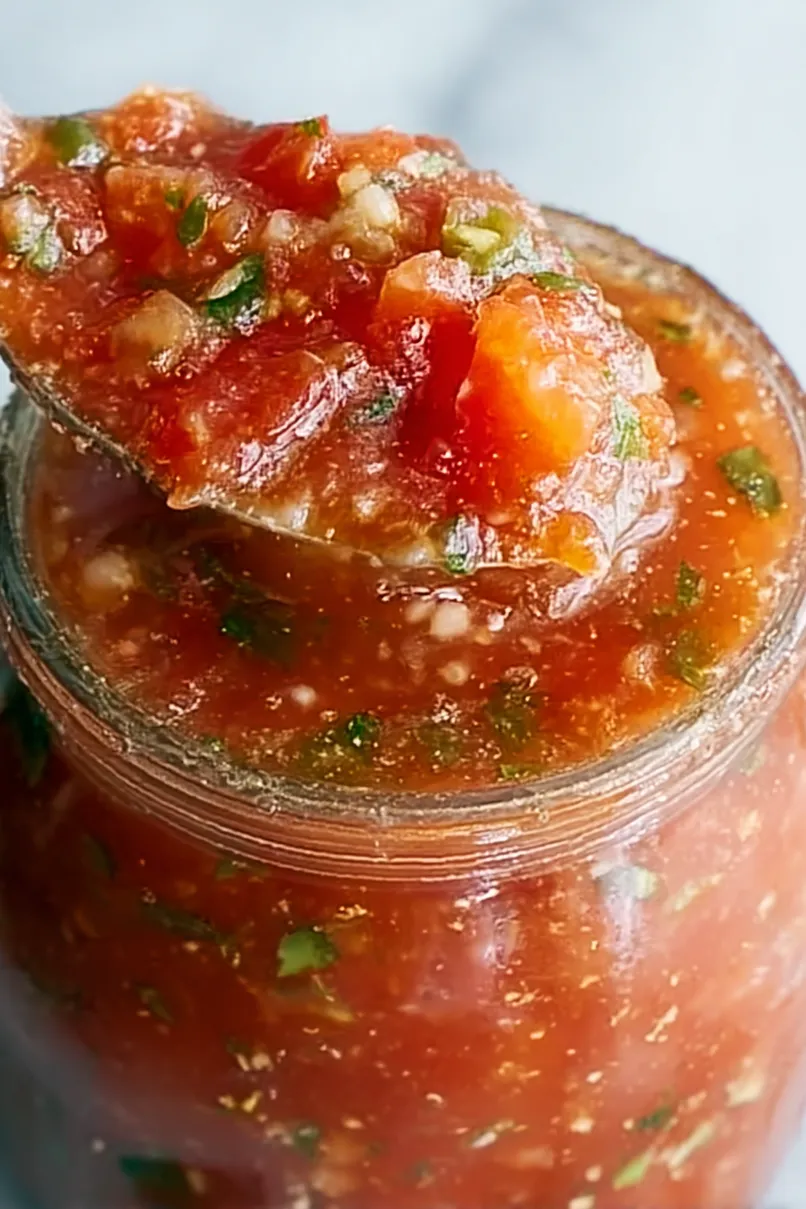
What to Serve With Jalapeño Salsa?
This fresh and zesty jalapeño salsa is super versatile – you’ll want to put it on just about everything! The most obvious pairing is with crispy tortilla chips, but don’t stop there. Try spooning it over grilled chicken tacos, fish, or shrimp for an easy weeknight dinner upgrade. It’s also great with breakfast dishes like huevos rancheros or a simple cheese omelet. For a fun party spread, serve this salsa alongside guacamole, queso dip, and a bowl of warm refried beans – your guests will love having different dipping options for their chips.
Storage Instructions
Can: Once you’ve properly processed your salsa in sterilized jars using a water bath canner, these sealed beauties will keep for up to 12 months when stored in a cool, dark place like your pantry or basement. Just remember to check that all lids are properly sealed before storing – they should not flex when pressed.
Keep Fresh: For any unsealed jars or if you’re not canning, pop your salsa in the fridge in an airtight container. It’ll stay fresh and tasty for about 1 week. The flavors actually get better after a day or two as everything mingles together!
After Opening: Once you crack open a sealed jar, transfer any leftover salsa to an airtight container and keep it in the fridge. It’s best to use it within 7-10 days. Give it a quick stir before serving, as some liquid might separate during storage.
| Preparation Time | 20-30 minutes |
| Cooking Time | 20-30 minutes |
| Total Time | 40-60 minutes |
| Level of Difficulty | Medium |
Estimated Nutrition
Estimated nutrition for the whole recipe (without optional ingredients):
- Calories: 150-200
- Protein: 4-6 g
- Fat: 1-2 g
- Carbohydrates: 35-40 g
Ingredients
- 1/2 tsp black pepper (freshly ground for best flavor)
- 1/4 cup fresh cilantro (well-packed, roughly chopped)
- 2 jalapeno peppers (minced, remove seeds for less heat)
- 1 tsp salt (I use Morton’s Coarse Kosher Salt)
- 1/2 cup fresh lime juice (from about 3-4 limes)
- 2 garlic cloves (finely minced)
- 1 medium onion (peeled and finely diced)
- 2 lb paste tomatoes (such as Roma or San Marzano, cored and chopped)
Step 1: Prepare Your Canning Equipment
Begin by washing your jars, lids, bands, and canning tools in hot soapy water.
Rinse them thoroughly and set aside to air dry on a clean kitchen towel.
Place the jar rack into your water bath canner, and position the jars in the canner.
Fill with water to cover the jars, bring the canner to a simmer (180˚F) for 10 minutes, and keep the jars hot until you are ready to fill them.
Step 2: Cook the Salsa
Combine all the ingredients for your salsa in a medium pot.
Bring the mixture to a boil over medium-high heat, then reduce the heat to a simmer (180˚F) and cook for approximately 5 minutes.
This step will ensure that all flavors meld together and the salsa is hot for canning.
Step 3: Fill the Jars
Spread a kitchen towel on the counter as a preparation area.
Use your jar lifter to carefully lift a jar from the canner, draining the water back into the canner, and place the jar on the towel.
Use a canning funnel and ladle to fill the jar with hot salsa, making sure to leave a 1/2-inch headspace at the top.
Wipe the rim to remove any residue, center a lid on the jar, and screw on a band until it is fingertip tight.
Place the jar back into the canner using your jar lifter, and repeat the process with the remaining jars, ensuring space between them.
Step 4: Process the Jars
Once all jars are in the canner, adjust the water level to ensure it is two inches above the jar tops.
Cover the canner and bring it to a vigorous boil over high heat.
Once the water boils, continue to boil for 15 minutes if you are at altitudes of less than 1,000 feet.
Be sure to adjust processing time for your altitude if necessary (refer to altitude charts for specifics).
Step 5: Cool Down and Check Seals
After the processing time is completed, turn off the heat, remove the cover, and allow the canner to cool for about 5 minutes.
Lay a dry kitchen towel on the counter and carefully remove the cover, tilting the lid away from you to avoid steam burns.
Use the jar lifter to take the jars out of the canner, and place them on the towel.
Keep the jars upright, and avoid tightening bands or checking seals at this stage.
Allow the jars to sit undisturbed for 12 to 24 hours to fully cool.
Step 6: Final Checks and Storage
After 12 to 24 hours, check to ensure that the jar lids have sealed by pressing down on the center of each lid.
A proper seal will not flex up and down.
If any lid did not seal, refrigerate that jar and use it within a week.
Remove screw-on bands, wash the jars, and label them with the date.
Store your canned salsa in a cool, dark place for up to 12 to 18 months.
Allow at least 3 to 4 weeks for the salsa flavors to fully develop.
After opening a jar, refrigerate and consume within a week.
This process yields about 6 half-pint jars of tomato jalapeno salsa.
