Tired of buying lettuce?
Why not grow your own at home?
It’s simple! Learn how to grow fresh, tasty lettuce in a pot with ease.
Excited to get started?
Let’s dive in!
Step 1: Choose the Right Container
When preparing to plant lettuce, select a planter that is deep enough, ideally between 6-8 inches, and with a 12-18 inch spread. Opt for materials like plastic, clay, or wood to ensure good drainage and thermal insulation. It’s crucial to have drainage holes at the bottom to protect against overwatering and promote robust plant health.
Step 2: Select Suitable Lettuce Varieties
In selecting lettuce types, consider your flavor preferences and available space. For smaller areas, loose-leaf varieties such as ‘Salad Bowl’ or ‘Lollo Rossa’ are ideal for their compact growth and continual leaf yield. For distinct tastes and textures, Romaine and iceberg lettuce are excellent choices.
Step 3: Prepare the Potting Mix
To create a balanced habitat for your plant, mix compost, peat moss, and perlite or vermiculite in equal measure. It’s vital for both hydration and aeration. When adding to your pot, leave one inch from the top to accommodate watering without spillovers.
Step 4: Plant Seeds or Transplants
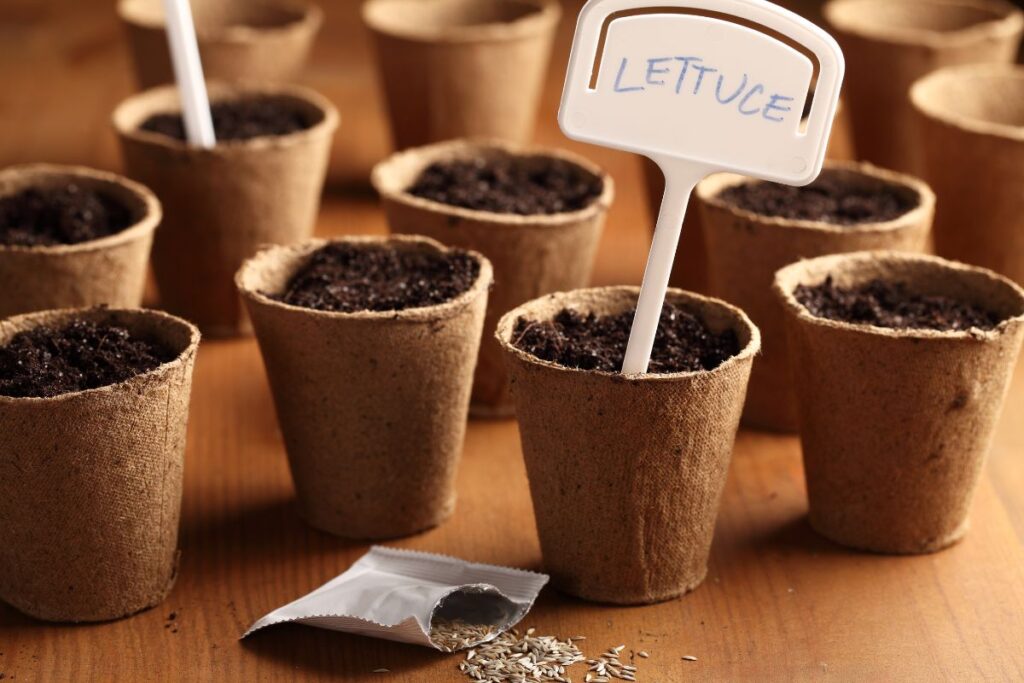
Begin by dispersing lettuce seeds uniformly across the soil surface, then lightly press them into place. Alternatively, you may incorporate ready-grown seedlings. Aim to cover the seeds with a sparse soil layer, approximately 1/4 inch thick. Remember: Post-planting, it’s essential to water the area with care to moisten the soil, which promotes the growth process of your seeds.
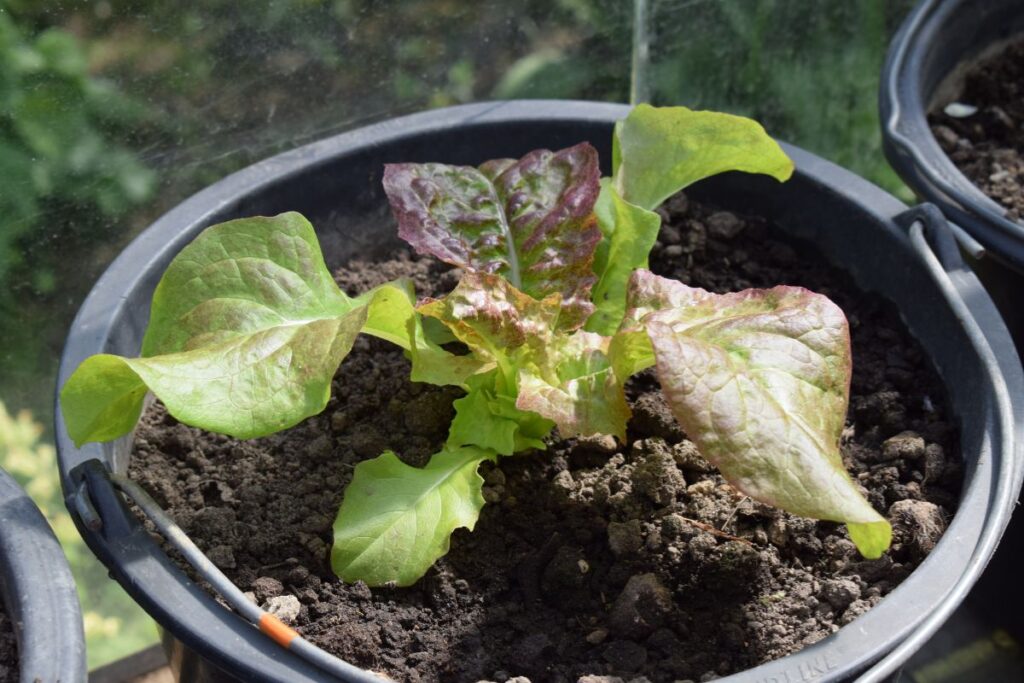
Step 5: Provide Optimal Growing Conditions
Ensure your lettuce enjoys a cool environment, ideally between 45-75°F (7-24°C). Provide your plants with moderate sunlight, around 4-6 hours a day. In case of a heat spike, move your lettuce to a cooler, shaded spot to prevent early seeding, known as bolting, which can make the leaves taste bitter.
Step 6: Manage Water and Moisture
Ensure your soil retains a consistent level of hydration, keeping it moist but not soggy. Water the soil at the roots to avoid the onset of leaf diseases. Applying a layer of straw or compost as mulch will help maintain ideal soil moisture.
Step 7: Fertilize as Needed
For optimal growth and leaf development in your lettuce plants, apply an even, natural plant food blend every three to four weeks. Consider slow-release options and adhere to the guidelines provided on the package. Note: Over-fertilizing may result in a bitter flavor in the leaves.
Step 8: Watch for Pests and Diseases
Regularly check your lettuce for common intruders such as aphids, slugs, and snails. In the event of infestation, opt for natural remedies like insecticidal soaps or strategically planting basil or rosemary. Rotate crops and maintain ample space between plants to reduce disease risk.
Step 9: Harvest Your Lettuce
By the time your lettuce plants reach 4-6 weeks of age, their leaves are typically ready for harvest. Begin with the outermost leaves, allowing the center leaves to continue their growth. With a clean cut above the soil using either scissors or a knife, you can gather the leaves. Continue this process up until the plant starts to bolt or the taste of the leaves sours.
